Quite some time ago, Vedran described a silicone boot he put over the nozzle. Rather than building a mold and casting the RTV, I threw caution to the winds, ignored any acetic acid corrosion issues, and troweled a layer of RTV on the nozzle:
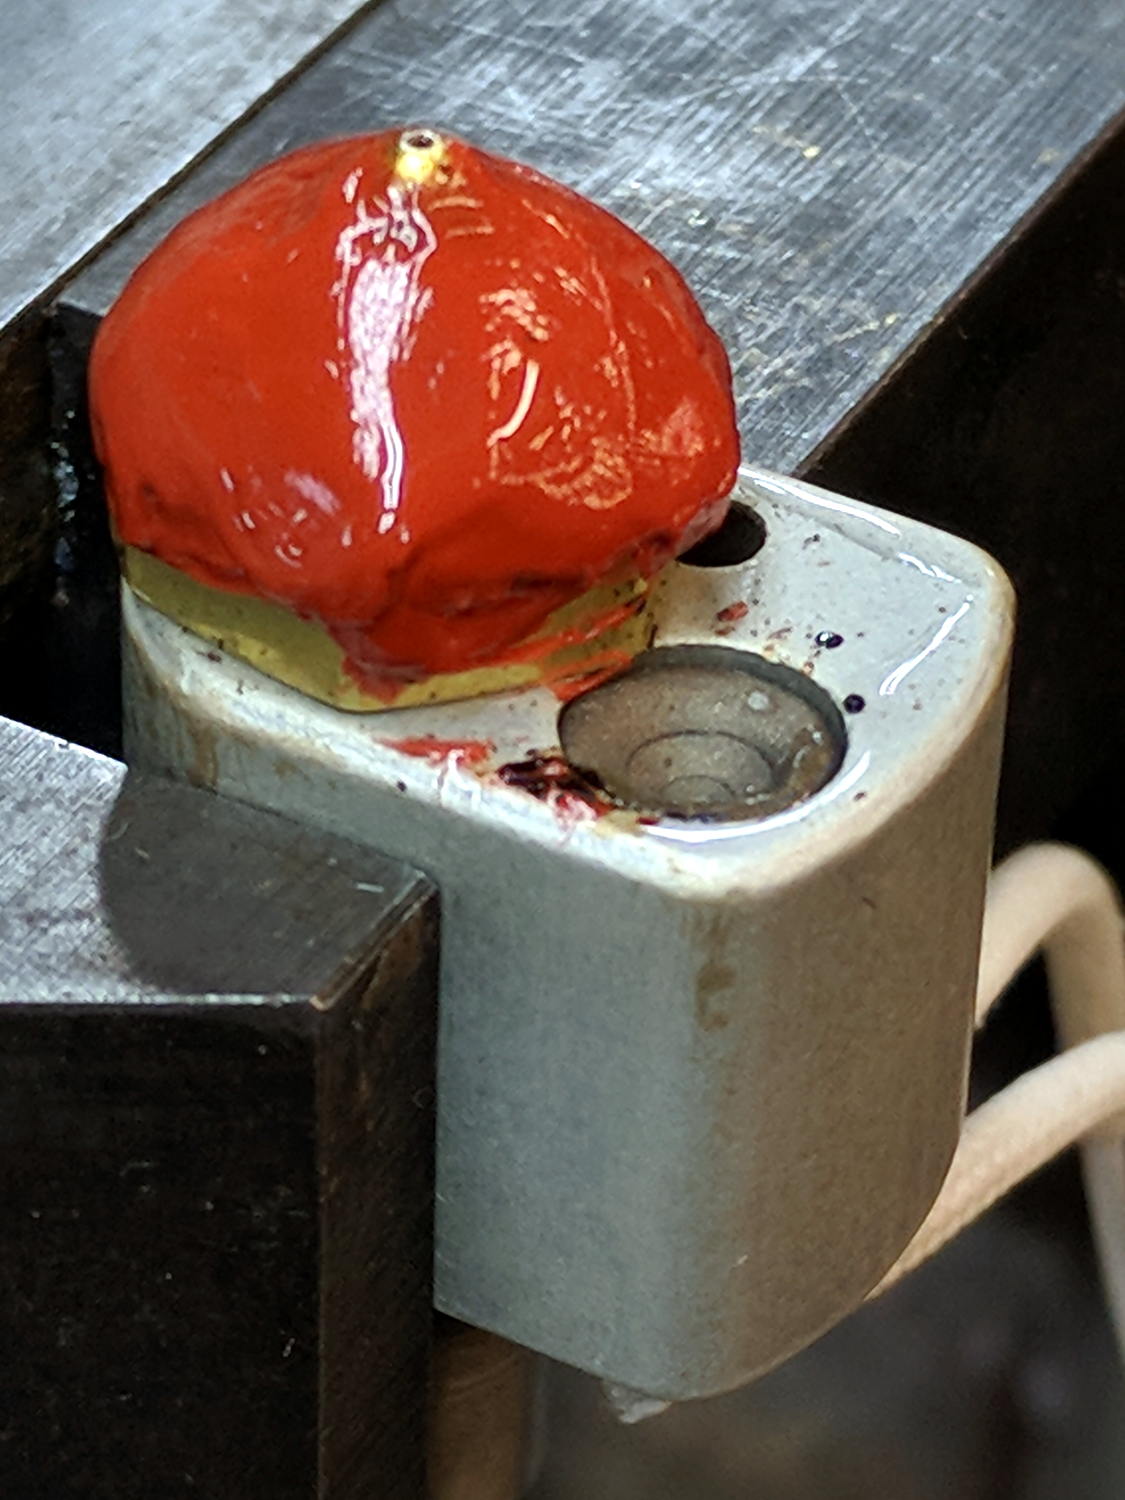
That’s JB Weld Hi-Temp Red Silicone, rated up to 550 °F = 290 °C continuous operation, so it should be Just Fine at PETG’s usual 250 °C.
I slipped the rebuilt thermistor into its hole, slipped the hot end back into the M2’s extruder, raised it a bit higher than it was before, fired up the M2, and …
- Home the X axis
- Set X offset:
G28 X-100 - Move it off to the right:
G0 X130 - Home the Z axis
- Set Z offset:
G28 Z-2.15 - The Y axis is pretty near the middle, so it’s all good
- Move the nozzle to the middle:
G0 X0 - Move the platform to Z=0:
G0 Z0
N.B.: I have the XY=0 origin in the middle of the platform, so don’t do like I do and expect it to work if you put the origin elsewhere.
Then loosen the hot end clamp, slide the hot end down until the nozzle touches the platform, tighten the clamp, and the tip of the nozzle should be pretty close to where it started out:

The microswitch in the background senses the top of the platform, eliminating all the putzing around everybody else does to get a consistent Z offset. I verified the switch trip point by sliding my trusty Starrett No. 270 Taper Gage under the lever until it tripped at 2.1 mm; about as close to 2.15 mm as one might hope for.
For reasons not relevant here, the test print was another set of Epson projector foot repair parts:

The PETG hairs I described in the original post were conspicuous by their absence. It’s too early to tell if the silicone coating is a complete cure, but at least it’s not causing any obvious problems.
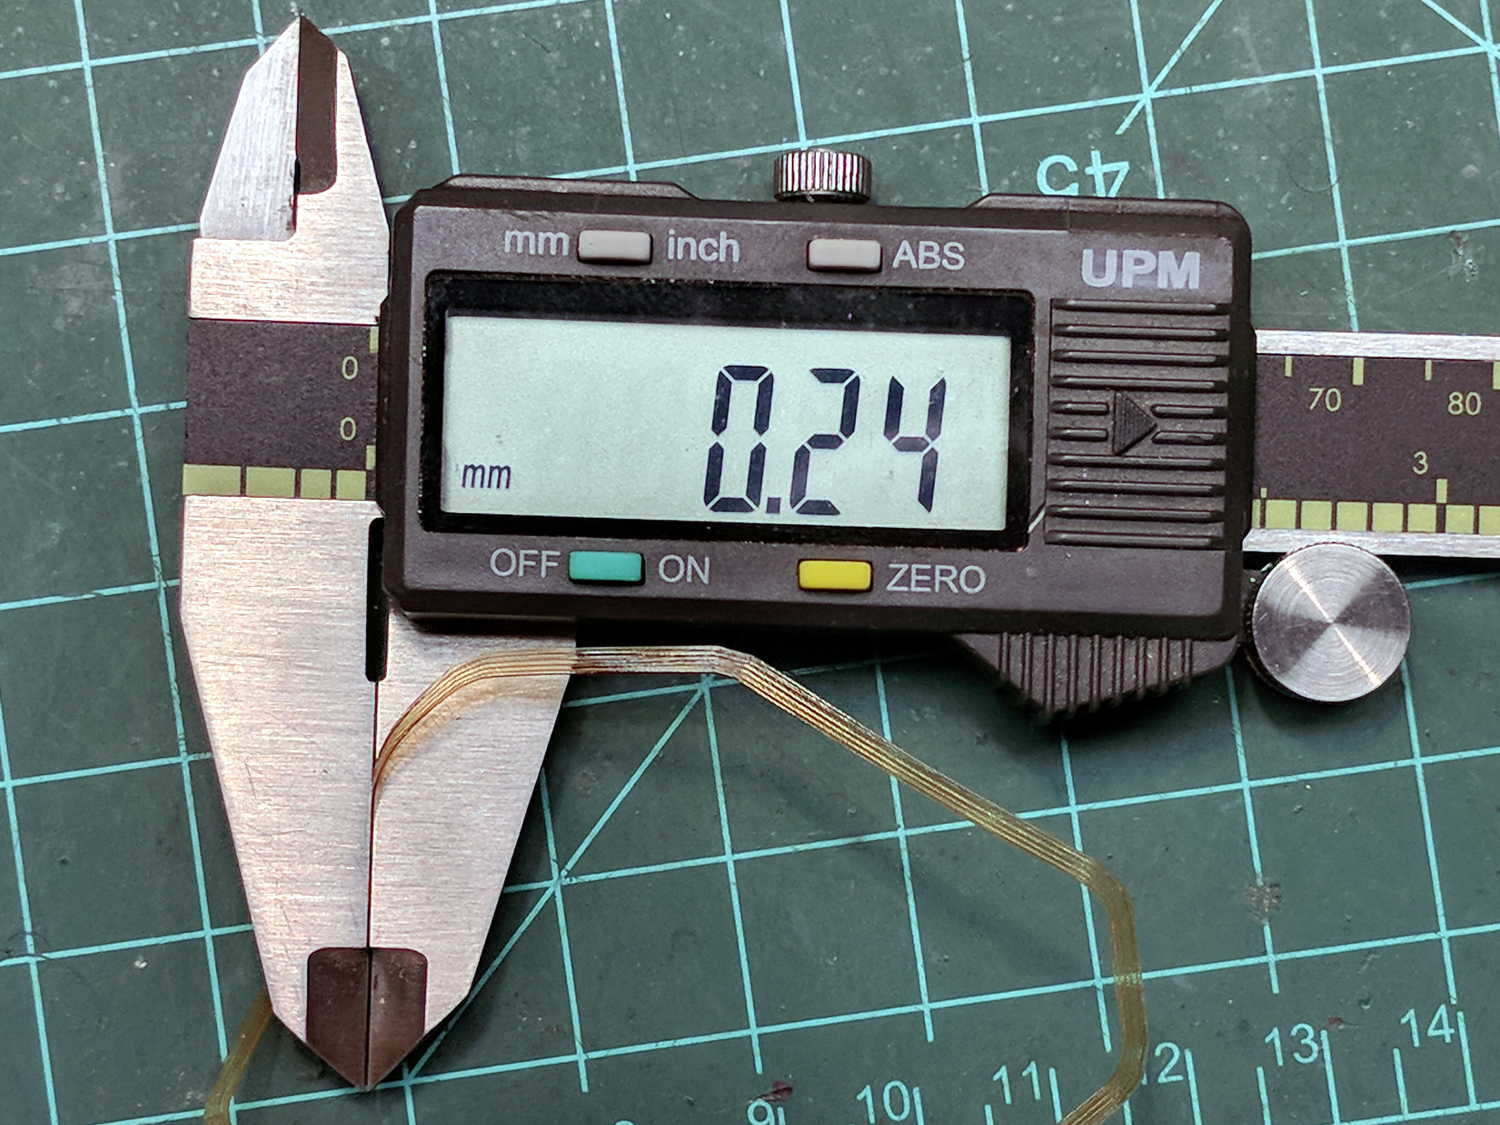
The skirt around those parts came out close enough to its nominal 0.25 mm layer thickness:
I must print some calibration squares to verify the platform alignment and the overall height.
Just for completeness, here’s looking up at the new nozzle, snug inside its fuzzy fiberglas insulating wrap, with a PETG strand drooling from its orifice:

I really should order a couple of thermistors, a cartridge heater, and maybe a nozzle …
