Ed Nisley's Blog: Shop notes, electronics, firmware, machinery, 3D printing, laser cuttery, and curiosities. Contents: 100% human thinking, 0% AI slop.
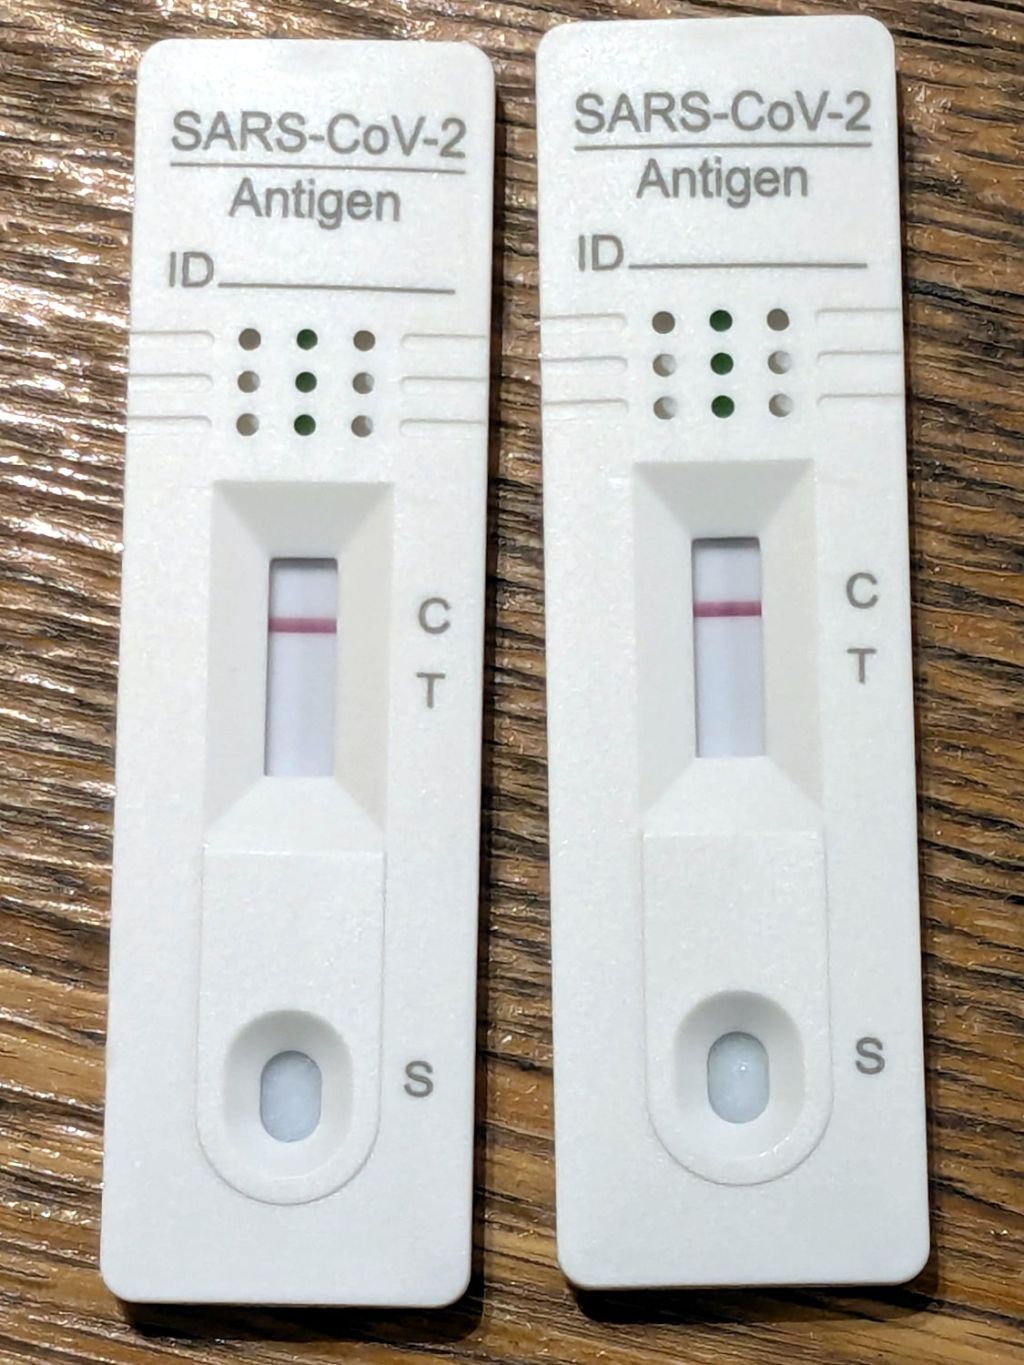
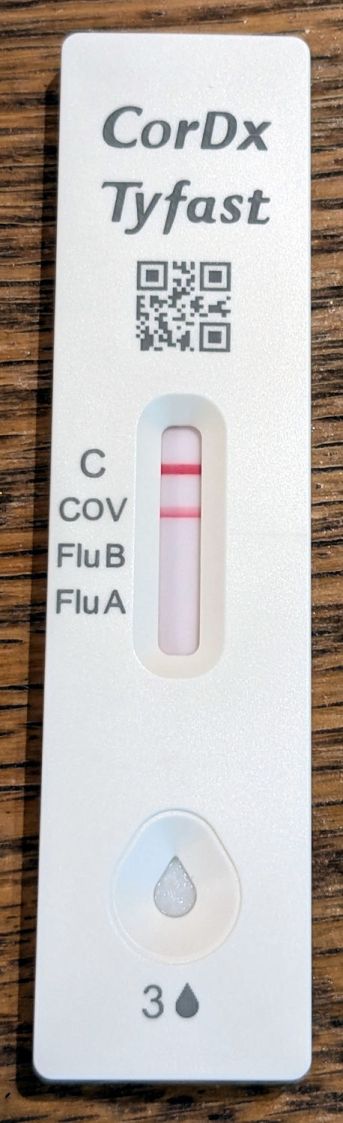
Three weeks, more or less, from my exposure to clearing the hurdle. Mary, being tougher than I, got it done in two.
For the better part of the first two weeks I was in bed ten hours every night, plus an hour or two of afternoon nap (no milk & cookies, drat), plus dragging around the house getting nothing done.
No major health problems, good blood oxygen levels throughout, no loss of smell apart from what you’d expect during three days of complete nasal blockage, and we’re both feeling OK-ish now.
However, we are making more than the usual number of stupid mistakes, which is one way we know we’re not really OK yet.
Back to the Basement Shop, with considerable caution …
Memo to Self: That was the first time in four years you didn’t wear a mask in close quarters. Don’t ever do that again.
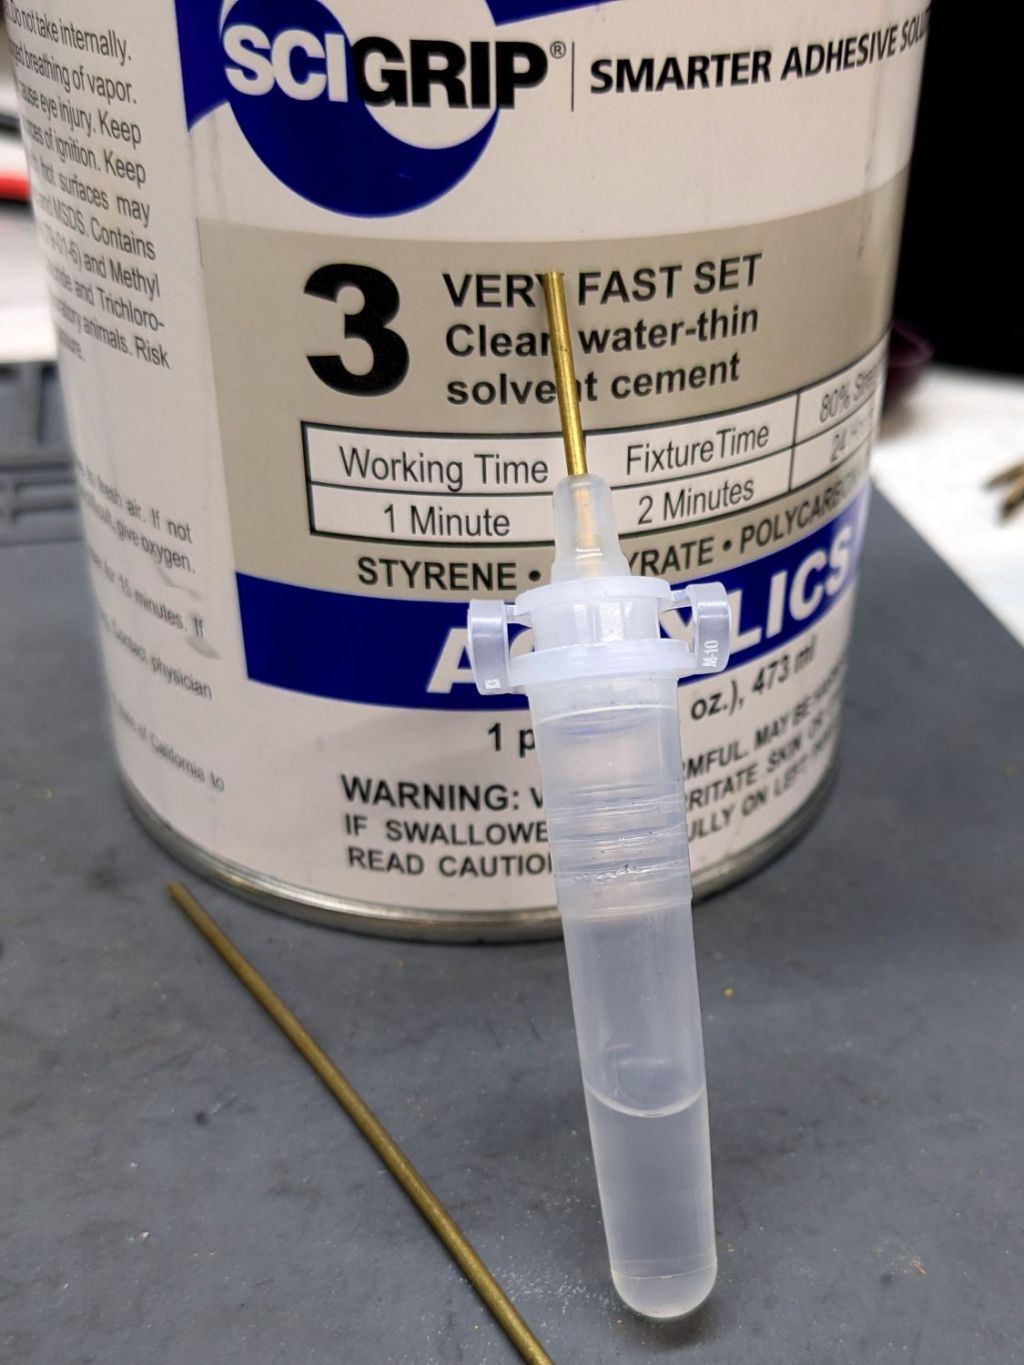
This seemed like a good idea for dispensing small drops of acrylic solvent while gluing spiders together:
COVID test Buffer Extraction Tube – adhesive hack
It’s the Buffer Extraction Tube from a COVID-19 rapid test kit with a short brass tube jammed in its dropper tip. The longer brass tube let me suck that dose of solvent into the tube without any of the hassle required to pour the liquid from a big can into a little tube.
Tell me you didn’t save those things because you thought they didn’t look like they might come in handy for something.
Well, that turned out to be a Bad Idea™, because whatever plastic that tube is made out of cracks when exposed to the hellish mixture in SCIGRIP #3 solvent adhesive. The tube didn’t dissolve or melt, it just cracked when you (well, I) squeezed the sides.
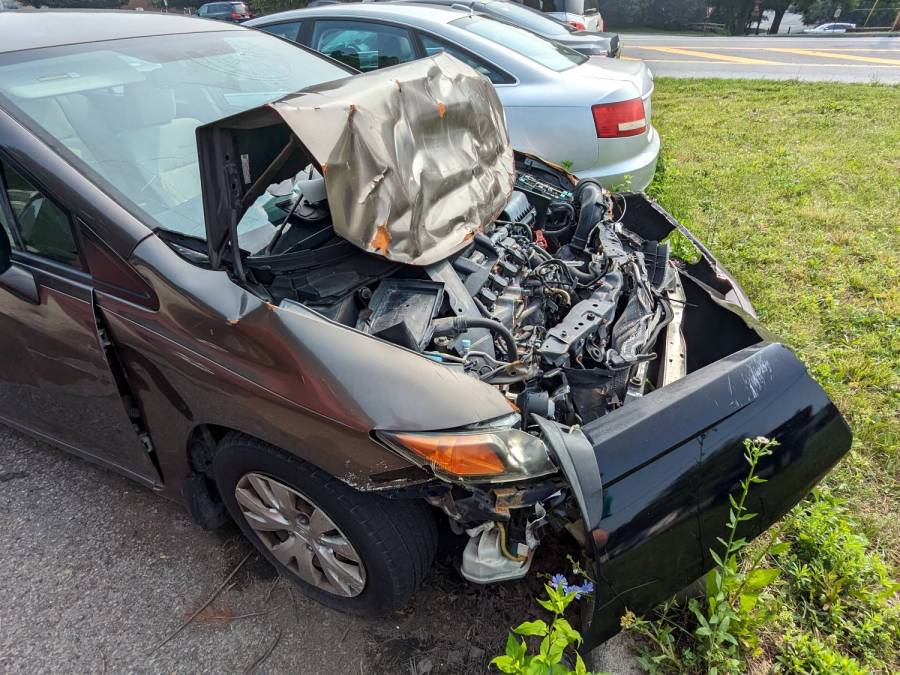
The black plate on the front may be a door panel from the other contestant, because it obviously does not match the vehicle. Perhaps the wrecker crew strapped it on to hold the debris in place?
The front end submarined under the obstacle and stopped just before the passenger compartment reached the excitement.
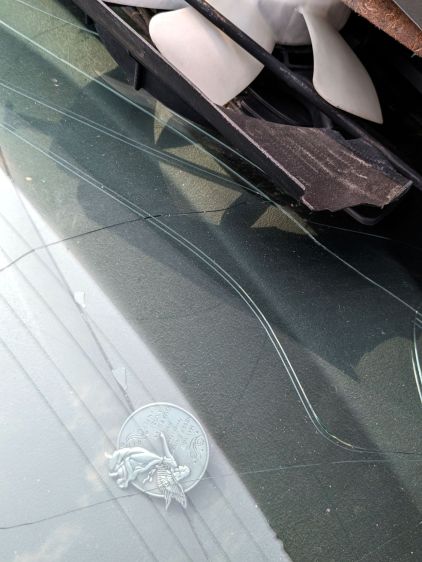
A view of the windshield and top of the dashboard:
Guardian Angel at Work – dashboard
The fan may have been tucked in there by the wrecker crew, along with assorted chunks of plastic and metal.
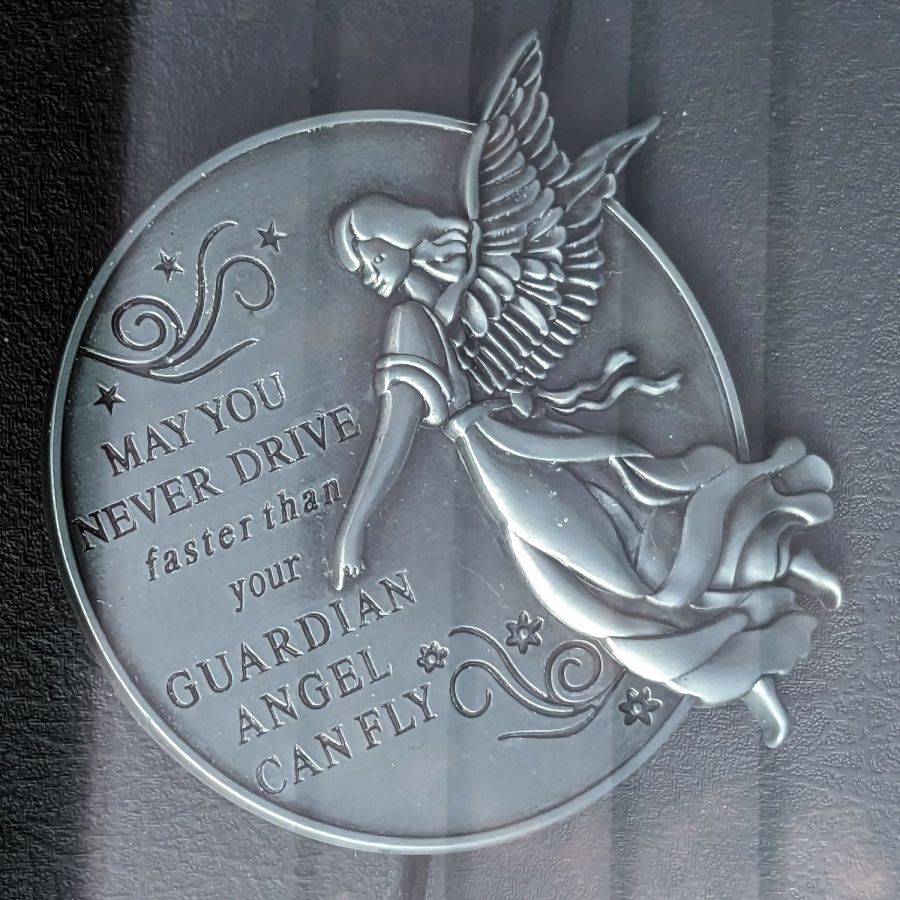
A closer look at the medallion resting on the dash, rotated for your viewing convenience:
Guardian Angel at Work – medallion
The steering wheel airbag had deployed, so perhaps the driver emerged relatively undamaged, but, as always, guardian angels seem unconcerned with property damage.
The last three years have pretty conclusively shown the various gods do not care about individuals and, in fact, their presumed acts closely resemble epidemiology in action.
It did, however, dry the tubing and the construction was Pretty Close™ to being the proper size.
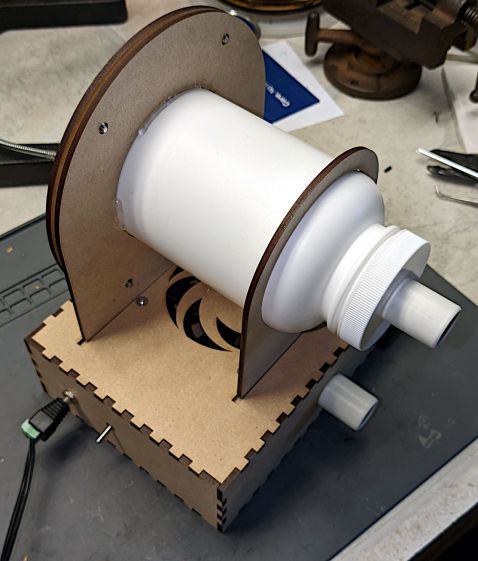
Making the stand from acrylic sheet eliminates the MDF stench:
CPAP Dryer filter – acrylic stand – fitting end
Incoming air passes through a dome-style N95 mask:
CPAP Dryer filter – acrylic stand – filter end
The mask sets the overall size of the stand:
CPAP Dryer – Filter holder – LB layout
Given that we’re not talking Level 4 Biohazard, any filter would work equally well. A dome mask has a nicely defined and self-supporting shape with a flange around the edge.
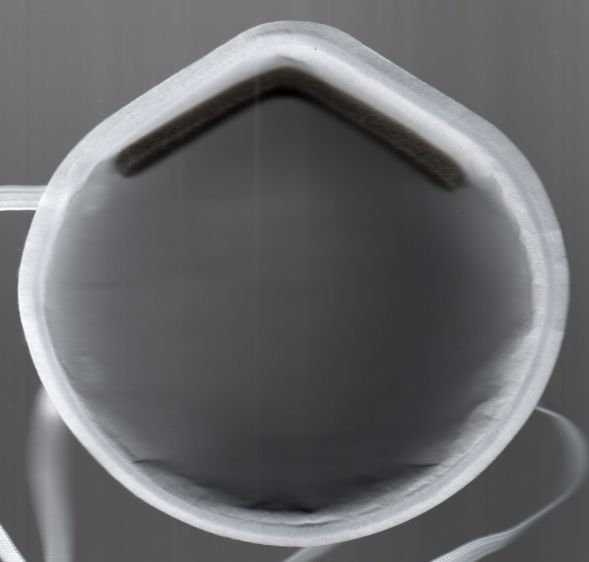
The flange provides a convenient way to build the clamp ring, starting with a scan from the face side:
Demetech Dome Mask – interior scan
Tracing the flange outline using GIMP’s Scissor Select tool and doing a little cleanup in Quick Mask mode produced a selection suitable for becoming a binary mask of the N95 mask:
Demetech Dome Mask – perimeter mask
Ex post facto, I realized the mask has a sufficiently regular outline to fit a much simpler Beziér spline:
CPAP Dryer – Filter holder – LB splines
That began in LightBurn as a circle fitting the lower part of the mask, converted to a path, then tweaked with the Node Editor to fit the top of the nose and add two nodes to pull the path inward on either side. In the unlikely event I make another bottle stand, the cut will be irrelevantly smoother.
The hole in the clamp comes from insetting that path by the flange width of 4 mm, whereupon the N95 mask pretty much self-centers in the hole:
They’re shortened by 1 mm (from the original length shown in the upper right) to fit 1 mm of mask sandwiched inside a pair of 3 mm acrylic sheets:
CPAP Dryer filter – Rivnut installed
The glowy edge-lit acrylic sheet has 4.8 mm holes for a snug push fit and the white clamp ring has 5.1 mm holes for a loose alignment fit. I drilled out the laser-cut holes for nice smooth sides.
I picked a bottle large enough to also hold the mask’s elbow, so that it would dry in the same stream of clean air. So far, the elbows dry well enough on their own, but the bottle remains a convenient size for fitting the mask on its end.
On the other end of the bottle, the lid gets a hose fitting turned from PVC pipe:
CPAP Dryer – filter hose fitting glue rings
The Official ResMed fittings on the masks and the AirSense 11 machine are about 20 mm long and just over 22 mm OD with a slight taper. The unheated hose has silicone rubber ends fitting very snugly around those cylinders, so I made the pipe fittings 25 mm long and 21 mm OD to ensure a low-effort, but still secure, fit.
The grooves cut into the fitting anchor a generous hot-melt glue blob sealing it to the lid:
CPAP Dryer – filter hose fitting inside
Yes, the foam disk and the hole through the lid were both laser-cut. Making perfect circles in thin organic material with zero drama is wonderful.
The downstream / mask end of the heated ClimateLine hose (left) is physically identical to the unheated hose ends, but the machine / upstream end (right) sports an electrical connector for the spiral heating element and the thermistor (in the white stud protruding into the mask end lumen):
ResMed ClimateLine heated hose ends
Yes, that does look a lot like a naked USB connector, as does the main power connection on the machine, and you can actually slide a Type A USB connector around it. The ResMed manual pointedly notes:
•Do not insert any USB cable into the AirSense 11 device or attempt to plug the AC adaptor into a USB device. This may cause damage to the AirSense 11 device or USB device. •The electrical connector end of the heated air tubing is only compatible with the air outlet at the device end and should not be fitted to the mask.
The four ribs inside the upstream end slide over a 23.5 mm cylinder, which is enough larger than the 22 mm cylinder on the machine to wiggle the not-USB connector into place. Without a connector to worry about, I turned a sleeve adapting the smaller fitting to those ribs:
CPAP Dryer filter – heated hose bushing
It’s 27 mm long to keep the lip of the silicone seal away from the setscrew, 23.5 mm OD to exactly fit between the ribs, and a 21.5 mm ID slip fit over the bottle snout.
The tiny M3 setscrew lives in a hole tapped into the inner tube, because the sleeve is only 1 mm thick:
CPAP Dryer filter – acrylic stand – bushing center drill
The setscrew turns outward into a clearance hole drilled in the sleeve to lock it in place.
The outer PVC pipe in the vise is a simple cylinder fixture bored to match the sleeve, so I could grab it in the lathe chuck / vise without distortion. Just the force from a normal grip squishes the fixture enough to keep the sleeve from turning / moving / getting annoyed.
Improving the MDF fan box awaits a few parts, but, being downstream, isn’t on the critical path for drying hoses. The only trick is keeping the bottle inlet upstream of the fan exhaust.
A clipping from the Harrisburg Evening News, probably in 1962, shows more enthusiasm for vaccines than we have today:
Sabin Vaccine Doses – 1962
It emerged from a fat folder of space exploration articles / maps / booklets / clippings with dates from 1959 through 1962, when I would have been around nine years old. Most likely somebody older collected everything and gave the box to me a few years later. The other side had a hagiographic article about John Glenn, explaining why this side is minus a few paragraphs.
From everything I read about Long Covid, I don’t want to give Short Covid even a little bite at my apple. In particular, fast-forwarding through a decade of neural degeneration isn’t going to put me closer to my Happy Place.
The bonus “Volunteer Fireman Convicted of Arson” article could come from any decade.
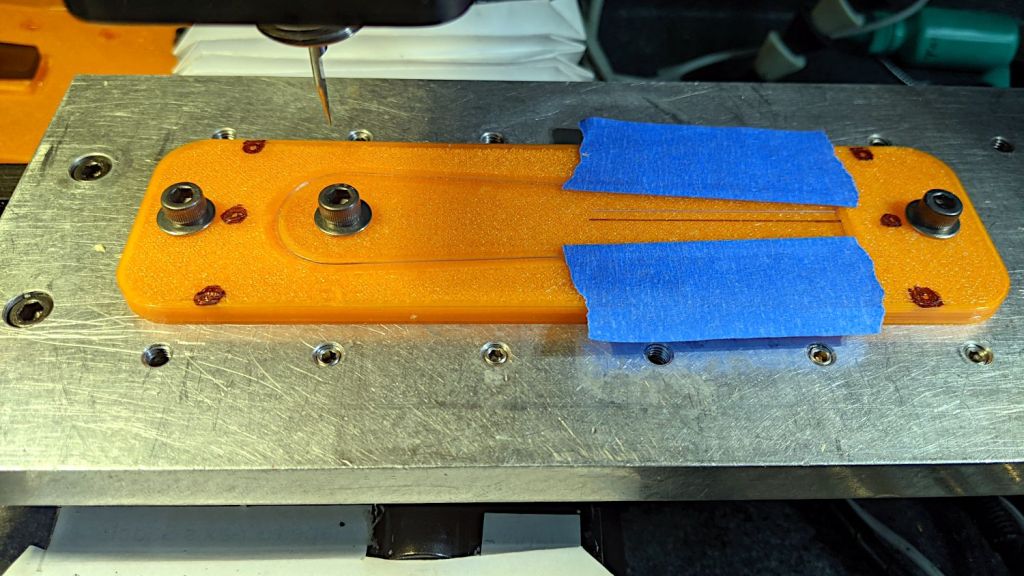
After raising the spindle a few inches, I reached across the table, peeled the tape, and, as I pulled my hand back with the finished cursor, snagged the back of my left index finger on the V bit.
So. Much. Blood.
Urgent Care PA: “You may have nicked the tendon. Get thee hence to the Hospital Trauma Center.”
Trauma Center MD: “See that white fiber down in there? That’s the extensor ligament. Looks OK and should heal fine.”
Me: “Urp.”
Trauma Center MD: “Unless you’re one of the 20% who get an infection.”
Me: “Unless I’m one of the few who contract an MRSA infection, then just up and die.”
Trauma Center MD: “Well, yes, there’s that. If the wound swells or smells bad, come back here quickly.”
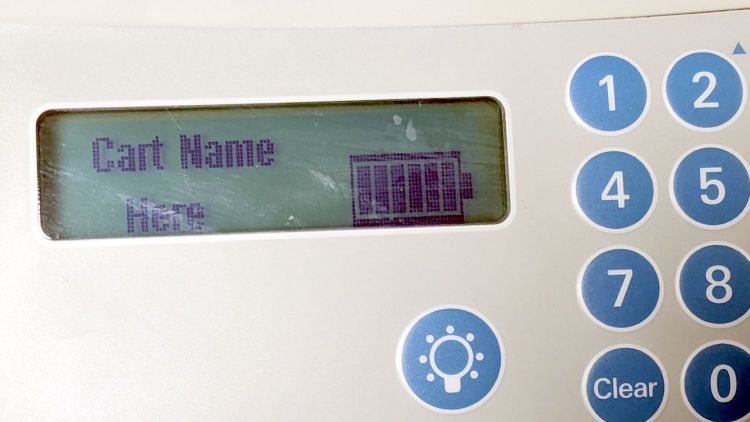
Dutchess County is now on the trailing edge of the Omicron wave, but the Trauma Center is attached to the Emergency Room and had a steady stream of customers arriving by ambulance. While being entirely content to not be their most urgent case, I had plenty of time to examine the wide variety of instruments parked in the room with me:
Nameless Hospital Cart
I’m on a ten-day regimen of surprisingly inexpensive Amoxicillin + Clavulanate Potassium capsules, which is apparently what it takes to knock down a potential infection these days.
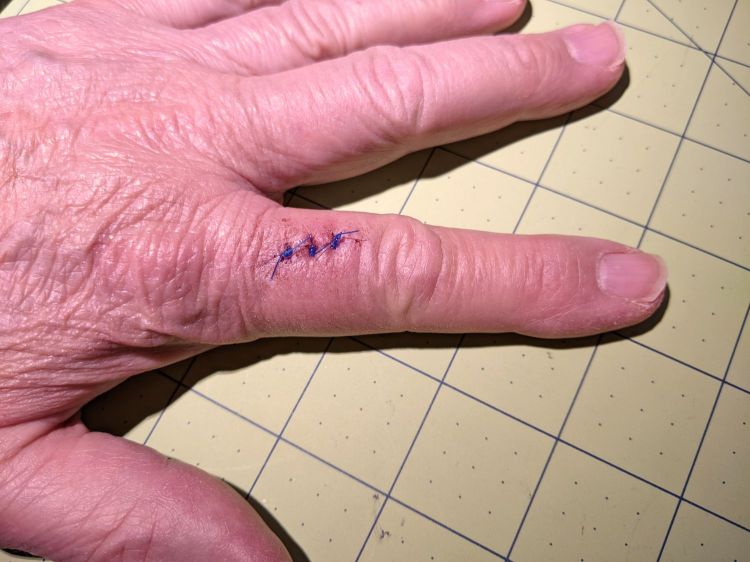
Five days later, it looks like I should pull through:
Lacerated Left Index Finger
So I hereby swear a mighty oath on the bones of my ancestors to always sheath my blades. You should, too.