I long ago learned to never trust Amazon’s unit pricing (or, for that matter, their recommendations), so this came as no surprise:
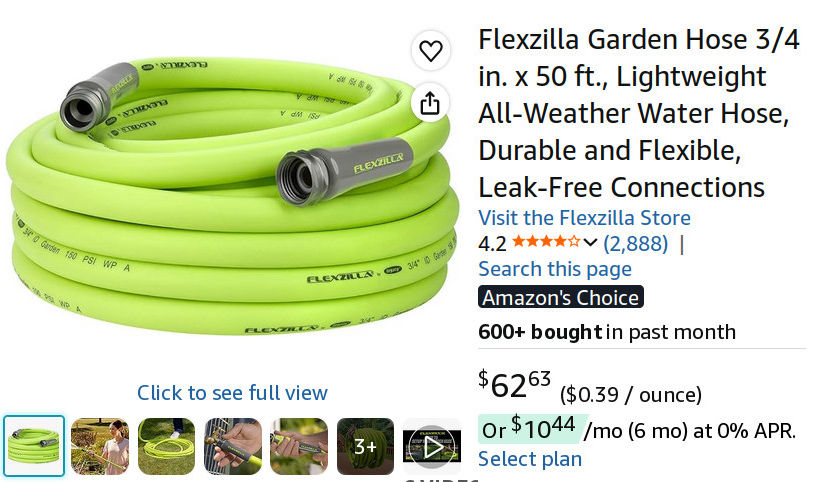
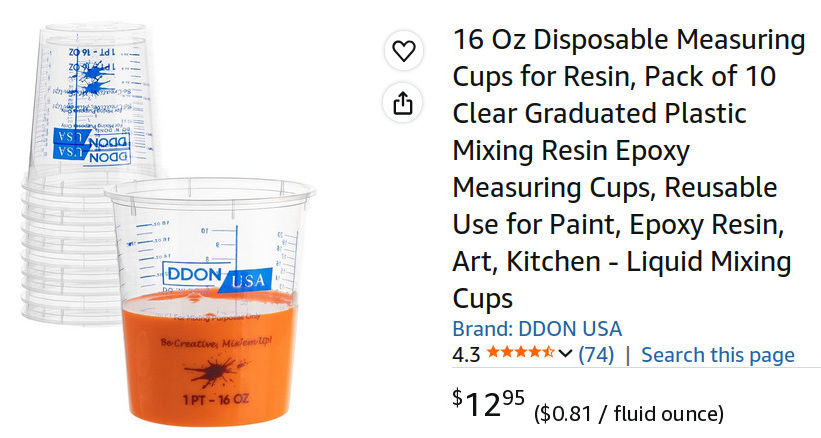
OK, you generally don’t buy hoses “by the ounce”, but “per fluid ounce” may not mean what you think it means:
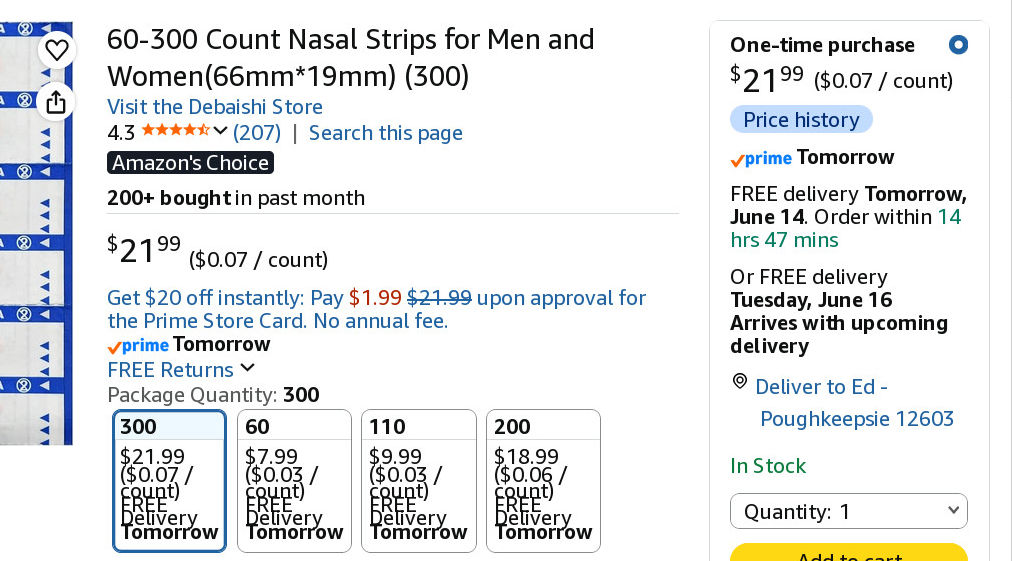
Pricing items individually should be simple, if you know what a single item is:
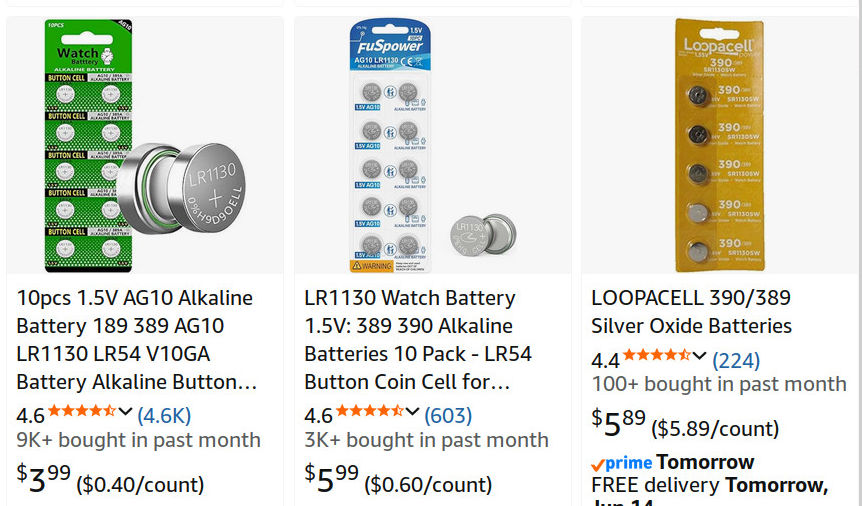
Even knowing the number of items and the overall price isn’t enough for Amazon to get it right:
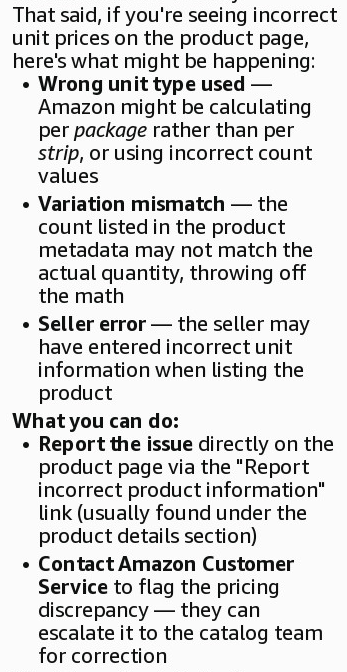
Amazon now has a “shopping assistant”, so I asked Alexa why the unit prices were incorrect. After some back-and-forth providing details Alexa should have known from the context, this seemingly plausible sequence of words emerged:
Amazon apparently stopped commingling knockoff crap with brand-name products under the same SKU earlier this year, a change driven by major brands refusing to have anything to do with Amazon’s “supply chain”, but the probability of my one-by-one reports producing any discernible improvement seems low.