The MAXTEMP error killing the M2 while printing the bar clamp mounts (probably) came from a short in the thermistor pellet that lowered the thermistor resistance and raised the calculated temperature. I manually heated the extruder and, although the temperature stabilized at 250 °C, the history plot showed irregular downward jogs from increasing resistance. Whenever this constellation of symptoms appears on the M2 forums, I always recommend ordering another thermistor or two, so …
Start by turning a 1/8 inch OD brass tube down to 3.00 mm, parting off a suitable length, facing the ends:

Countersink the ends just for pretty.
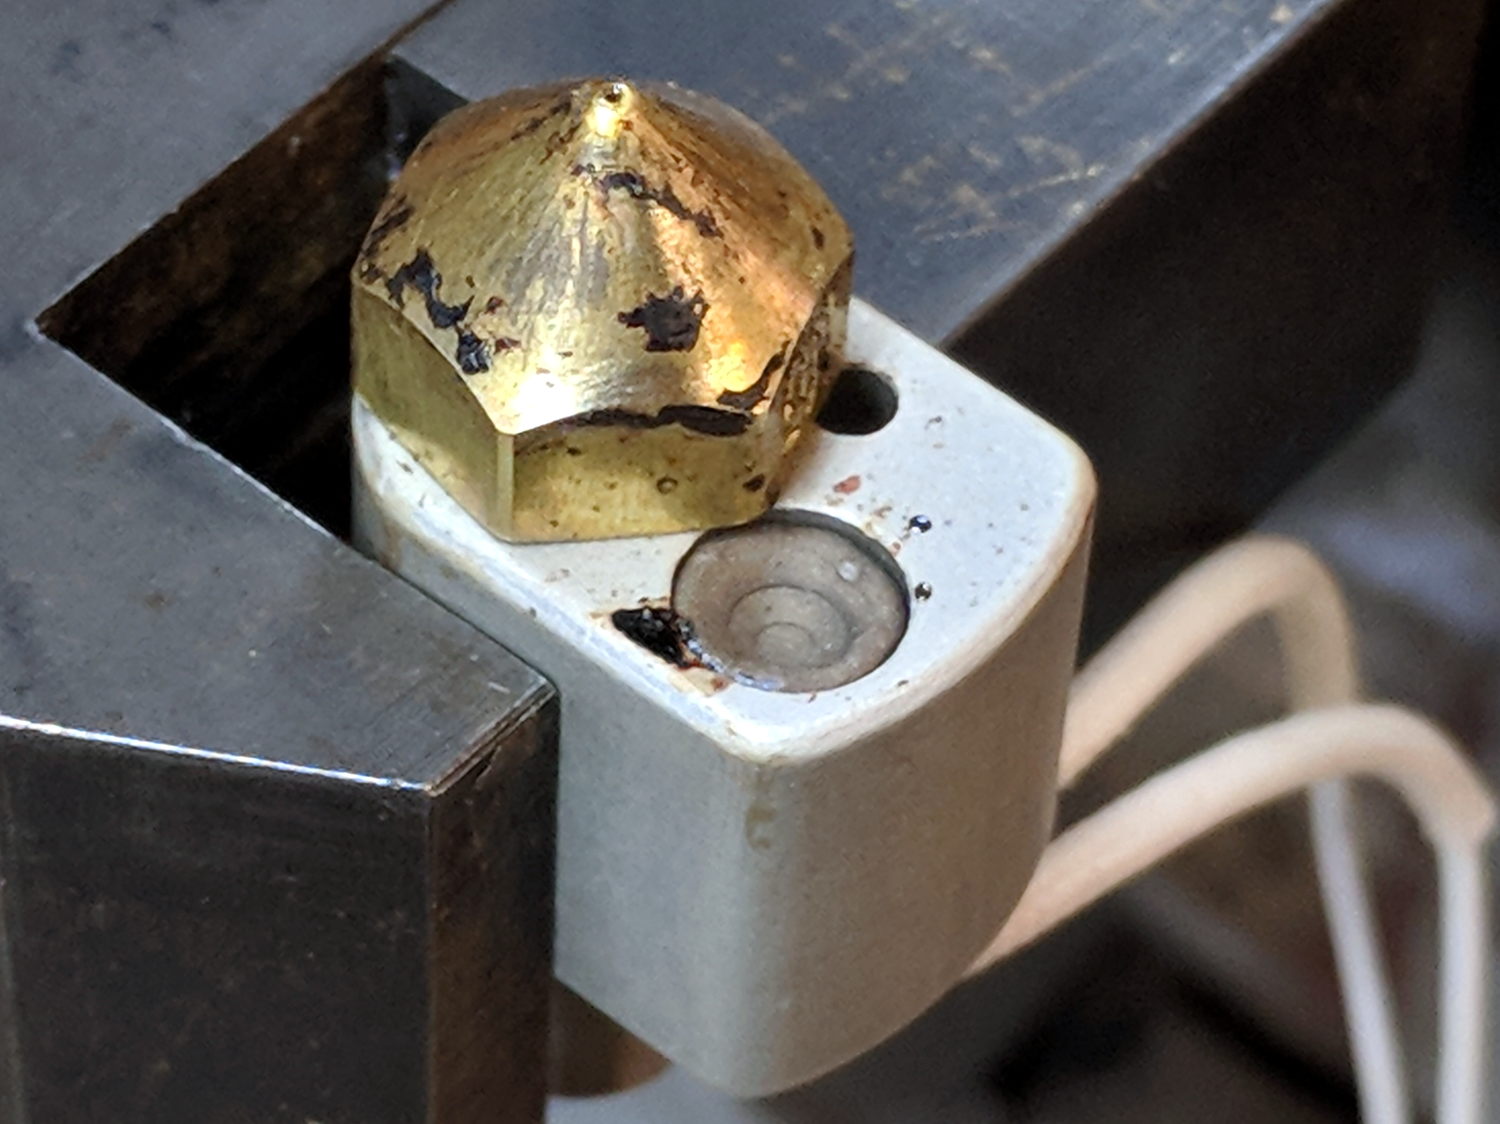
The tube should be a slip fit in the hot end:

While I had the hot end on the bench, I scuffed the nozzle to remove (most of) the baked-on crud:
The plan is to seal the thermistor bead inside the tube with JB Weld epoxy, which I’ve verified (!) to work at extrusion temperatures, depending on the epoxy to insulate the wiring and immobilize all the pieces.
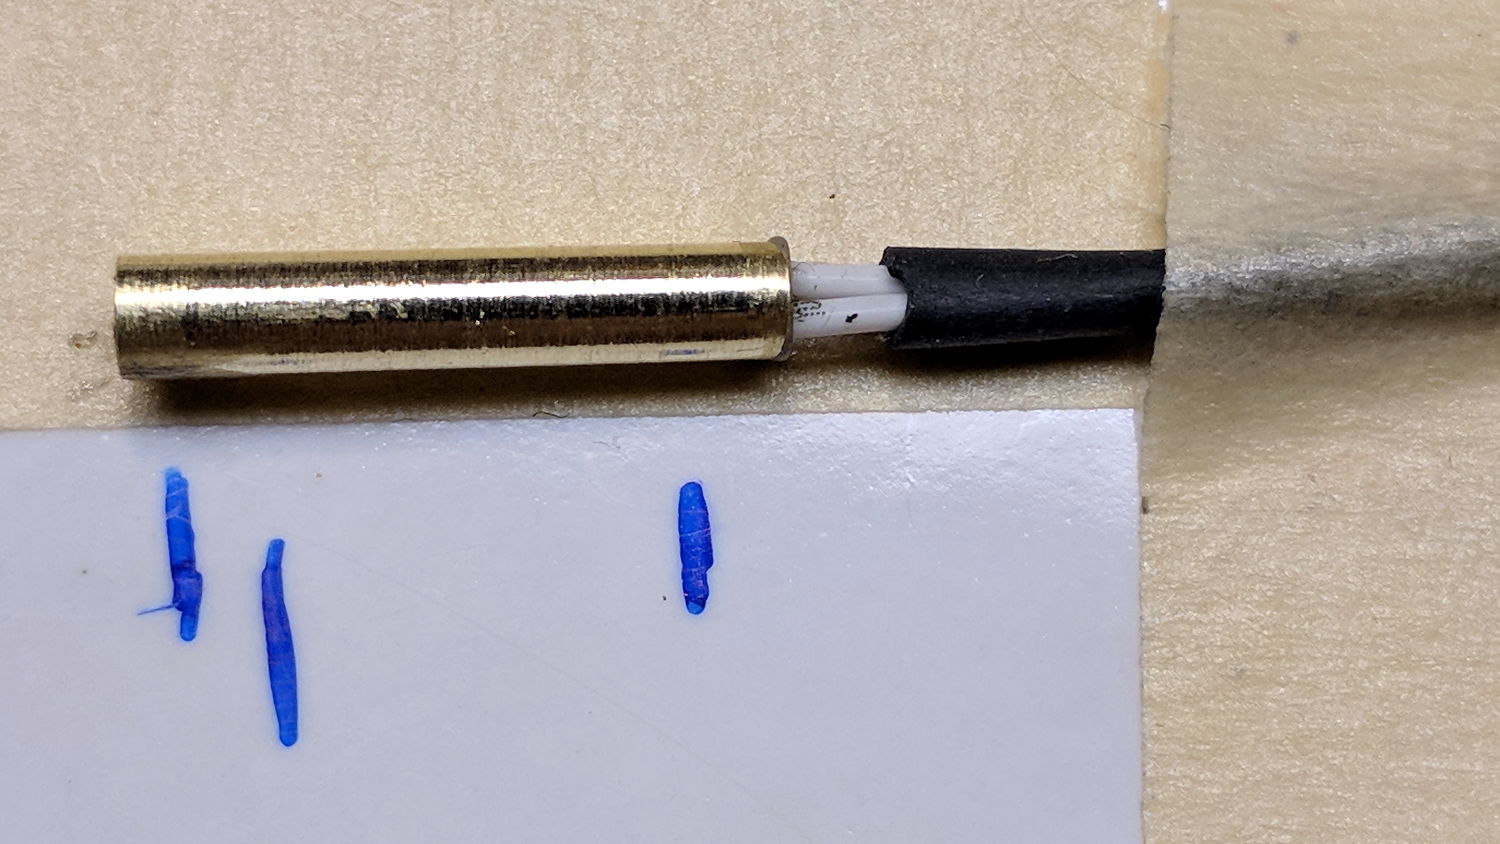
Harvest the original wire harness from the defunct thermistor, solder to the bead, lay out guide lines:

Slobber epoxy over everytyhing, fill the tube, insert bead into tube, stabilize with tape:
Verify connectivity through the thermistor and isolation from the brass tube, then return upstairs to warm up thaw out while the epoxy cures.
At this point, the observant reader should be thinking “Uh, Ed, that bead looked a tad large. Are you absolutely sure … ?”
Halfway up the basement stairs I realized I’d meticulously entombed a 10 kΩ thermistor, not the 100 kΩ thermistor used in the M2’s hot end. You can easily verify the resistance, as I did, with a quick web search; I have hella-good SEO for some specific topics.
Back to the lab …
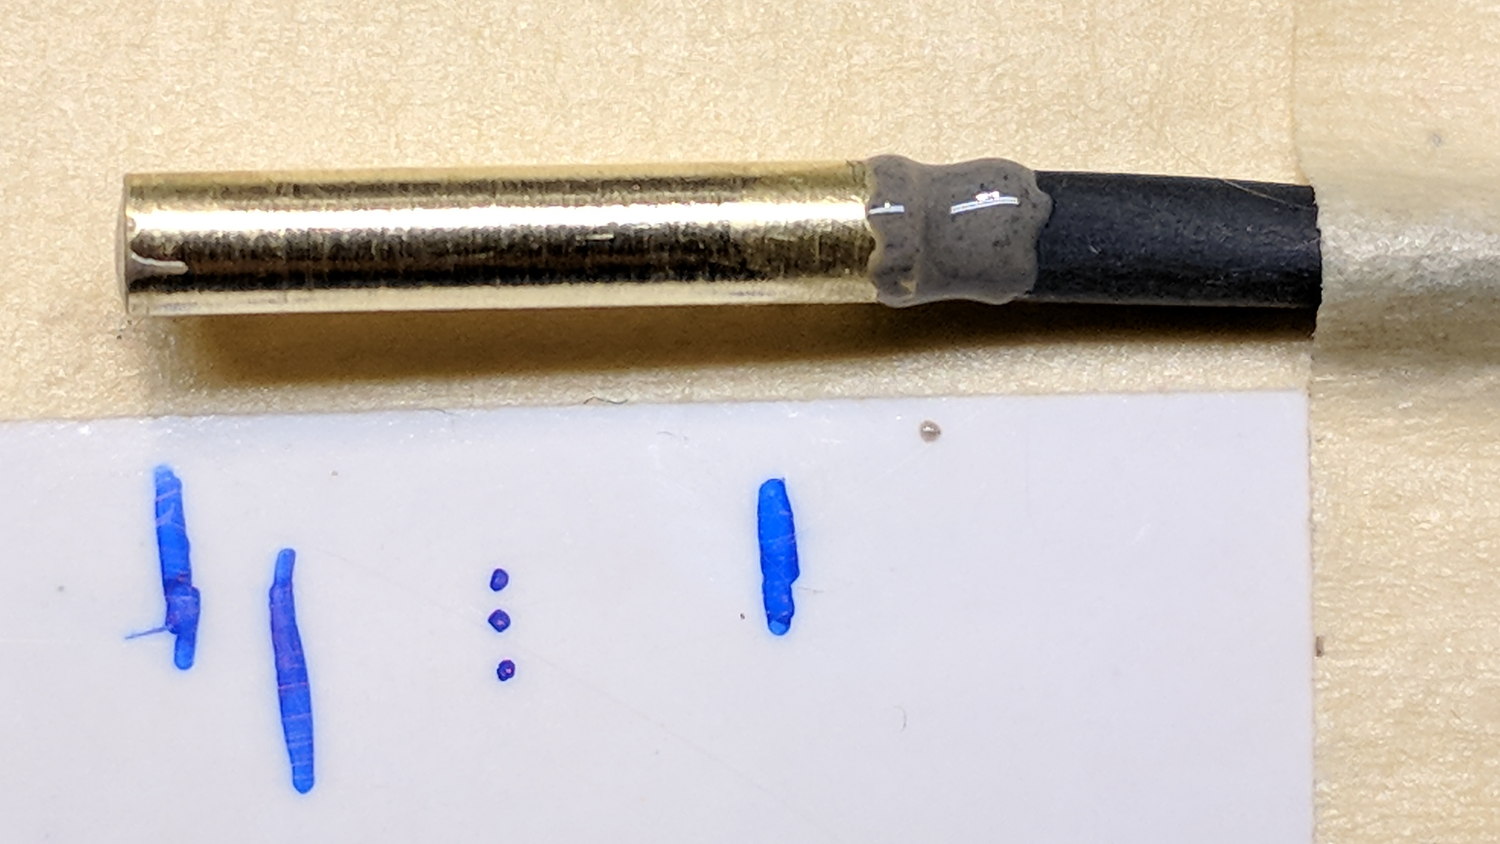
Fortunately, JB Weld has a pot life over an hour, so extract the wrong bead, unsolder, install the right thermistor using snippets of insulation harvested from the original wiring, realign components:

Reapply epoxy:
Re-verify resistances, return upstairs, fast-forward through the night, have another good idea …

Comments
6 responses to “M2 Thermistor Rebuild”
Just a small detail for future reference, E3D offers Semitec 100k thermistors in pretty much the same packaging if for some reason you don’t want to make them yourself.
https://e3d-online.com/thermistor-cartridge
As for the boot, my original is still going strong but I left the nozzle much more exposed. Some original E3D boots also found their way to me and while they cover everything except the tip itself, one of them got a bit chewed up by stray blobs of PETG that stuck to my print. New E3D boots leave much more of the nozzle exposed, so I’m guessing I’m not the only one with that problem.
I’m also surprised how little land there is on your nozzle. E3D 0.4mm nozzles have around 1mm of material around the hole, maybe even a bit more.
Happy printing
I wish they’d mention the length & diameter, but I suppose most folks just want to know if it’ll drop right into whatever they’re using.
For those in the US, it’s available from Matterhackers & others.
I think the end of the nozzle has worn slightly over the years (!) and become round-ish. Perhaps laying in another hot end, thereby getting all the parts in one lump, would be in order.
I’m pretty sure they are 3x16mm cartridges. Clearance hole in the block is 3.1mm and cartridge is as long as the block is wide, so 16mm. If you need more precise measurement I can pull one from the block and measure it. My experience with their customer support is excellent so you can ask them as well.
It’s mostly a general kvetch about including All The Information in the description.
I’ll eventually order enough stuff from Makergear to justify the shipping.
[…] the new thermistor installed and the nozzle at (pretty nearly) the right height, the final set of bar clamp mounts came out […]
[…] For whatever it might be worth, you’re looking at the only Baofeng battery pack containing an actual 10 kΩ thermistor, harvested from the benchtop Tray of Doom: […]