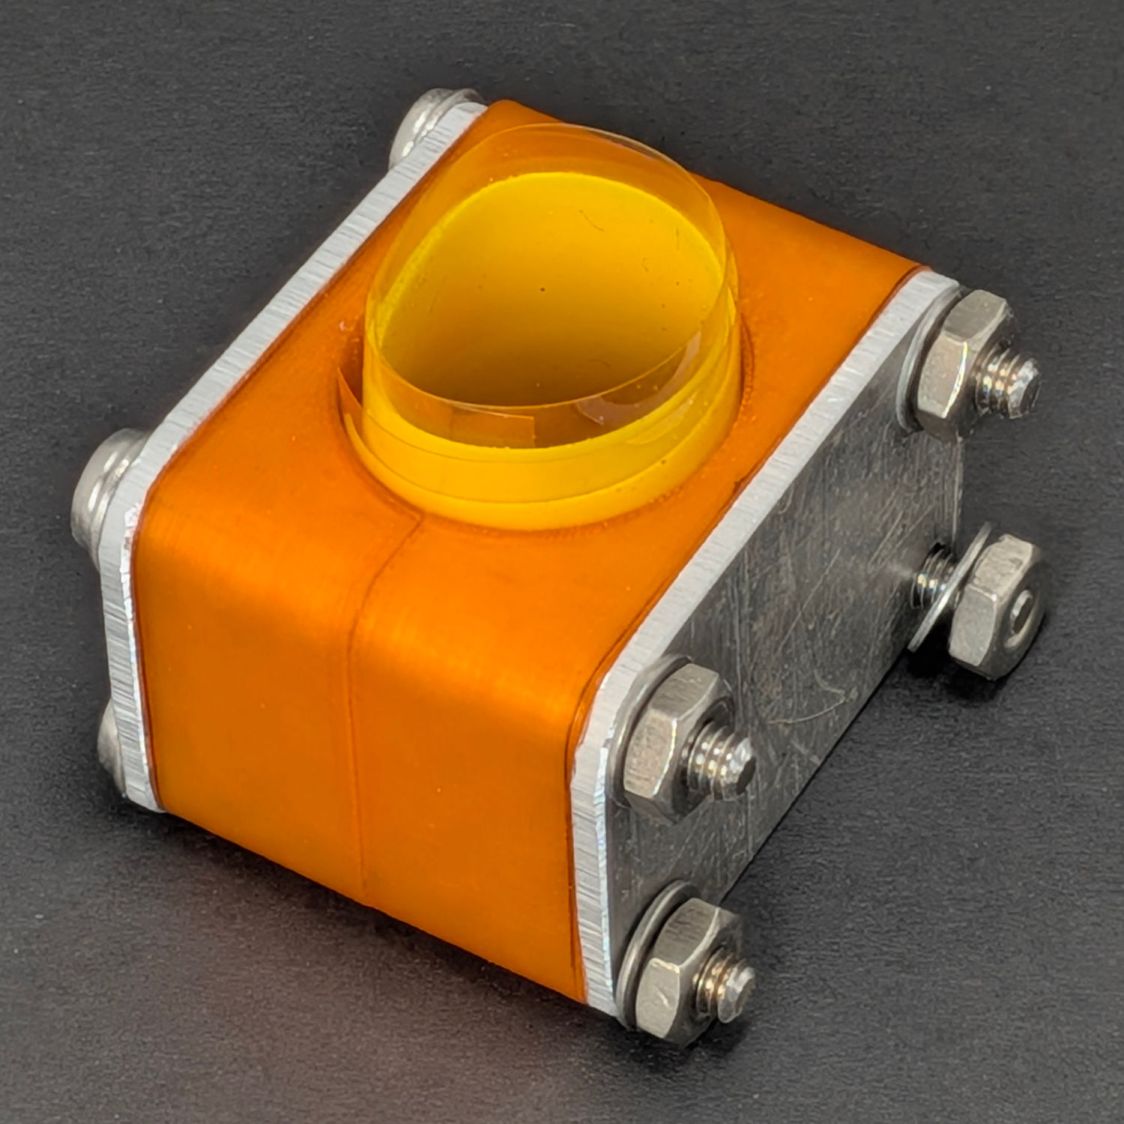
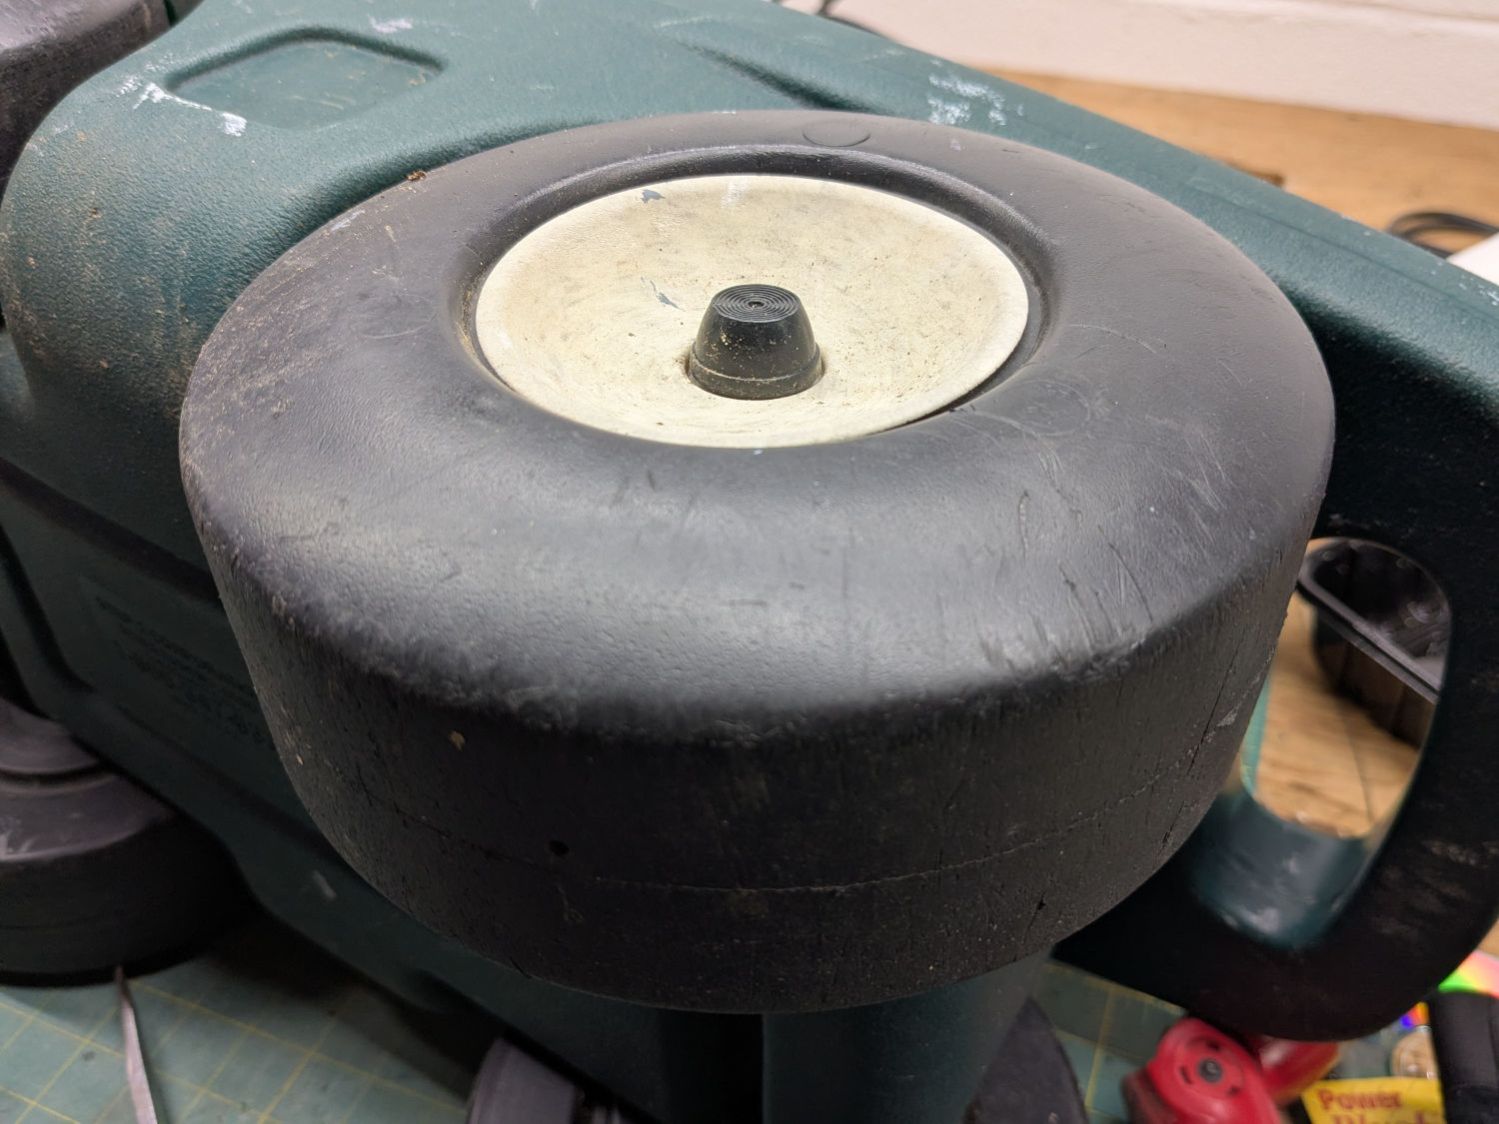
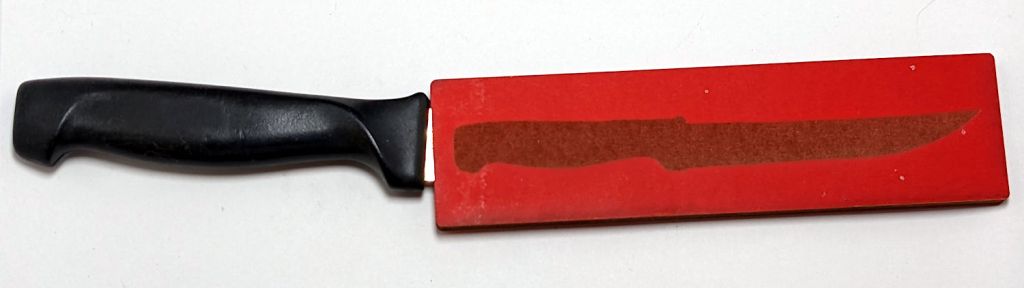
Mary wanted less pressure in the spray while watering her plants and I suggested replacing the nozzle’s washer with a flow restrictor:

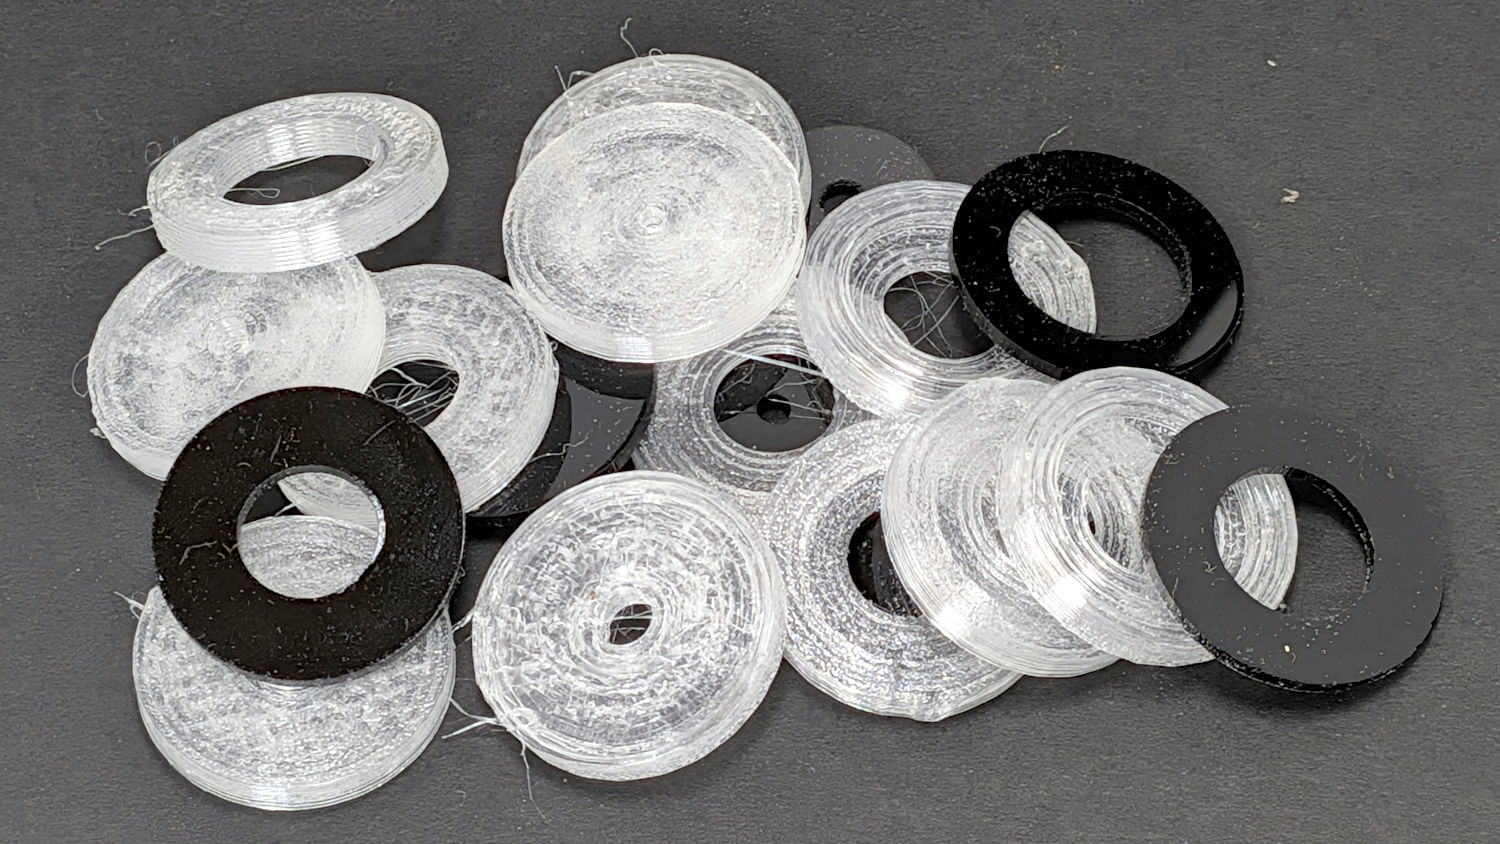
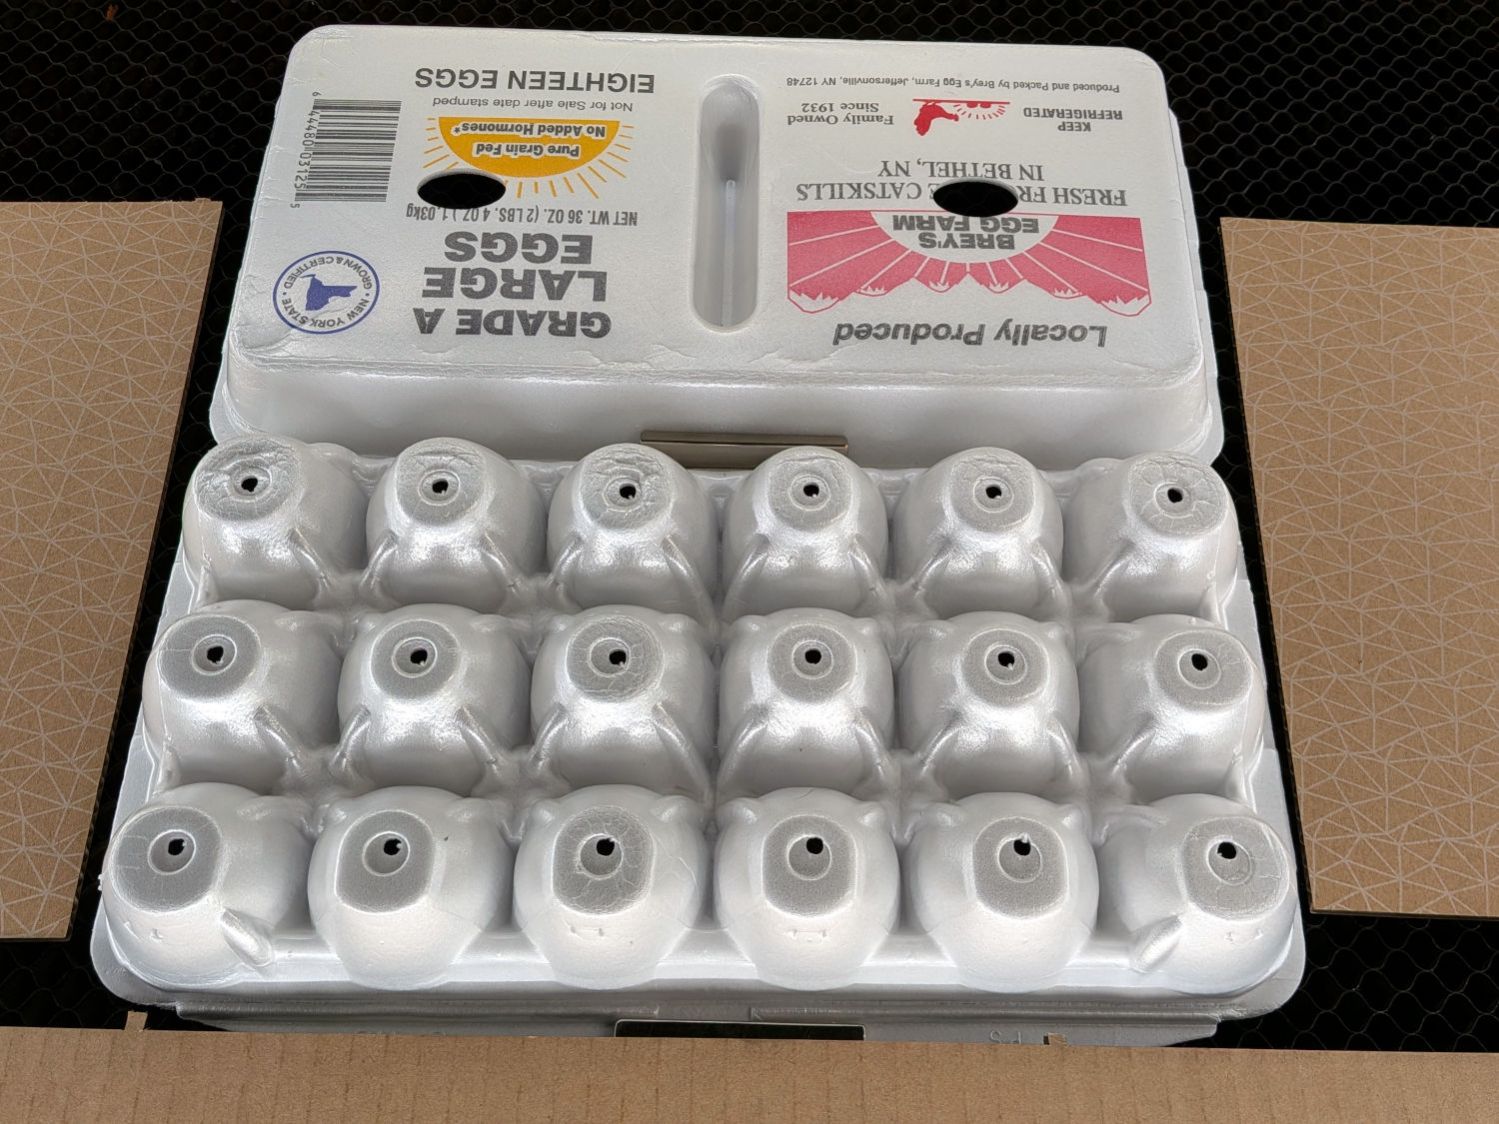
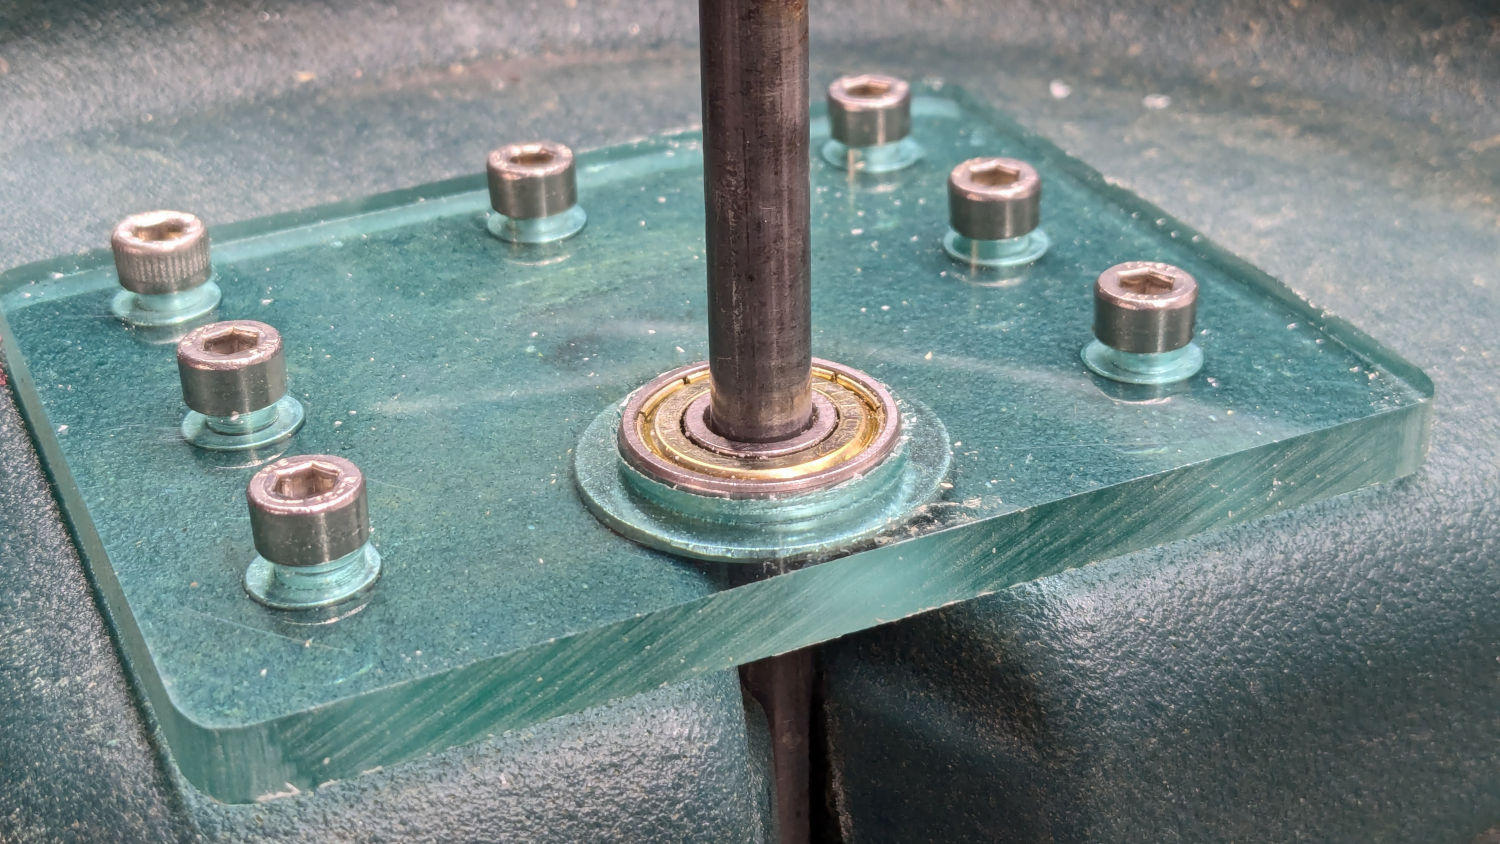
The 3D-printed TPU base is squishy enough to act as a hose washer:

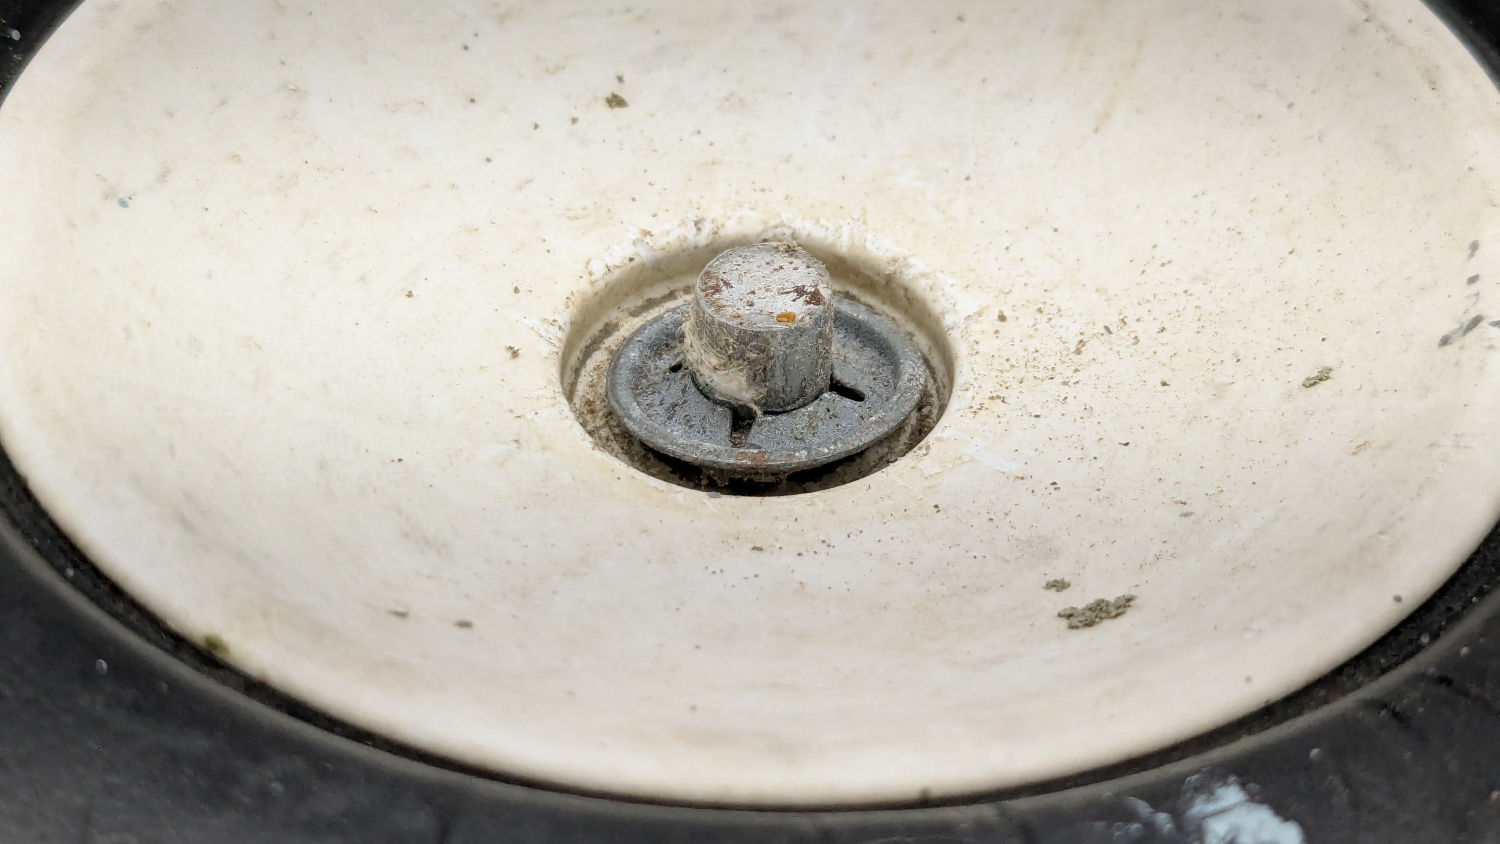
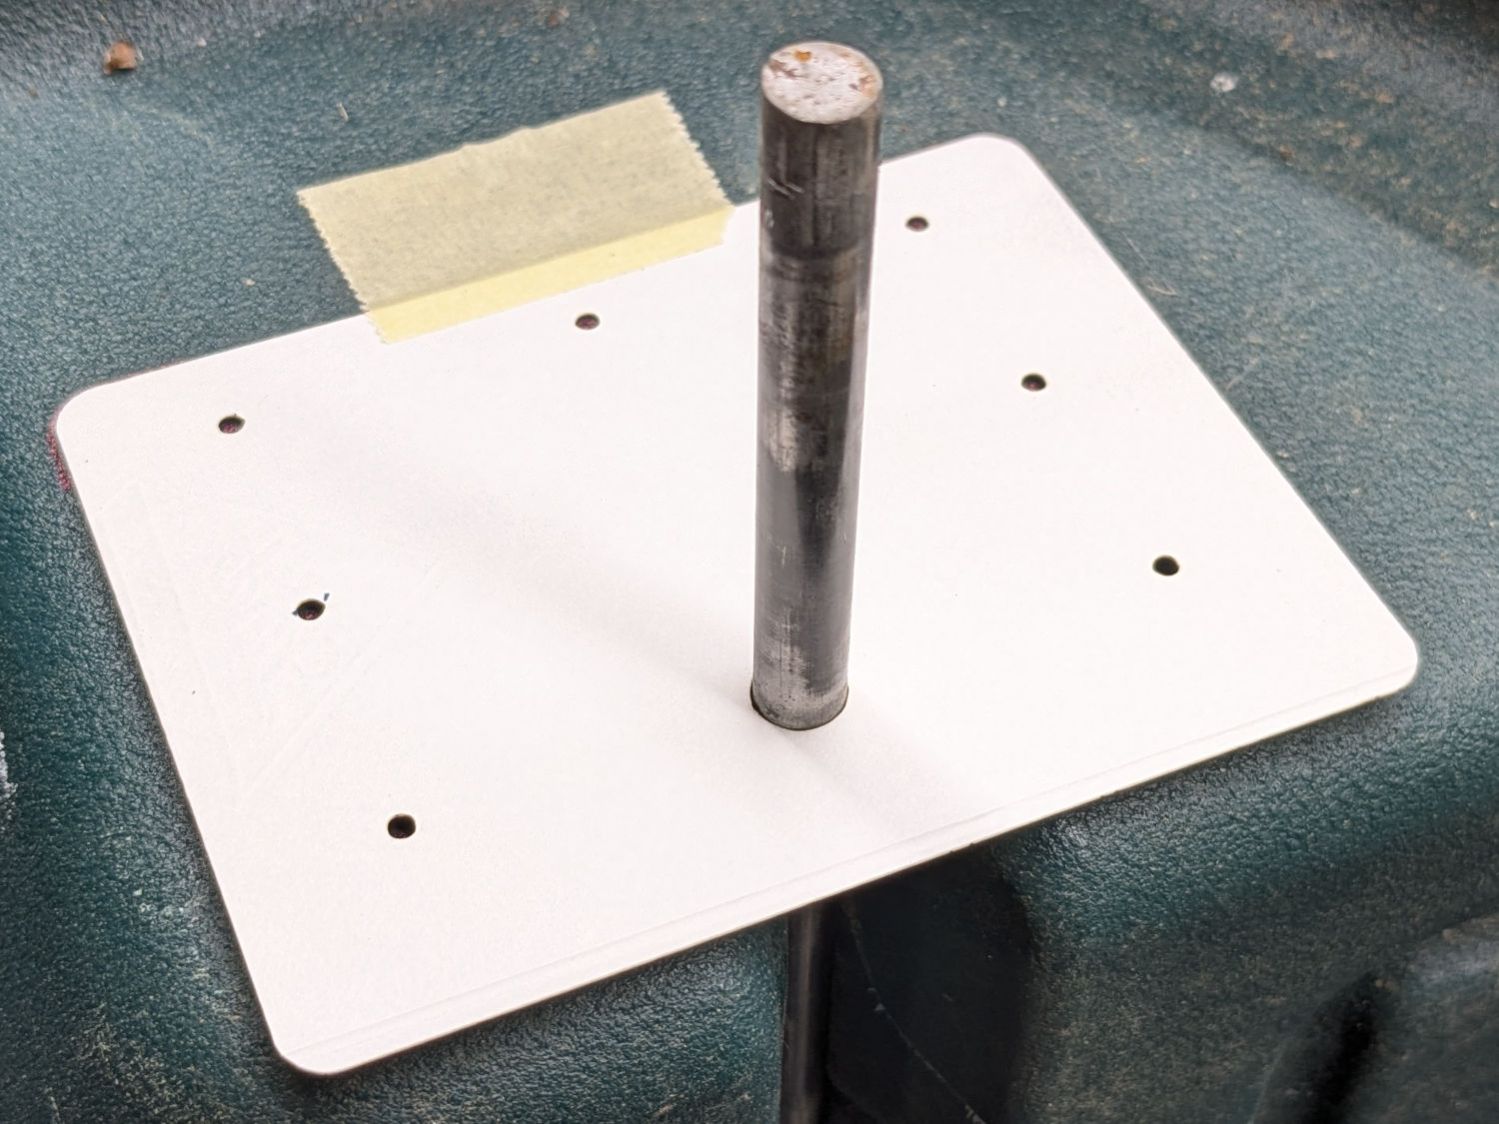
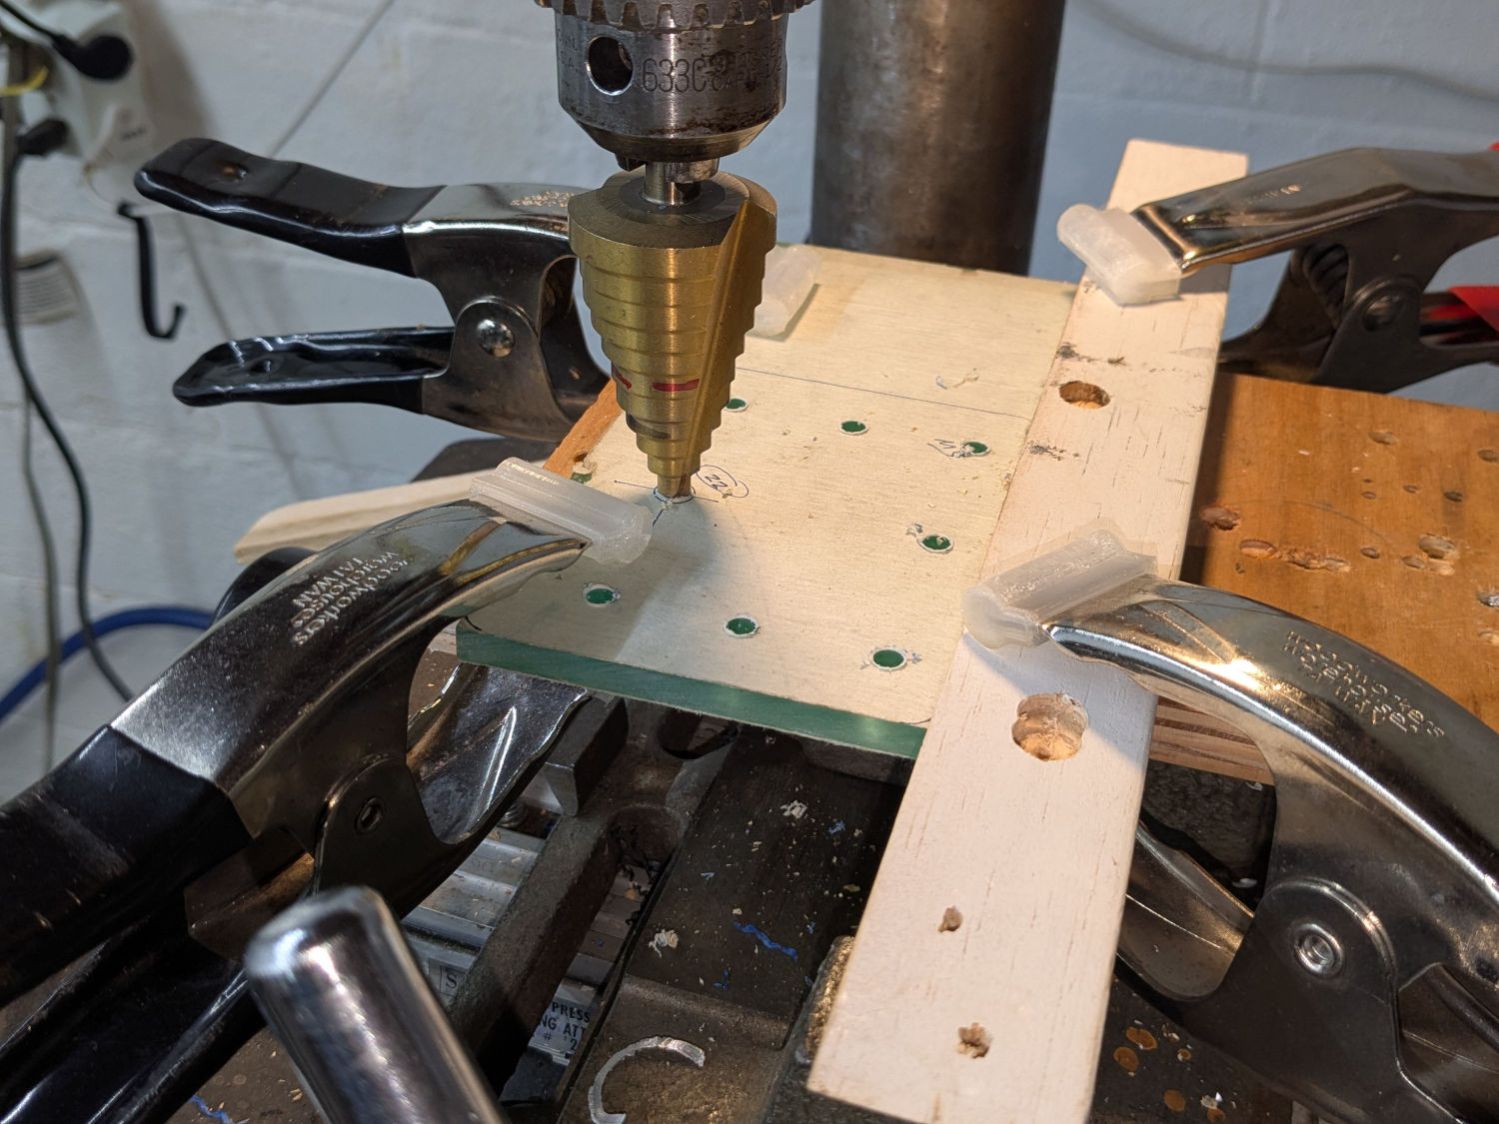
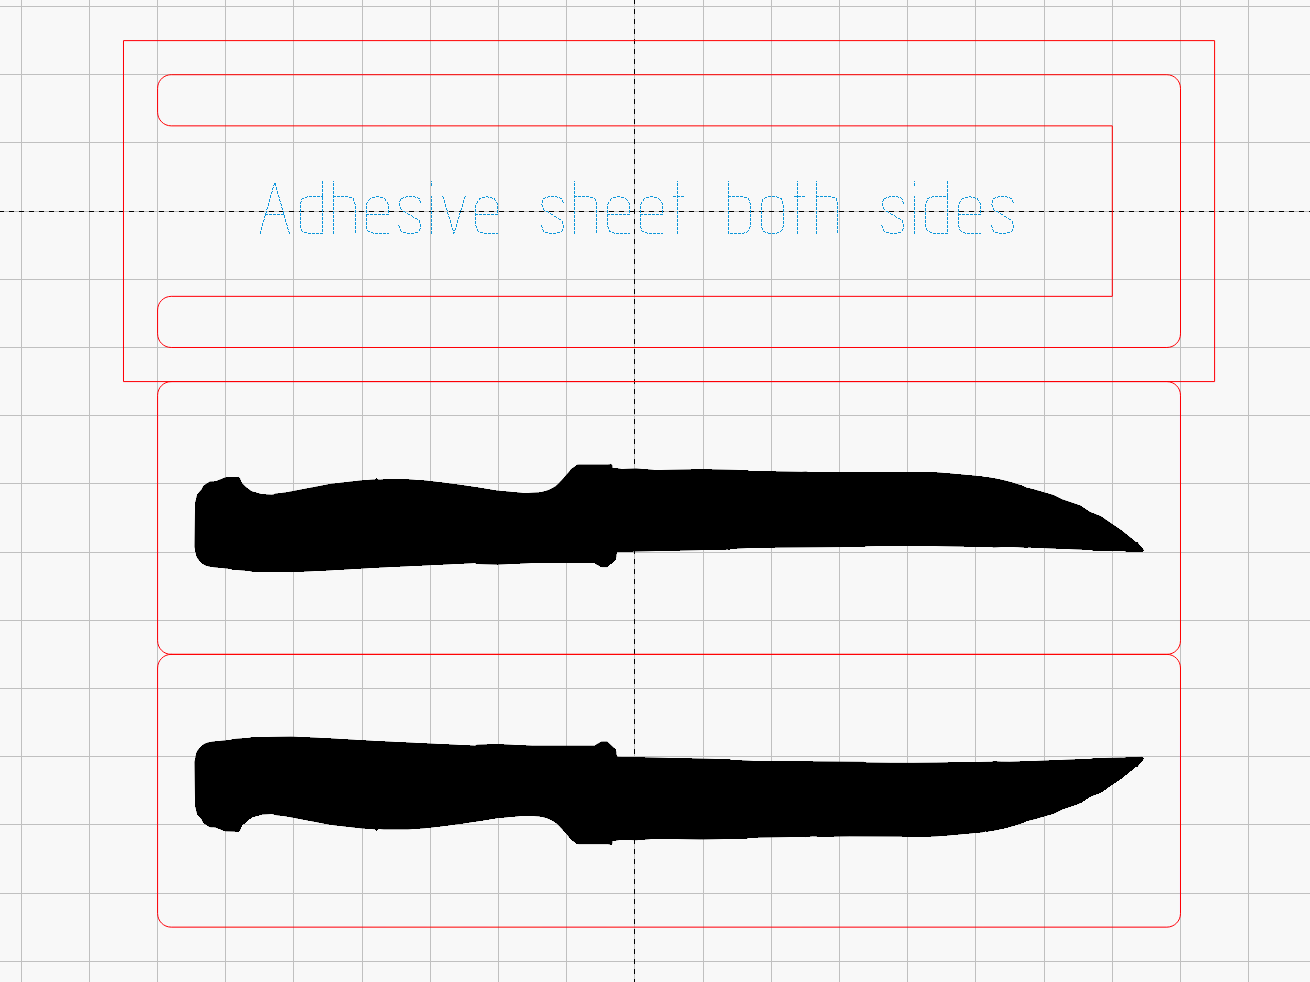
A 1.5 mm thick acrylic orifice plate snapped into the opening takes advantage of the laser cutter’s precision:

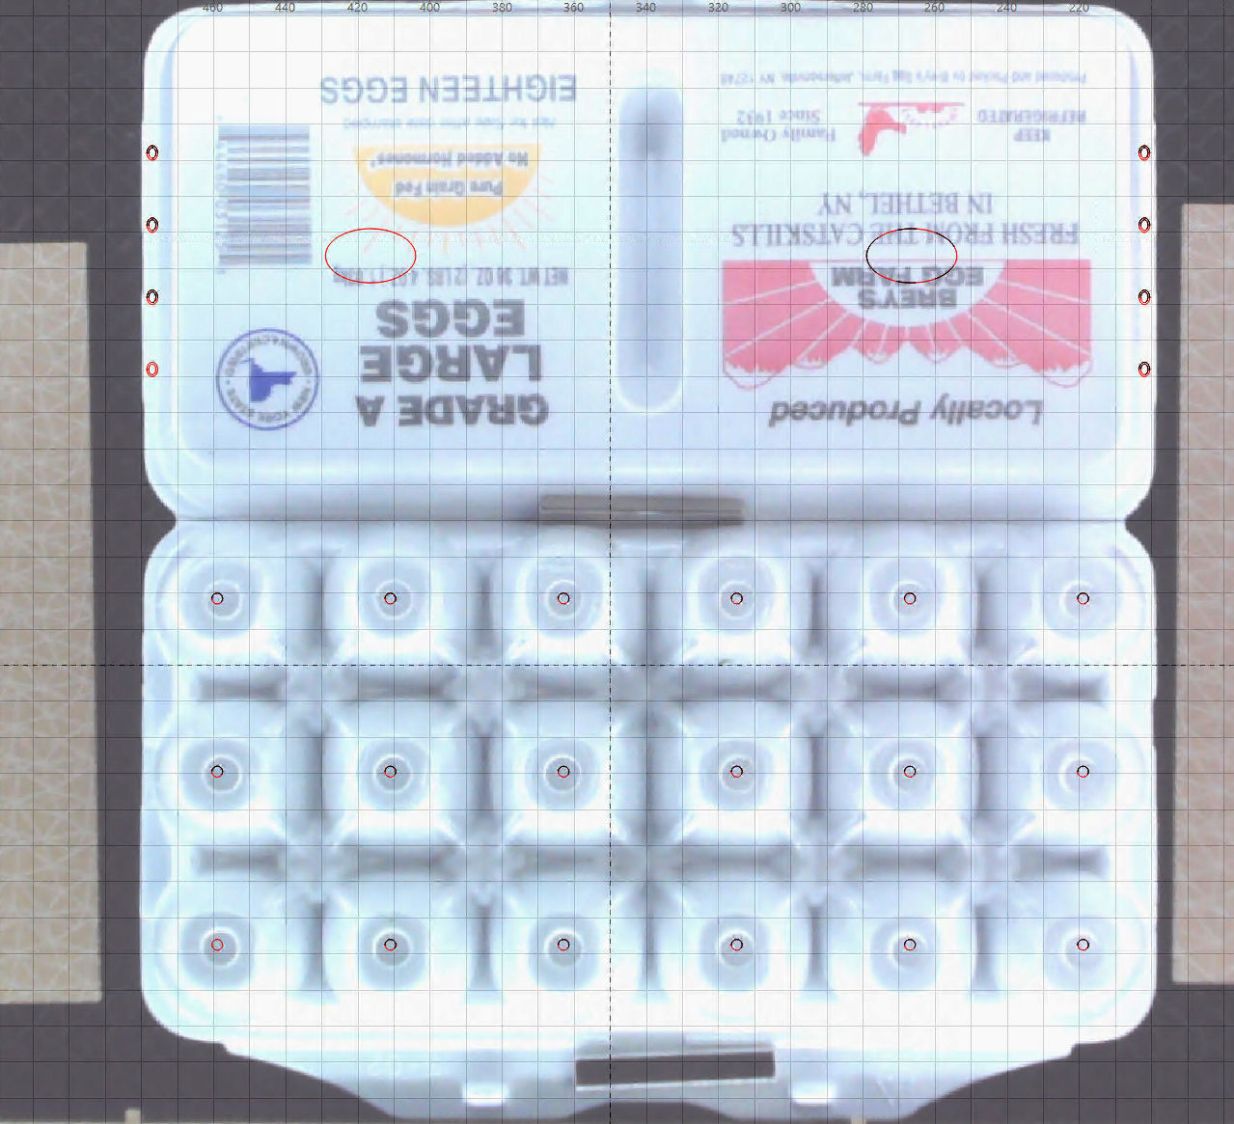
For lack of anything smarter, the holes have areas that are powers-of-two smaller than the nozzle’s 14.2 mm = 158 mm² internal passage: the hole labeled 8 is 158/256 mm² = 0.62 mm² → 0.9 mm diameter.
Rather than figuring each hole’s diameter, just divide the previous diameter by √2 or rescale it by 100%/√2, which LightBurn can evaluate directly in its Numeric Edits fields. The as-cut holes are larger than their nominal size by about 0.1 mm, but any errors that might cause are definitely in the nature of fine tuning while watering the plants.
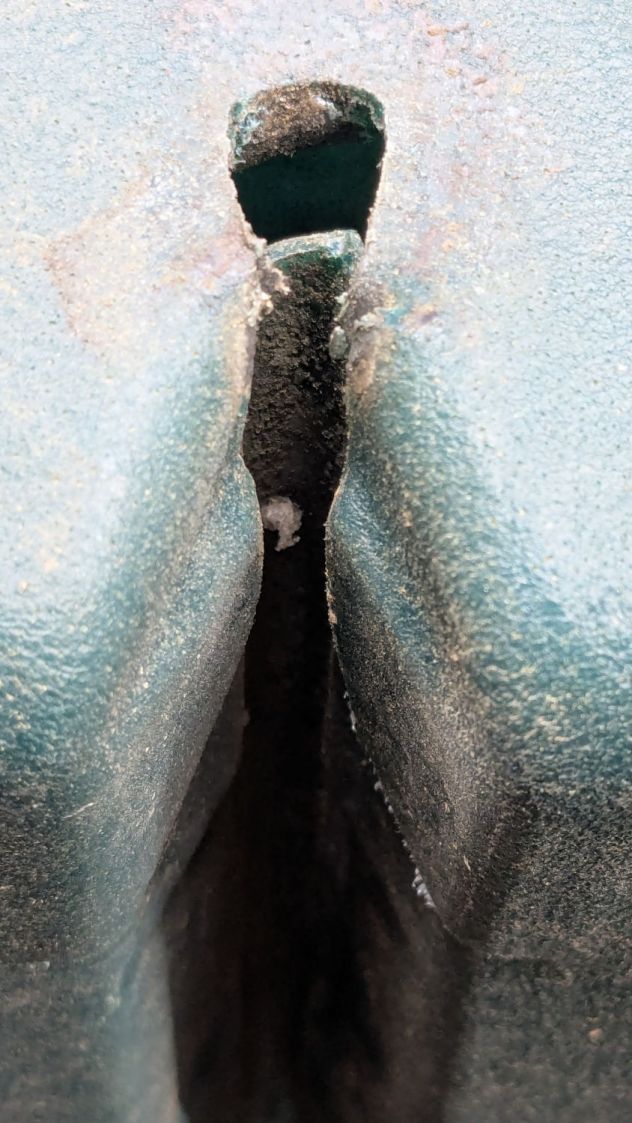
The nozzle’s Shower pattern (on the left in the picture) has a 6.8 L/minute = 110 ml/s flow through an ordinary garden hose washer. The four smallest aperture plates produced these flows:

The flow should scale with the square of the aperture diameter, which I could bully those points into suggesting, but the measurement accuracy produced by filling a gallon jug while tapping my phone’s stopwatch doesn’t justify anything fancier.
The two smallest apertures reduce the Shower pattern to a very gentle spray requiring far too long to put enough water on the plants. Mary now uses an old plastic sprinkler head with enough holes to produce a dense spray with very little force, with the flow set by fifty feet of PEX pipe running across the width of the house from the town water inlet to the hose bib.
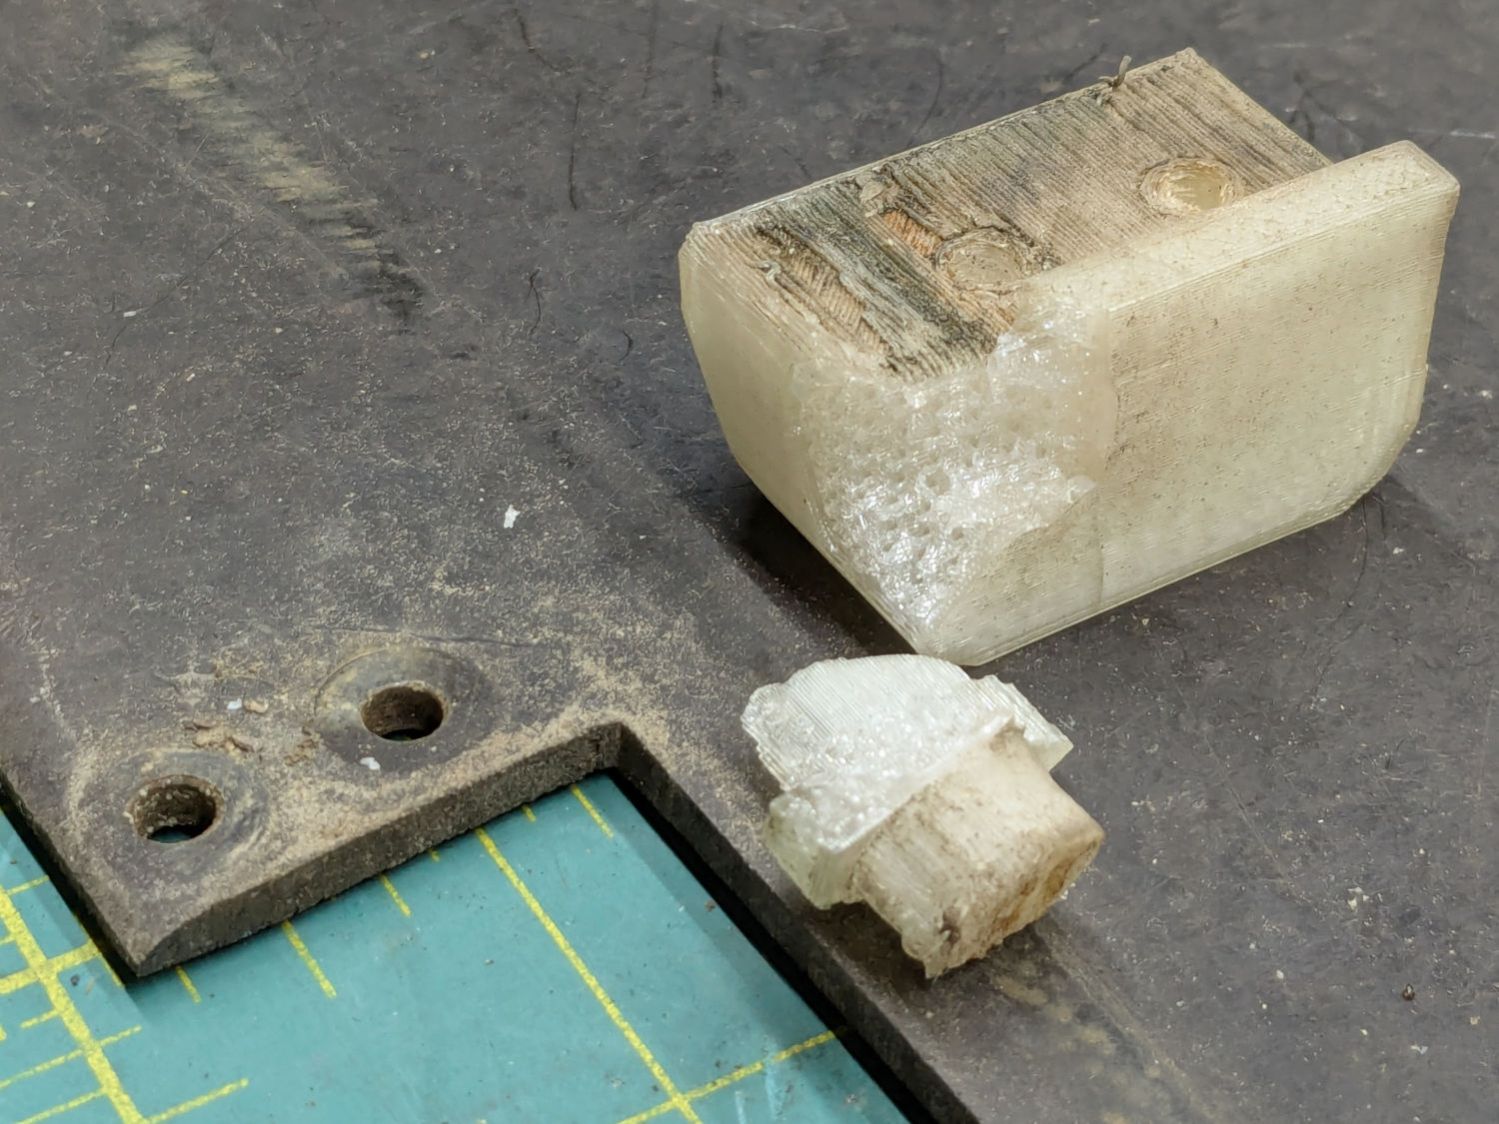
It was a fun exercise and I learned a little more about printing TPU and fitting acrylic parts therein: