Although directly printing the 2×2 molds worked reasonably well, that does not scale to larger arrays, because OpenSCAD doesn’t handle the profusion of vertices with any grace. Duplicating the STL file created from the height map image, however, isn’t a problem:

I actually did it in two passes: 4 molds to be sure they’d come out right, then another dozen. Figure a bit under two hours for the lot of them, no matter how you, ah, slice it.
A grid drawn directly on 1/16 inch = 1.5 mm acrylic sheet guided the layout:

I anointed the back of each mold positive with PVC pipe cement, the version with tetrahydrofuran to attack the PLA and acetone/MEK to attack the acrylic, lined it up, and pressed it in place. The positives have recesses for alignment pins, but even I think that’s overkill in this application.
Memo to Self: Flip the acrylic over before gluing, so the guide lines wipe neatly off the bottom.
Tape a cardboard frame around the acrylic, mix & pour the silicone, put it on the floor to ensure it’s level (unlike our kitchen table), wait overnight for the cure, then peel positive and negative apart:

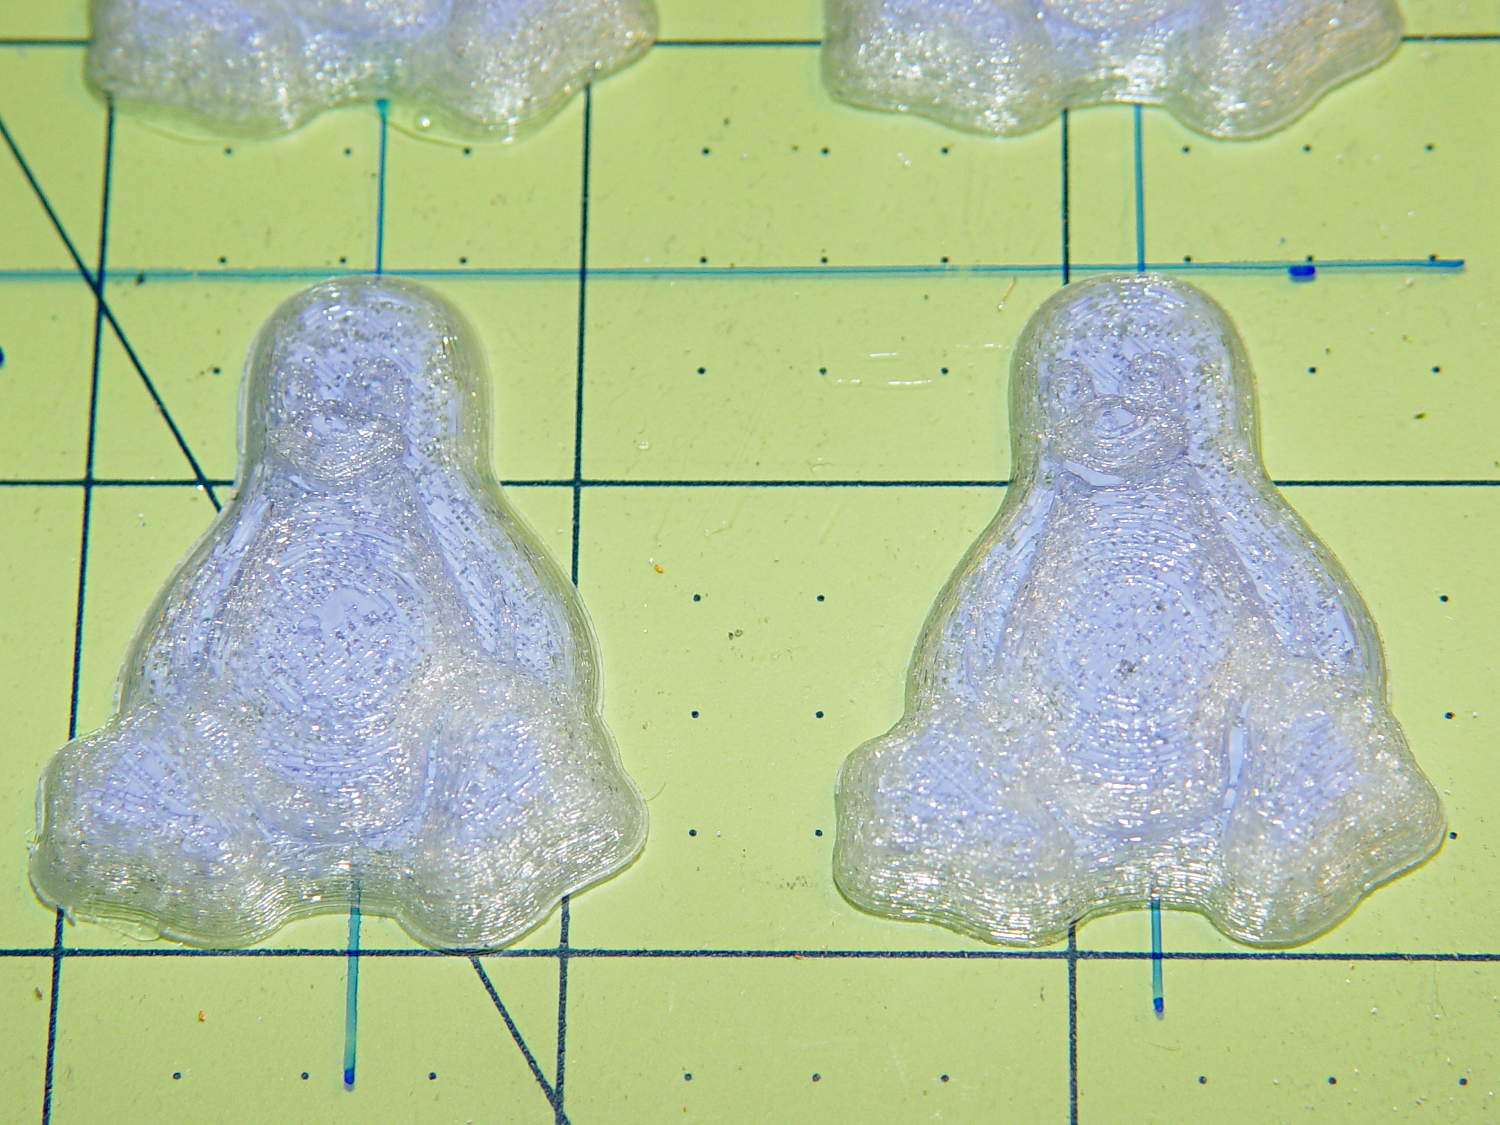
As before, the top surface of the positives isn’t watertight, so the silicone flowed through into the molds. This isn’t a simple extruder calibration issue, because the thinwall boxes are spot on, all the exterior dimensions are accurate, and everything else seems OK. What’s not OK is that threads on the top and (now that I look at it) bottom surfaces aren’t properly joining.
A closeup of the positive shows silicone between the threads and under the surface:
But the negative silicone looks just fine, in the usual hand-knitted way of all 3D printed parts:

Definitely fewer bubbles than before, although the flange between the flippers (wings? whatever) and the body isn’t as clean as it could be. Doing better may require pulling a vacuum on the silicone, which would mean the positives really must be air-tight solids.
Anyhow, the acrylic base produced a wonderfully flat surface that should make it a lot easier to run a scraper across the chocolate to remove the excess. Not that excess chocolate is ever a problem, but it’s the principle of the thing.

Comments
5 responses to “Chocolate Molds: Acrylic Base”
Lucky you! Our floors are almost level, but hardly flat, as I discovered in our flooring project. I suspect it’s a “feature” of manufactured homes. OTOH, I’ve seen some eccentric construction in stick-built places, not to mention settling issues. When your feet say it’s not level, it’s bad (as noted in a 1920s-vintage house I checked out while open-house cruising in the ’80s).
The only thing that’s level is the lathe in the shop. [grin] Not sure about the mill-drill.
Our First House had a room where a dropped pencil would fetch up under the baseboard heat along the window side. It was hand-built by the original owner, who did a pretty good job of extending it over the years, but it was, mmm, quirky and required a certain acceptance of reality…
This one may be a bit quirky, but the floors are level!
Never owned an owner-built house (my mother did, but the O-B was competent), but I’ve encountered some quirky remodels. It’s not fun opening up a wall and finding a hidden live junction box…
We bought the place after a was owned a couple of years from the first owners, so most of the quirks are 1) OEM, or 2) self-inflicted. [grin]
[…] « Chocolate Molds: Acrylic Base […]
[…] that the chocolate mold positives suffered from sparse top infill, to the extent that silicone rubber would flow right though the […]