Mary has been learning free motion quilting, which uses a special sewing-machine foot that holds the fabric in place. Leah Day describes modifying a standard darning foot, but I suggested deploying a bit more shop-fu to do it right. The notion of “adjusting” something with a twisted rubber band just made my skin crawl…
The starting point is a Brewer BP1814 “FOOT Darning/Quilting low shank with clear base”, two of which appear next to an older version that she’s had for quite some time. The rightmost one has my modifications:

The older (mostly metal) foot works much better for its intended purpose, but the newer white plastic version seems easier to modify for free-motion quilting. The older spring is much softer than the new ones, for whatever that’s worth. After the modification, the spring pressure becomes largely irrelevant, as it only acts when something pushes up on the base.
The first modification improves visibility by cutting out part of the transparent plastic base. Leah suggests chopping it with a diagonal cutter (“jewelry clippers”), but I deployed a slitting saw in the Dremel tool at low speed to avoid melting. Mary wanted angled cuts, so that’s what she got:
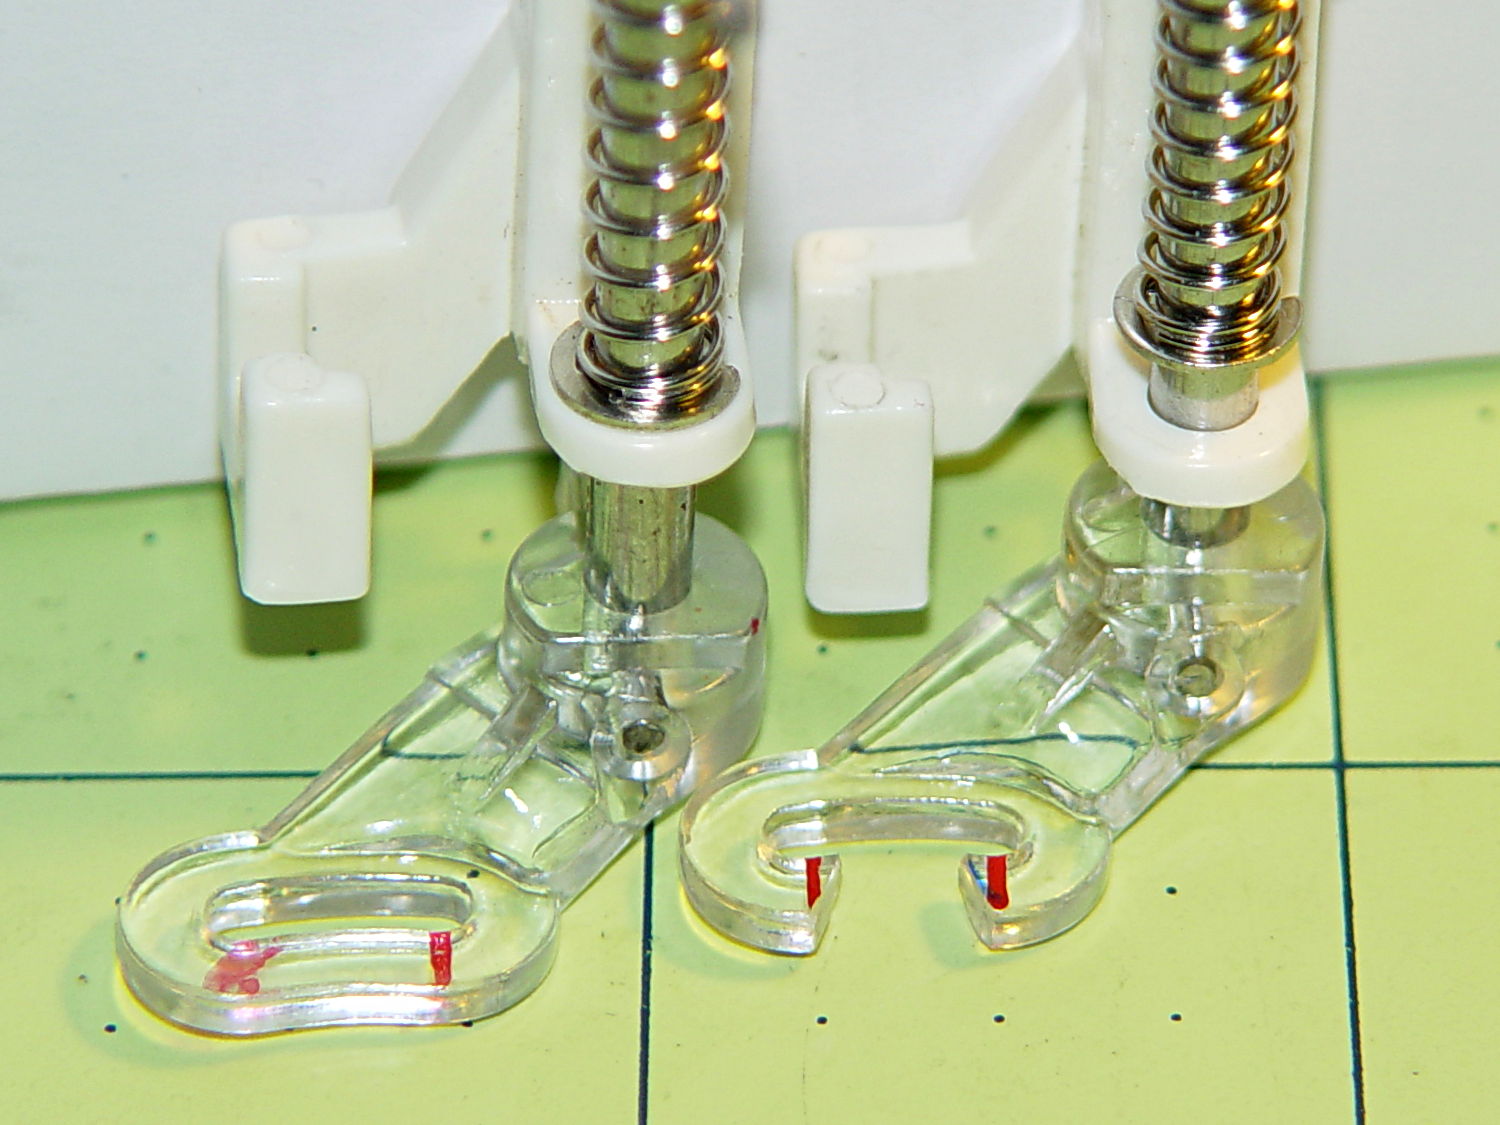
A bit of touchup with a fine file smoothed out the edges so the base slides easily over the fabric. There’s no way to remove the red guide lines; the un-modified foot on the left emerged from its bag with that smeared line.
Then drive out the top metal pin with a small drift punch, hold the base and shaft, remove the C-clip, capture the spring, and extract the base and shaft. The 4.0 mm diameter metal shaft cries out to be threaded, so that’s what I did; this picture shows the reassembled shaft and spring:
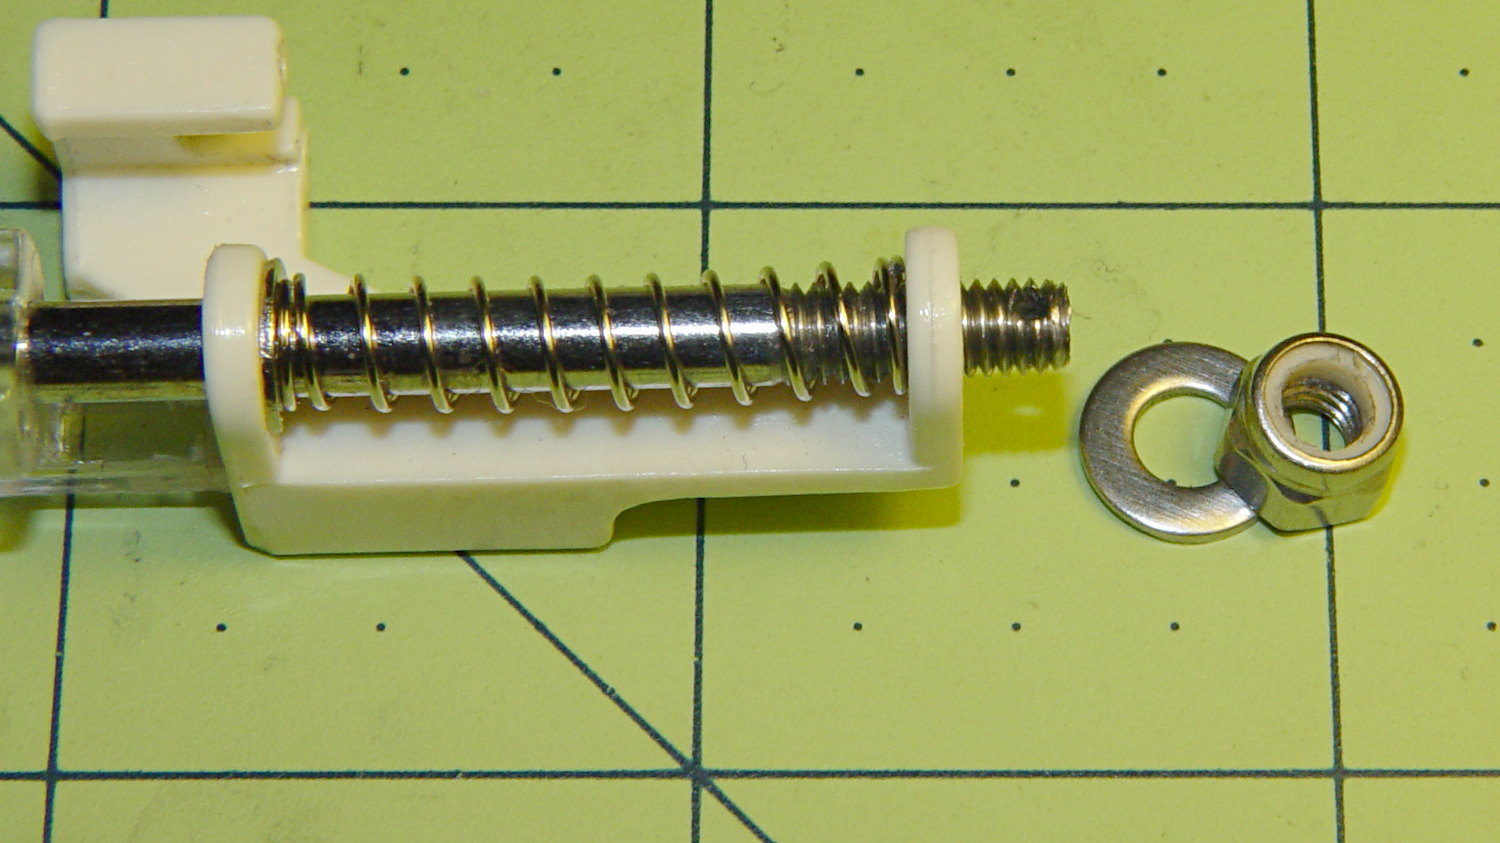
That’s significantly harder to accomplish than it looks, because there’s no practical way to remove the plastic base (it’s pinned in place, but one side of the cross-hole is blocked). I filed the end of the shaft to a taper that started the M4.0x0.7 die a bit more easily, clamped the shaft in the bench vise, applied nasty sulfur-based tapping fluid, crossed my fingers and eyes, held my nose, and managed to make it happen without cracking the plastic.
I reamed out the Nyloc nut with a hand-twisted series of drills, through about #24 = 3.861 mm, to reduce the locking torque. It’s now just slightly more than finger-tight, which should suffice.
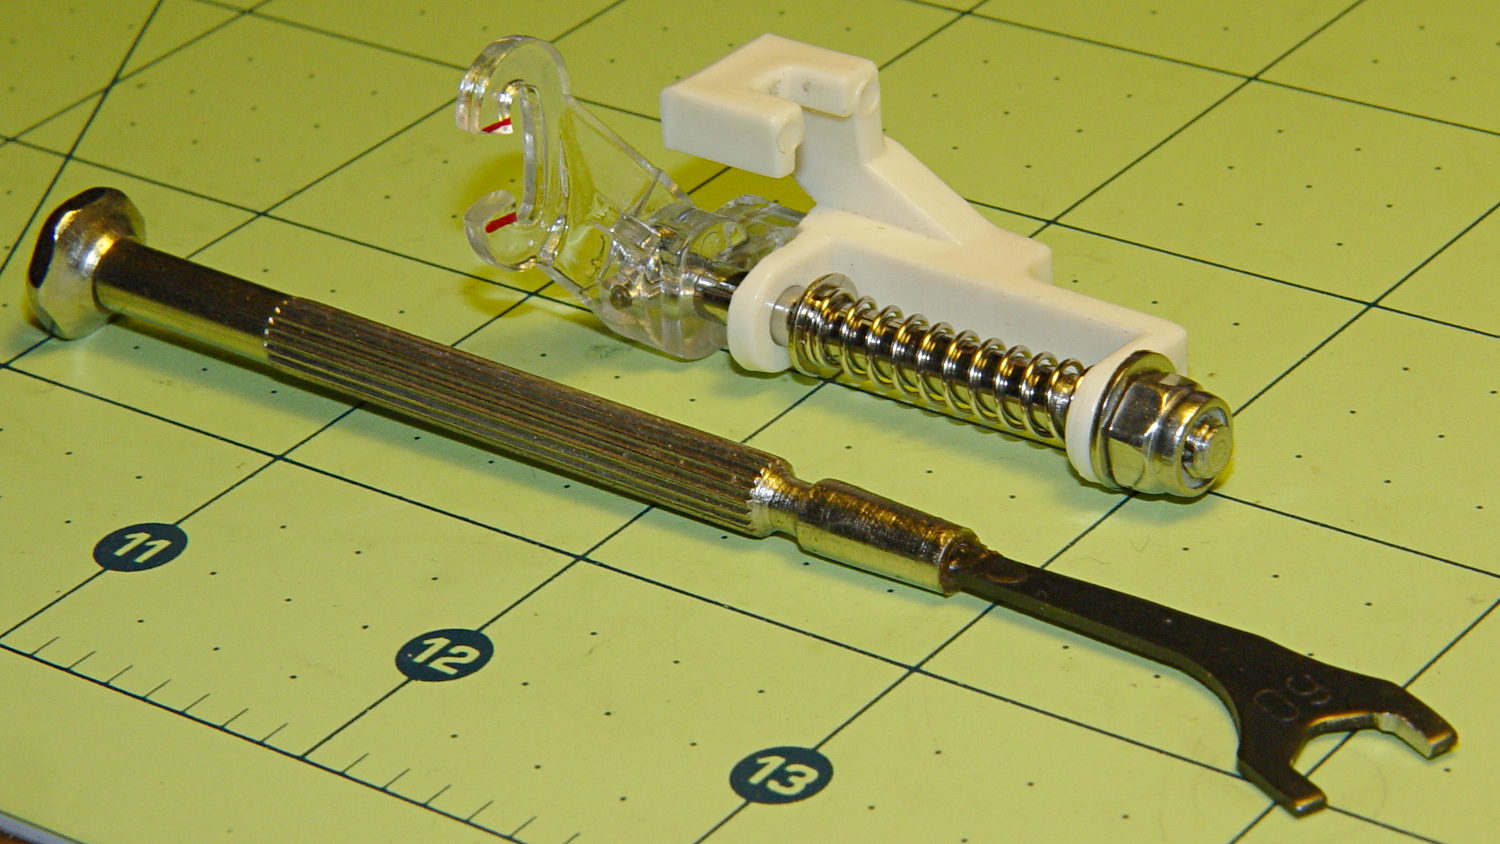
In use, the foot fits under the sewing machine’s arm and puts the nut where fingers can’t reach. I filed a 6.0 mm “precision wrench” to fit the 6.8 mm nut flats and it’s All Good:
A staged photo op atop some trial quilting:
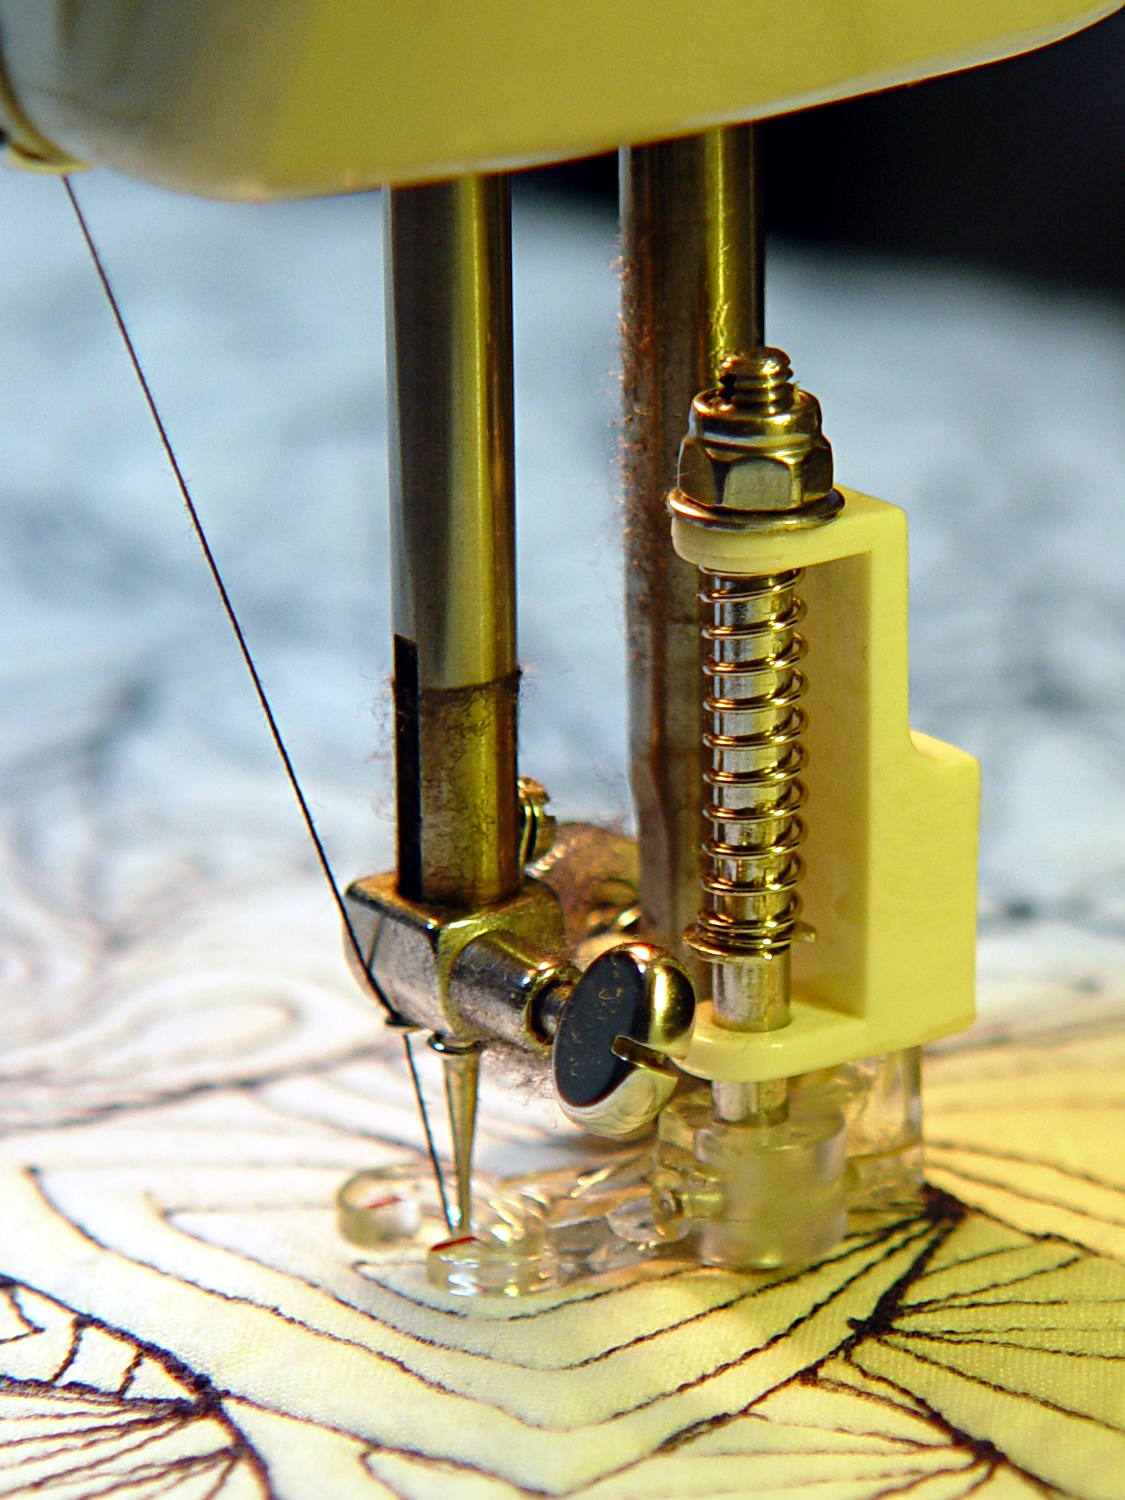
With a Nyloc nut instead of a rubber band, it will stay exactly where she wants it…

Comments
2 responses to “Free Motion Quilting Darning Foot Modification: The Home Shop Way”
[…] Nyloc nut atop that modified quilting foot requires more grip than fingers can […]
[…] wants more light on her free-motion quilting, right where the needle meets the fabric. I proposed LED strip lights on the machine arm, in addition to rebooting the end cap lamp into the […]