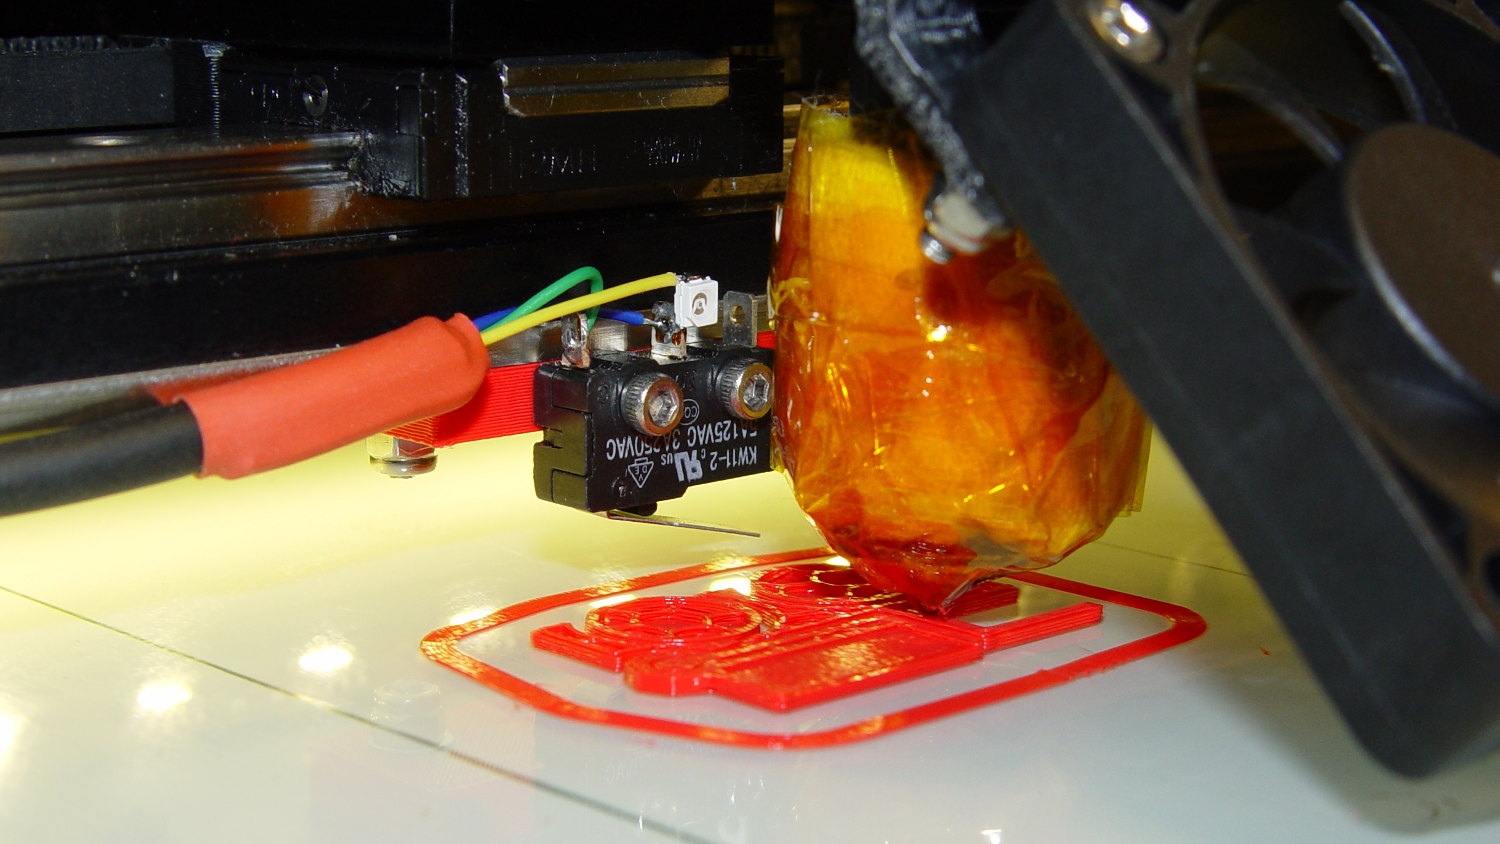
Mounting the Z-axis platform switch on the X gantry to sense the actual platform position worked perfectly with the original MakerGear V3 hot end, at least after I relocated the switch a bit further from the balance point. It does require moving the nozzle off the platform before homing the Z axis, for the obvious reason:
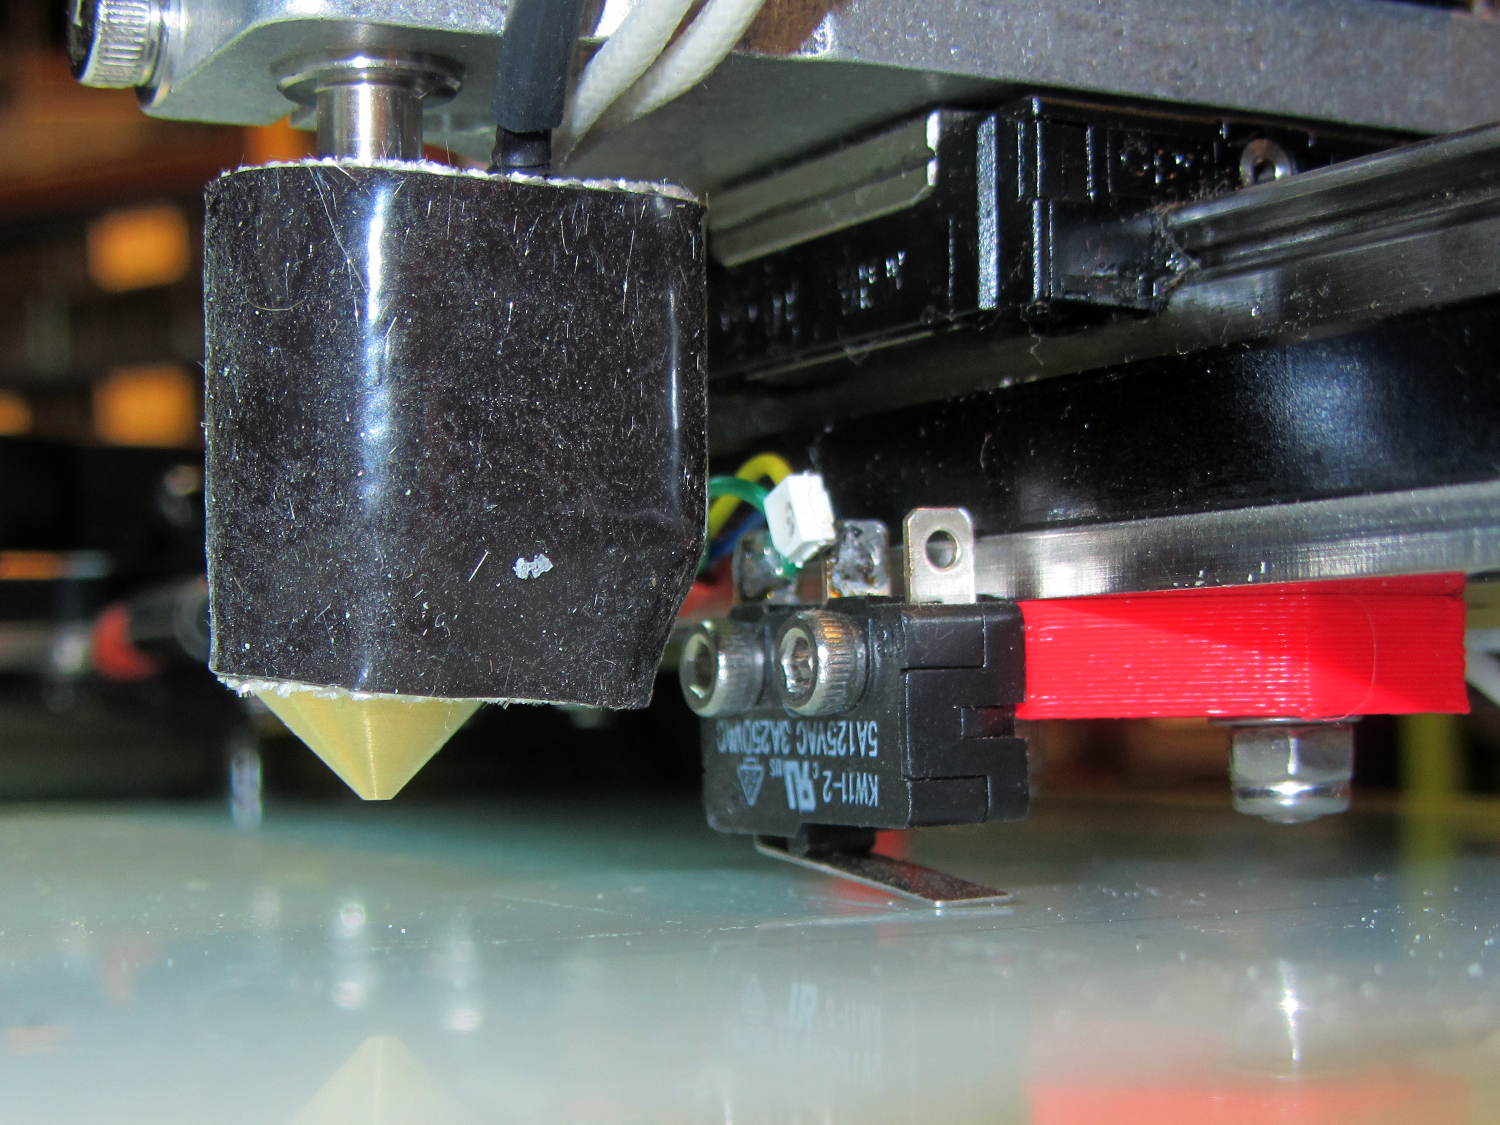
The smaller MakerGear V4 hot end uses a completely different mount that puts the nozzle higher than the switch lever:
The clearances were close enough to rule out plastic, so I bandsawed some 33 mil (1/32 inch) brass shim stock and drilled holes in the appropriate spots:

After discovering the blindingly obvious fact that you can’t heat brass sheets clamped to a steel vise enough to melt silver solder, I padded the brass with cardboard insulation and tried again:
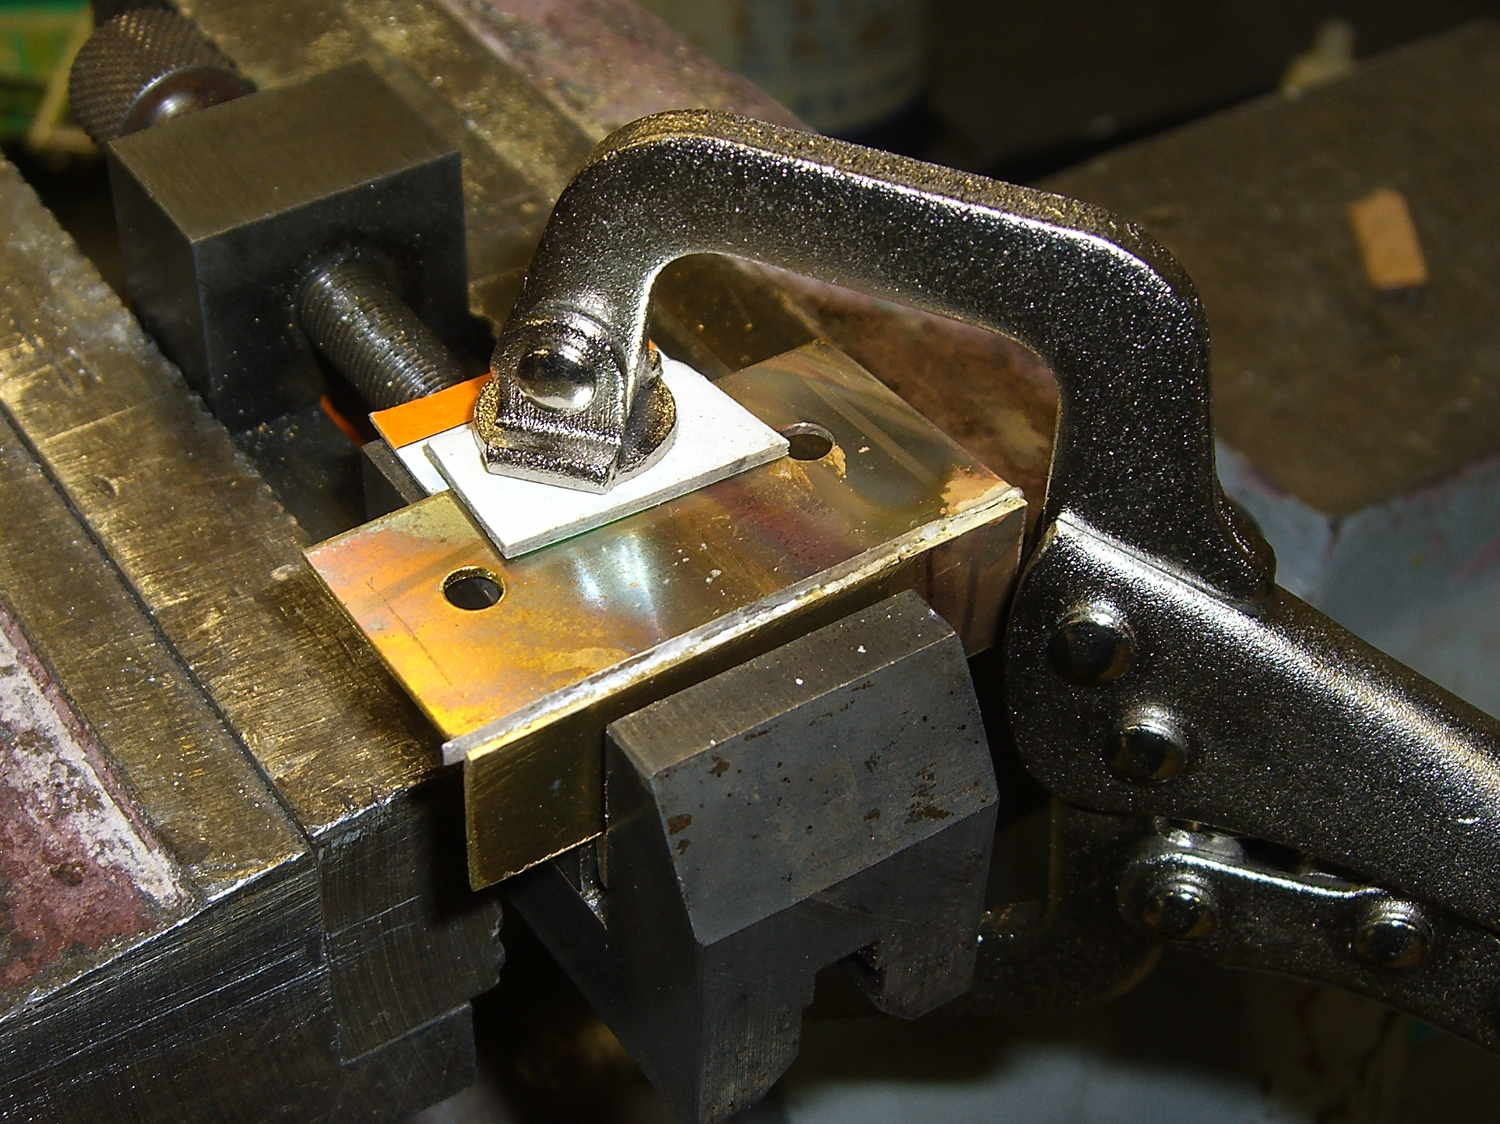
The cardboard charred and burned and stank up the shop, but held everything in alignment long enough:

A bit of file & sandpaper work shined it up just fine, then I slotted the lower mounting holes enough to accommodate 2-56 nuts between the gantry and the bracket:

Yeah, I could tap 2-56 holes into the brass sheet, but let’s be reasonable: two turns does not a secure fitting make.
Here’s why a plastic bracket wouldn’t work:

That’s with the V4 hot end aligned per instructions, although I may rotate it 1/4 turn clockwise at some point. Note that there’s no filament going in the top, as I did all this before firing that devil up for the first time.
The switch lever had enough free travel that the platform would hit the bottom of the X axis linear slide screws before activating the switch, but lowering the switch would put the lever below the nozzle. I added a 15 mil brass shim to the lever and it’s all good:

Admittedly, the lever rests a bit less than 1.000 mm above the nozzle, but we’ll see how much trouble that causes.
The switch trips 2.0 mm above the nozzle, so the new startup G-Code looks like this:
;-- Slic3r Start G-Code for M2 starts --
;  Ed Nisley KE4NZU - 2015-03-01
;  Makergear V4 hot end
; Z-min switch at platform, must move nozzle to X=135 to clear
M140 S[first_layer_bed_temperature]	; start bed heating
G90				; absolute coordinates
G21				; millimeters
M83				; relative extrusion distance
G92 Z0			; set Z to zero, wherever it might be now
G1 Z10 F1000	; move platform downward to clear nozzle; may crash at bottom
G28 Y0			; home Y to clear plate, origin in middle
G92 Y-127
G28 X0			; home X, origin in middle
G92 X-100
G1 X130 Y0 F30000	; move off platform to right side, center Y
G28 Z0			; home Z to platform switch, with measured offset
G92 Z-2.00
G0 Z2.0			; get air under switch
G0 Y-127 F10000	; set up for priming, zig around corner
G0 X0			;  center X
G0 Y-125.0		; just over platform edge
G0 Z0 F500	; exactly at platform
M109 S[first_layer_temperature]	; set extruder temperature and wait
M190 S[first_layer_bed_temperature]	; wait for bed to finish heating
G1 E20 F300		; prime to get pressure, generate blob on edge
G0 Y-123		; shear off blob
G1 X15 F20000	; jerk away from blob, move over surface
G4 P500			; pause to attach
G1 X45 F500		; slowly smear snot to clear nozzle
G1 Z1.0 F2000	; clear bed for travel
;-- Slic3r Start G-Code ends --
The prime-and-wipe section accommodates gooey PETG, although that will require more attention.

Comments
One response to “MakerGear M2: V4 Nozzle vs. Re-Relocated Z-axis Switch”
[…] The red plastic block shows that picture happened before the V4 hot end installation… […]