Cutting or engraving patterns on earrings should go more smoothly with a fixture:

That’s a serving suggestion, using the Biohazard test pieces, which also helped align the top and bottom layers while gluing:
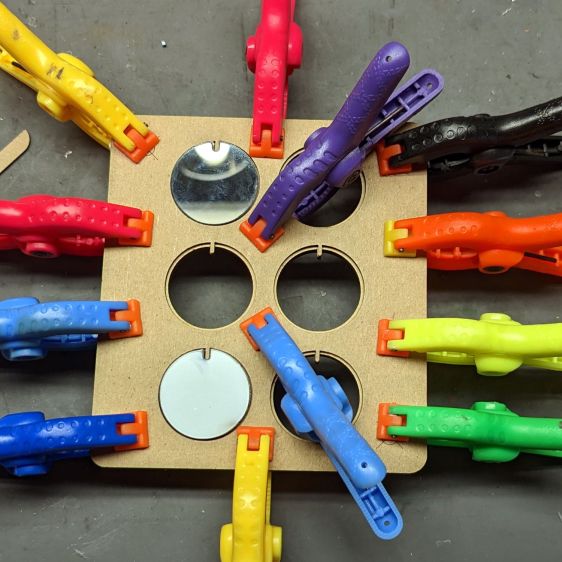
That used all my little clamps: obviously I need more!
The bottom layer (red) is MDF for strength and the top layer (orange) is chipboard because that’s all it needs:

The little tab along the top ensures alignment using the jump ring cutout. The central hole will let me cut through the earring, should that be necessary.
The two strips over on the left get glued on the bottom, spaced to align along one of the aluminum knife blade rails, as with the craft stick fixture. With that lined up, any two of the four targets will serve to align the template with the fixture using LightBurn’s Print-and-Cut tool, as with the craft stick template.
Now, to make some smoke!
The LightBurn SVG layout as a GitHub Gist:

Comments
3 responses to “Earring Laser Fixture”
Hmm, I got some LIR2032. As a reminder of what type of battery they are, I scribbled “charge!” on them with black marker.
Not that I suggest that one should engrave button cells, but it would be tempting.
The folks with fiber lasers seem to be marking All. The. Metallic. Things. to good effect: knife blades, in particular, fetch premium prices.
If my artistic ability didn’t round off to zero (and I had a fiber laser), that could be a thing …
[…] the obverse done, another fixture aligns them for a branding pass on the […]