After beating the Samsung’s nozzle handle and hose into submission, I made a set of floor brush strips for the hard-floor attachment:

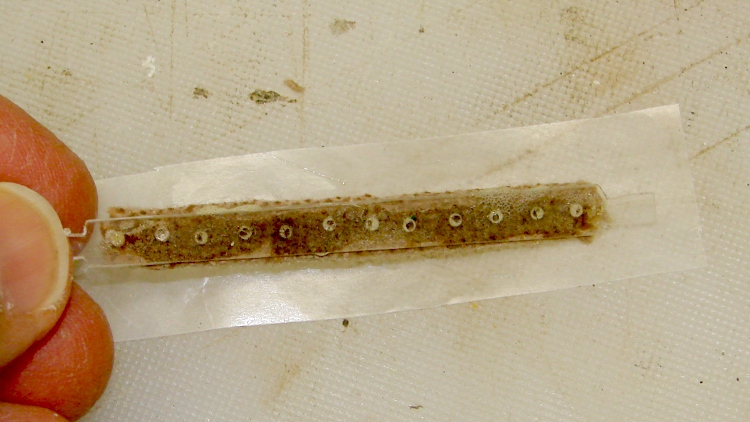
The original brushes had non-woven felt glued to a cleverly molded strip of white plastic, which lasted not very long at all. I’d replaced them (*) with wool fabric glued to hand-hewn strips of polypropylene cut from the usual blister pack material, but that was so labor-intensive as to make no sense at all; it did show that replacement brushes would work, though, which was the whole point. This view looks through a finished strip to the urethane glue and wool fabric:
Fortunately, there’s an easier way to make the strips:
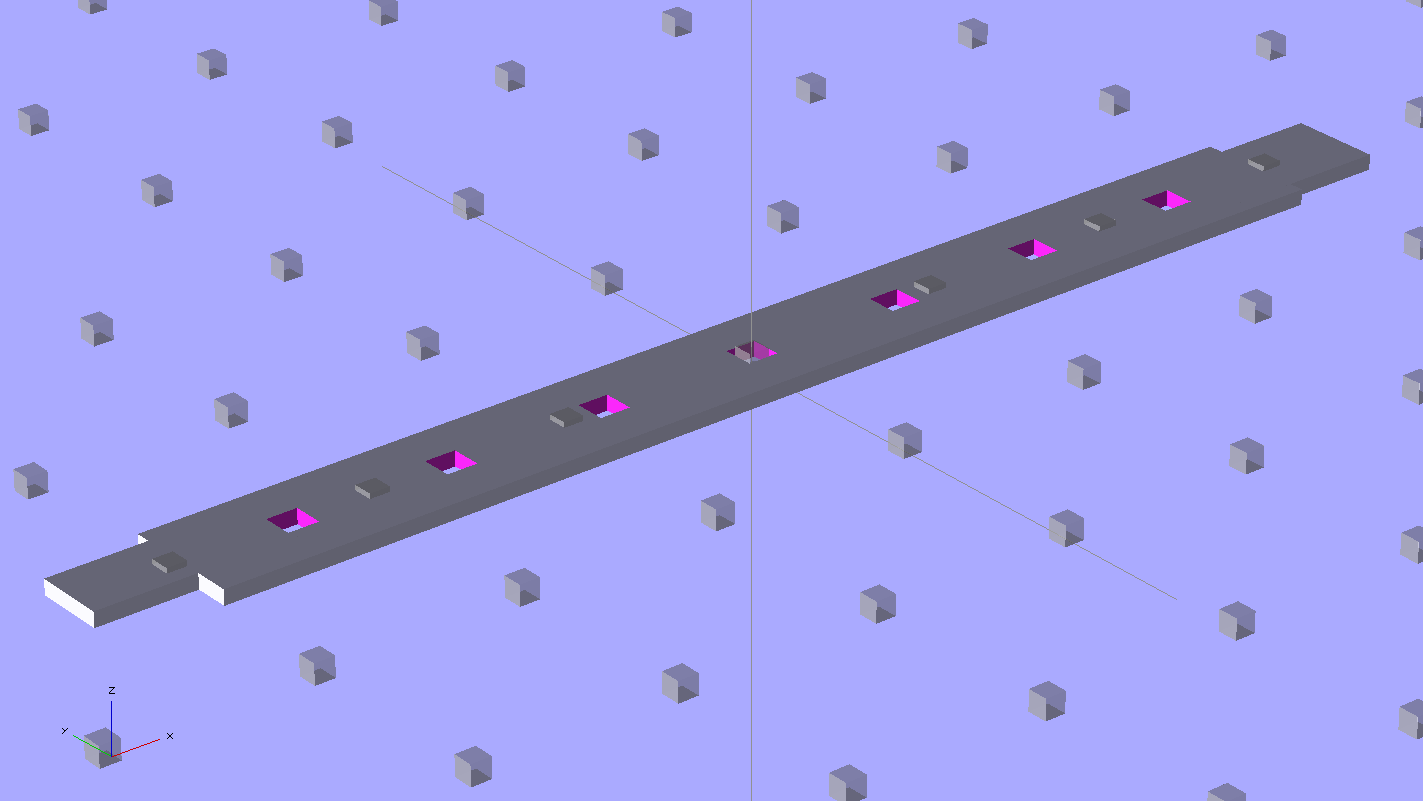
Note that the smaller tab (the one in the front) is not centered on the midline. The openings for the larger tab in the floor brush housing seem to have a small offset, but it’s not worth worrying about. The printed ones are 4 layers thick, but I think 3 layers will work as well; that’s what the OpenSCAD source will produce.
This is one of the few situation where the hand-knitted top surface of a 3D-printed object is an advantage: that, plus the holes, provides enough griptitude for urethane glue to hold the fabric strips firmly in place.
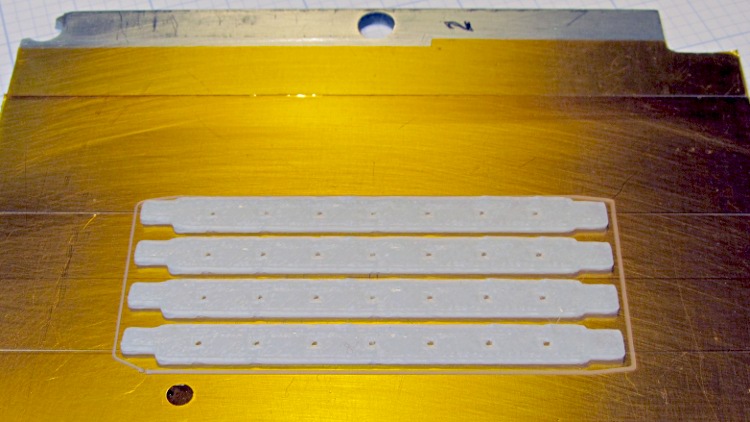
Obviously, you print them in multiples:
A trial fit:
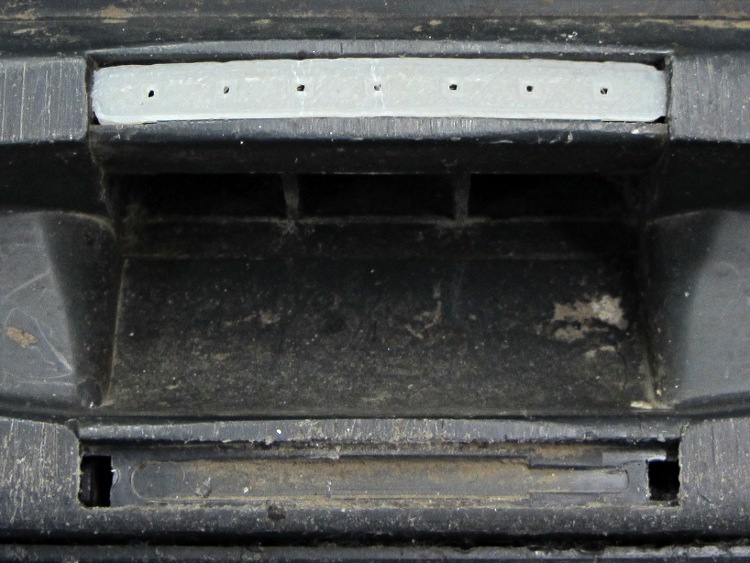
They really are bowed slightly outward in the middle, which ensures there’s more pressure on the middle of the strip against the floor. I think the weird indented pattern in the brush housing under the strips was for a complex spring assembly that never made it into production; the OEM strips looked just like the ones I’m making, minus the perforations.
I glued two strips individually to make sure everything lined up, then glued these two in one operation and separated them with a razor knife:

(*) It goes without saying that OEM replacement brushes weren’t available and, in fact, they have never been available at any time when we’ve owned the vacuum cleaner. Maybe I’m not looking in the right place, but so it goes.
The OpenSCAD source code, which you’ll want to print with Multiply set to maybe 8:
// Samsung Vacuum cleaner nozzle floor strips
// Ed Nisley KE4ZNU January 2013

Layout = "Build";			// Show, Build

//- Extrusion parameters must match reality!
//  Print with +0 shells and 3 solid layers

ThreadThick = 0.25;
ThreadWidth = 2.0 * ThreadThick;

HoleWindage = 0.75;

function IntegerMultiple(Size,Unit) = Unit * ceil(Size / Unit);

Protrusion = 0.1;           // make holes end cleanly

//----------------------
// Dimensions

Body = [6.0,59.0,3*ThreadThick];	// width, length, thick

Tab1 = [4.5,5.0,0.0];				// width, length, offset from centerline
Tab2 = [3.5,5.0,0.5];

HoleOC = 8.0;						// adhesive anchoring holes
HoleDia = 1.0;
HoleSides = 4;
HoleMax = floor(Body[1]/(2*HoleOC));

echo("HoleMax: ",HoleMax);

//----------------------
// Useful routines

module PolyCyl(Dia,Height,ForceSides=0) {           // based on nophead's polyholes

Sides = (ForceSides != 0) ? ForceSides : (ceil(Dia) + 2);

FixDia = Dia / cos(180/Sides);

cylinder(r=(FixDia + HoleWindage)/2,
         h=Height,
         $fn=Sides);
}

module ShowPegGrid(Space = 10.0,Size = 1.0) {

    Range = floor(50 / Space);

    for (x=[-Range:Range])
        for (y=[-Range:Range])
            translate([x*Space,y*Space,Size/2])
            %cube(Size,center=true);

}

module BackingStrip() {

	difference() {
		union() {
			translate([0,0,Body[2]/2])
			cube(Body,center=true);
			translate([Tab1[2],-1*Body[1]/2,Body[2]/2])
			cube([Tab1[0],2*Tab1[1],Body[2]],center=true);
			translate([Tab2[2],+1*Body[1]/2,Body[2]/2])
			cube([Tab2[0],2*Tab2[1],Body[2]],center=true);
		}
		for (i = [-HoleMax:HoleMax])
			translate([0,i*HoleOC,-Protrusion])
			rotate(45)
			PolyCyl(HoleDia,(Body[2] + 2*Protrusion),HoleSides);
	}
}

//----------------------
// Build it!

ShowPegGrid();

if (Layout == "Show")
	BackingStrip();

if (Layout == "Build")
	rotate(90) BackingStrip();

Comments
4 responses to “Samsung VAC-9048 Vaccuum Cleaner: Floor Brush Strips”
Nice! Thanks for more inspiration. I finally pulled the cord and decided to buy a printer. After looking at them all (pretty much literally) I settled on one of the newfangled delta-type printers, the Deltamaker. It’s just on Kickstarter, though, so I won’t see it for a while. I like these because they are not over-constrained designs. Not sure about the bowden-cable feed but at least some designs seem to make that work.
The Deltamaker looks nice, although the trick (as with all DIY-oid 3D printers) is getting good mechanical accuracy from low-budget parts: let me know how it works!
I really like being able to come up with a design (even something as simple as those strips) and have it shortly thereafter, without all the usual lathe & milling machine hassles. 3D printing may not be a universal solution, but it definitely filled a hole in my shop!
[…] vacuum’s floor brush, I’d hoped that was the end of it; other than replacing the brush strips every now and again, it’s been cooperative. Recently, however, one of the wheels popped off, […]
[…] Those simple floor brush strips for the Samsung vacuum cleaner worked moderately well, but the urethane adhesive didn’t have enough grip on the plastic strips. Having just run out of that batch, I made up another set with slightly undercut holes: […]