Ed Nisley's Blog: Shop notes, electronics, firmware, machinery, 3D printing, laser cuttery, and curiosities. Contents: 100% human thinking, 0% AI slop.
The dotted lines show the results from late 2015 for a pair of then-new Wasabi NP-BX1 batteries, so the DOT-01 batteries look about the same. The F battery barely lasted to the halfway point of our most recent bike ride and the G battery now resides in the blinky-and-glowy pile.
I’d be unsurprised to discover all the myraid “different” NP-BX1 batteries all come from the same factory. Unlike the Wasabi batteries, these lack date codes, which seems like an extra-cost option you don’t get on the low end.
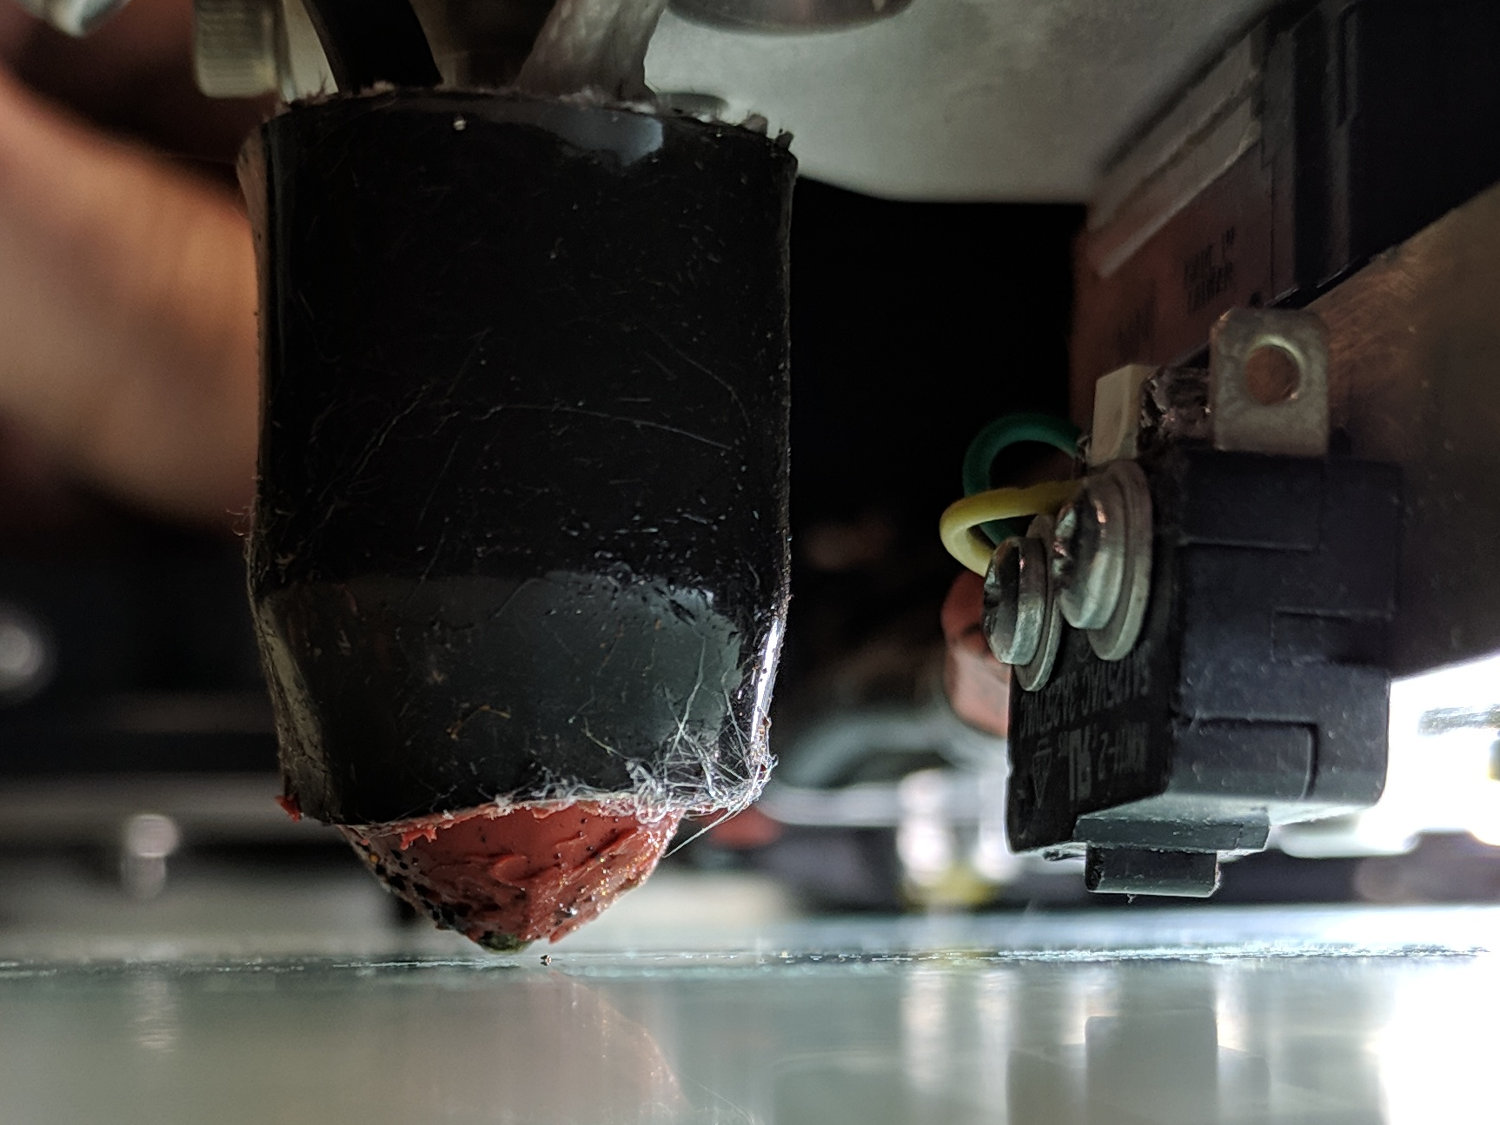
After nearly four years of dangling a bare millimeter above the nozzle, the lever on the relocated Z-Axis switch finally snagged a stray thread and got bent out of shape. I un-bent it, but finally decided it was time to get more air between the nozzle and the switch actuator.
Prying the ends outward with a thumbnail releases a pair of snaps and the cover pops off to reveal the innards:
M2 Z-Axis – microswitch interior
The spring-loaded innards will launch themselves into the far corners of your shop, so be gentle as you slide the lever out and reinstall the side plate with a pair of clicks.
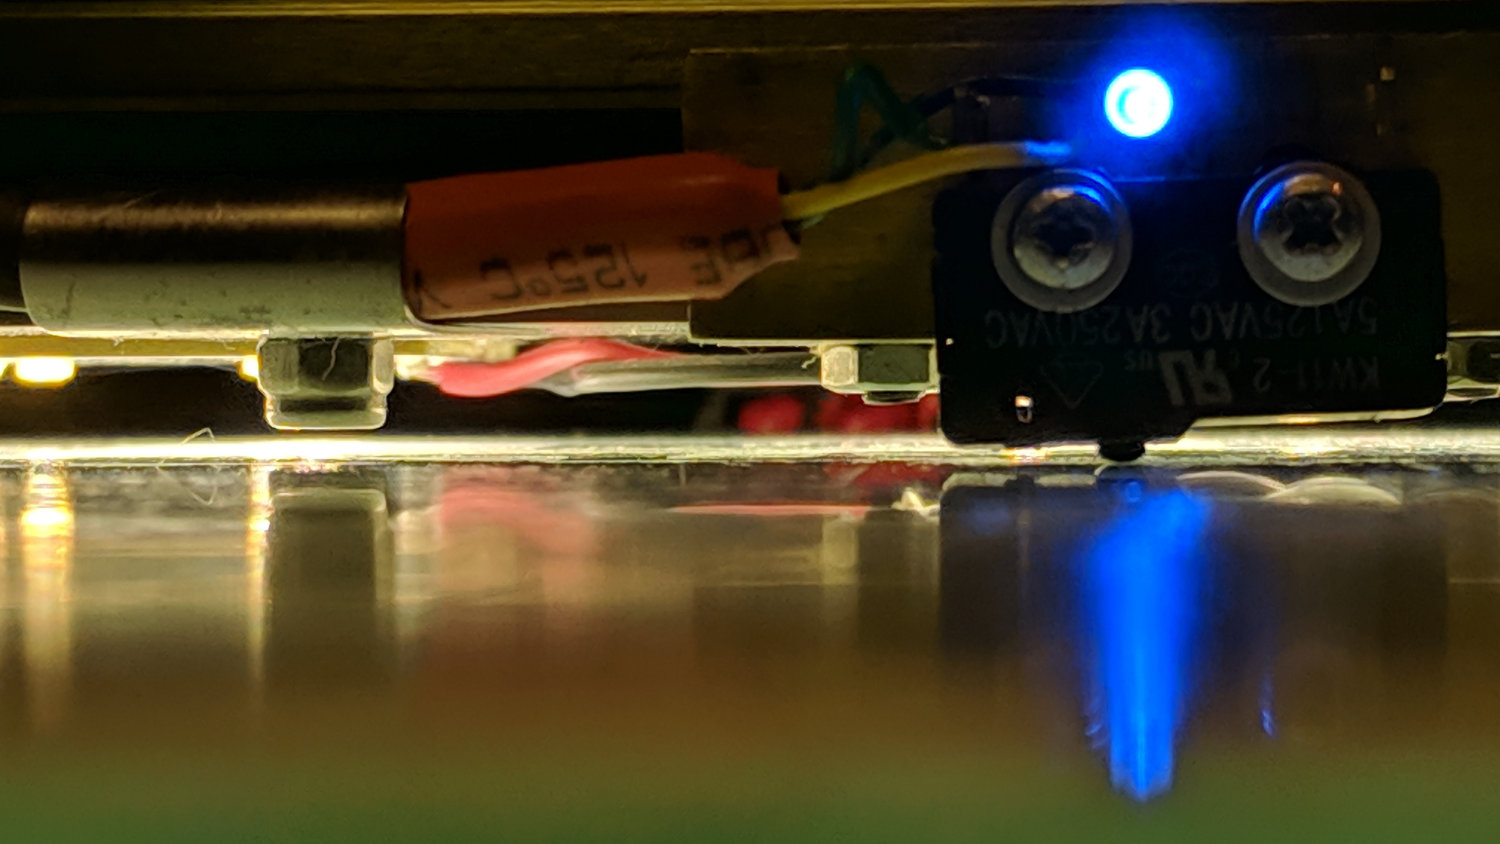
I filed the screw holes in my homebrew brass angle plate into slots, so as to get some adjustability, remounted the switch on the X-axis gantry, and tuned for best clearance:
M2 Z-Axis – bare microswitch vs nozzle
It looks a bit more canted than it really is.
There’s about 1.6 mm of Z-axis distance between the nozzle and the switch, which should suffice for another few years.
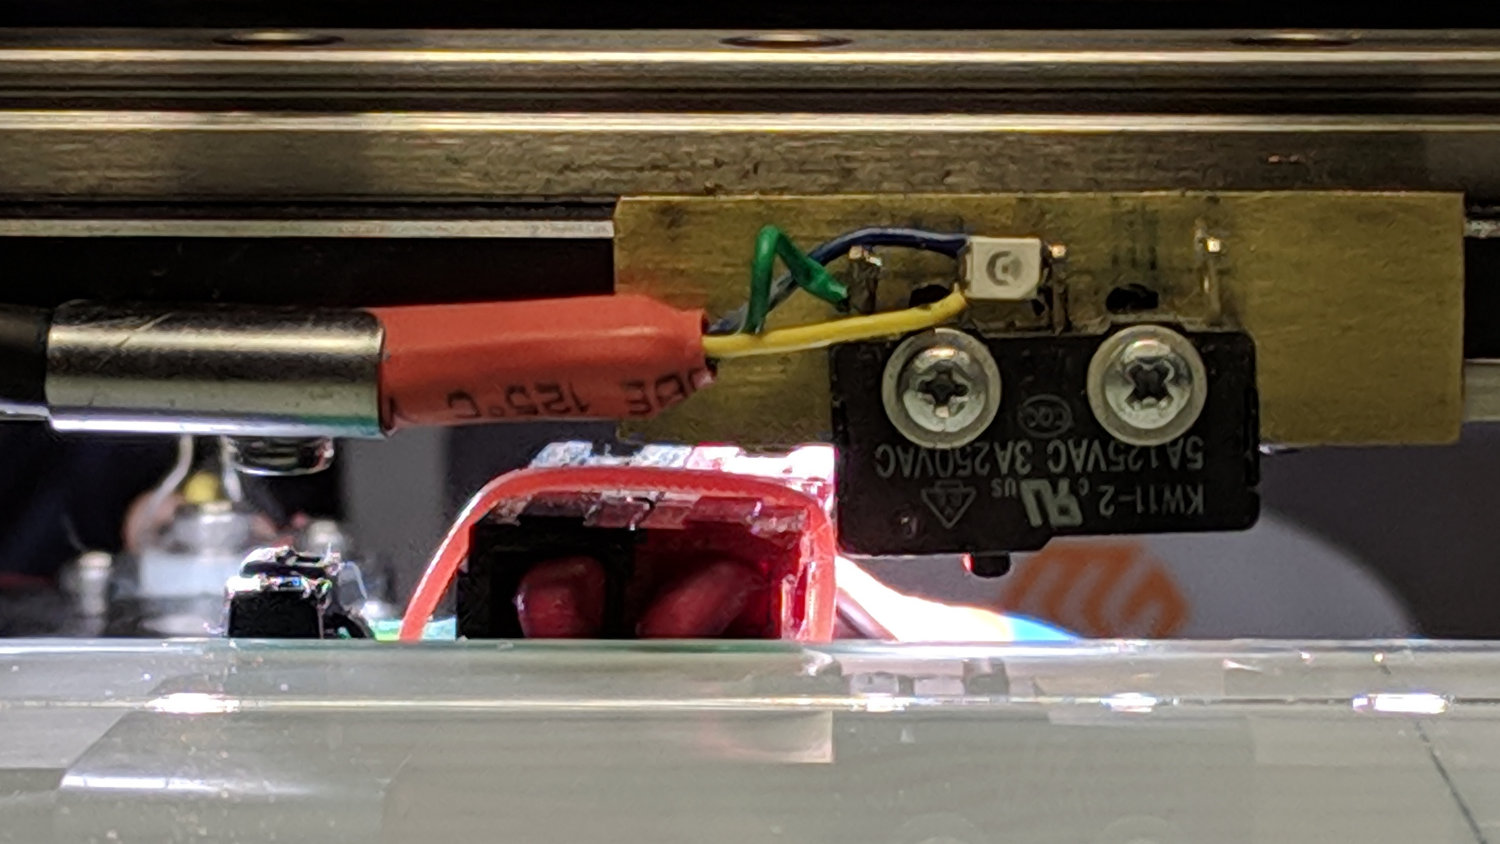
The view from the front shows a slight angle, too:
M2 Z-Axis – activated
There’s a millimeter or so below the nuts holding the X-axis linear slide in place, because the original 18 mm M3 SHCS are now 16 mm long (having shotgunned the metric SHCS and BHCS situation some time ago) and the washers are gone.
They’re all nylon lock nuts except for the one just to the left of the switch, providing barely enough clearance for the Powerpole connectors on the hotrod platform:
M2 Z-Axis – platform connector clearance
With the nozzle off the platform to the far right side, Z-axis homing proceeded normally. Manually jogging to Z=+5.0 mm left 2.6 mm of air under the nozzle, so I reset the offset in EEPROM to -2.4 = (2.6 – 5.0) mm:
M206 Z-2.4
M500
The first calibration square came out at 2.91 mm, so I changed the offset to -2.3 mm, got a 2.80 mm square with a firmly squished first layer, changed it to -2.5 mm, and got a 3.00 mm square for my efforts.
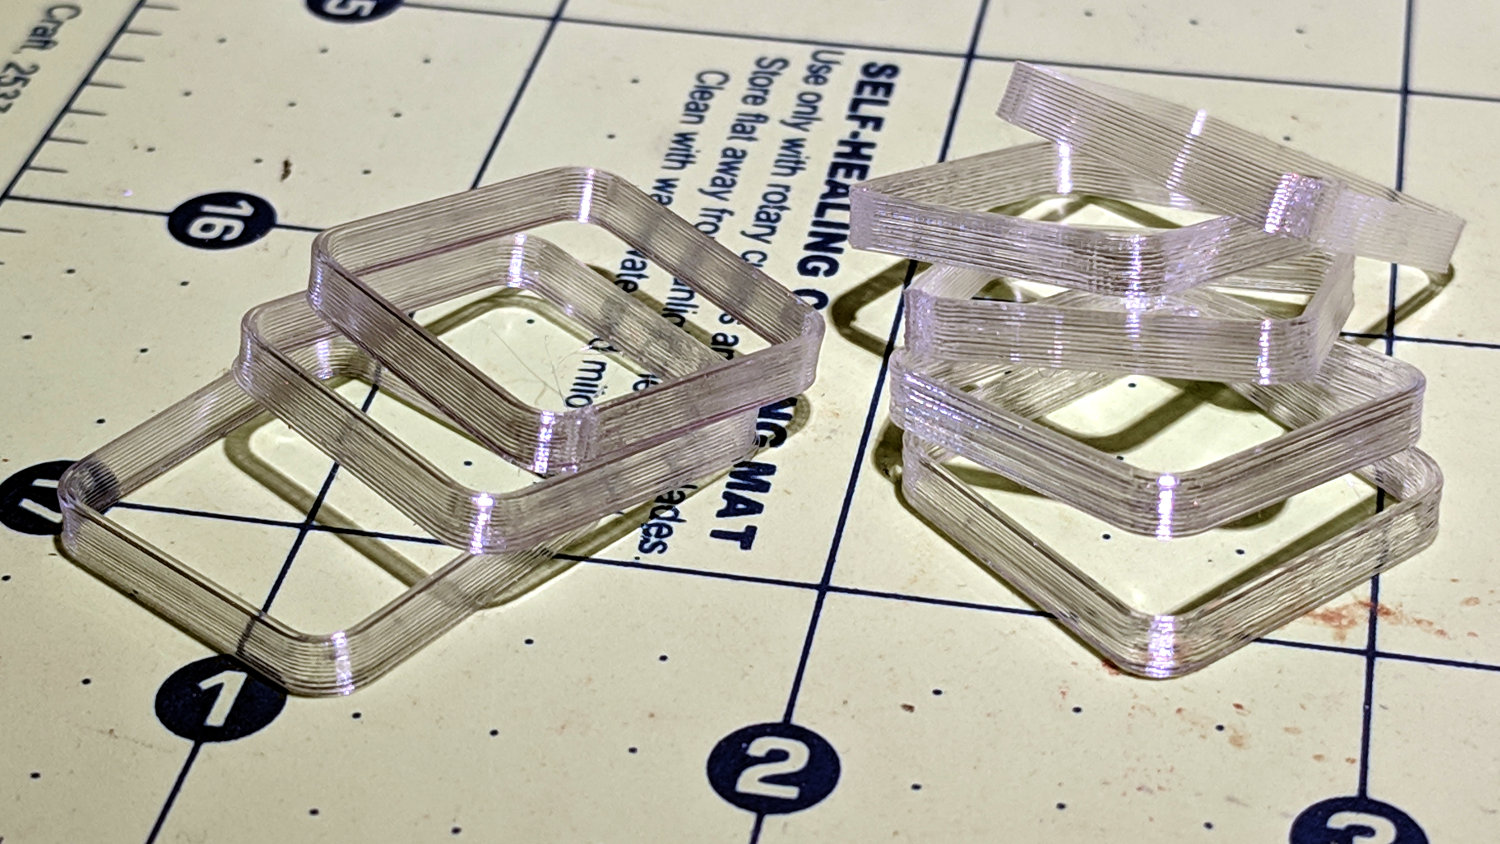
An array of five squares showed the platform remains level to within +0.05 / -0.07 mm:
M2 Platform Alignment Check – 2019-02-06
I defined it to be Good Enough™ and quit while I was ahead.
The bottom two squares in the left pile have squished first layers. The rest look just fine:
M2 Z-Axis – switch offset calibration squares
The whole set-and-test process required about 45 minutes, most of which was spent waiting for the platform to reach 90 °C in the 14 °C Basement Laboratory.
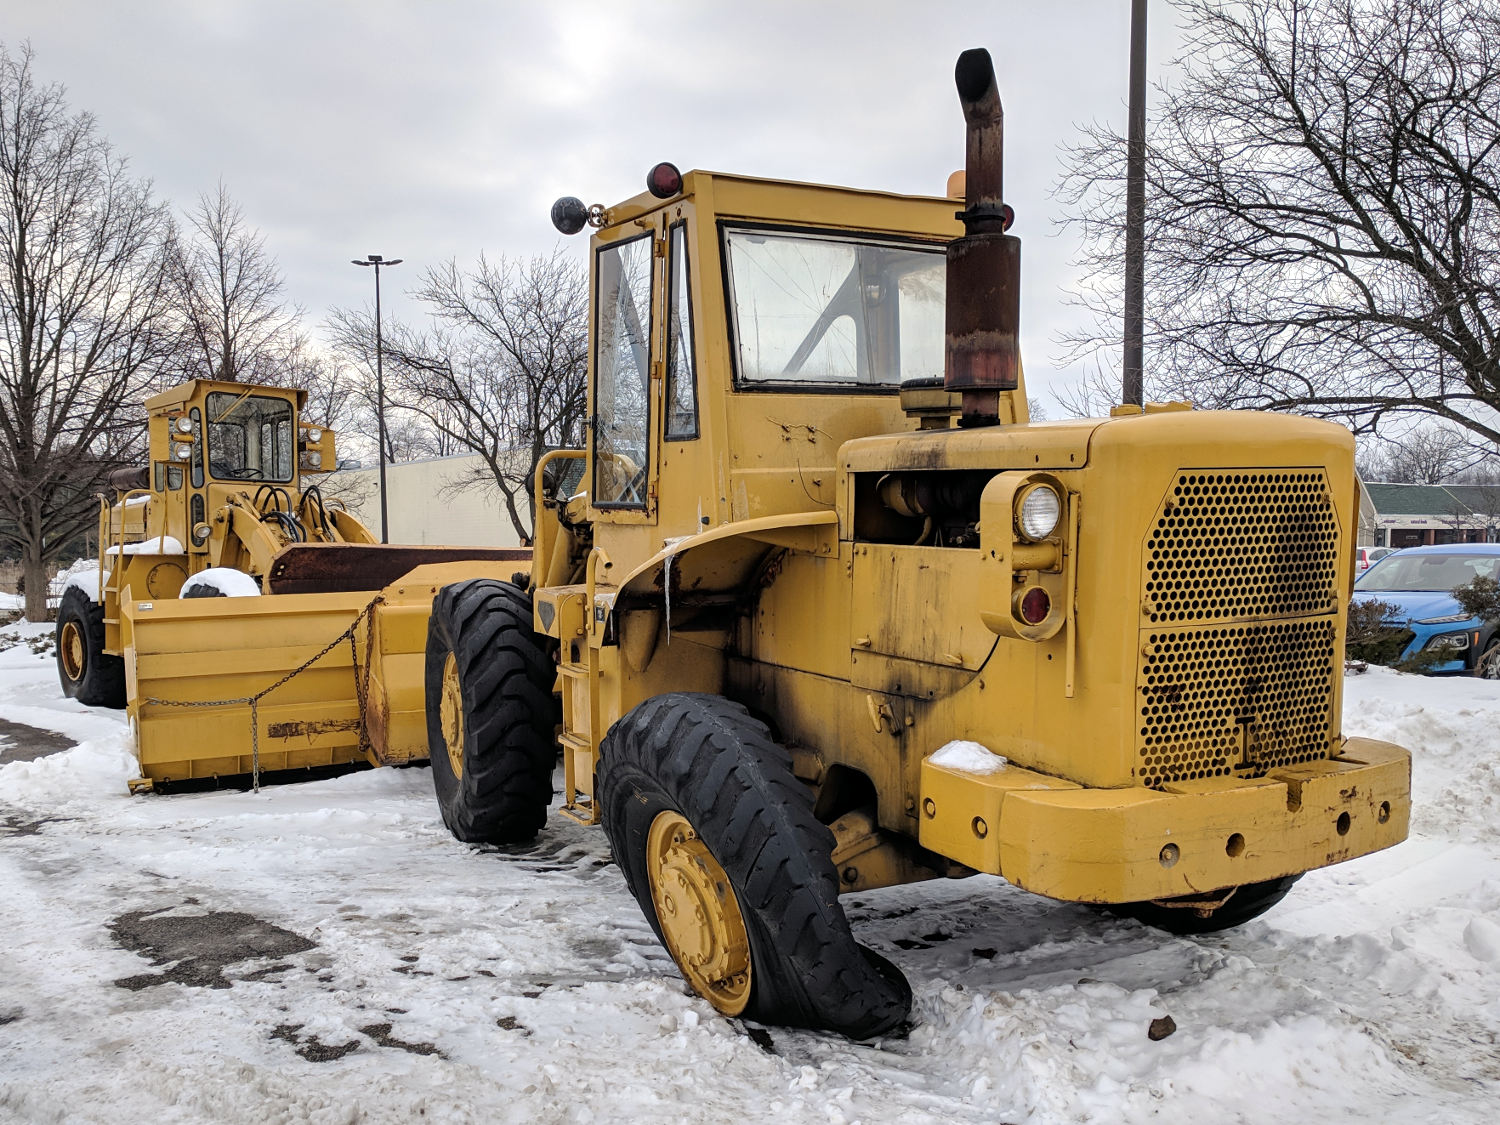
Aaand this front-end loader will require more than the patch kit and CO2 inflator from my bike pack before it’s back in service:
Front-end loader with flat tire
The local yellow iron inventory spends most of the winter snoozing in shopping mall parking lots, waiting to clear the snowfall. It’s been a light year so far, which is fine with me.
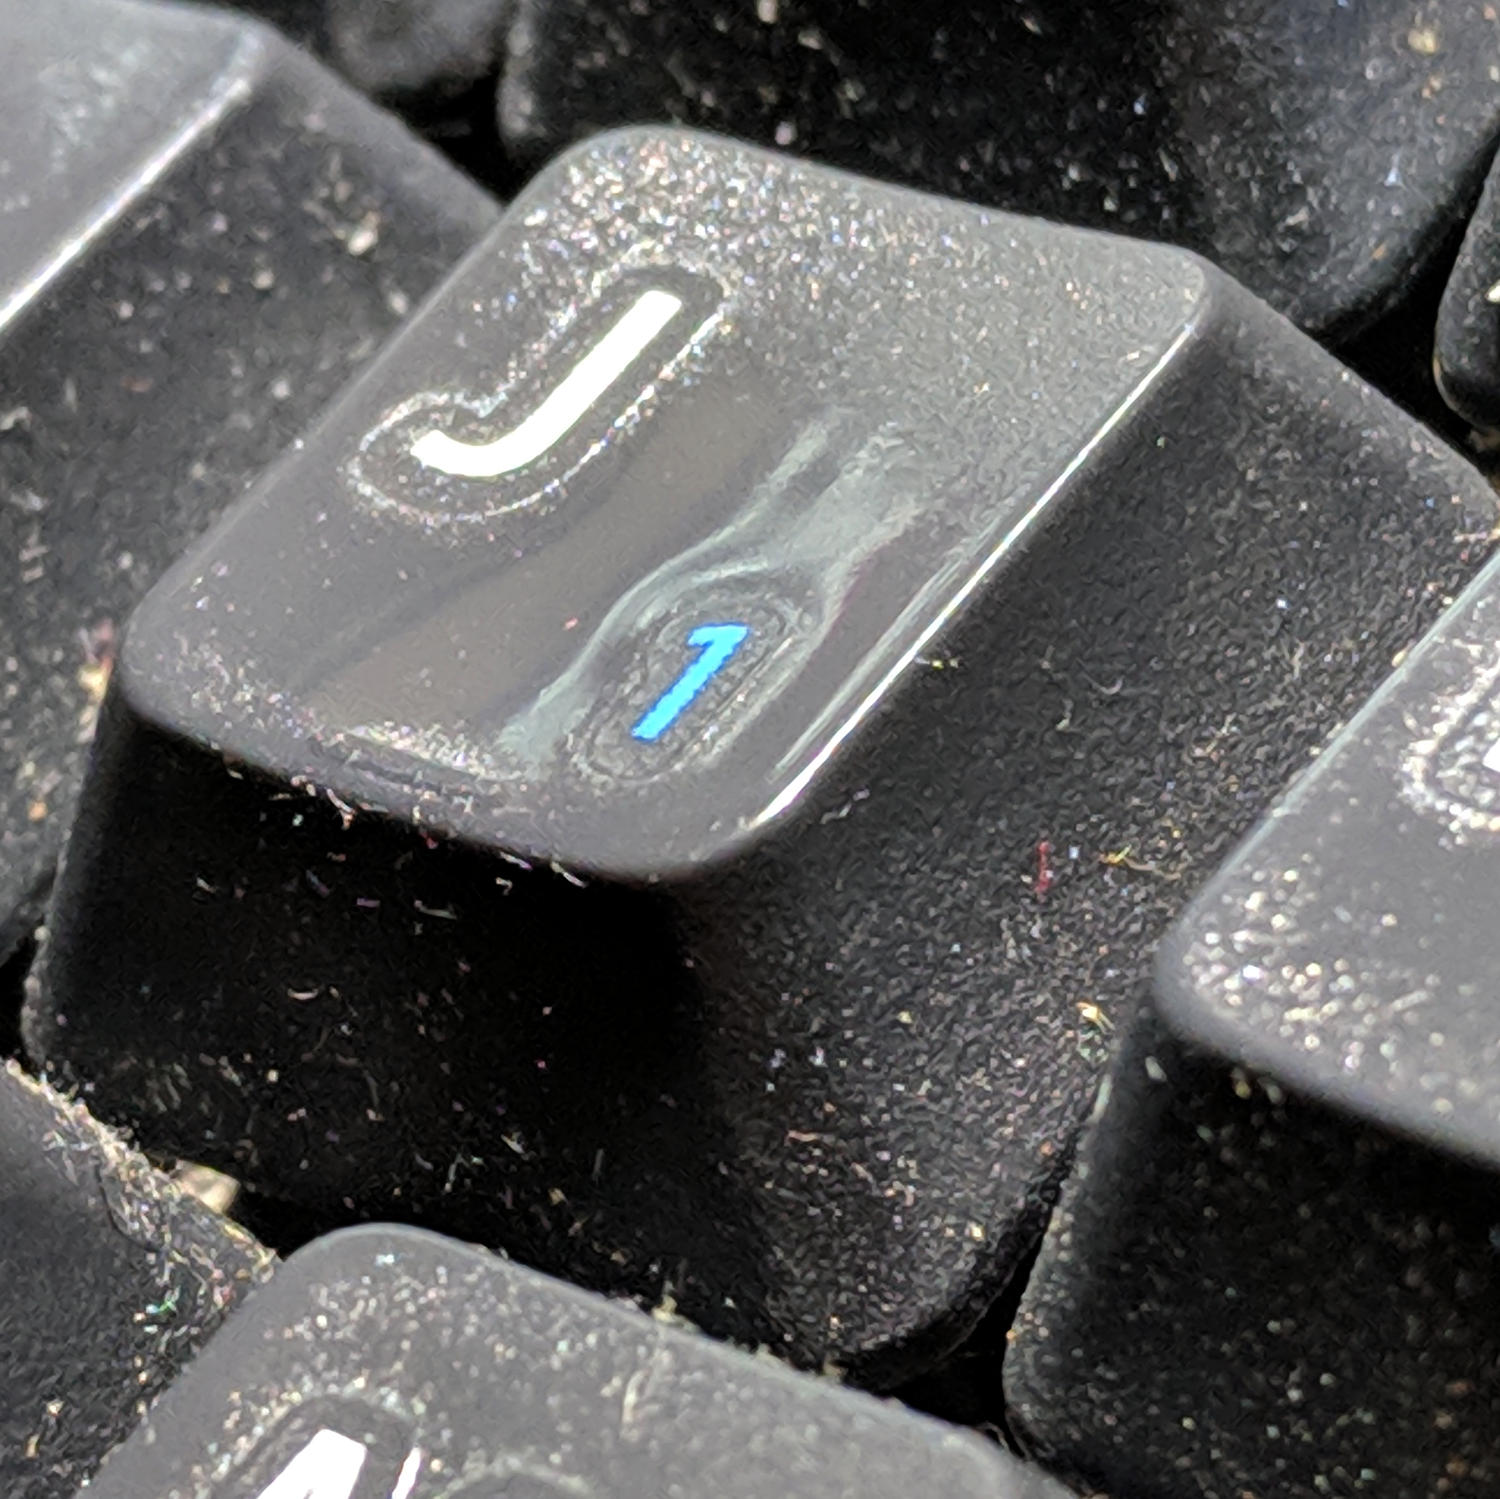
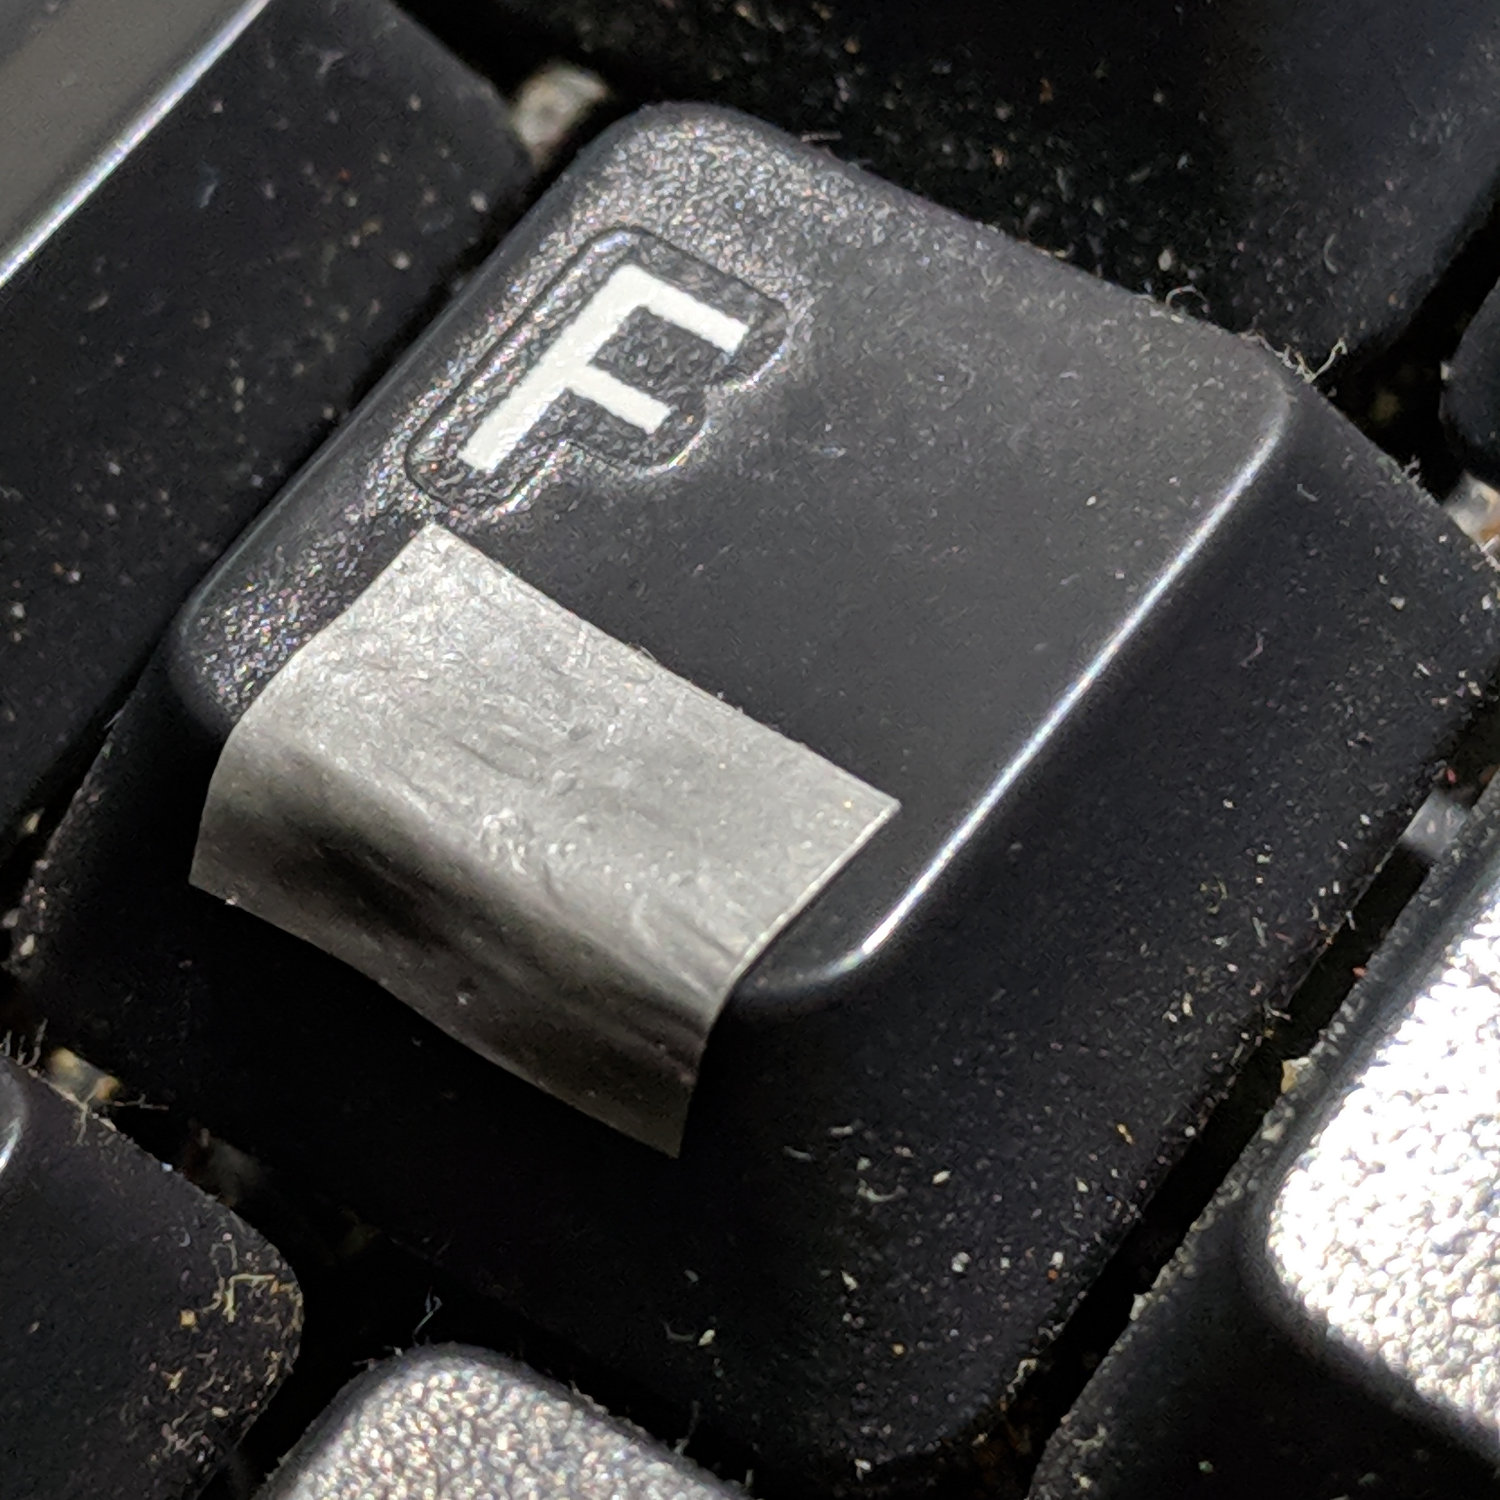
The ultimate fix will likely involve a dab of epoxy, but a duct tape snippet should show me how much of a bump my fingers need to find the home keys without conscious thought:
Kinesis keyboard – tape bump
Early returns suggest one layer isn’t quite prominent enough; some iteration will be in order.
Spotted this in a mall built just before the 2008 financial implosion:
Round Lamp Post in Square Pavement Hole
Maybe the original catalog items went obsolete by the time they signed up enough tenants in that section to justify any lighting at all?
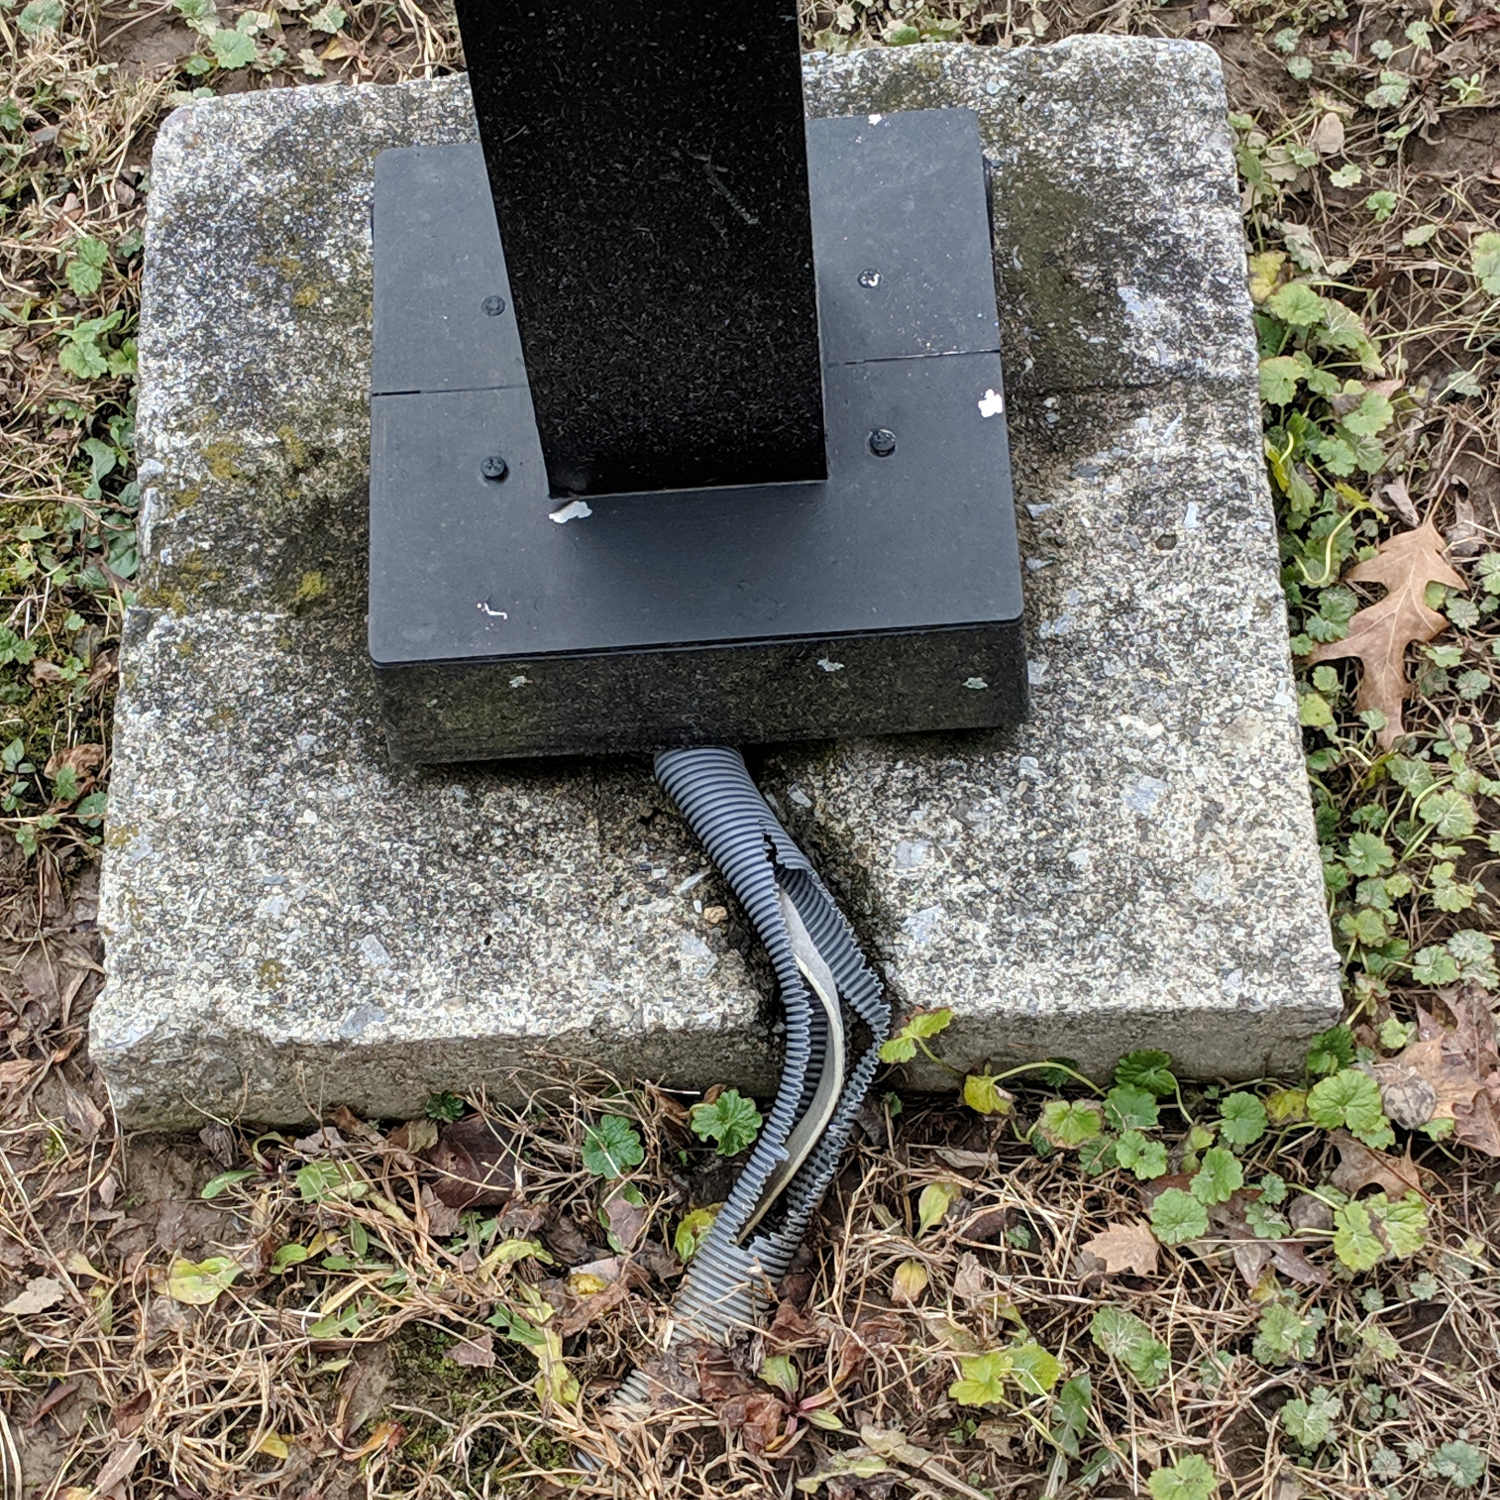
In related news, a facelift some years ago at the motel next to the decaying Red Oaks Mill dam installed square lamp posts on the existing square concrete pedestals, but replaced the original metal conduit with a plastic sheath:
Square Lamp Post with Cut Cable Shield
The cable may sit low enough in the recess to survive, but I wouldn’t bet my life on it.
A reasonably good silicone-wire multimeter probe set arrived last spring and has worked well enough (I thought, anyhow) for the usual voltage measurements, but recently failed while measuring a small current. We all know how this will turn out, but the details may be of some interest.
Measuring the resistance from tip to plug located the fault to the black probe, after which I poked a pin through the insulation near the plug:
Multimeter probe – diagnosis
The two leads near the bottom go to my shiny Siglent bench multimeter. Despite their similarity to the failed probes, I’m pretty sure Siglent has better QC (well, mostly).
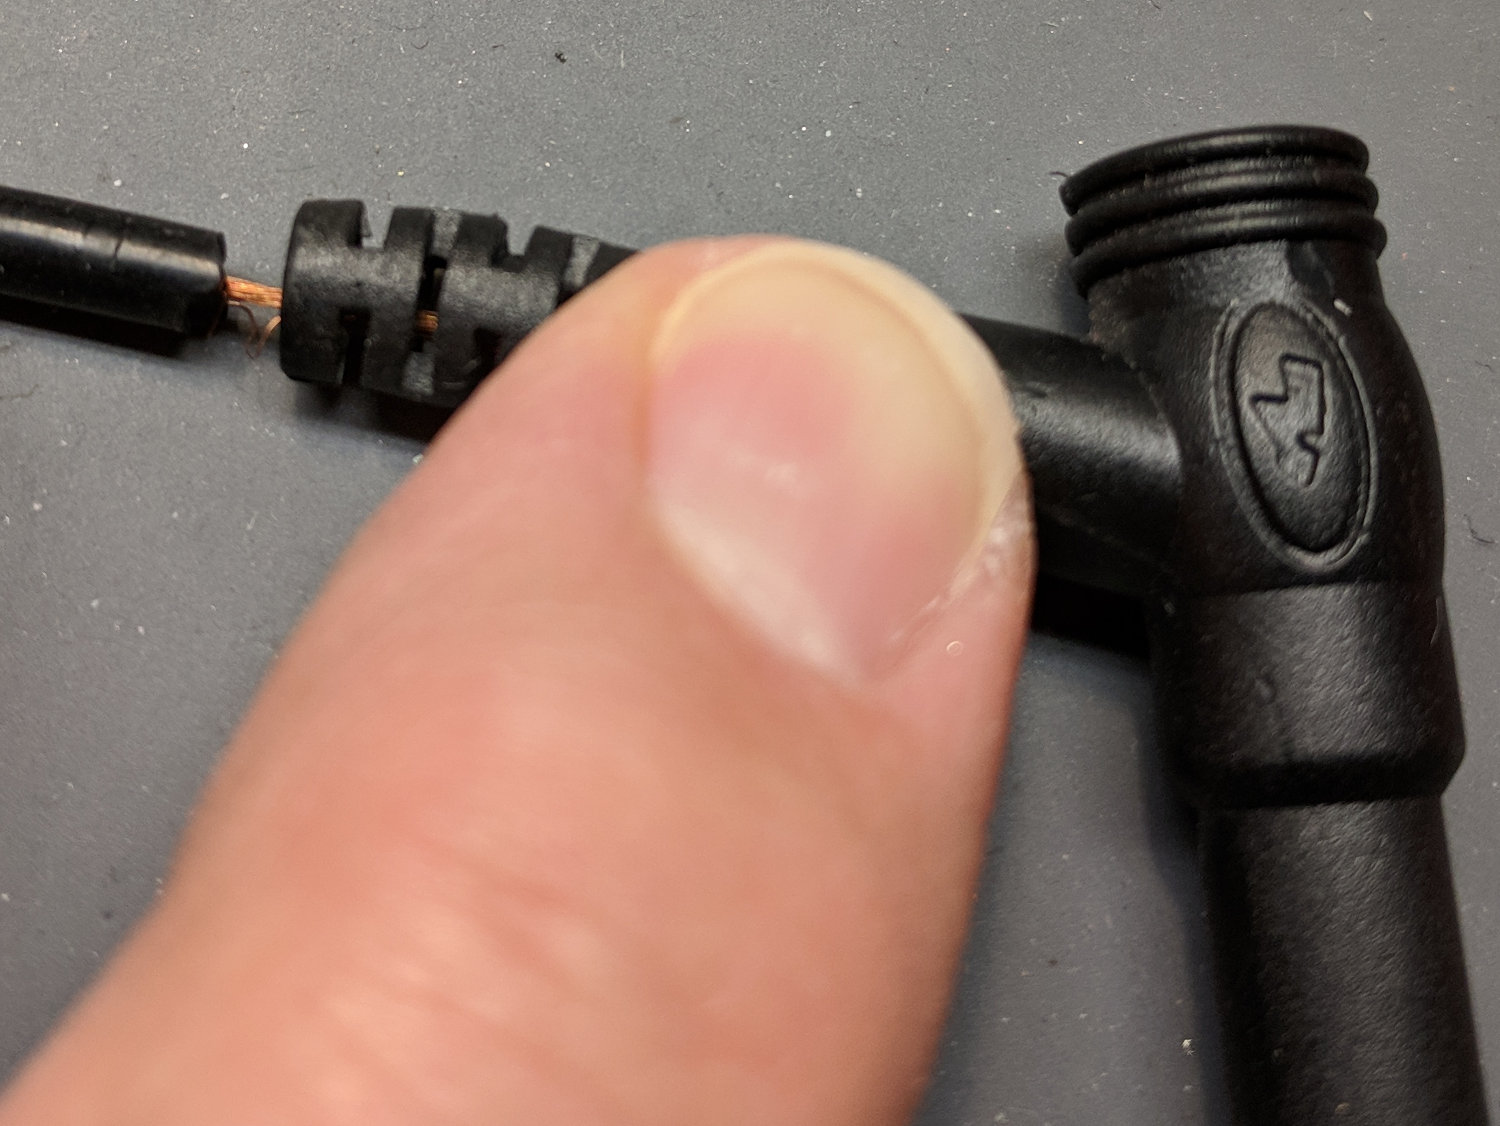
The probe’s resistance was near zero from the tip (offscreen to the left) to the pin and megohms from pin to plug (on the right). Figuring the wire worked loose, I pulled it away from the plug:
Multimeter probe – disassembly 1
Huh.
Although I wouldn’t have trusted those probes anywhere near their alleged 1 kV rating, seeing that exposed copper-like substance was disconcerting.
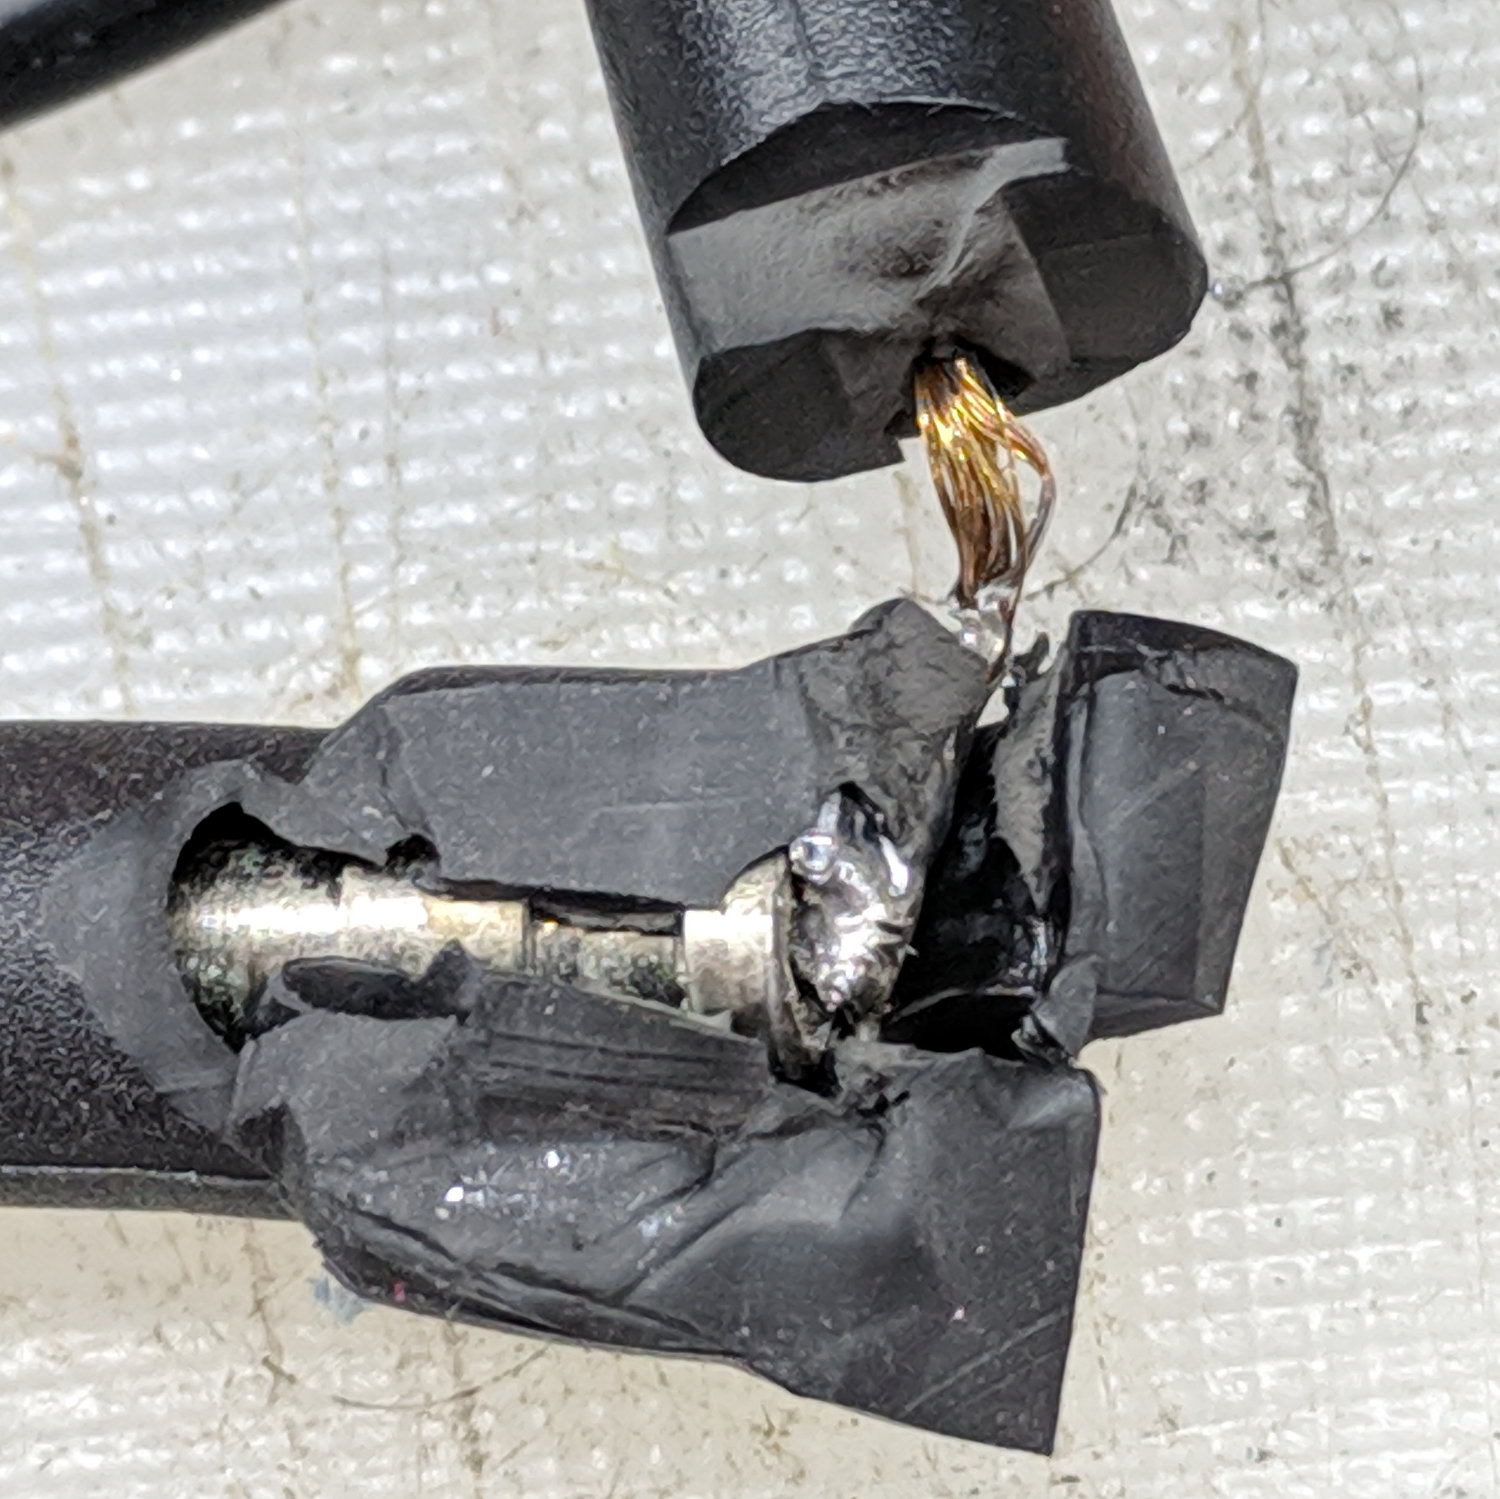
Hacking off the strain relief bushing around the wire got closer to the fault:
This seemed appropriate for a day involving toys of all descriptions…
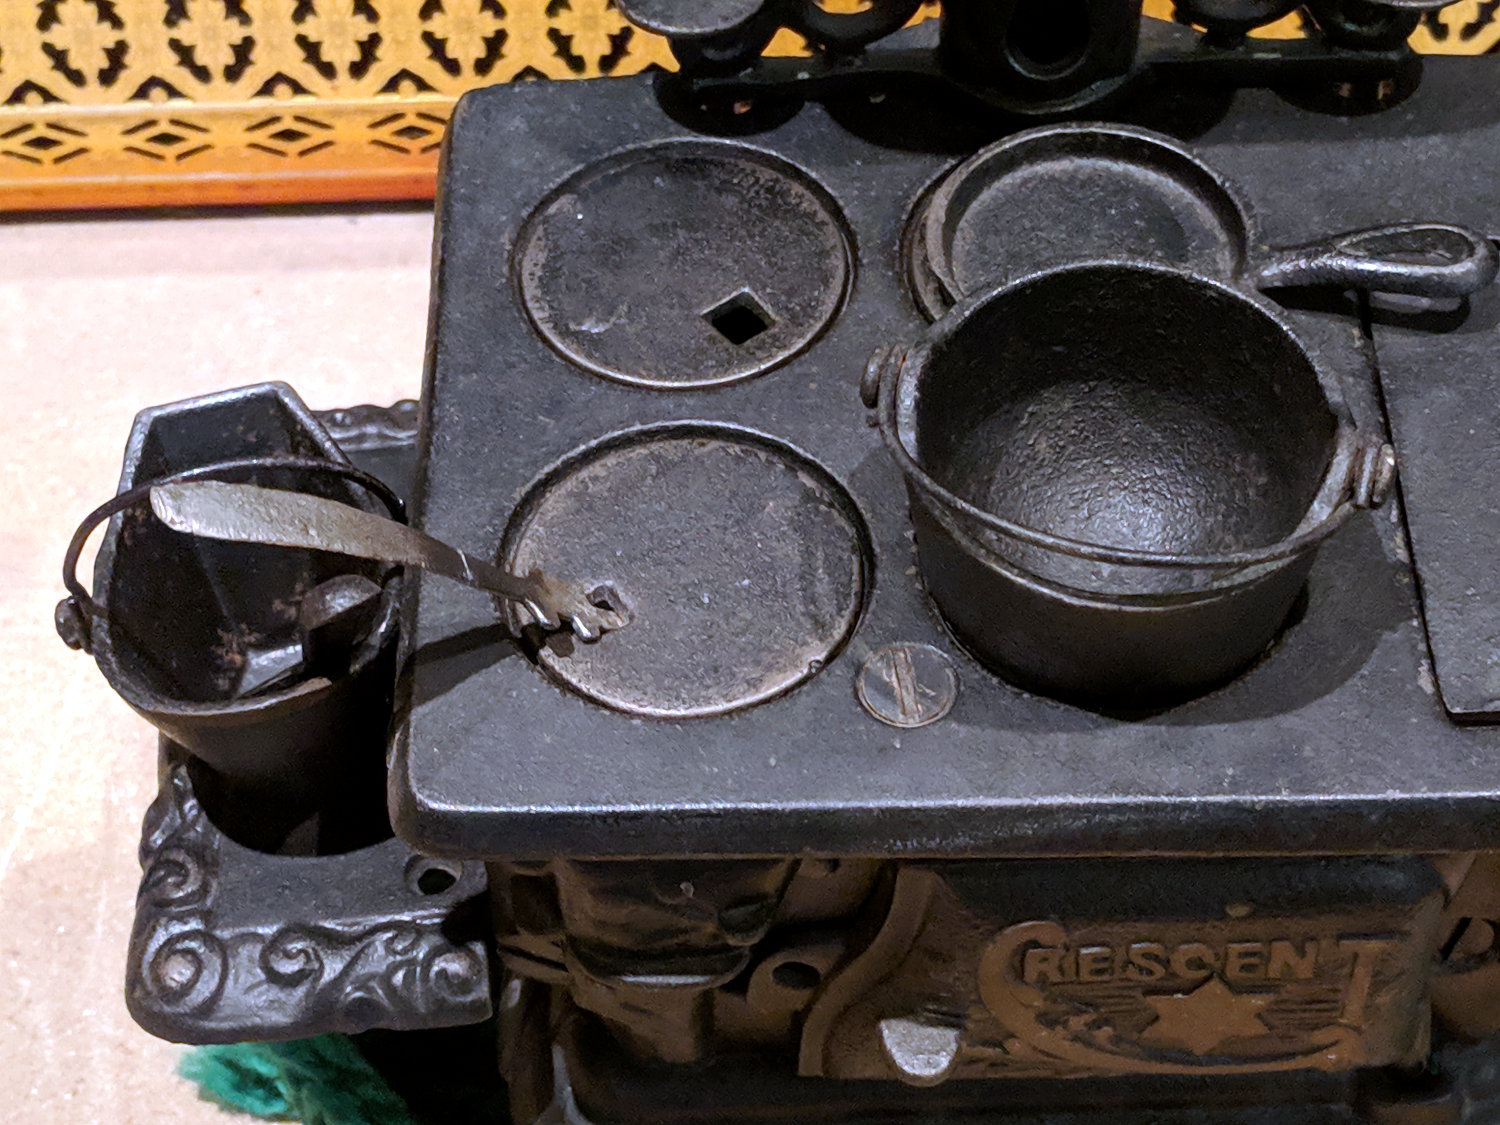
A cast iron stove (most likely a mid-last-century reproduction rather than a Genuine Antique™) emerged from a living room recess:
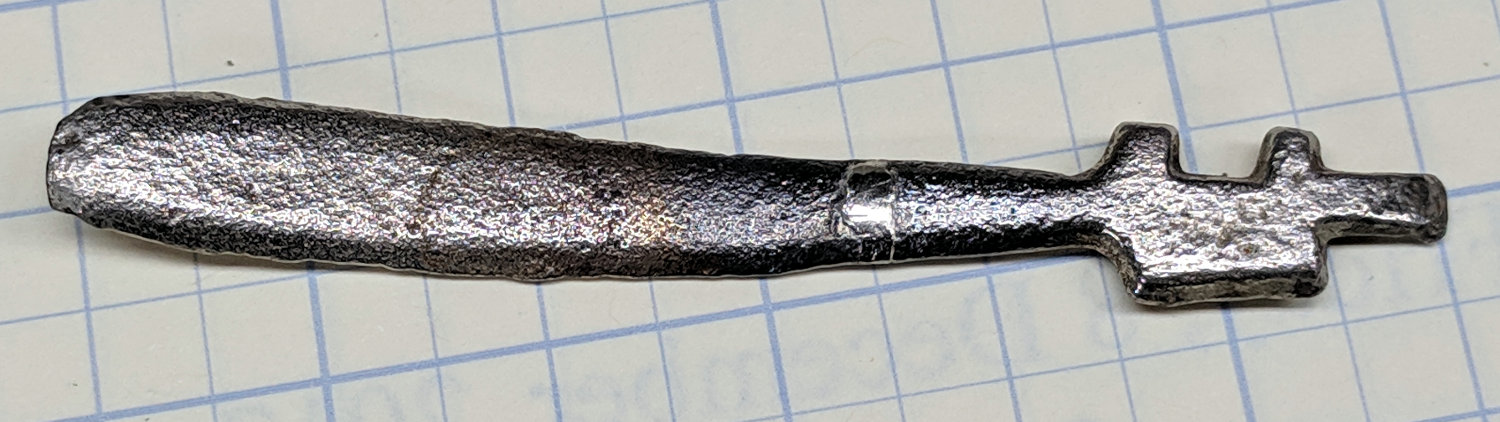
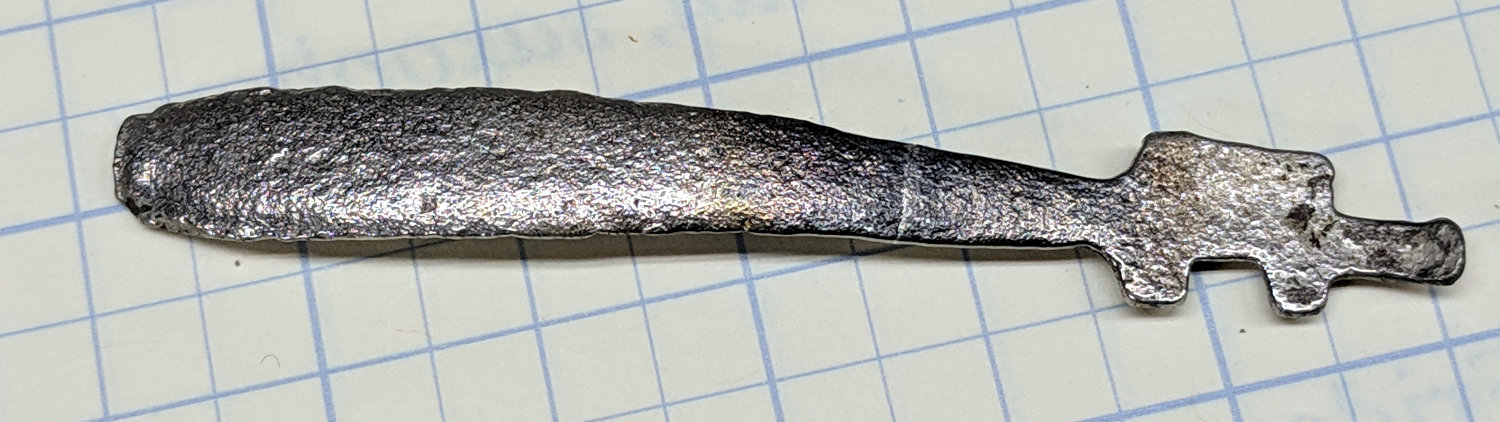
Toy stove with repaired lid lifter
The line across the lid lifter handle shows where it broke, long ago, likely while being played with. Back then, I’d done a static-display-grade fix with a dab of clear epoxy, but a better repair seemed called for; my repair-fu has grown stronger.
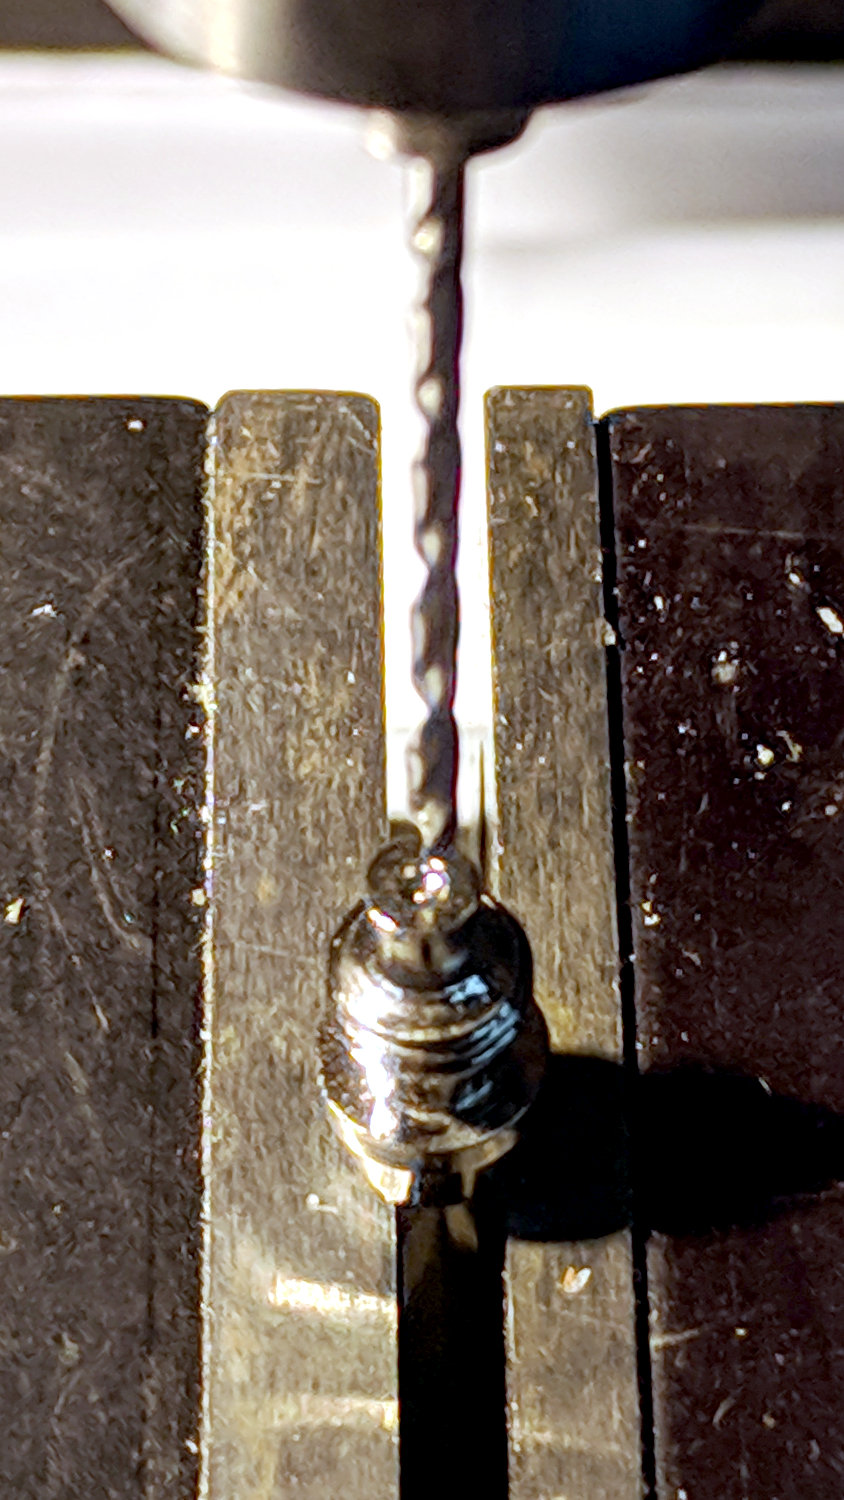
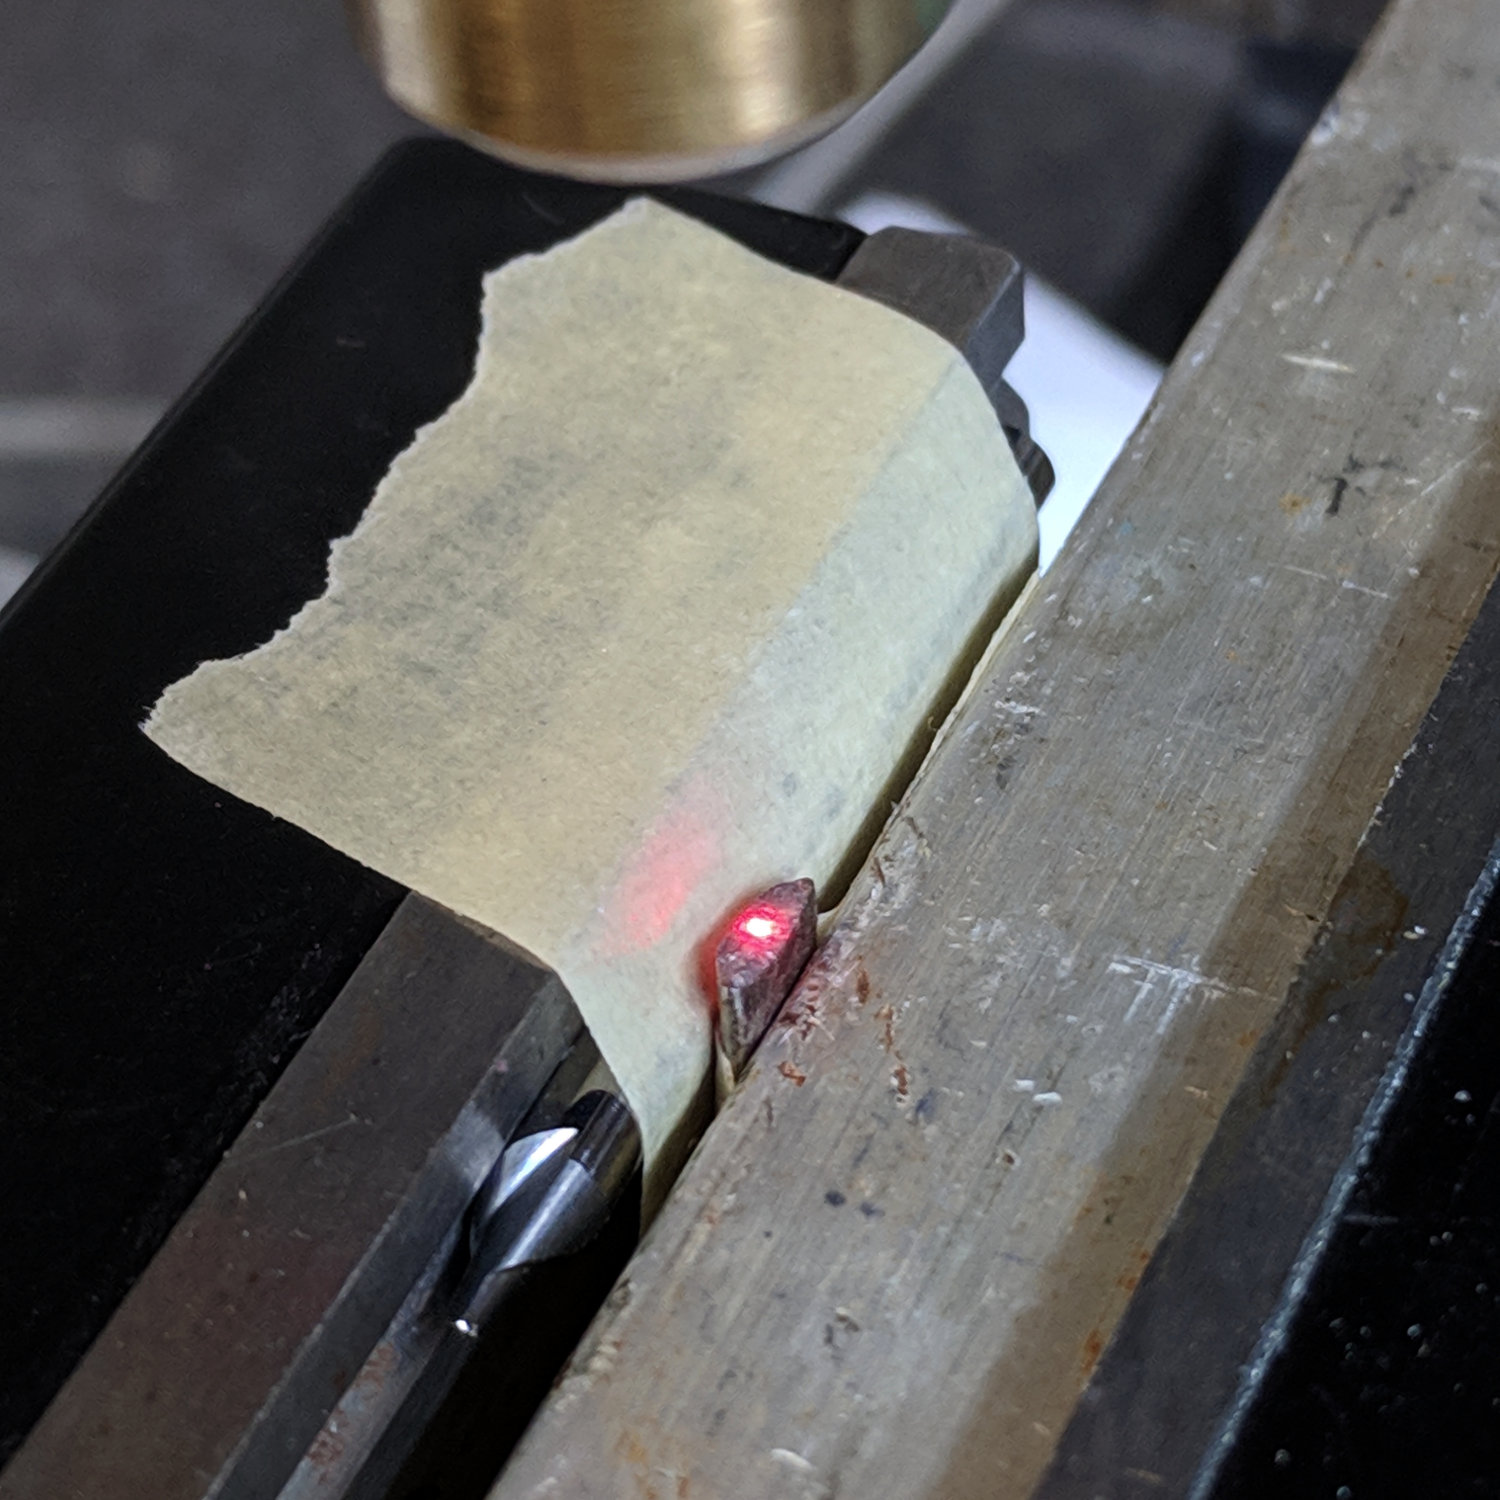
I expected the handle to be pot metal, so drilling a hole in both ends for a music-wire stiffener seemed reasonable:
Toy lid lifter – laser alignment
Much to my surprise, the carbide bit skittered off the surface, leaving fine swarf standing on the end. Turns out the lid lifter is cast iron, just like the rest of the stove!
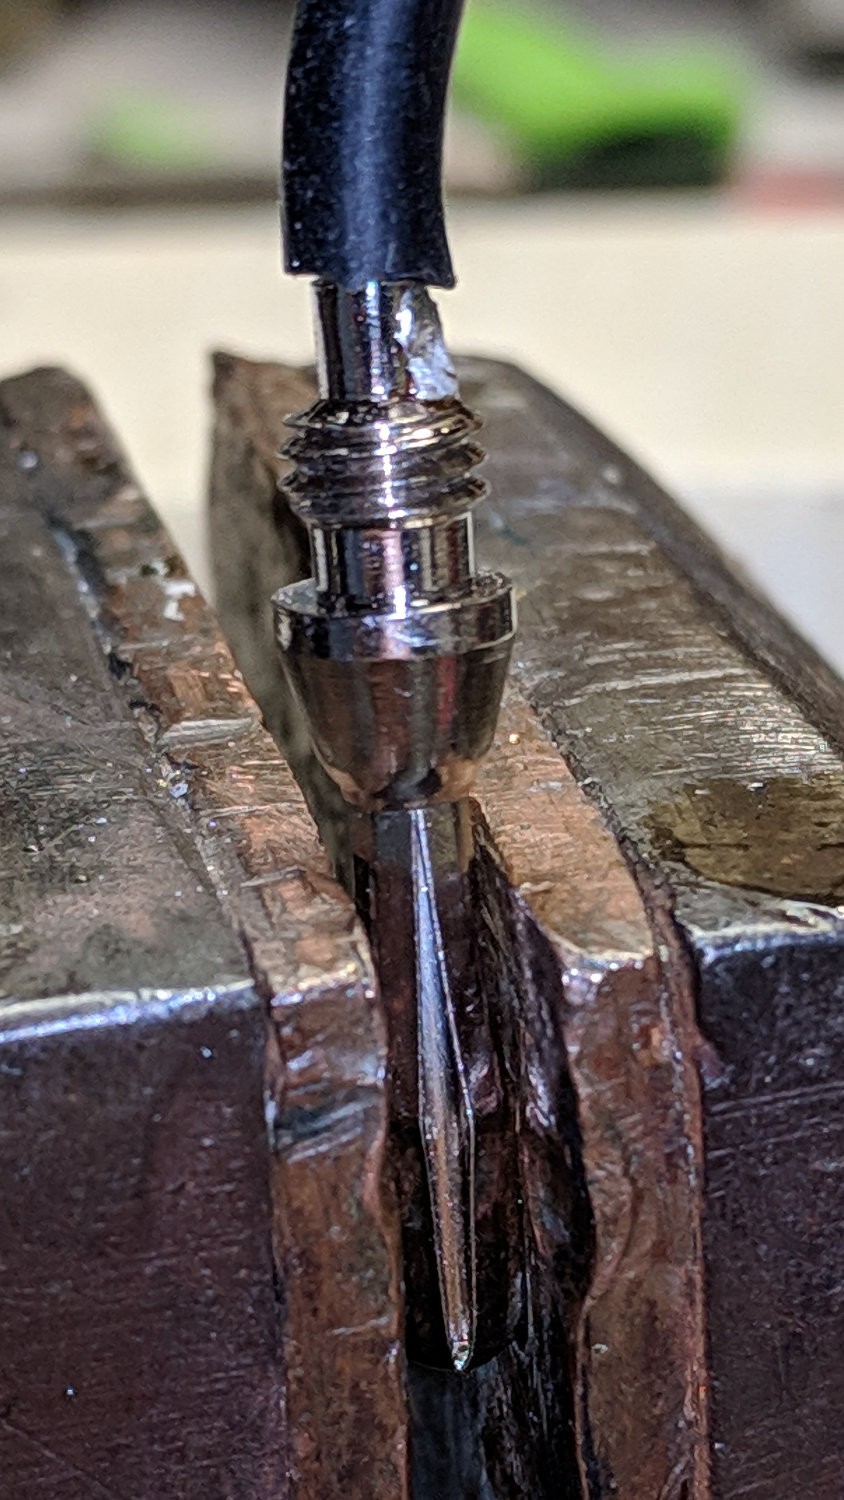
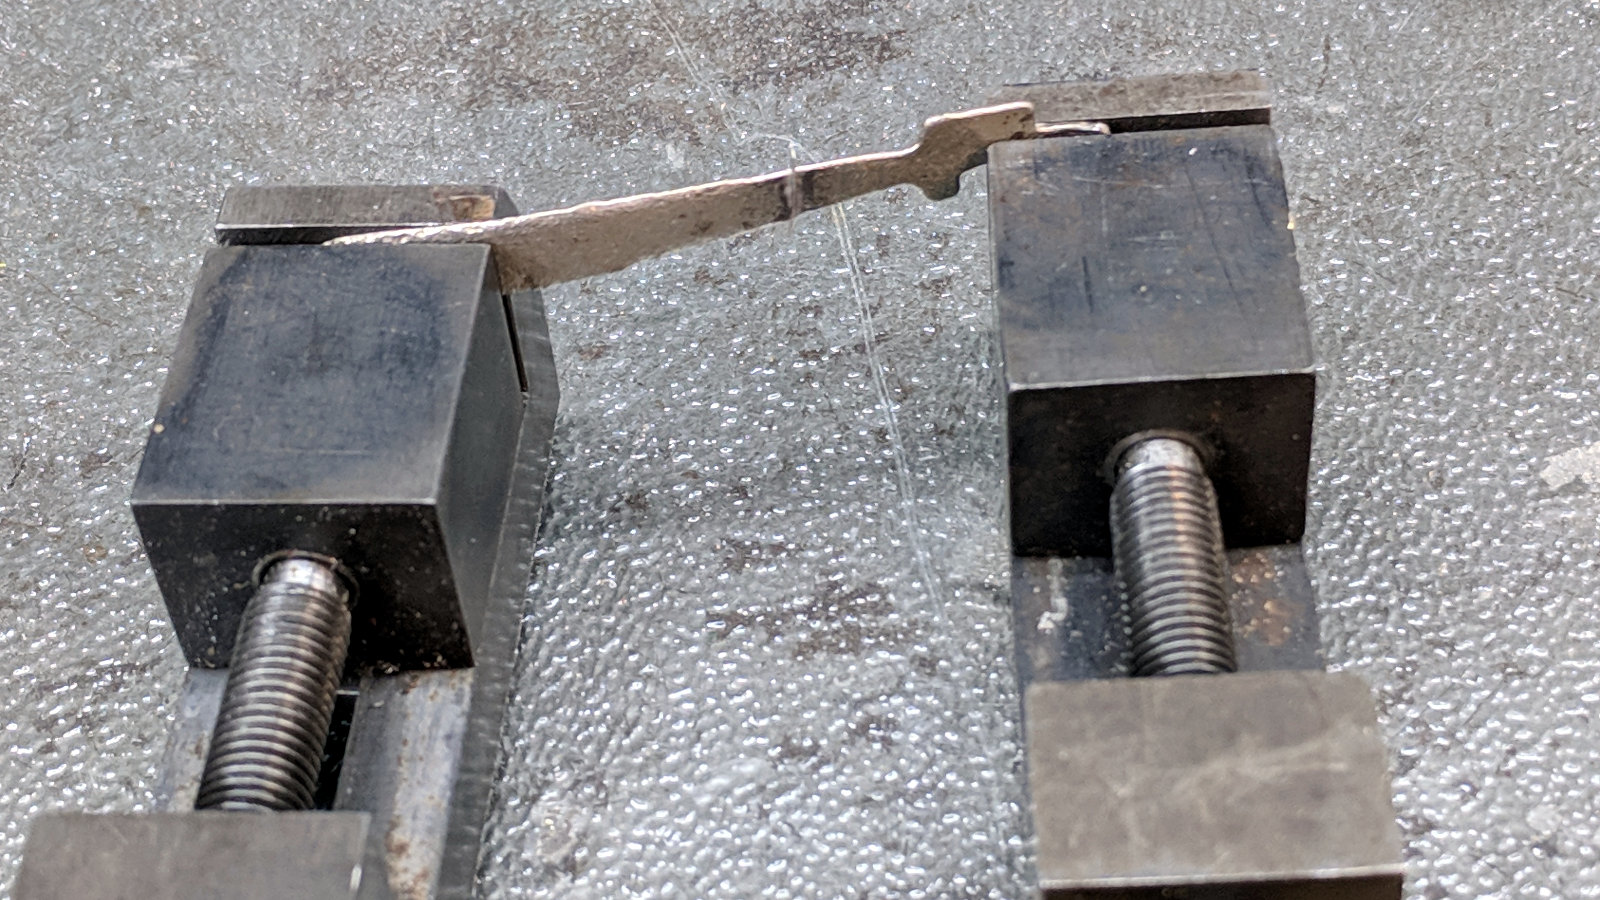
Given that much of a clue, I aligned the pieces in a pair of machinist’s vises:
Toy lid lifter – alignment
Slide apart (the vises stand on a smooth glass sheet; the nubbly side is down), dab silver solder flux on the ends, capture a snippet of 40% silver solder in the gap:
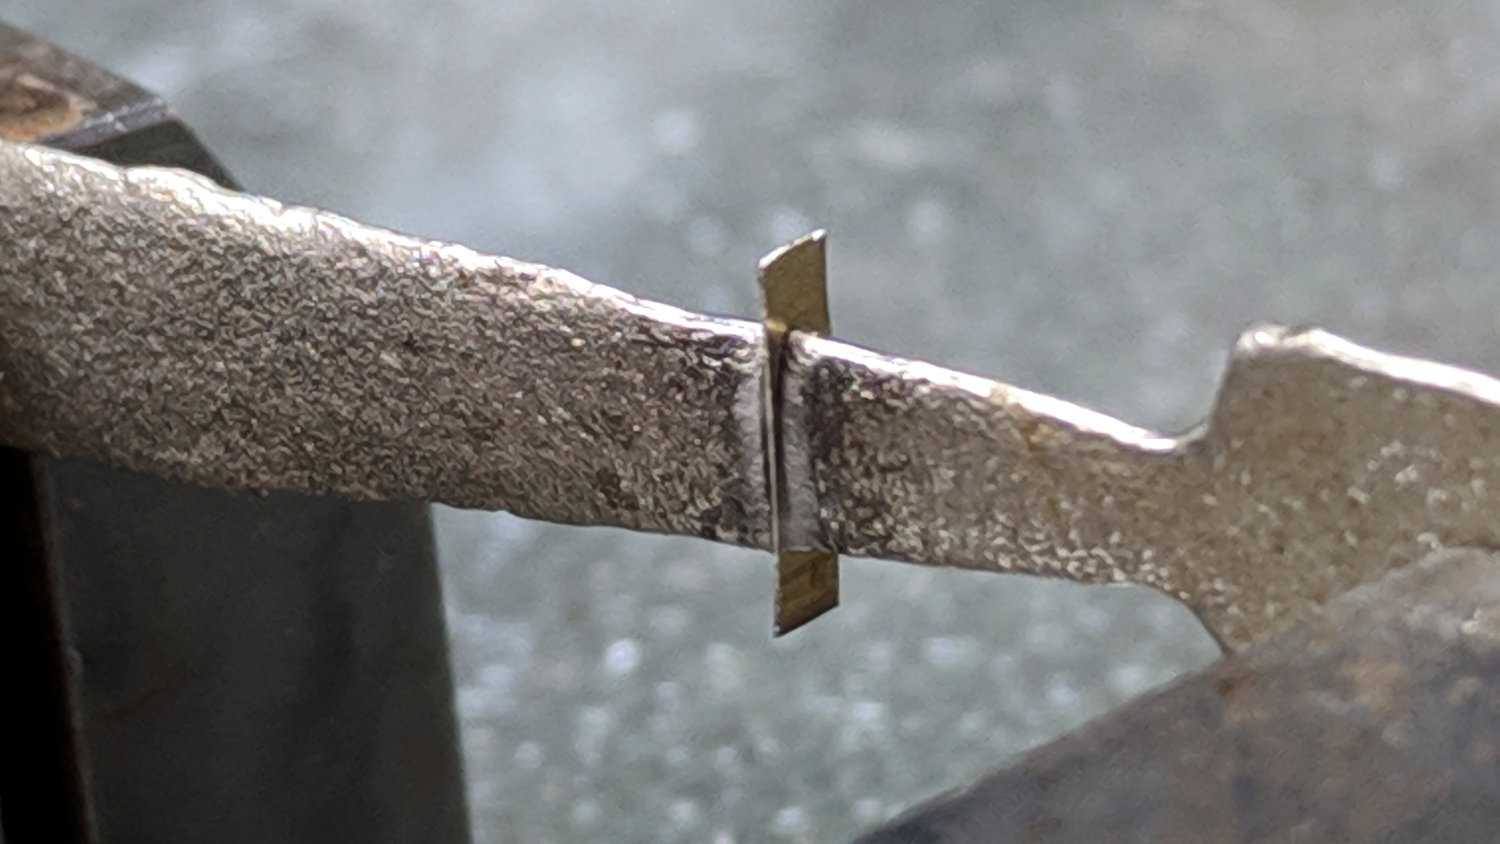
Toy lid lifter – silver solder setup
Hit it ever so gently with a propane torch and slide together:
Toy lid lifter – silver soldered
The solder flows at 1200 °F = 650 °C, roughly corresponding to the blue-gray color near the joint. The nice purple (540 °C) on the left shows where I held the flame to start, with yellows (400 °C) on both sides. Good enough, sez I, it’s going to be a static-display exhibit.