Ed Nisley's Blog: Shop notes, electronics, firmware, machinery, 3D printing, laser cuttery, and curiosities. Contents: 100% human thinking, 0% AI slop.
Although these passed the annual New York State safety inspection, I thought they needed replacing:
HB3 9005 Bulbs – bulged glass
A closer look:
HB3 9005 Bulbs – bulged glass – detail
The bulge was upward, of course.
The Forester’s manual says they’re HB3 bulbs, but the rest of the world knows them as 9005 bulbs. At full power they draw 60 W = 5 A each, although we rarely drive at night and then rarely have the opportunity for much high-beam use. I assume the blackening comes from nine years of running at half-ish power as the Forester’s daytime running lights.
The low beam headlights seem to be in fine shape.
These two went into the tray under the floor of the rear cargo area, because the crappy bulb you have is better than the one that just burned out on the road.
My OMTech 60 W laser cutter has a stepper motor Z axis drive that has worked flawlessly since it arrived. However, it recently developed a periodic klonk during autofocusing and manual jogging, loud enough to shake the platform and rattle the cabinet’s bottom plate.
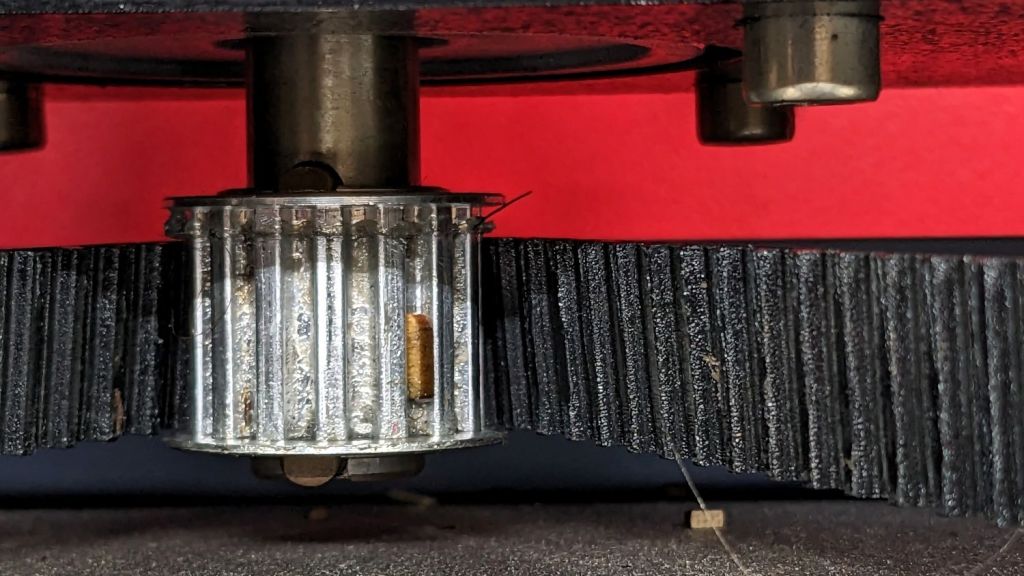
A few minutes of poking around revealed the klonk happened on each turn of the Z axis leadscrews, which quickly led to finding the cause:
Craft Stick – swarf in belt drive
It’s a rectangular wood chip, perfectly sized to jam into the Z axis motor pulley driving the belt: a belt tooth lifts up on the chip as the pulley turns, then klonks as it slips off the other side. The motor pulley and all four leadscrew pinons have the same number of teeth, so they’re all at the same point in their rotation when the belt slams down onto the pulley.
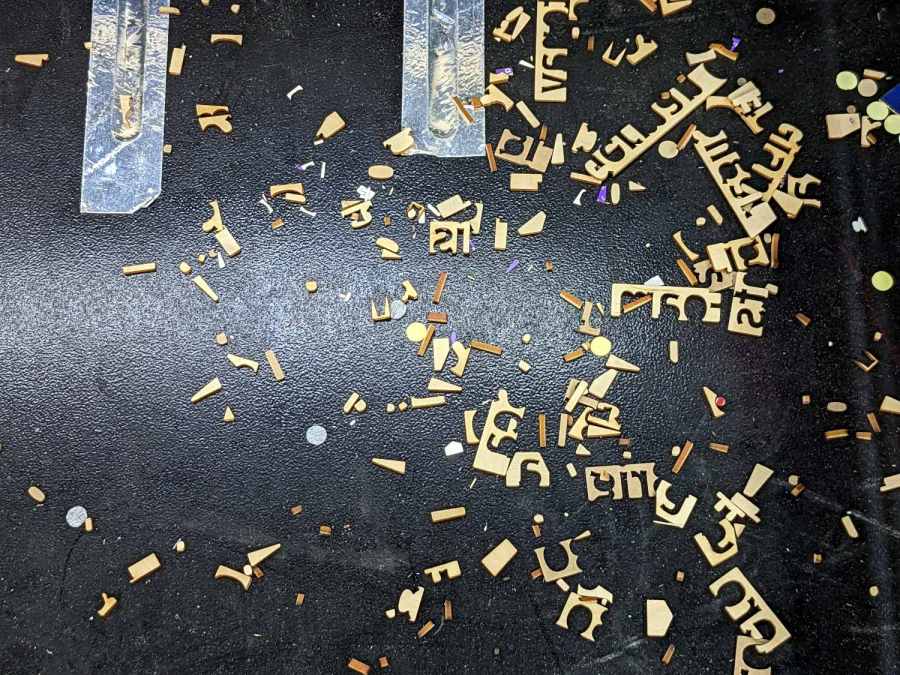
Where might such a thing come from? Well, I recently finished a batch of plant markers and hadn’t yet cleaned out the “chip tray” which is also just the bottom plate of the cabinet:
Craft Stick – swarf
I briefly considered building a guard for the motor pulley, but the belt most likely carried it from elsewhere. The leadscrews have an ample coating of grease that was also smeared elsewhere on the cabinet, making the belt sticky enough to catch such things.
The chip tray is once again pretty clean and the platform behaves normally again.
According to the manual, which I have hitherto had no reason to doubt, our non-turbo 2015 Subaru Forester has a 15.9 gallon fuel tank:
Subaru Forester – Fuel Capacity Chart
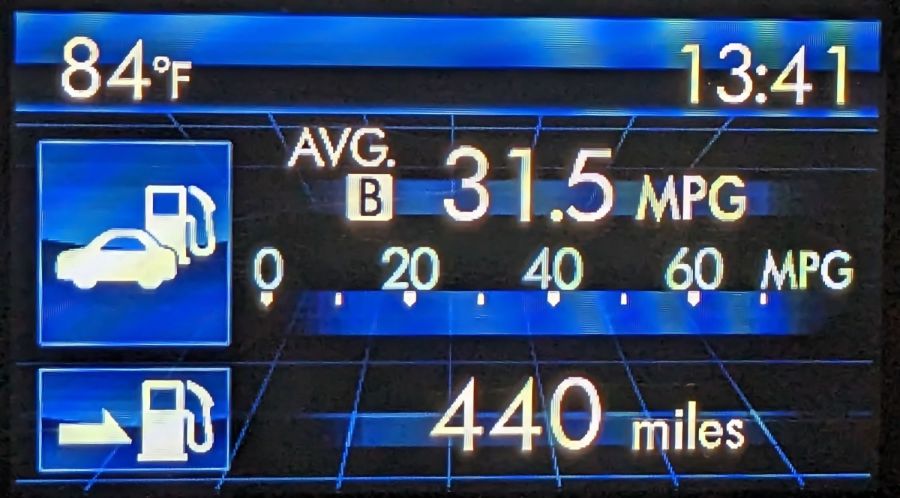
One screen shown on the dashboard’s Multi-Function Display gives the current mileage and estimated range:
Forester – MPG Range
Dividing those two numbers gives you 13.97 gallons, the current fuel level. As you’d expect, should the average miles per gallon change, the range will change accordingly.
The trip odometer says we have driven 72.8 miles since I filled the tank. Dividing that by the average mpg gives 2.3 gallons, so the tank could possibly hold 16.2 gallons, which, given all the averages involved, is reasonably close to the 15.9 gallons shown in the manual.
Being that type of guy, I have a spreadsheet tallying each fillup since the car was new:
8.1 gal average
7.5 gal median
13.9 gal maximum
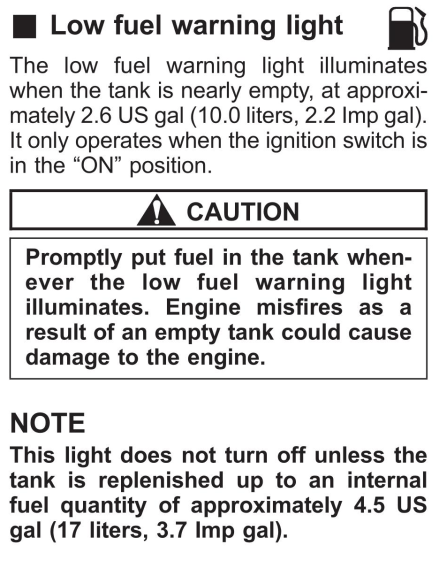
Long ago, my father taught me to fill the tank when the needle got halfway down and I’ve been doing so ever since. As a result, we have only rarely seen the Low Fuel Warning Light:
Subaru Forester – Low Fuel Warning Light info
A concatenation of unavoidable events put us southbound on I-87 when that light went on. Given the estimated range of 70-ish miles, I planned to refuel at the New Baltimore Service Area, about a dozen miles ahead.
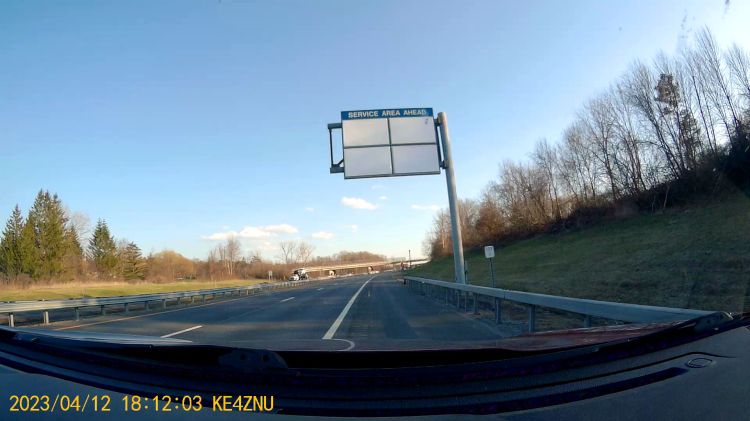
The engine shut down and all the dashboard warning lights lit up with the Service Area Ahead sign in view:
Out of Gas – Service Area Ahead
All the “facilities” are blank because they’re rebuilding the whole place, with the gas station remaining open.
So I slapped the shifter into neutral and we drifted slowly along the shoulder, under the bridge visible ahead, and eventually came to a halt at the beginning of the exit lane.
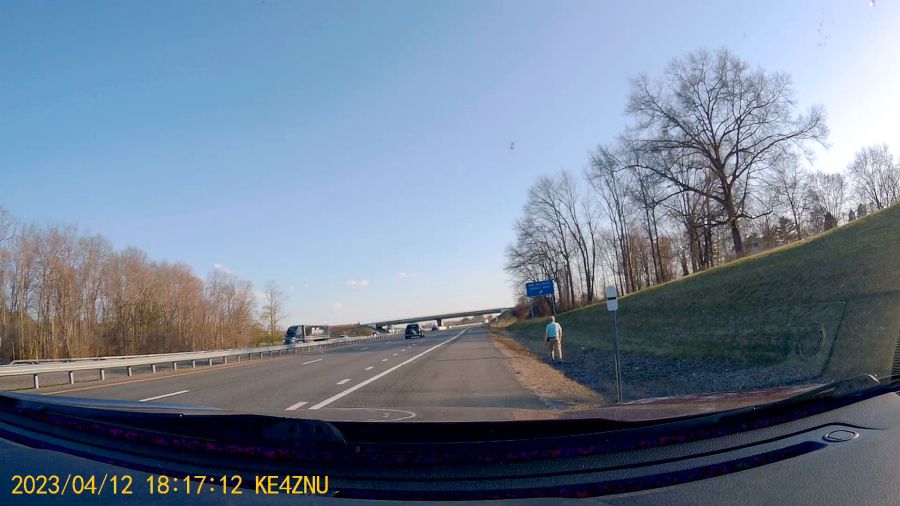
There was only one thing to do:
Out of Gas – Walking On
Some storytelling later:
Out of Gas – Walking Back
Just because I could:
Refueling – GPS Track
For what are, I trust, understandable reasons, I started the tracker after I began hiking and forgot to turn it off before driving away.
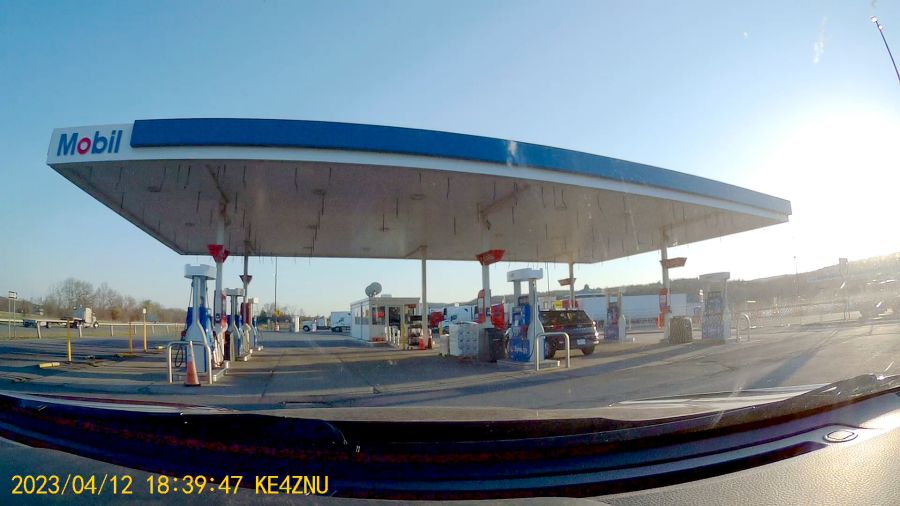
After figuring out the devilishly complex spring-loaded anti-spill spout on the gas can, we drove 1500 feet to the Service Area:
Out of Gas – Service Station
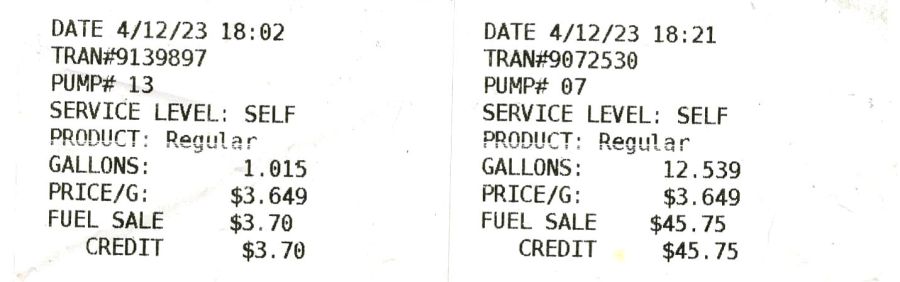
As usual, I filled the tank until the nozzle automatically shut off, for a total of 13.554 gallons in two transactions:
Pump Receipts
Now, it is possible the Forester fuel system has another 2.3 gallons tucked away somewhere, but if that reserve doesn’t make the wheels go around, it’s not doing me the least bit of good.
The fact that I’ve occasionally added just short of 14 gallons suggests the estimated remaining capacity depends strongly on the average mileage up to that point and I have come very very close to running out of gas on several occasions.
As far as I can tell, the usable fuel capacity is a scant 14 gallons and the Low Fuel Light goes on with, at most, a dozen more miles in the tank.
This is the second time in more than half a century of driving I’ve run out of gas.
My father was right and I shall henceforth mend my wayward behavior.
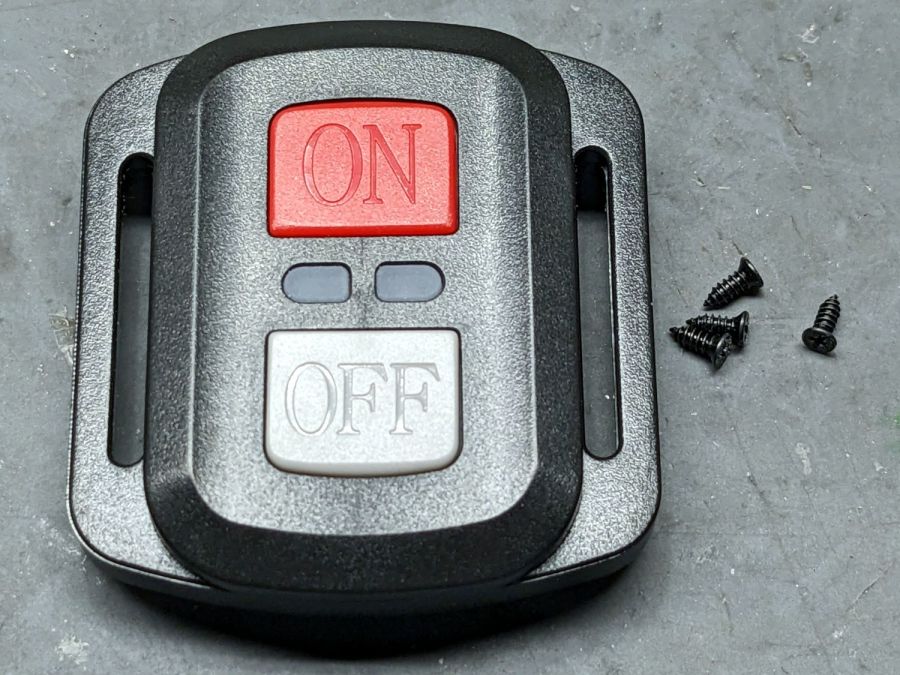
The remote control included with the SJCAM M50 trail camera did absolutely nothing. Not only did it not turn on the camera’s WiFi, the two indicator LEDs between the buttons didn’t blink:
SJCAM M50 remote – front view
With not much to lose, I removed those four screws and popped the back cover:
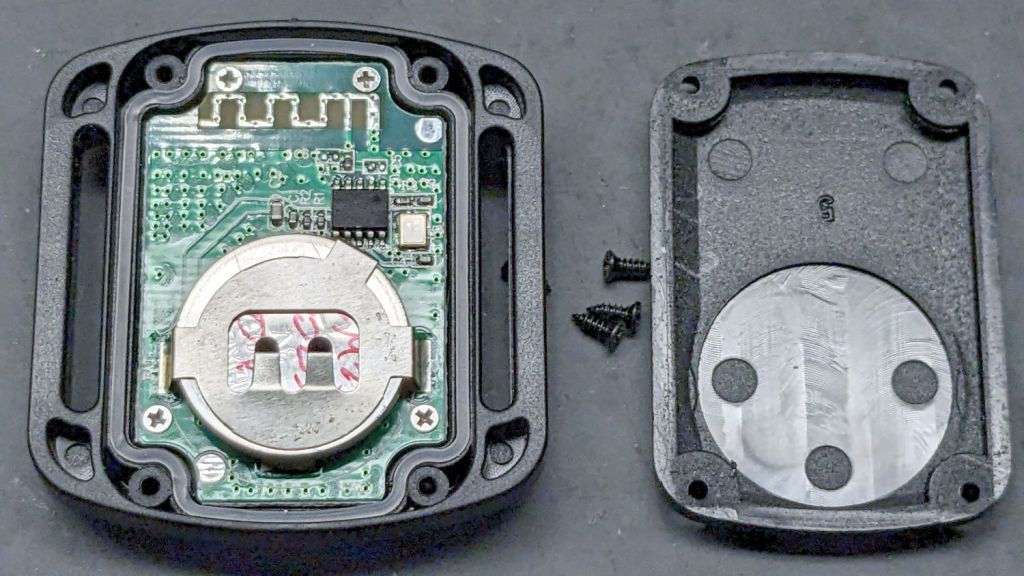
SJCAM M50 remote – interior
Yup, the OEM no-name CR2032 lithium cell was dead flat discharged. A new one perked it right up, with blinky LEDs and all.
Now I can check the camera for interesting pix without hauling it into the house:
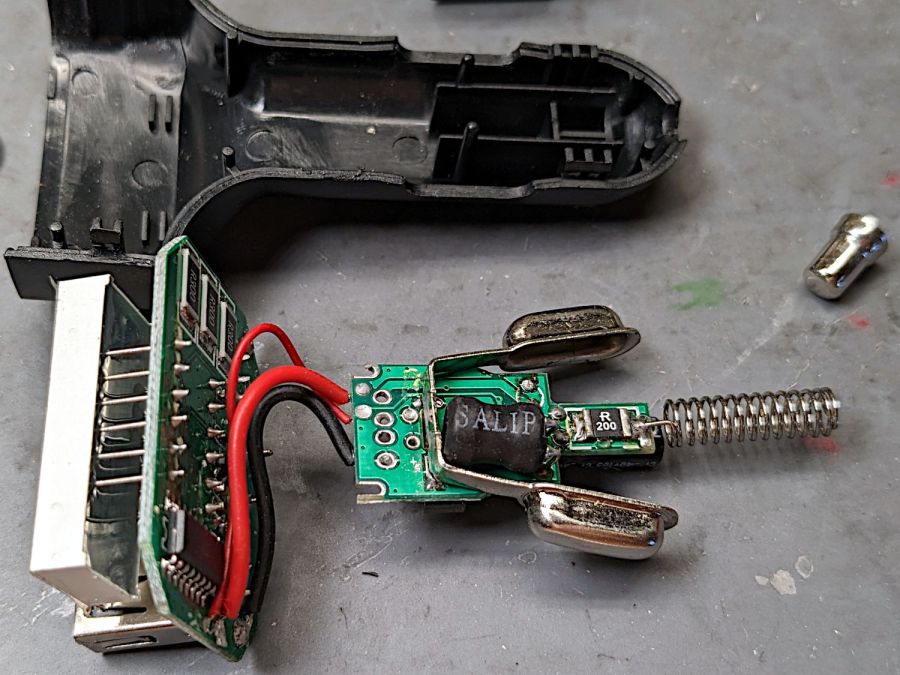
The USB charger plugged into the jack formerly known as a “cigarette lighter” and now called a “power supply socket” in the car woke up dead, with a blank LED display previously showing the battery voltage / USB current / ambient temperature. Cracking the case revealed two small circuit boards:
Car USB charger – innards
You can see where this is going, right?
A closer look at the base of the side contacts:
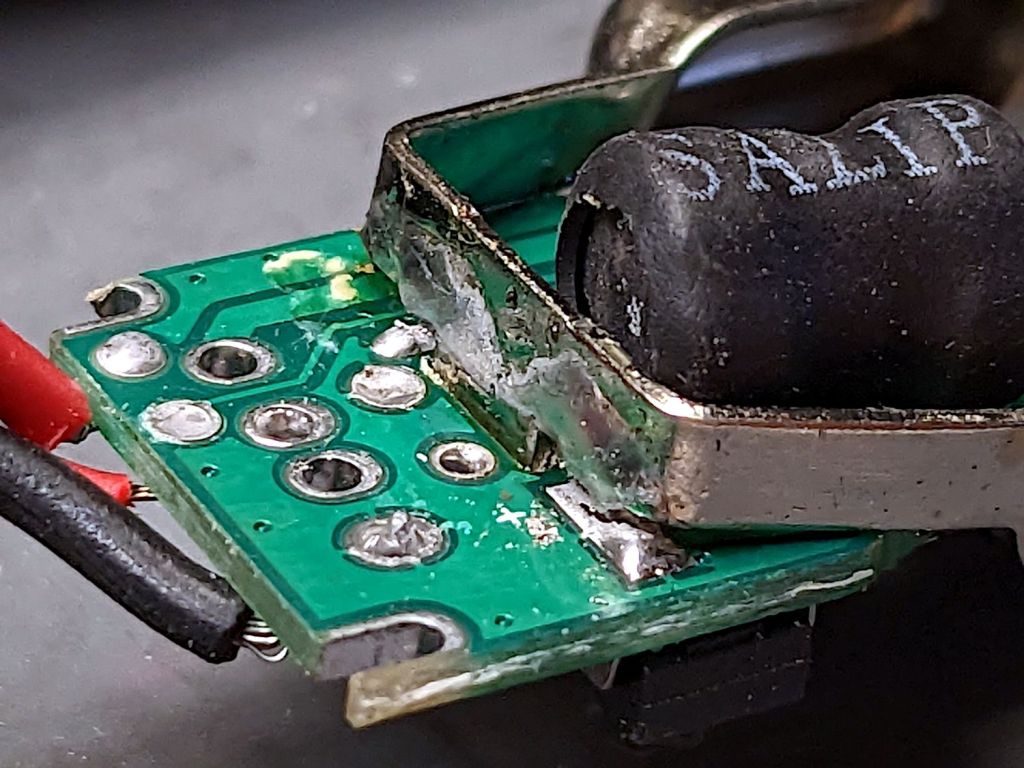
Car USB charger – broken solder
The central tab goes through the PCB and should have been soldered on the other side, leaving the springy arms free to flex. Instead, only the arm over the topside pad had any solder; the other arm just got a solder blob atop the silkscreen over those traces.
I soldered the bottom tab, although I also resoldered the side pad. After all, the structural solder survived for quite a few years, so it might well outlive the car this time.
The Canon LiDE 120 scanner on Mary’s desk gets considerable use by both of us, until a recent update of something killed network access to it. The usual searches revealedcomments suggesting the sane scanner program has deliberatelydisabled network access to USB scanners which use the net back end, apparently to prevent loops when one instance shares a networked USB scanner already shared by another instance.
I have no clue how all that works, nor why the change has apparently taken half a dozen years to reach our scanner.
The workaround required downgradingsane on the “server” PC (the one with the Canon scanner) to the most recent version that doesn’t enforce the prohibition:
The pamac GUI interface now shows sane as eligible for an upgrade, then reports that it won’t do the deed. That’s survivable.
At some point, not updating the sane package will cause other problems. Perhaps by then we’ll have moved the hulking Epson ET-3830 printer/scanner upstairs and can recycle the Canon scanner.
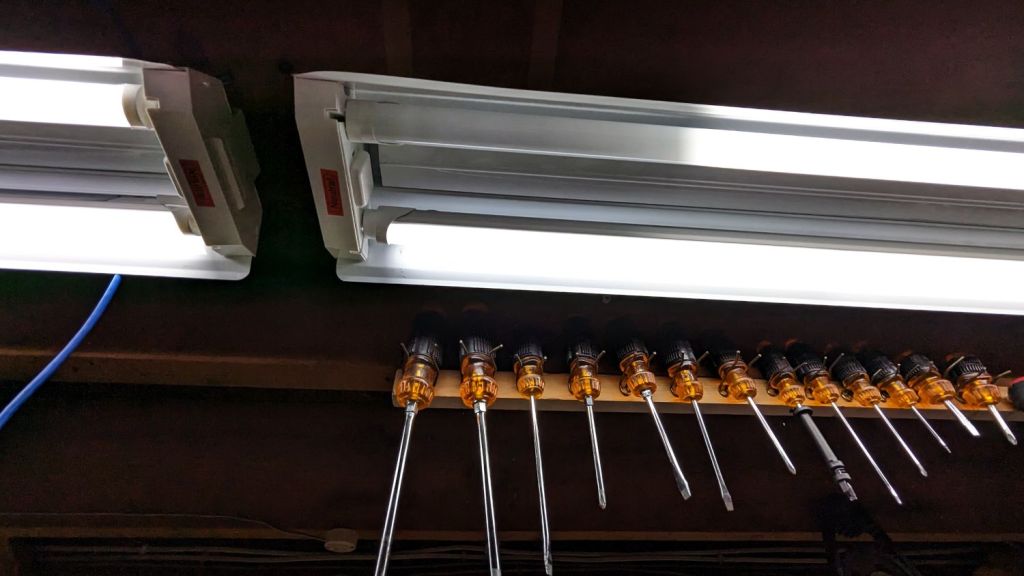
The next morning the dead section lit up again, albeit with a dim ring at its right end. I think one LED in that string failed open and darkened the whole string, then failed short under the voltage stress, and is now quietly simmering in there with slightly higher than usual current.
The lights over the workbench weren’t in the first wave of conversions, so they may be only four years old.
For sure, they have yet to approach their 50000 hour lifetime …