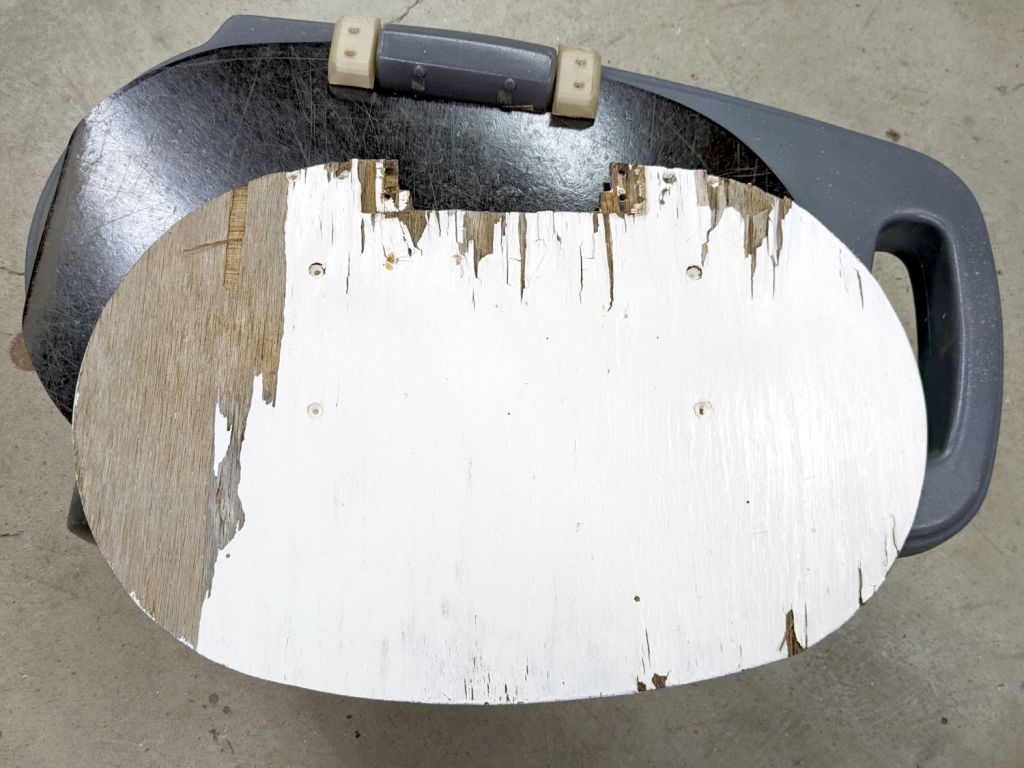
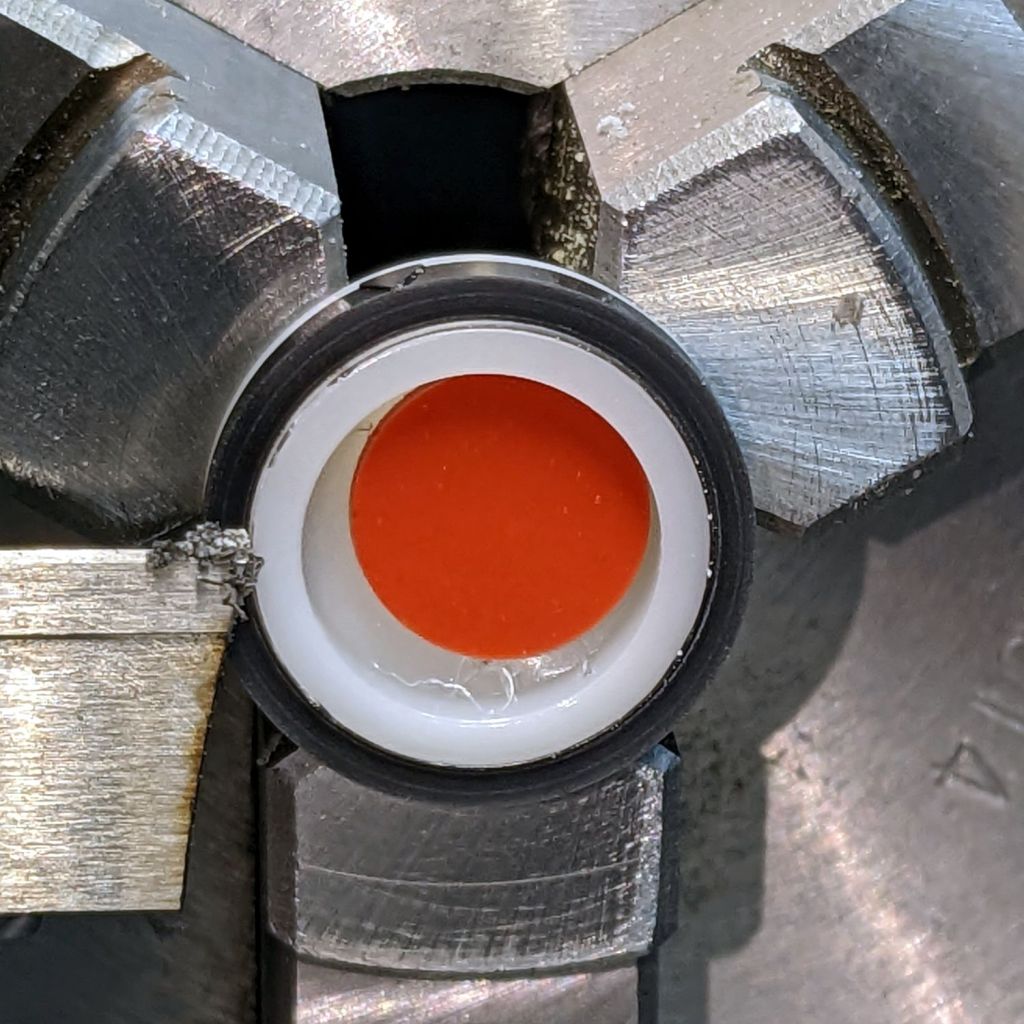
Having set up a cheap wireless numeric keypad as a simple macro pad at my left hand, I eventually knocked it off the desk, whereupon the screw compressing the back of the case against the membrane switches ripped through the plastic:
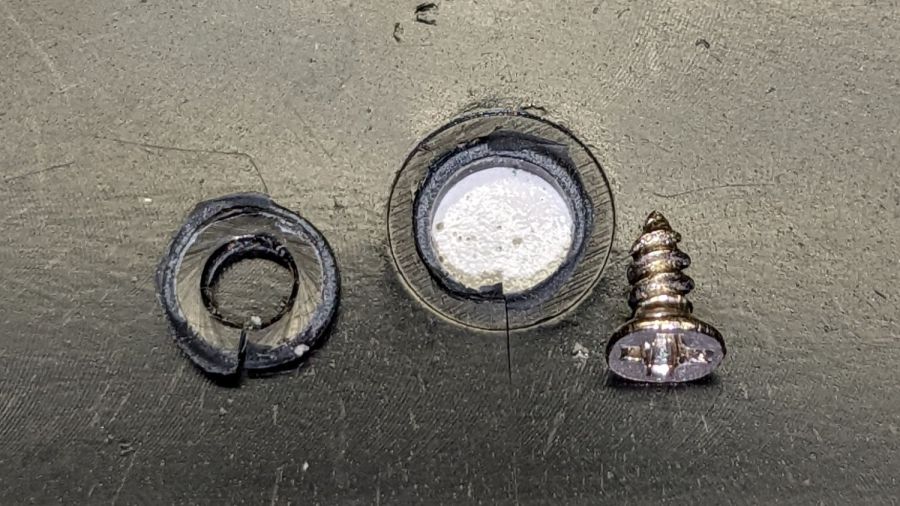
The symptoms came down to erratic operation of a few keys that became worse as I continued tapping on the thing. Finally, with nothing to lose, I took it apart and, upon seeing the hole in the case, realized I didn’t have to cut the usual label to find the hidden screw.
Slathering the little donut with acetone and clamping things together might work for a while, but I’m sure the keypad will hit the floor again with similar results.
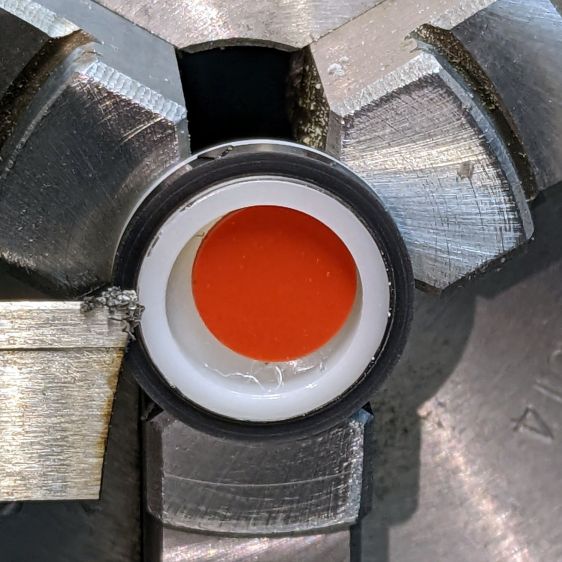
Instead, recruit some candidates from the Box o’ Random Screws:

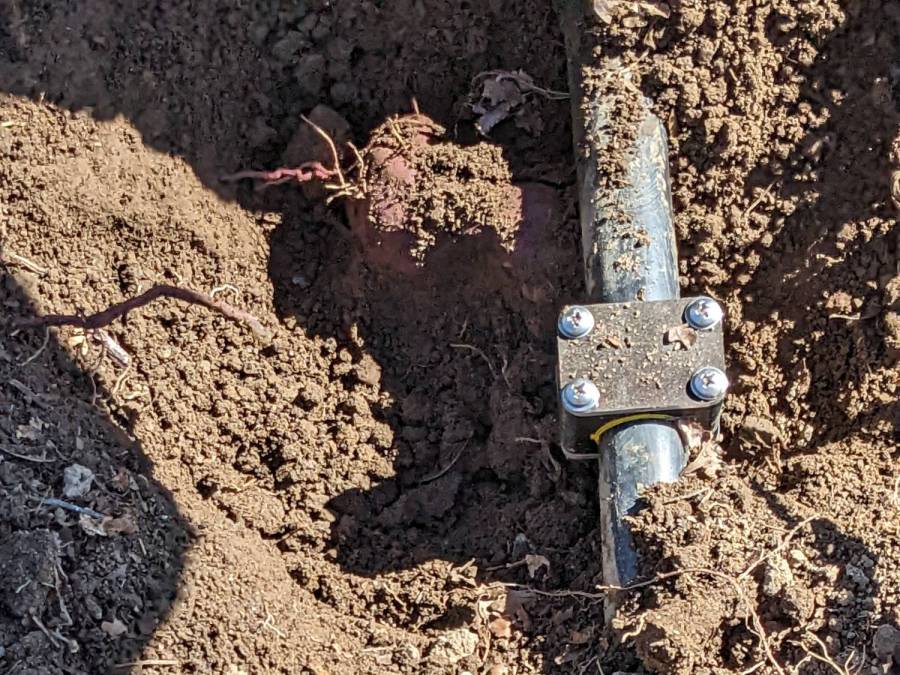
Pick the screw big enough to grip the undamaged boss on the front of the case, yet short enough to compress the back again, add a small washer spanning the hole, and it’s all good again:

This only works because the keypad sits at enough of an angle to hold the screw off the desk.
That was easy …