Transferring the printers to a new “server” provided an opportunity to dump another king’s ransom of waste ink down the drain, whereupon the tank cracked under finger pressure:

The black smudge on the far side is an ink stain on adhesive left over from the hook-n-loop strip formerly holding it to the printer.
It looks to be an ordinary polypropylene tube, nothing fancy, and, after a decade, it really doesn’t owe me anything.
Scrounge a suitable bottle from one of the Big Boxes o’ Containers, run a bead of JB Weld Plasticbonder around the shoulder matching the discarded lid, jam on an original waste ink tank cap, and let the urethane goo cure while rotating slowly in the lathe to avoid unsightly dribbles:
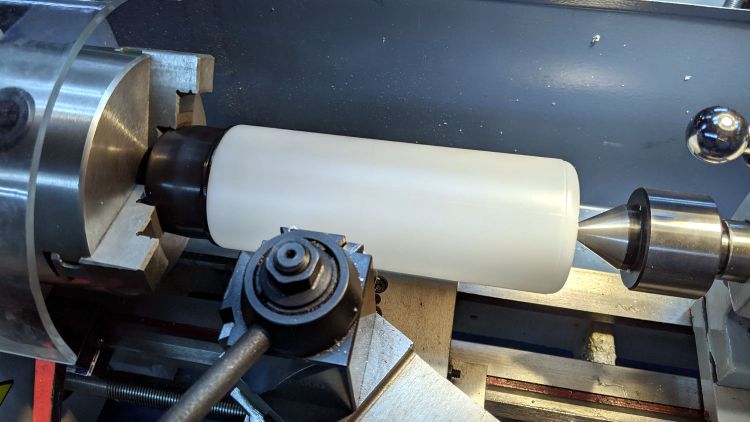
The goo surely won’t bond to the polyethylene bottle, but it’s likely better than anything else in my inventory. We shall see.
Drill a hole for the hose, ignore the chips left inside the tank due to a sequence error, stick the original hook-n-loop tape in place, replace the drip-catcher rags, and install:
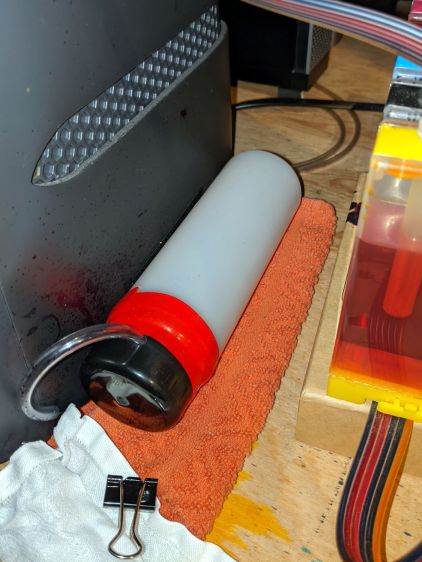
The red silicone tape encourages the cap to remain in place against the urethane adhesive. One fewer endcap = one less seal.
The cap need not be removable, as you just squeeze the tube slightly to squirt the aforementioned king’s ransom down the drain.
It ought to last until I finally scrap out the printer.
