Ed Nisley's Blog: Shop notes, electronics, firmware, machinery, 3D printing, laser cuttery, and curiosities. Contents: 100% human thinking, 0% AI slop.
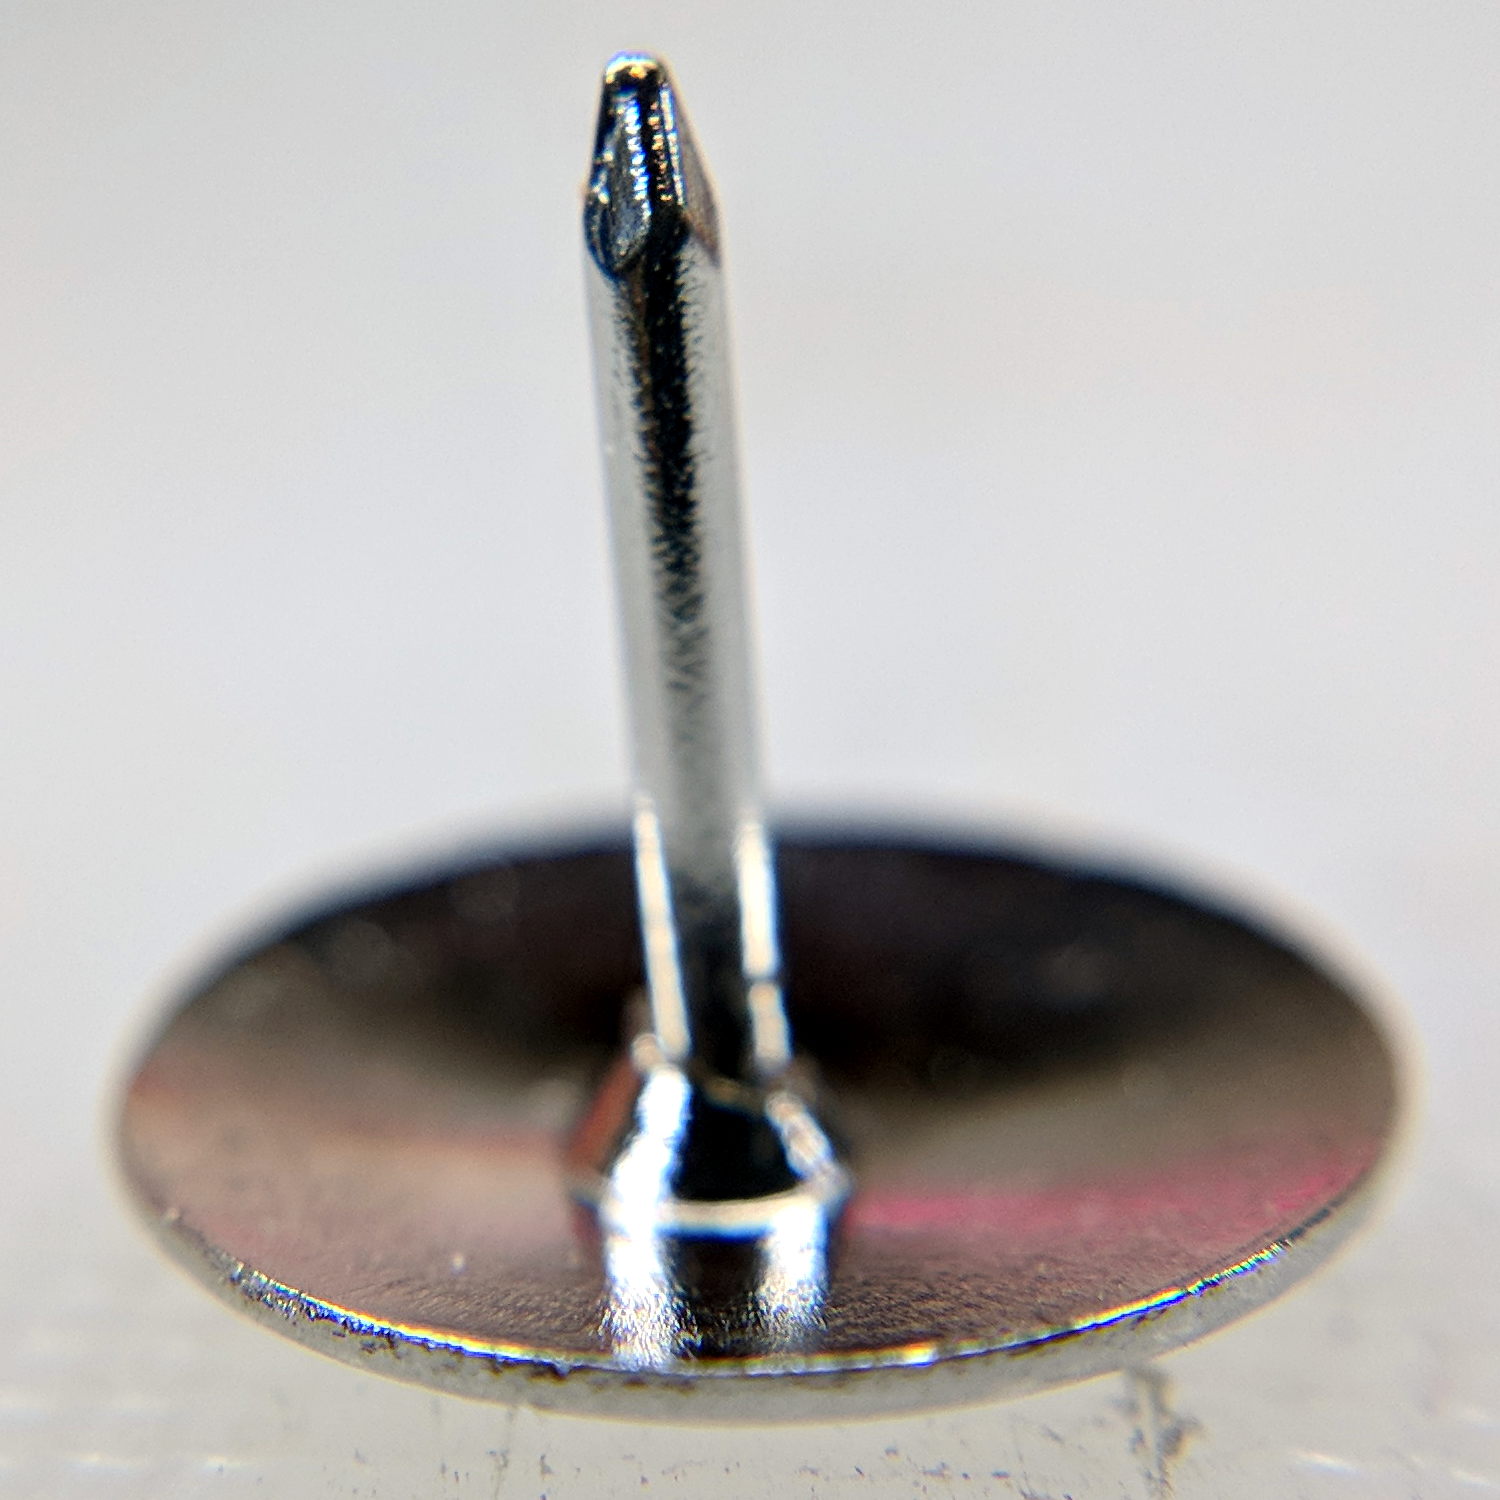
Mary mentioned the pivot pin supplied with a quilting ruler tended to hang up on the layers of fabric and batting in the quilt squares she’s been making. A quick look showed the pin bore a remarkable resemblance to an ordinary thumb tack:
Ruler Quilting Pivot Pin – as delivered
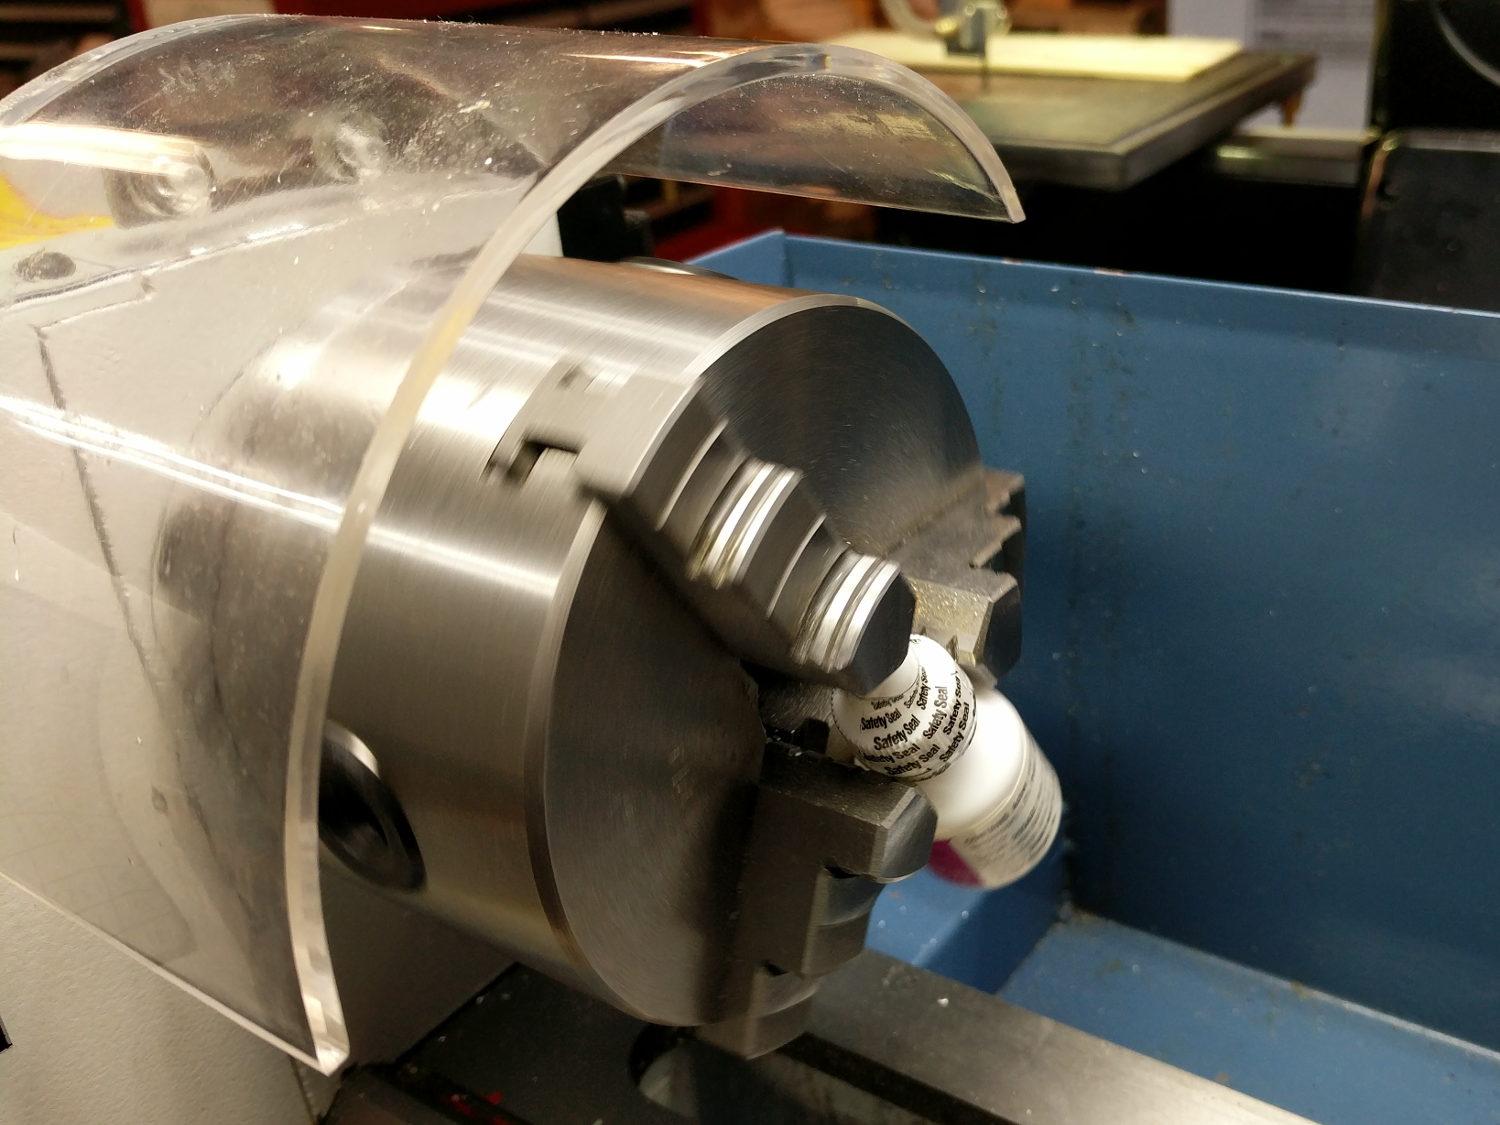
I reset the pin shaft perpendicular to the head, grabbed a small brass tube in the lathe tailstock, inserted pin in tube, grabbed the head in the chuck, ignored a slight radial offset, and attacked the pin with fine files and sandpaper:
Ruler Quilting Pivot Pin – sharpened
The lathe chuck seemed the easiest way to firmly hold the head; I rotated the chuck by hand while filing.
Most of the remaining scratches go mostly parallel to the pin, but it really didn’t work much better than before. We decided polishing the pin wouldn’t improve the situation enough to make it worthwhile.
That’s the difference between sharp and keen, which cropped up with the cheap ceramic knife from a while ago. The point may penetrate the fabric, but the shaft can’t get through the tight weave.
She’s now using a scary thin and pointy embroidery pin, having successfully rebuffed my offer to mount it in a suitable base.
The neighborhood raccoons made off with our steel-cage suet feeder, leaving a dangling chain, several puzzled woodpeckers, and a potential gap in Mary’s FeederWatch data. A quick Thingiverse search turned up a likely candidate and a few hours of 3D printing produced a replacement:
3D printed suet feeder
The cheerful party colors just sort of happened after I realized orange wasn’t the new steel.
I bandsawed the top plate from an acrylic sheet, rather than devote several hours to printing a simple disk with two slots. Said slots came from a bit of freehand work with the drill press, a step drill bit, and a nasty carbide milling bur(r).
The loops holding the chains won’t last for long, as hairy and red-bellied woodpeckers land with thump.
It hangs from the stub of a former ski pole, loosely secured to the bracket holding the former feeder, and extending another two feet over the abyss beyond the patio. I doubt the raccoons will remain daunted for long, but maybe they’ll catch a heart attack when it collapses.
Emboldened by Erik’s suggestion to file the end of a smashed Sakura pen, I filed a notch around the metal snout, snapped it off, and pulled on the tip:
Sakura pen – extended nib
Come to find out the end of the snout is compressed around the nib and holds it in place. I don’t know how long the fiber cylinder might be, but it slides right out of the pen body.
So I squished the snout just a little, snipped off the metal tip, filed the fiber cylinder’s end to a point, and … it sorta-kinda works, but it’ll never again be a very good pen.
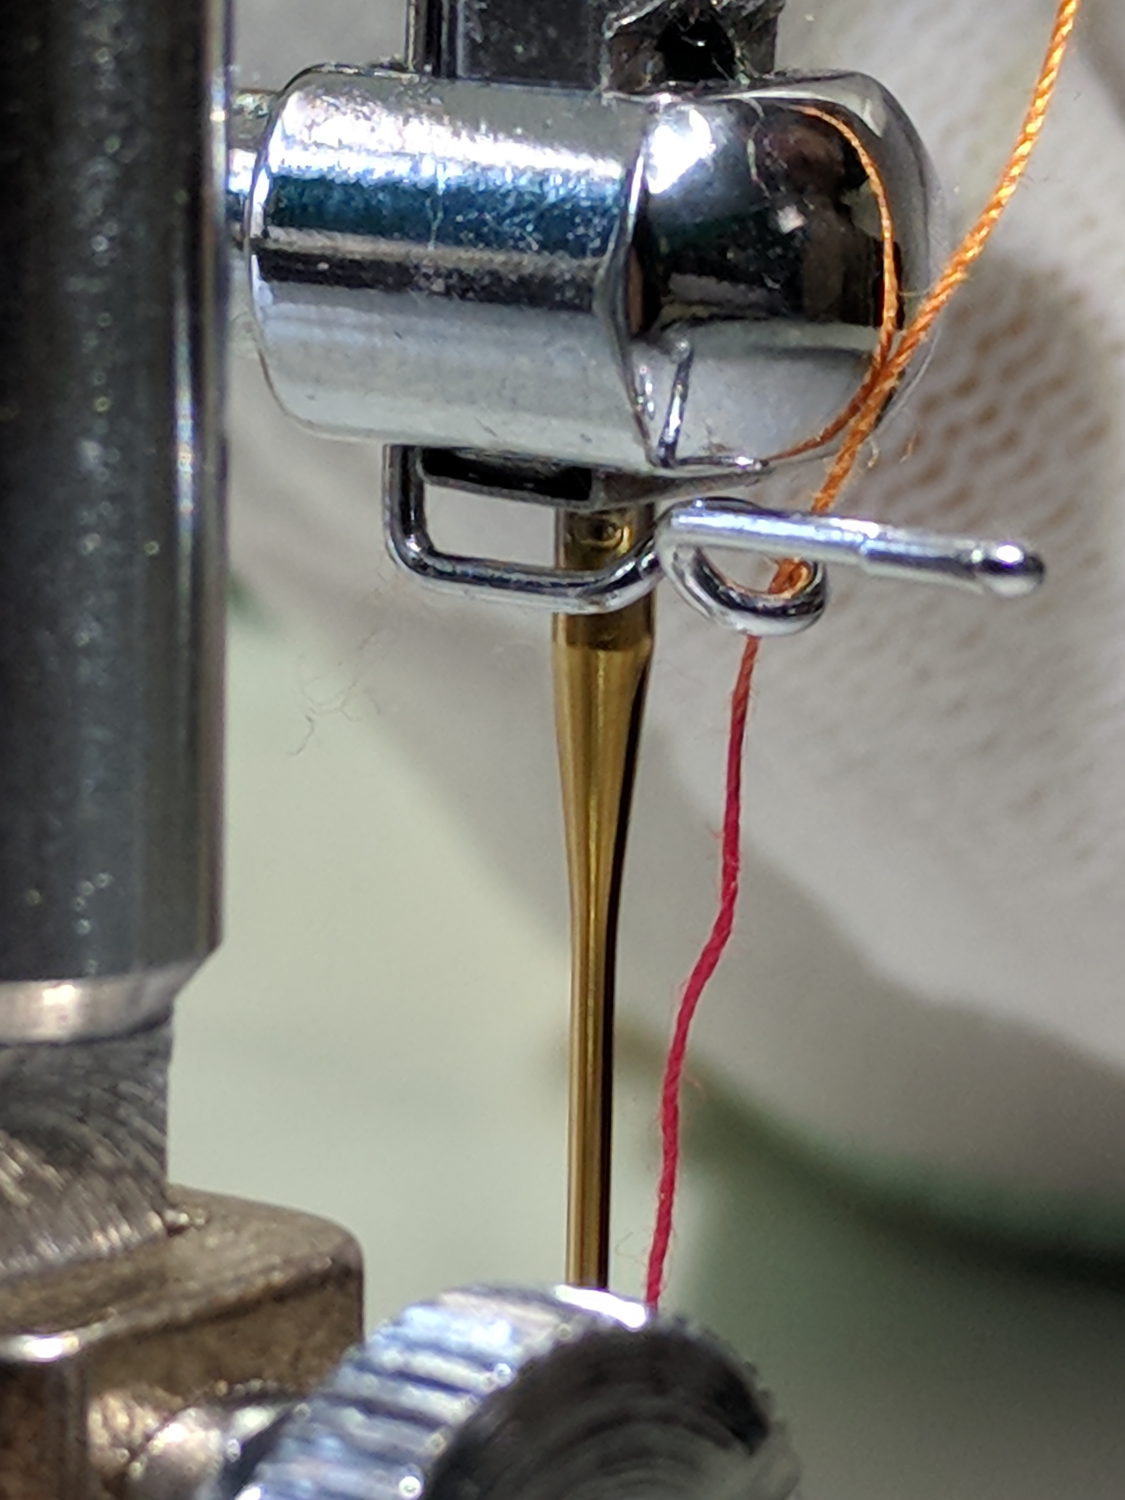
It turns out the thread guide on Mary’s new Juki TL-2010Q sewing machine has what’s euphemistcally known as “negative clearance” with the ruler foot she uses for quilting patterns. With the foot raised to move the cloth, inadvertently pressing the foot pedal or turning the handwheel can crunch the thread guide against the foot.
As you might expect, the intricately bent wire thread guide doesn’t survive the encounter. Not having a spare ready to hand and not knowing quite what it should look like, I reshaped it as best I could:
Juki thread guide – in vise
It worked moderately well:
Juki thread guide – reshaped installed
The automatic needle threader wasn’t reliable, but she could cope until the replacements arrived.
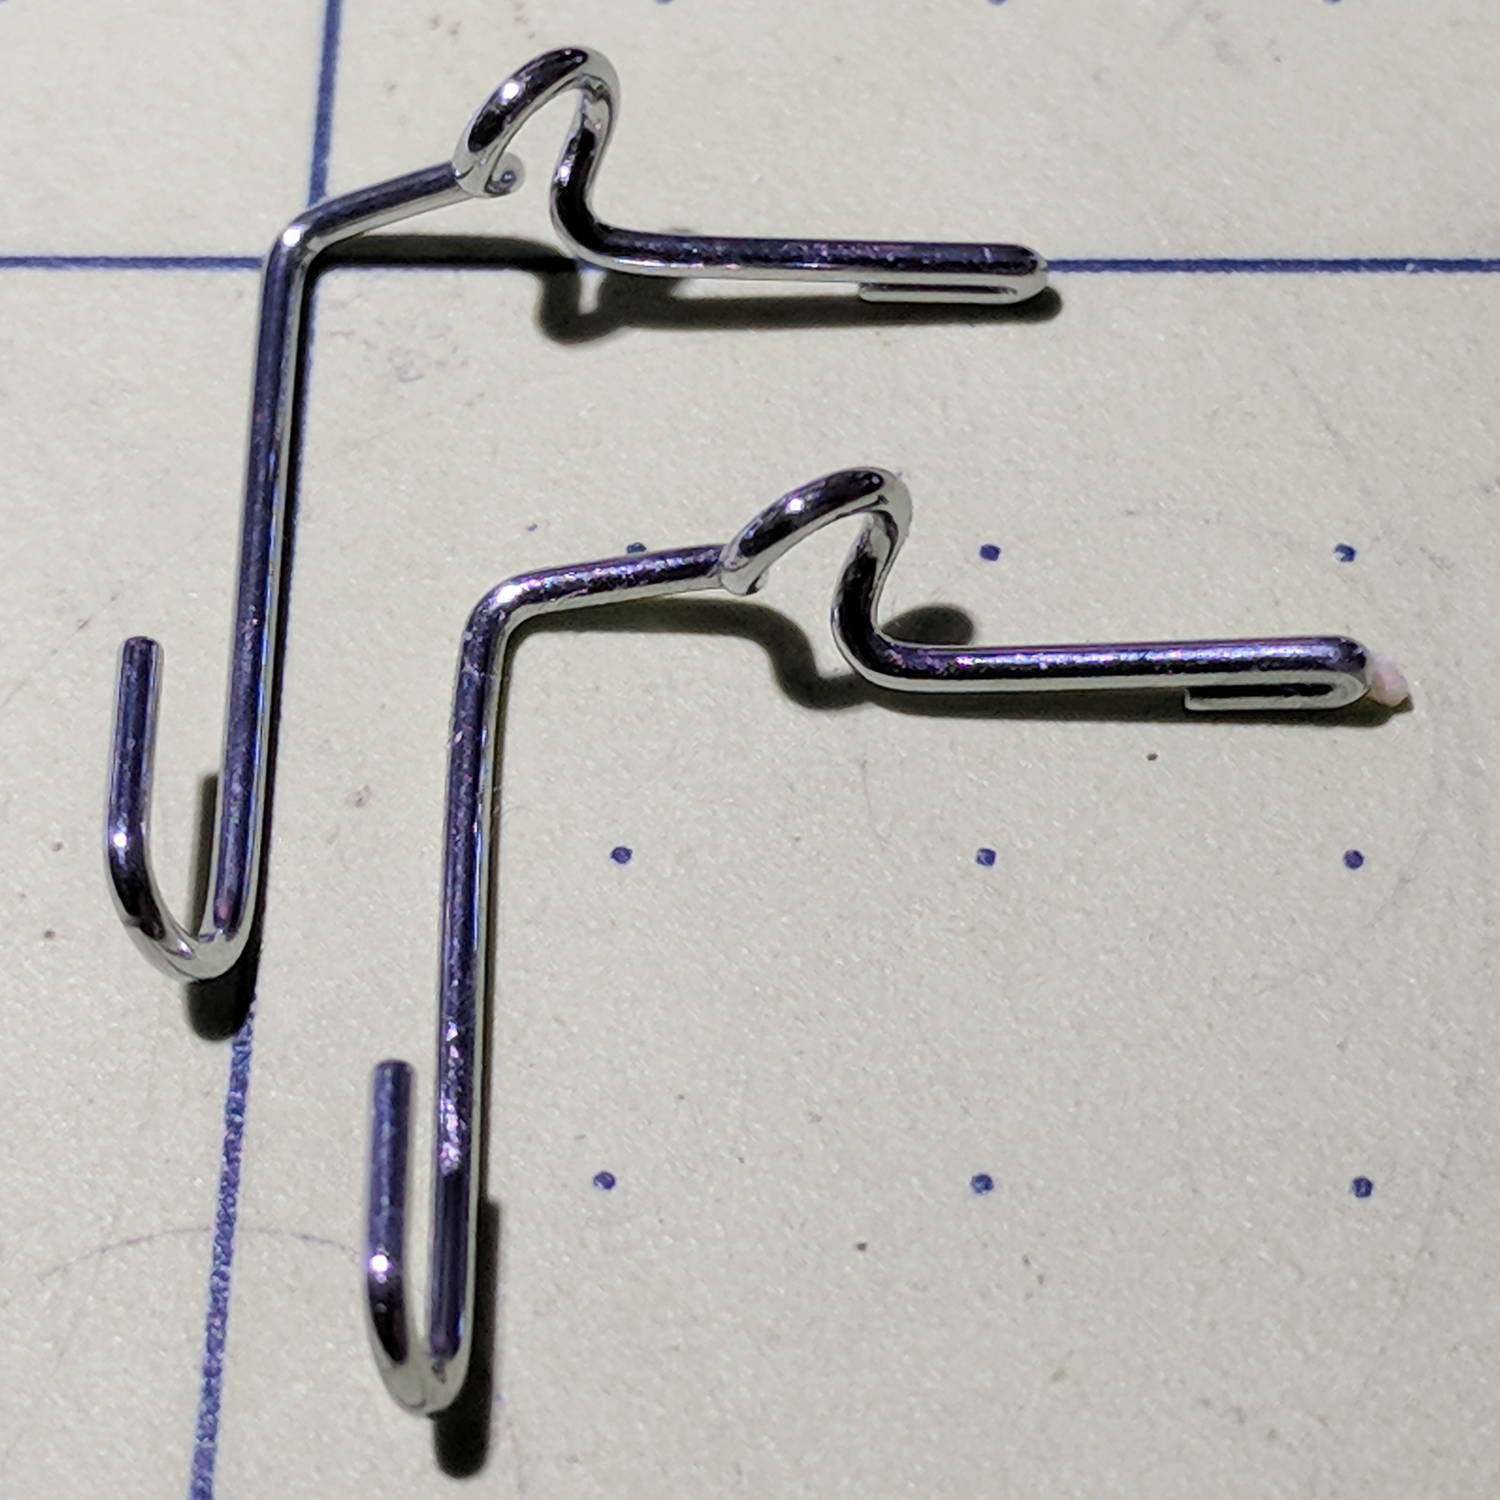
Comparing the new one (left) with the wrecked one (right) shows I didn’t re-bend the loop tightly enough, putting the end on the right at the wrong angle:
Juki thread guide – new vs reshaped
It’s the kind of shape you can duplicate by the thousands with a production machine, but can’t make at home without entirely too much tedious effort.
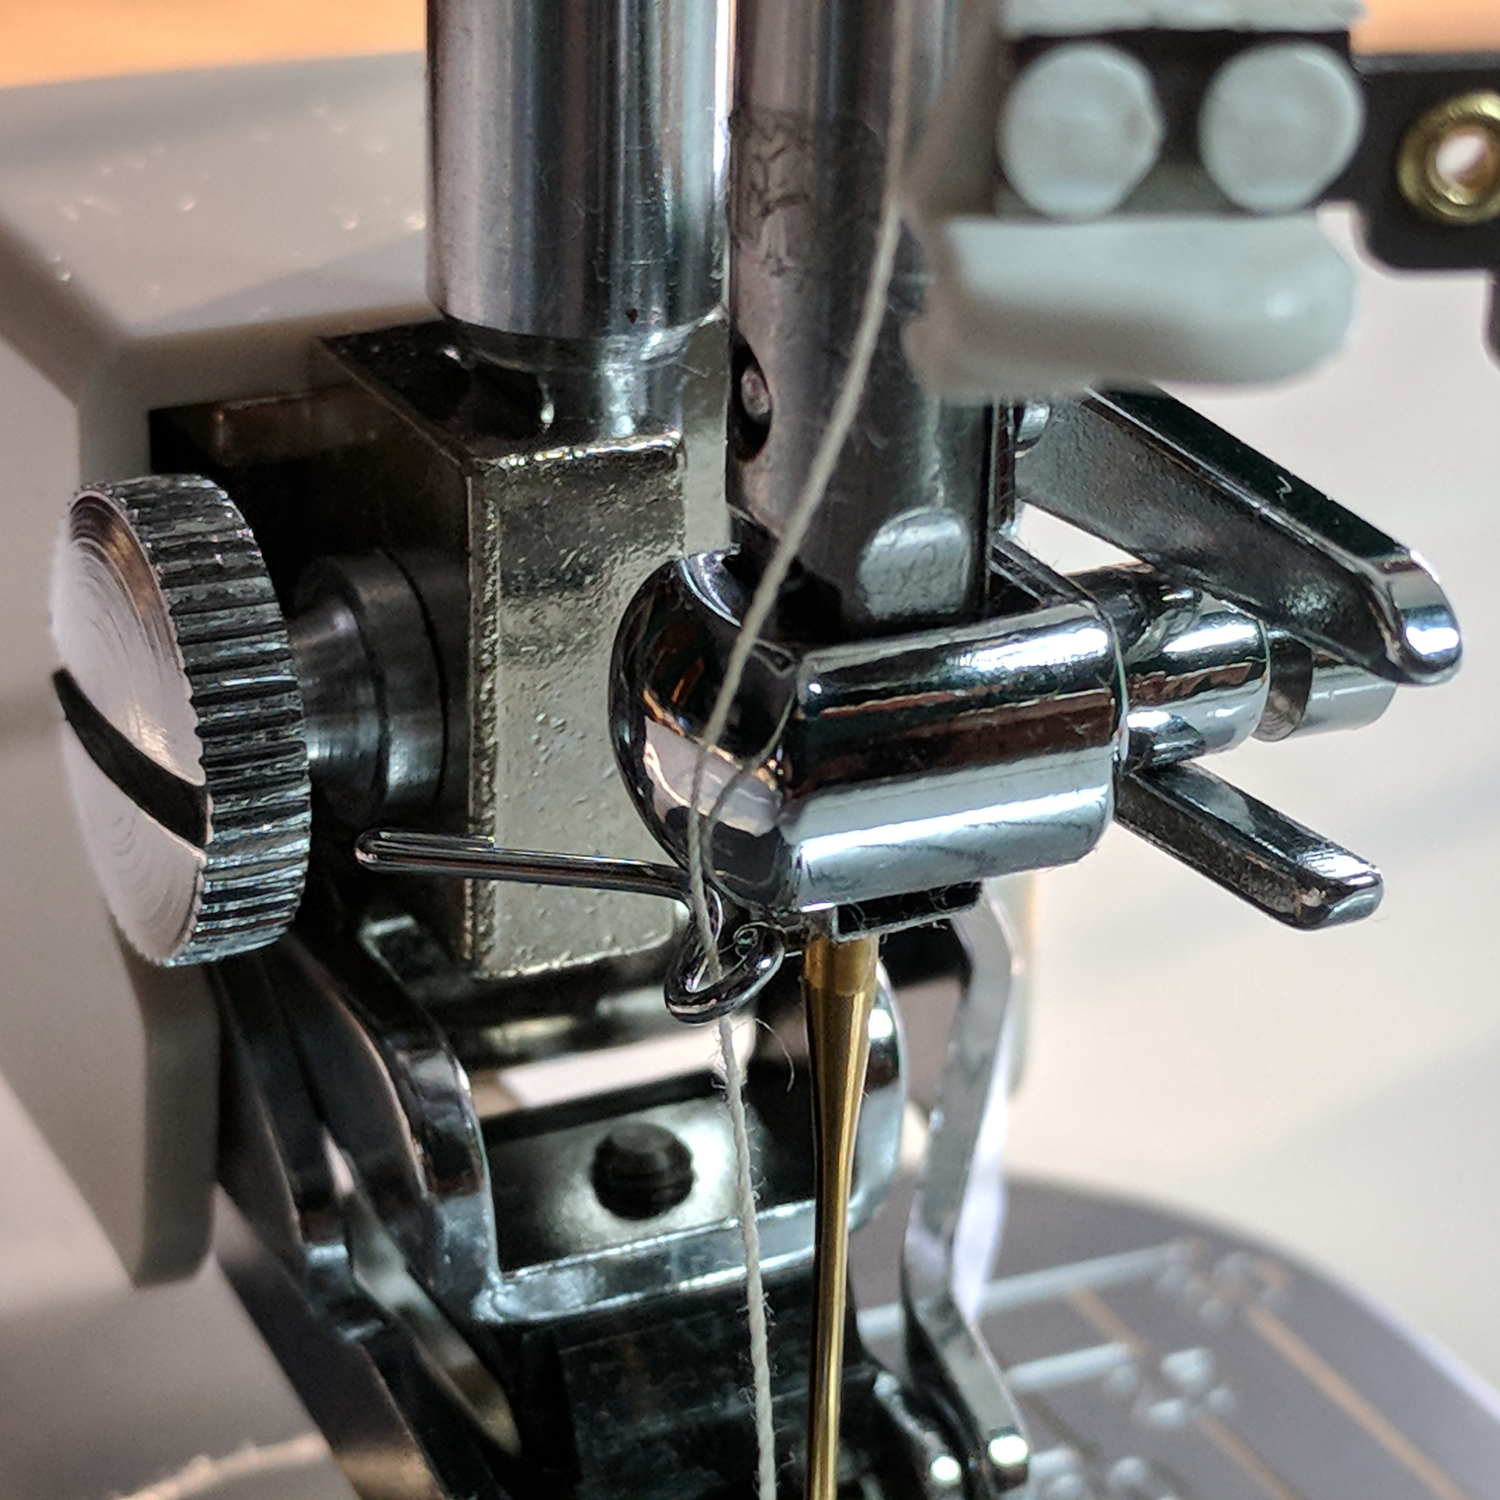
The new one works fine, seen here in front of a walking foot, with the auto-threader looming in the upper foreground:
Two more umbrella struts snapped and required the same repair, but, having drained all the suitable snippets from the Box o’ Brass Cutoffs, some lathe work was in order:
Umbrella strut splint – cutting
I used the carbide insert in the mistaken belief it’d be less grabby, then applied the cutoff tool.
Break the edges, slide splints over the ribs, slobber epoxy on the struts, slide splints into place, apply masking tape for a bit of compression & alignment, and let it cure:
Our long-suffering and much-repairedKenmore clothes dryer didn’t shut off, with the heat on and the timer failing to advance from whatever position we set it to; the clothes were plenty dry and scorching hot. I tried “timed air dry” to eliminate the heater from the problem and found the timer still didn’t advance.
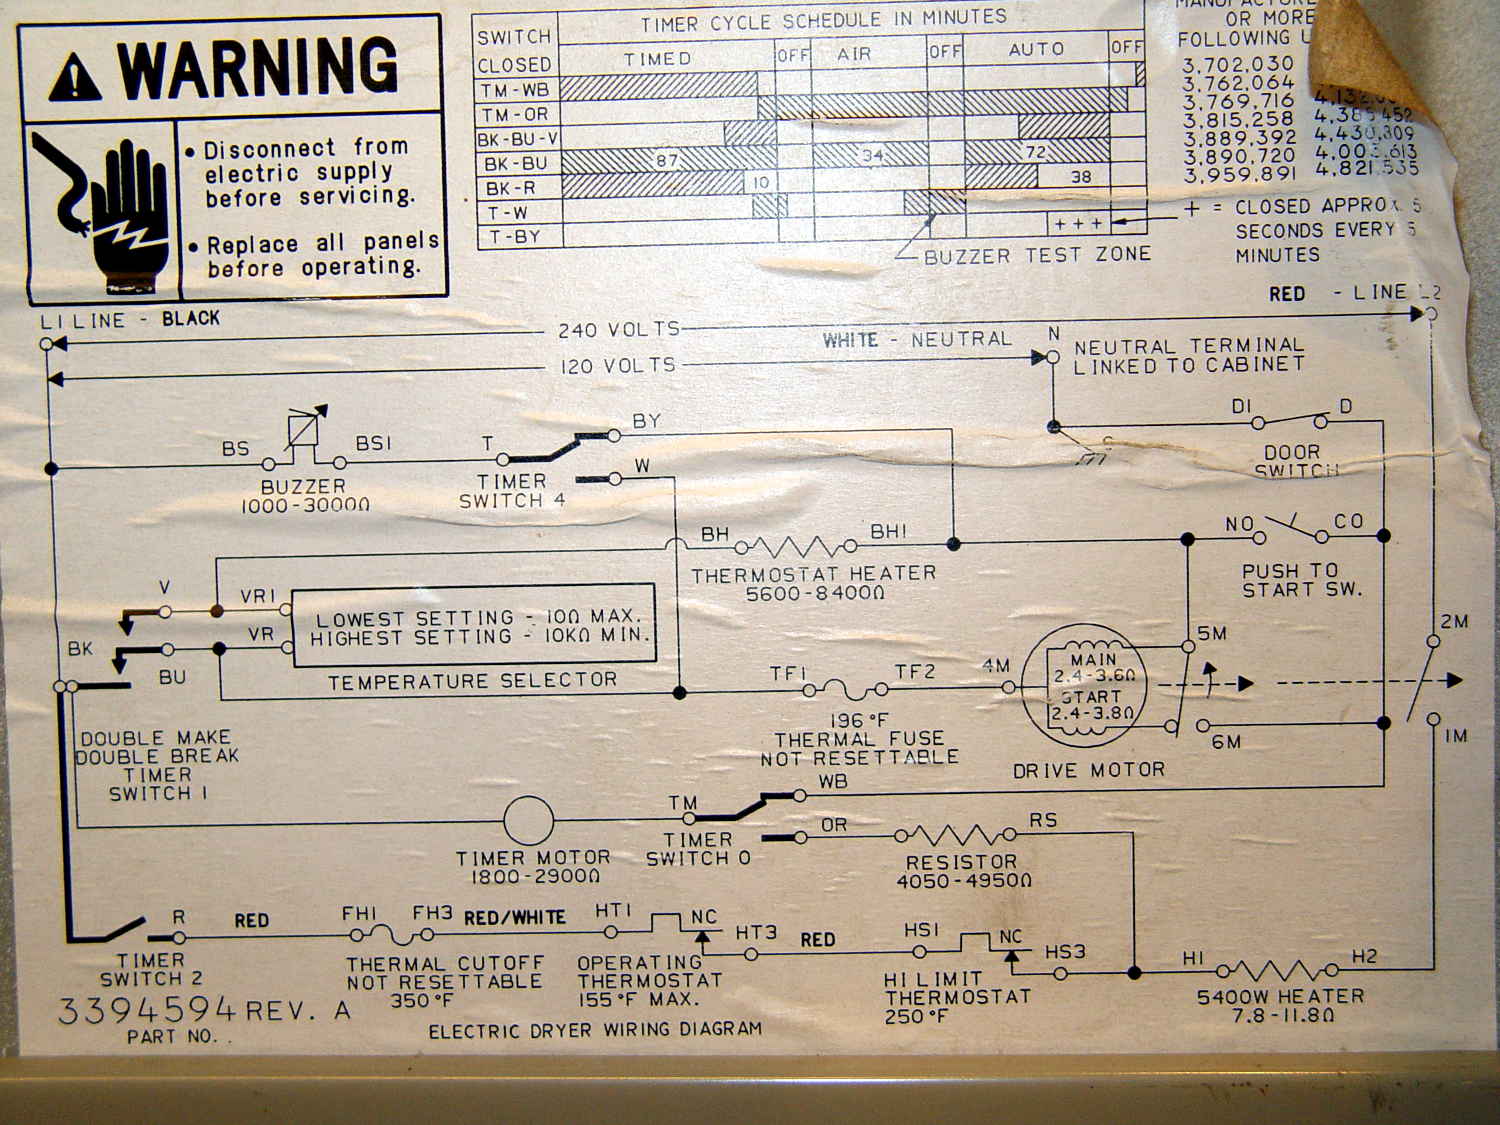
Referring to the wiring diagram may be of some help:
The timer motor is in the next-to-bottom ladder rung. Its BK terminal on the left connects to one side of the 240 VAC supply and the switch just to its right connects terminal TM to either the neutral AC line (thus unbalancing the 240 VAC line by a smidge) or to through a 4-ish kΩ resistor and the heater element (essentially zero, on this scale) to the other hot line; the resistor thus dropping 120-ish VAC.
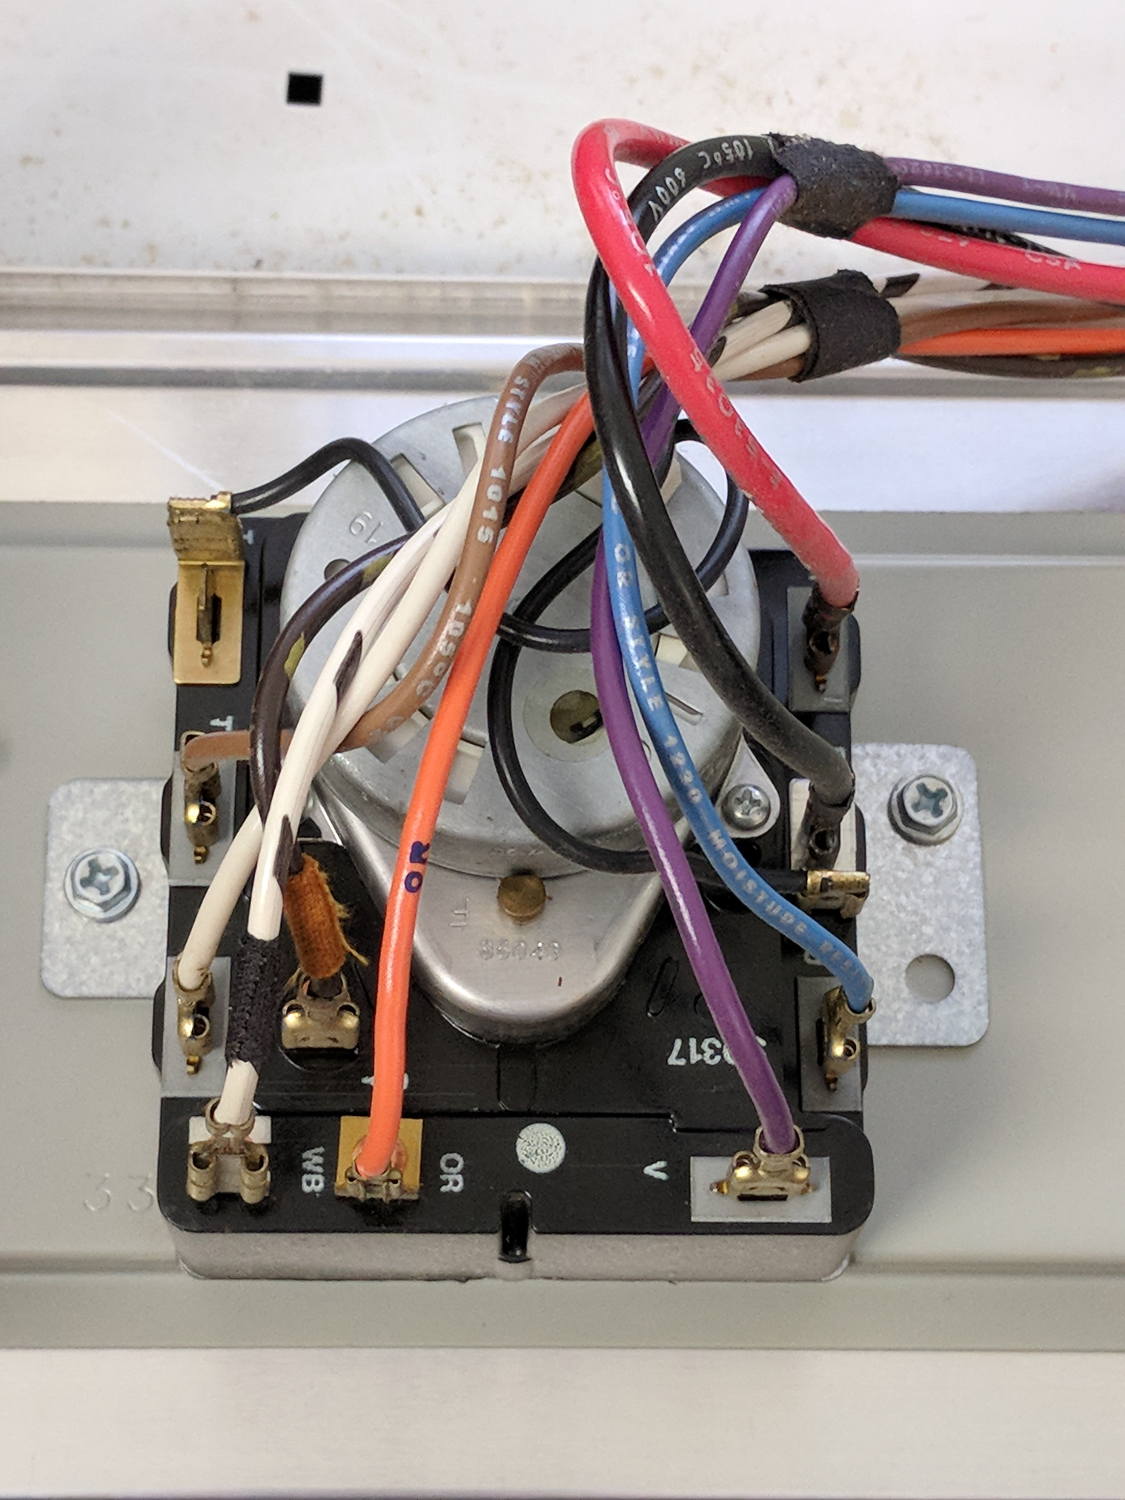
The various switches around the timer collect nearly all the wiring in the dryer:
Kenmore dryer – timer wiring
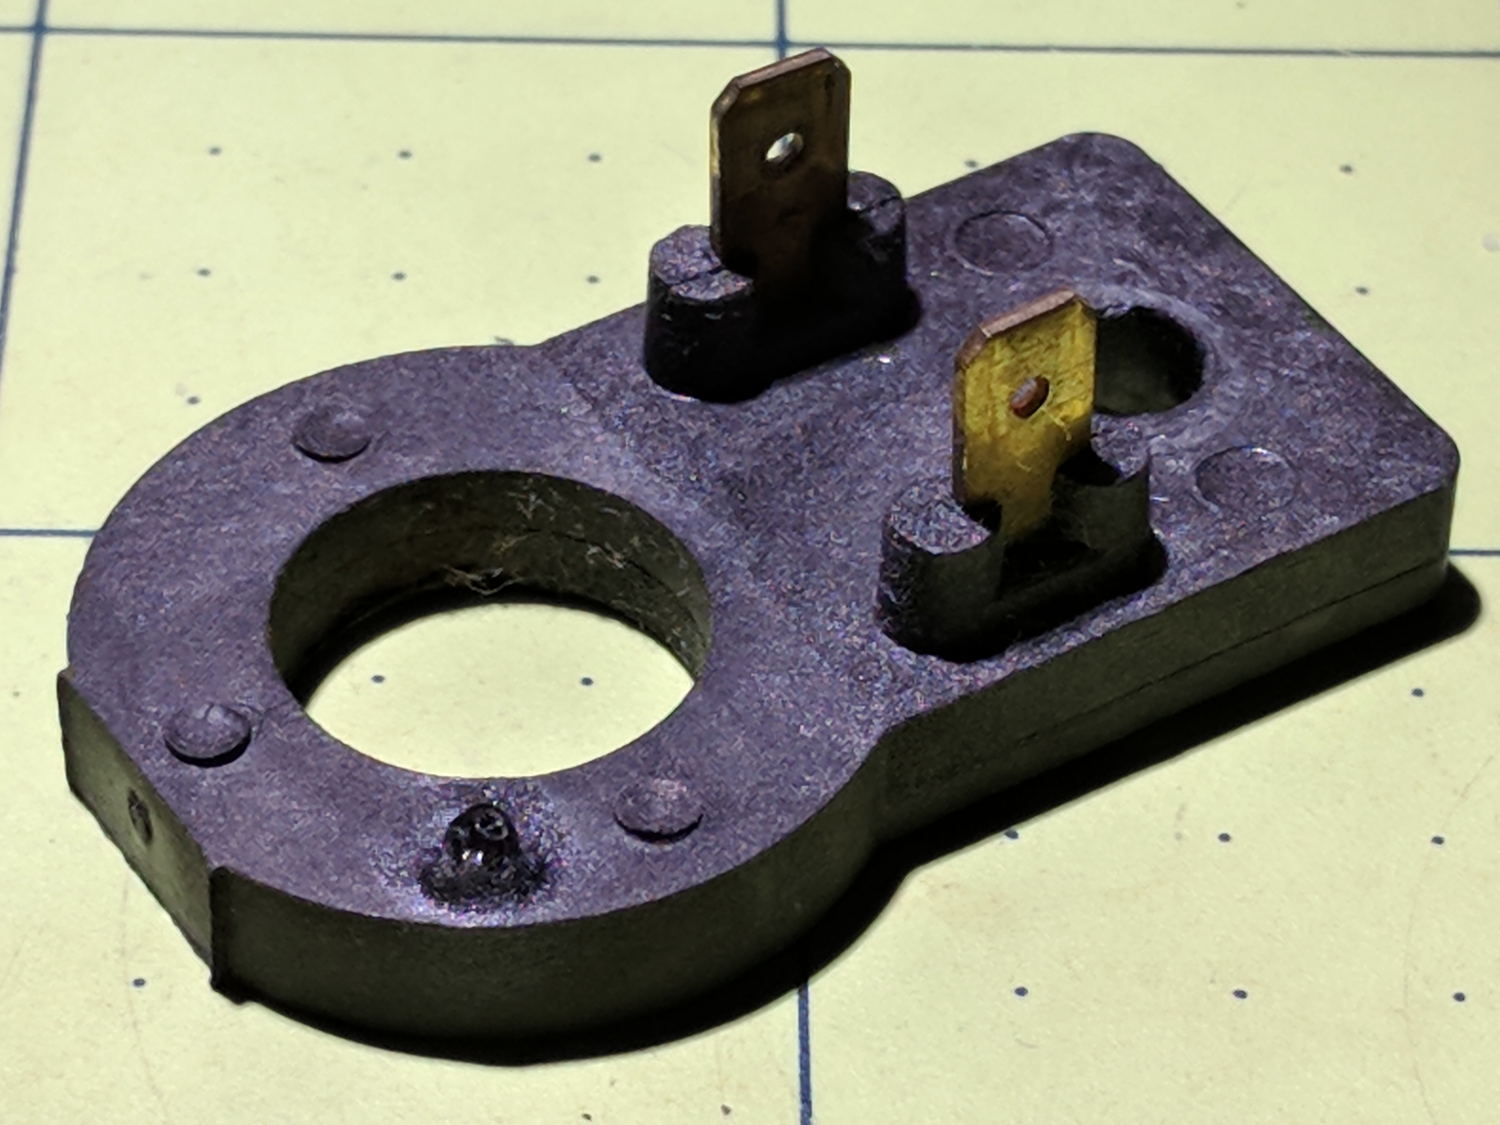
A closer look at the back, minus all the wiring:
Kenmore dryer – timer backplate
The motor comes off easily enough, revealing the fact that it’s not just an ordinary (i.e., cheap & readily available) timer motor:
Kenmore dryer – timer motor pinions
Hotwiring the motor through a widowmaker zip cord showed it worked just fine. For reference, the upper pinion rotates at about 45 sec/rev, the lower pinion takes maybe 1 hr/rev, both counterclockwise.
Reassembling and hotwiring the complete timer showed it worked just fine, too.
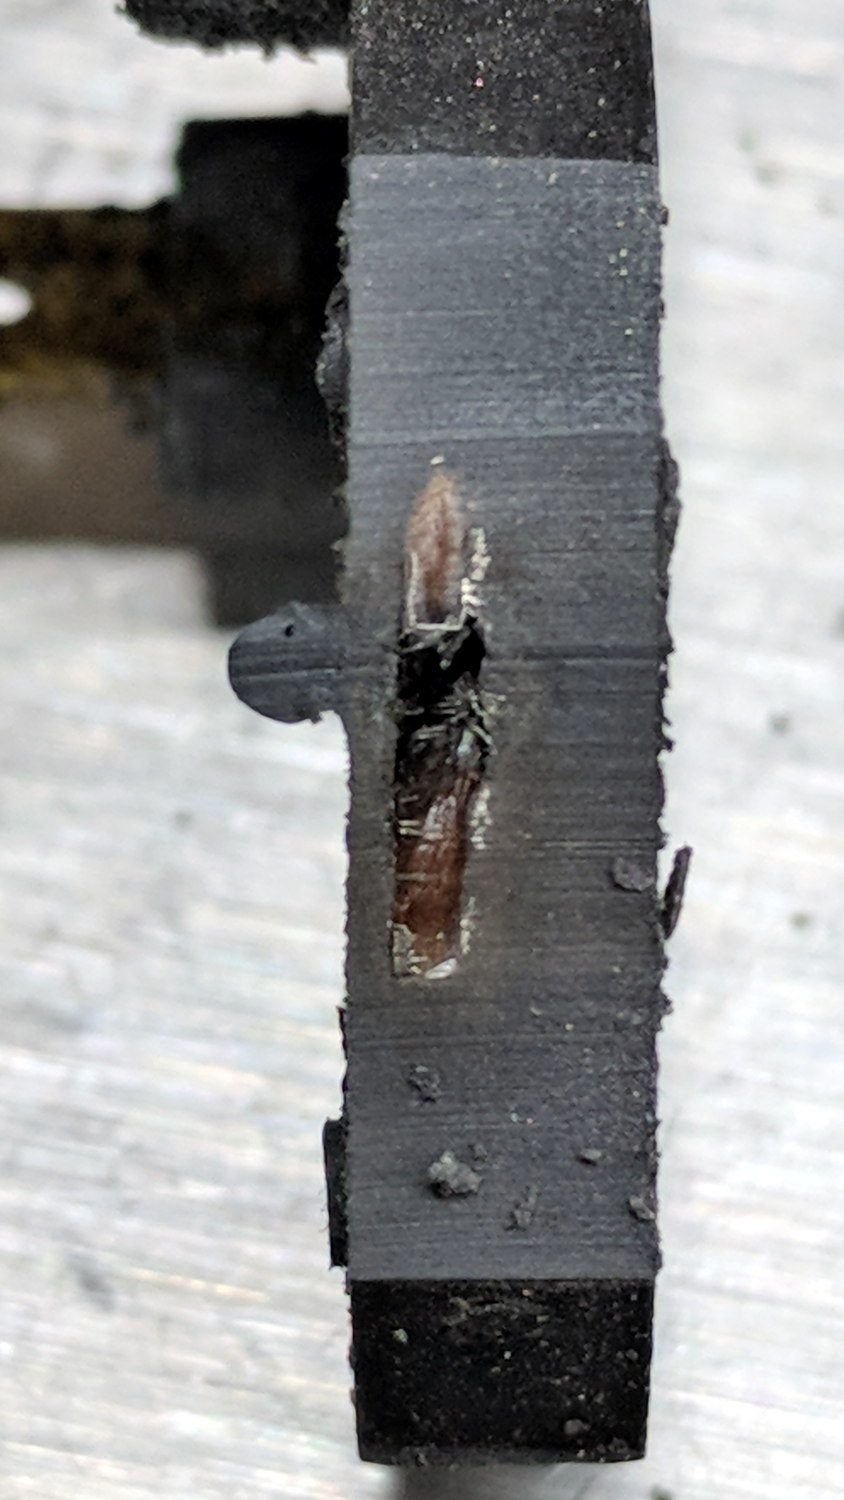
Poring over the wiring diagram suggested the power resistor might be open and, indeed, it was:
Kenmore dryer – power resistor failure
The raised zit near the front shouldn’t be there:
Kenmore dryer – power resistor failure – detail
Apparently, the resistive element broke at that spot, burned through the thermoset plastic case, and failed safe.
Introducing it to Mr Disk Sander revealed a cavity below the zit, surrounded by the remains of the resistive element:
Kenmore dryer – power resistor – cut open
You can get a replacement resistor from the usual suspects for prices between $20 and $40, plus or minus shipping, but their pictures look a lot like an ordinary power resistor inside a length of heatshrink tubing, rather than the molded OEM part. I don’t put much stock in reviews & comments, although they seemed to suggest you get, indeed, an ordinary power resistor.
I didn’t have a 4.7 kΩ power resistor in my (diminished) collection, so I soldered a giant 1.5 kΩ cylindrical resistor in series with a small 3.5 kΩ sandbox, wrapped them up, and tucked them under the front panel’s ground wire:
Kenmore dryer – expedient power resistor
A small box of resistors should arrive in the next month and I’ll re-do the repair with a bit more attention to permanency.