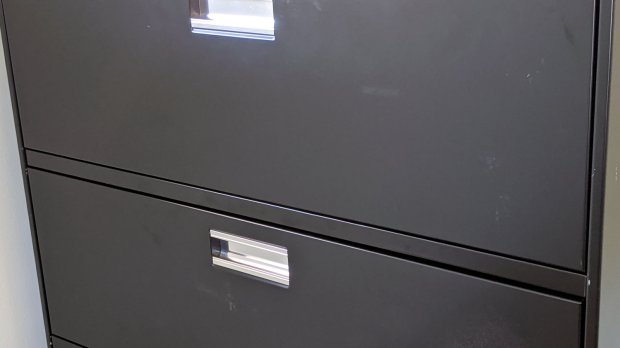
Somewhat to our surprise, our “new” HON Lateral File Cabinets include a pop-out shelf:
The trick: push the bar inward against fairly stiff spring pressure, release it suddenly, watch it pop out maybe half an inch, get some fingers under the front edge, then pull it outward:

Obviously, opening the drawer above the shelf will sweep whatever you put there onto the floor and opening the drawer below seems futile. I suppose it produced a bullet item on the features list.
Note that the topmost “drawer” is also called a “shelf”, because the front cover slides up-and-inward to reveal the contents. Should you stand eight feet tall, you might be able to look down on that shelf, but we mere mortals barely see its contents at eye level.
Dismantling the cabinets preparatory to deep cleaning revealed a pair of rubber bumpers along the rear edge of the shelf:

The slightly angled front side of the bumper (on the right) collides with a crossbar below the drawer just above it, preventing you from pulling the shelf entirely out of the cabinet.
Remove the bumper by pressing down and rearward (to the left), shoving the protruding lip into the slot with a thumb / screwdriver, then pull it upward through the slot:

The second cabinet had only one bumper, so I traced it twice onto a rubber sheet half as thick as the OEM bumper, bandsawed the shapes, and introduced them to Mr Belt Sander for cleanup:
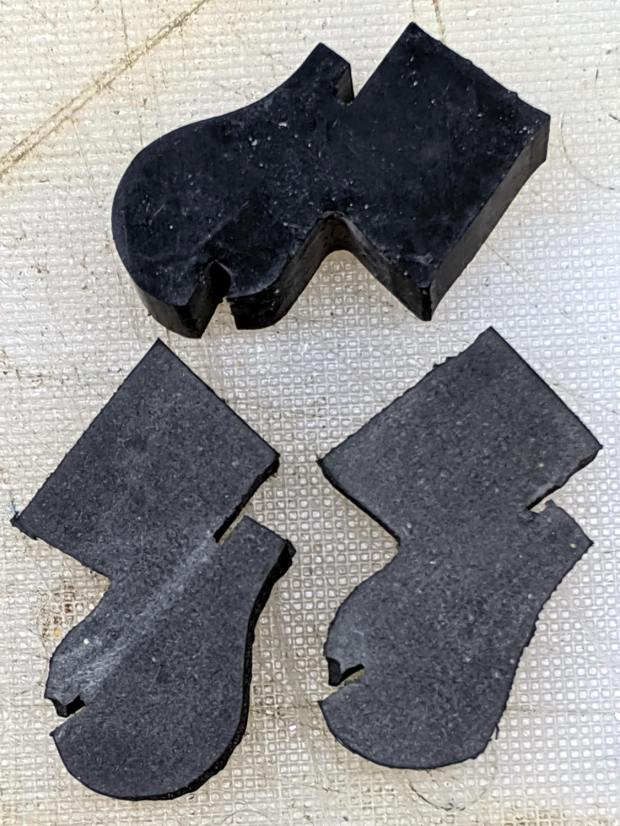
Jammed side-by-side into the slot, they’ll serve the purpose:

As with the replacement foot on the first cabinet, they’re not the prettiest things you’ve ever seen, but Mary doesn’t expect to use the shelf and they’ll never actually bump into anything.
Even the Pixel phone’s HDR image processing has trouble dealing with dark gray objects on a black background in dim light …