Having figured the mixing ratios, found the mixing trays, and donned my shop apron, I buttered up several iterations of the badge reel case to see how XTC-3D epoxy works on the little things around here.
In all cases, I haven’t done any sanding, buffing, or primping, mostly because I’m not that interested in the final surface finish.
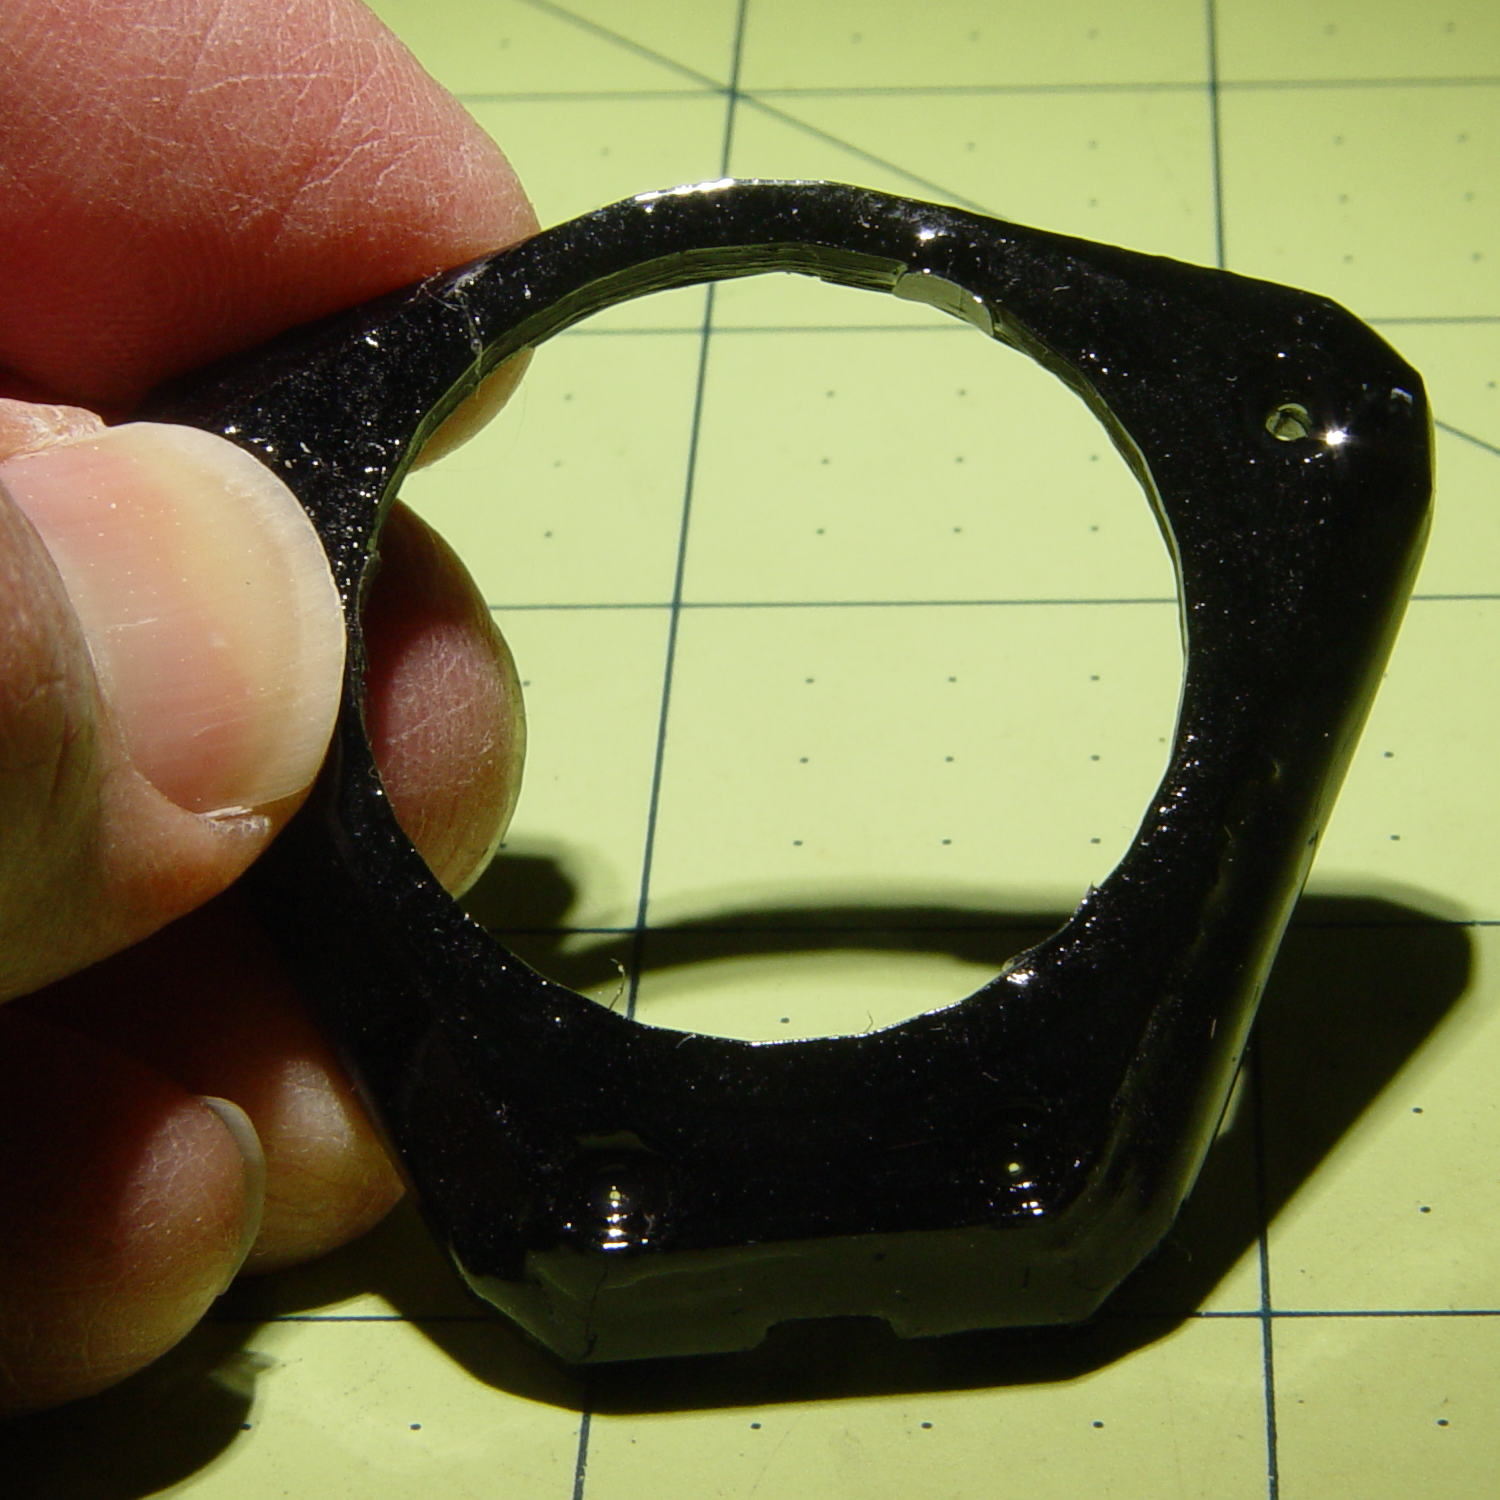
A single coat produces a glossy finish with ripples from the printed threads:

Seen straight on, without the glare, a little speck toward the lower right corner shows that cleanliness is next to impossible around here:

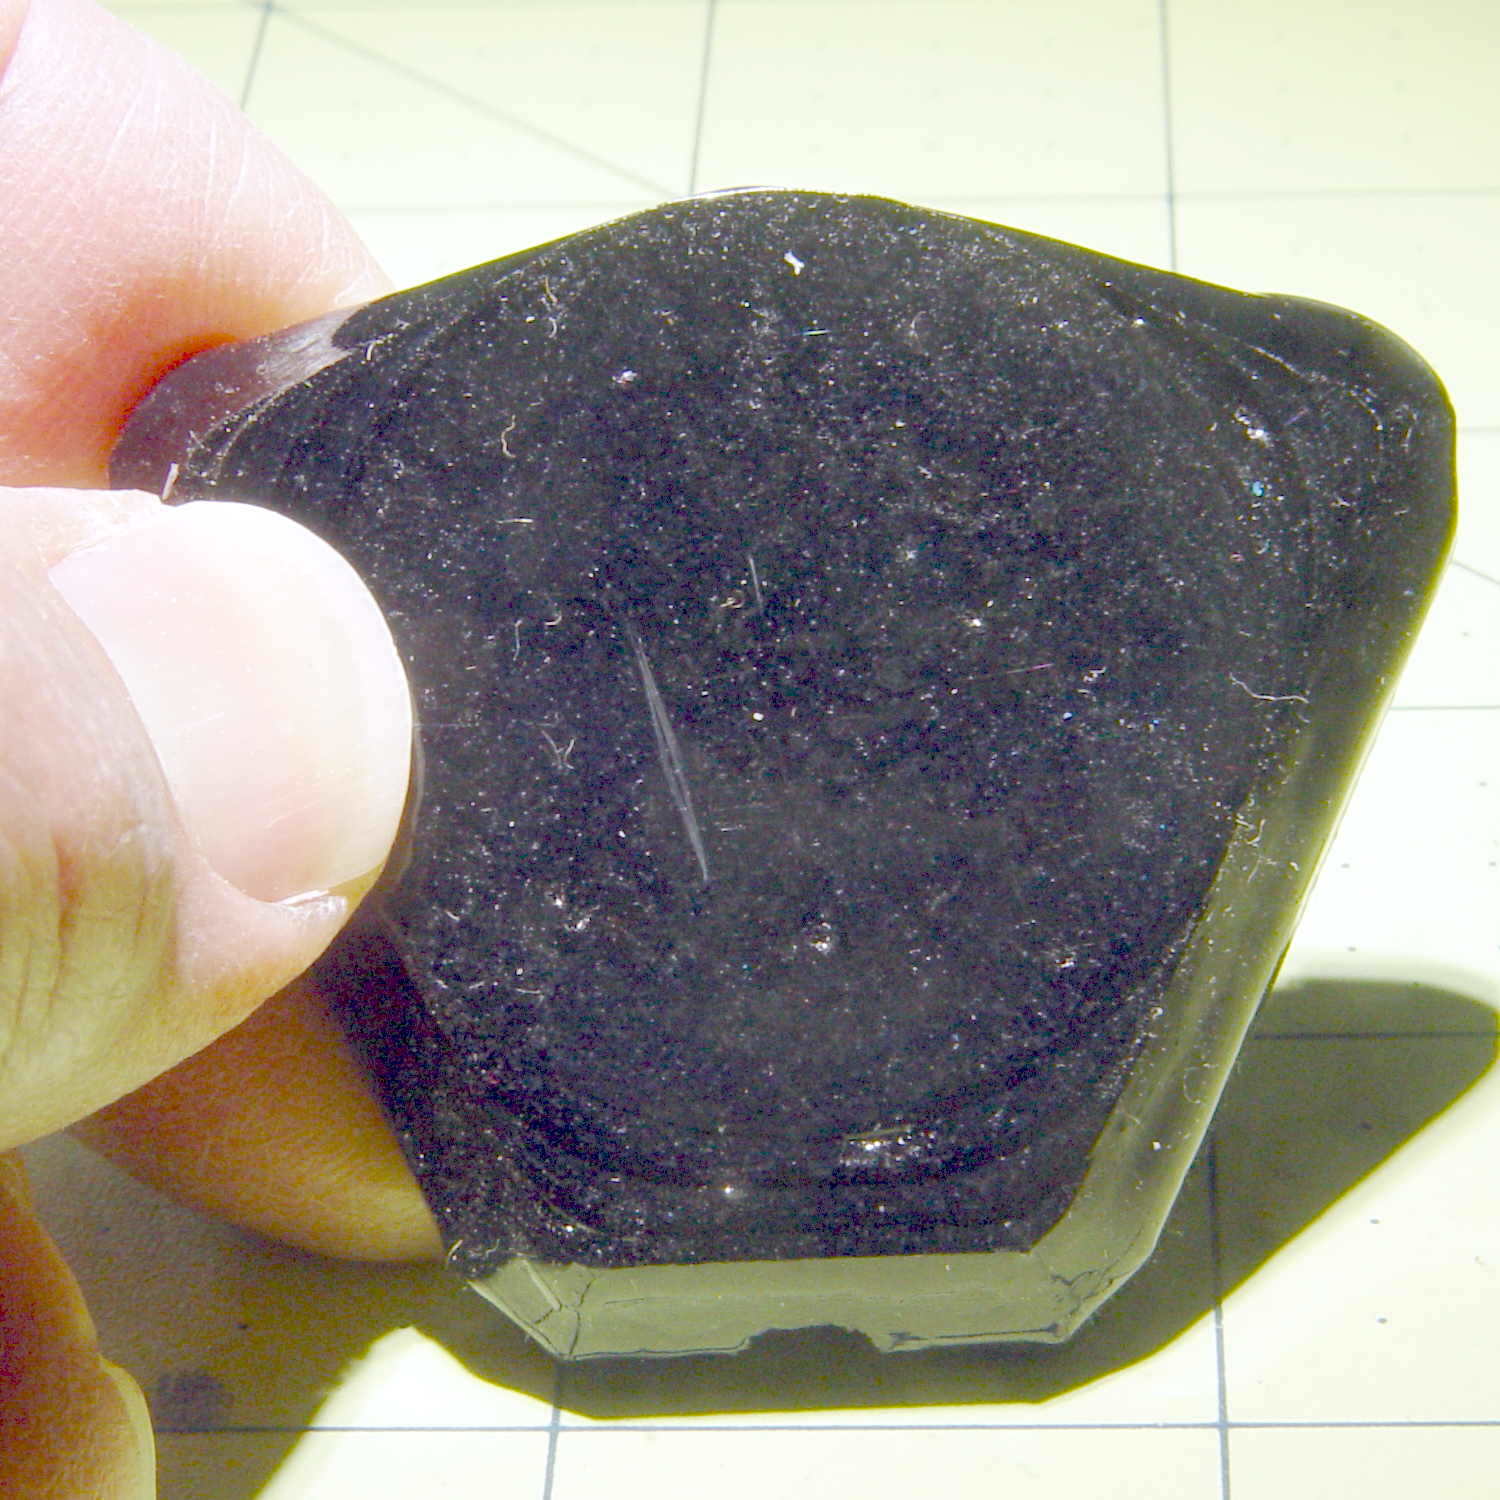
An additional coat atop a Hilbert-curve upper surface comes out somewhat smoother:

Another view, with less glare, shows the pattern a bit better:

With no glare, the 3D Honeycomb infill shows through the surface:

Coating the surface with epoxy definitely makes it more transparent / less translucent by filling in the air gaps.
The sides of that part have only one coat and still show typical 3D printed striations.
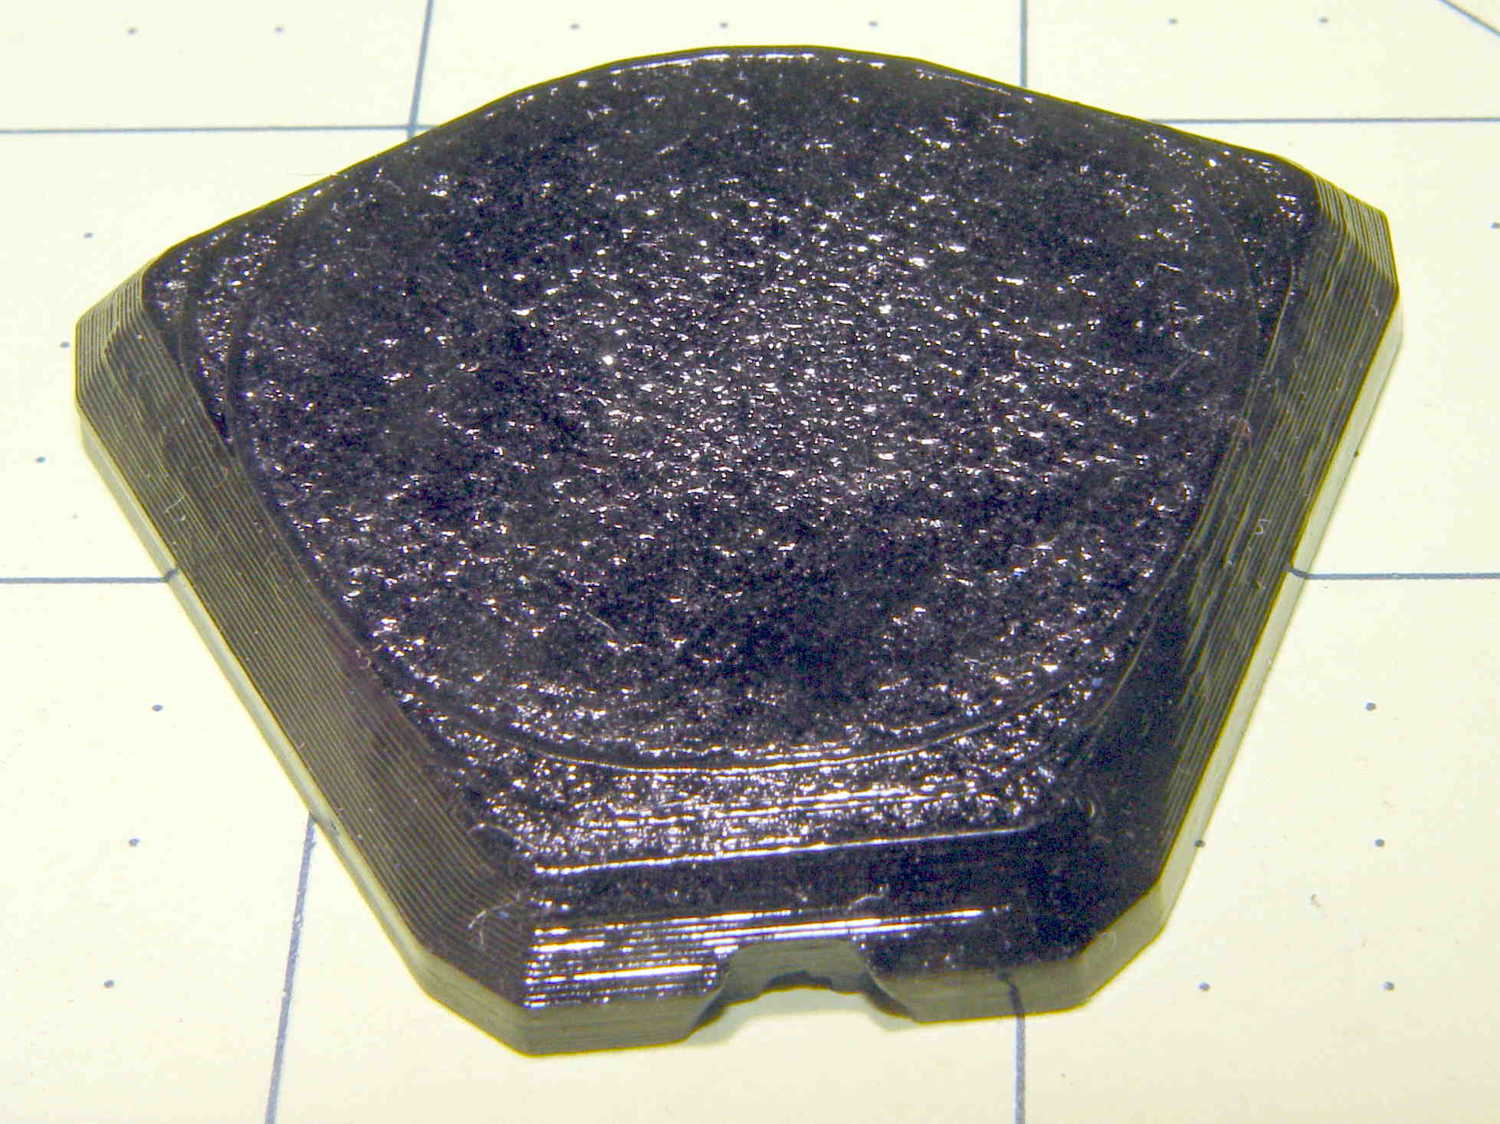
Three coats wipe out the striations, along with all other surface detail:

The bolt head recesses collected enough epoxy to require reaming / milling, which certainly isn’t what you want in that situation. The bolt holes also shrank, although my usual hand-twisted drill would probably suffice to clear the epoxy.
Another view shows a glint from the smooth surface filling the upper-right recess:
Three coats definitely hides the 3D printed threads, although you can see some ridges and edges:

The epoxy isn’t perfectly self-leveling, probably due to my (lack of) technique:

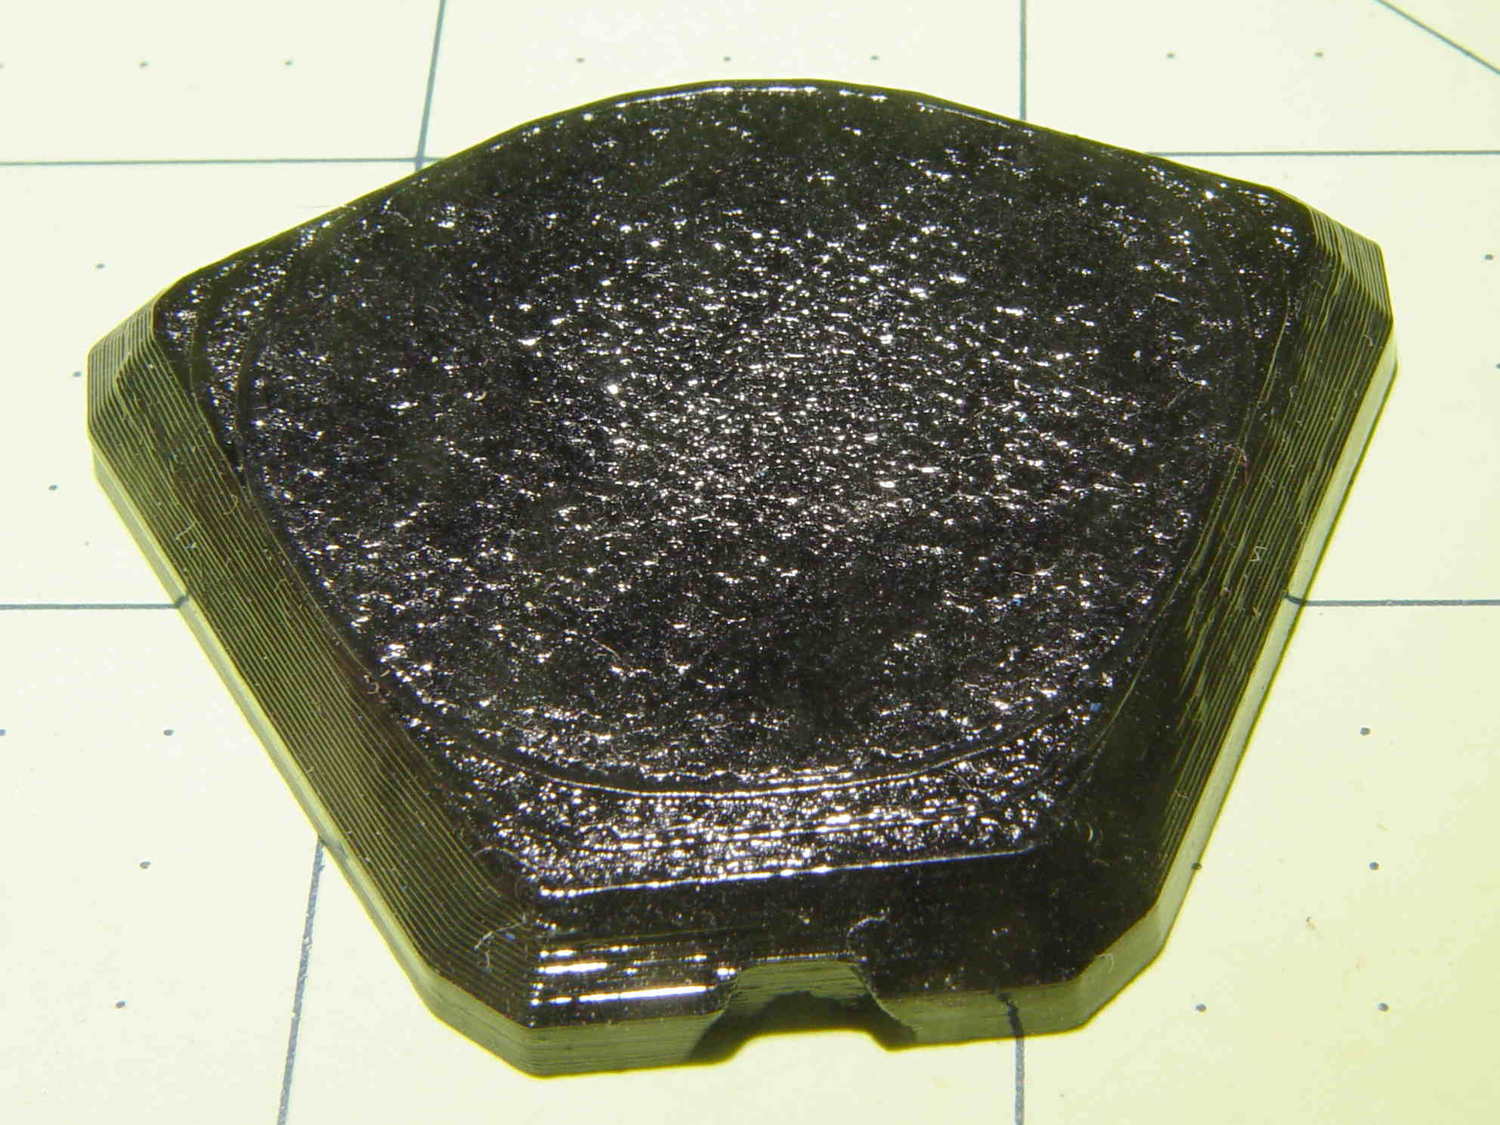
Blowing out the contrast shows the surface finish:
Those scratches come from fingernails, after the overnight curing time. The surface is hard, but not impervious to scratching, which is about what you’d expect for a clear epoxy.
Slightly over-thinning the XTC-3D with denatured alcohol in a 0.7 : 0.3 : 0.3 by weight ratio produced a watery liquid that penetrated directly into the surface:
The finish depends critically on what’s below the surface and how much epoxy you apply. I tried to spread it uniformly with a foam brush, but the center came out somewhat rougher than the outer edge:
The striations along the sides filled in a bit, but surely not enough to satisfy anybody who worries about such things.
A specular reflection shows the changing surface smoothness:

Perhaps two coats of thinned epoxy would produce a watertight / airtight part, without changing the overall dimensions by very much. The mechanical properties depend almost entirely on the plastic-to-plastic bond, so I doubt a thin epoxy layer would improve its pressure-handling capabilities.
Few of the parts I make will benefit from an epoxy coating and I definitely don’t want to get into post-processing the parts just to improve their looks!

Comments
10 responses to “XTC-3D Epoxy Coating: Results”
In your previous post, you mentioned drooling in slightly less than half as much hardener. Actually, it’s 2:1 by volume, so exactly half is the target. I don’t have a fractional gram scale, so dosing out small volumes is the tricky part for me, especially since you have to do it multiple times for multiple coats.
What about sinking bolts into the holes before buttering? It may be easier to remove a bolt than reaming out the epoxy.
As nearly as I can tell, the ratio isn’t absolutely critical and 100:43 by weight means “a little less than half” for the tiny amounts I need.
Come to think of it, though, the sack of 1 ml syringes from the plotter pen refilling project might make accurate 2:1 by-volume doses feasible.
I should definitely try buttering up the bolts / screws / hardware with release agent to see how it works. Most likely, the epoxy would leave a sharp upward flange / meniscus around the bolt in need of countersinking, but the bolt should fit like it grew there (unless I screw up the release agent, in which case it would grow there!).
We use Nivea facial Creme as the ‘secret sauce’ to stop epoxy from migrating beyond where we want it. Perhaps a little blob of it in the bolt hole?
Do you use Nivea as a barrier or as a release agent?
Hi. It’s used as a barrier.
It’s not enough for me to trawl the hair spray aisle for 3D printing adhesive? Now I must puzzle the ladies in the face creme aisle, too?
Sounds like it should be non-toxic and easily removed. OK, it’s on the list …
You’re probably right about mixing ratios, we had some really off batches cure to normal hardness – the worst one when the reduction cap came off the dosing bottle while I was measuring part B perforce dumping half container worth of B into the part A already measured out in the mixing cup. I scrapped the batch because the part we were laminating was way more expensive then the (also expensive) epoxy. Since it was a large batch, I left it out in the cold so as not to have a thermal runaway in the shop. In spite of all that, the next day we got a nice cast of the mixing cup inside cured to regular hardness.
Mind you, if you’re doing something you’ll handle regularly with bare skin or that will come into contact with food, I’d be much more careful about the ratios. Un-reacted resin an especially the hardener is not something you want on your skin.
I have two dirt cheap (<10$) eBay scales that measure in 1/100 of the gram and they both give repeatable results in spite of abuse we put them through, so grab one and don’t worry about measuring ever again. Even if you don’t calibrate them to give out correct absolute values, they will still be pretty spot on for ratio between A and B. Now if only someone made one with software for epoxy so I don’t need to calculate weights for odd ratios…
A long time ago, a semester’s job at a medical center brought me in contact with what I now know was platinum-cured silicone rubber. We goofed the mix ratio, the rubber went spung as we poured the mold, and we ended up with a solid waterfall of silicone rubber joining the mold to the beaker.
Doing it by weight on my little 0.1 gram scale works surprisingly well. I must get used to mixing up more than a gram of resin in order to get a reasonable amount of hardener, no matter how little epoxy I actually need.
I’ve found gloss acrylic medium to do a decent job of sealing/finishing prints. It likely won’t be as tough as epoxy, but the setup and cleanup is very quick since it’s pre-mixed and water soluble before curing. I’ll even admit to sometimes using Mod Podge Dimensional Magic, which has mica and brighteners and who-know-what-else, but is positively sparkly!
Huh. I was browsing Amazon’s selection of opaque white colorants yesterday, in the context of faking porcelain sockets for pretty tungsten bulbs, and discovered mica-loaded titanium dioxide powder is a thing: sparkly epoxy FTW!
I should just use ordinary gloss white acrylic house paint …