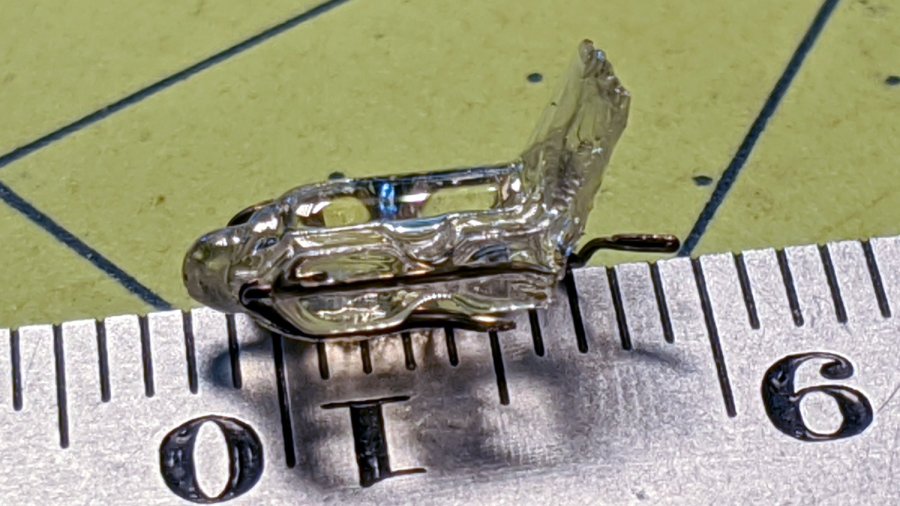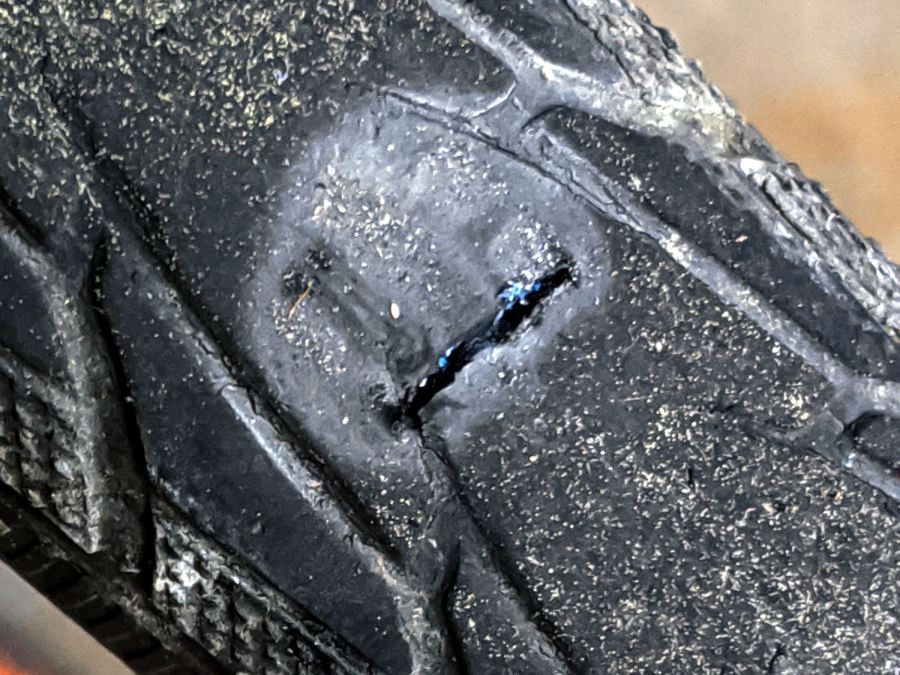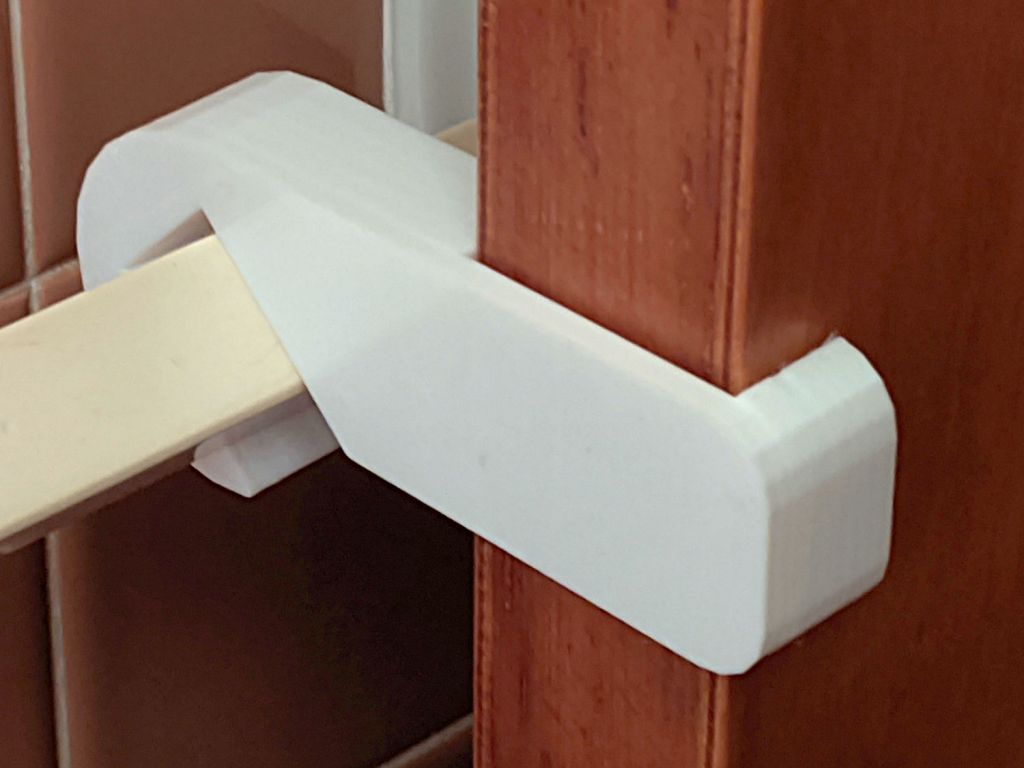
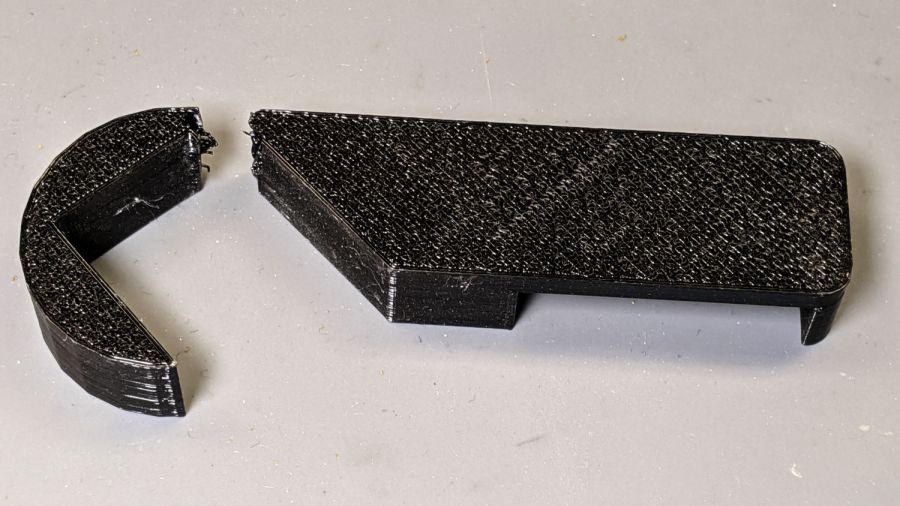
After three years, the retainer holding the front bathroom door open against winds blowing through the house on stormy days finally fractured, right at the top of the towel rack where you’d expect it:
I was all set to add reinforcing pins and whatnot, then came to my senses and just made the whole thing a few millimeters larger:
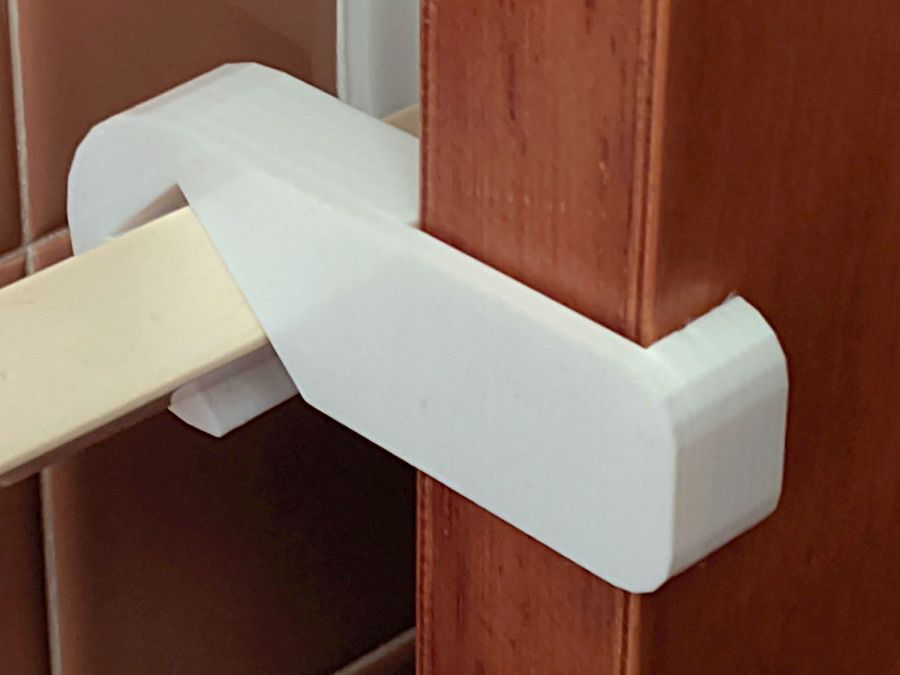
Customer feedback indicates white blends better with the background.
I made a few minor tweaks to the original design, including slightly larger bumps to hold it against the towel bar that, regrettably, put corresponding gouges into the bar. Who knew they used such soft plastic back in the day?
The OpenSCAD source code as a GitHub Gist:
This file contains hidden or bidirectional Unicode text that may be interpreted or compiled differently than what appears below. To review, open the file in an editor that reveals hidden Unicode characters.
Learn more about bidirectional Unicode characters
| // Bathroom Door Retainer | |
| // Ed Nisley KE4ZNU – May 2017 | |
| // 2020-07 beef up, particularly at top of bar | |
| Layout = "Show"; // [Show, Build] | |
| //——- | |
| //- Extrusion parameters must match reality! | |
| /* [Hidden] */ | |
| ThreadThick = 0.20; | |
| ThreadWidth = 0.40; | |
| HoleWindage = 0.2; | |
| Protrusion = 0.1; // make holes end cleanly | |
| function IntegerMultiple(Size,Unit) = Unit * ceil(Size / Unit); | |
| //——- | |
| // Dimensions | |
| /* [Dimensions] */ | |
| TowelBarSide = 20.5; // towel bar across flat side | |
| TowelBarAngle = 45; // rotation of top flat from horizontal | |
| BumpOD = 2.0; // retaining ball | |
| DoorOffset = 14.0; // from towel bar to door | |
| DoorThick = 37.0; | |
| WallThick = 8.0; // minimum wall thickness | |
| PlateThick = 4.0; // … slab | |
| RetainerDepth = 15.0; // thickness of retaining notch | |
| NumSides = 6*4; | |
| CornerRad = WallThick; | |
| BarClipOD = TowelBarSide*sqrt(2) + 2*WallThick; | |
| BarClipRad = BarClipOD/2; | |
| OAH = RetainerDepth + PlateThick; | |
| module LatchPlan() { | |
| union() { | |
| linear_extrude(height=OAH,convexity=4) | |
| difference() { | |
| union() { | |
| circle(d=BarClipOD,$fn=NumSides); | |
| hull() | |
| for (i=[0,1], j=[0,1]) | |
| translate([i*(BarClipRad + DoorOffset + DoorThick + WallThick – CornerRad),j*(BarClipRad – CornerRad)]) | |
| circle(r=CornerRad,$fn=4*4); | |
| } | |
| rotate(TowelBarAngle) // towel bar shape | |
| square(size=TowelBarSide,center=true); | |
| translate([0,-TowelBarSide/sqrt(2)]) // make access slot | |
| rotate(-TowelBarAngle) | |
| square(size=[2*TowelBarSide,TowelBarSide],center=false); | |
| } | |
| for (a=[0:180:360]) | |
| rotate(a + TowelBarAngle) | |
| translate([TowelBarSide/2,0,OAH/2]) | |
| rotate([90,0,45]) | |
| sphere(d=BumpOD,$fn=4*3); | |
| } | |
| } | |
| module Latch() { | |
| difference() { | |
| LatchPlan(); | |
| translate([BarClipRad + DoorOffset,-BarClipRad/2,-Protrusion]) | |
| cube([DoorThick,BarClipOD,RetainerDepth + Protrusion],center=false); | |
| } | |
| } | |
| //——- | |
| // Build it! | |
| if (Layout == "Show") { | |
| Latch(); | |
| } | |
| if (Layout == "Build") { | |
| translate([0,0,OAH]) | |
| rotate([180,0,0]) | |
| Latch(); | |
| } |
Done!