Ed Nisley's Blog: Shop notes, electronics, firmware, machinery, 3D printing, laser cuttery, and curiosities. Contents: 100% human thinking, 0% AI slop.
Mary’s long-suffering garden rake pulled apart while we were flattening a section of what will become something like a lawn next to the garden:
Garden rake – shank and ferrule
For whatever reason, there’s no cross bolt holding the shank into the ferrule, like there should be on any tool subject to pulling force.
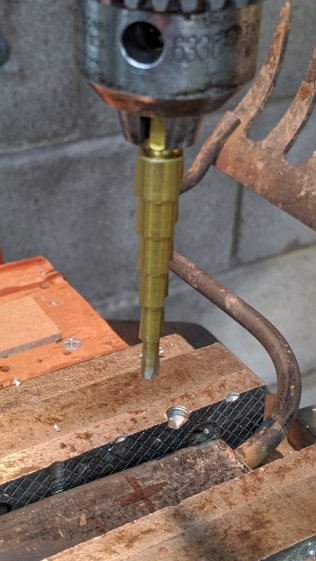
After marking the wide spot on the shank, a couple of good shots with a two pound hammer flattened the ferrule around it well enough to start a hole with a 3/16 step drill:
Garden rake – cross drilling
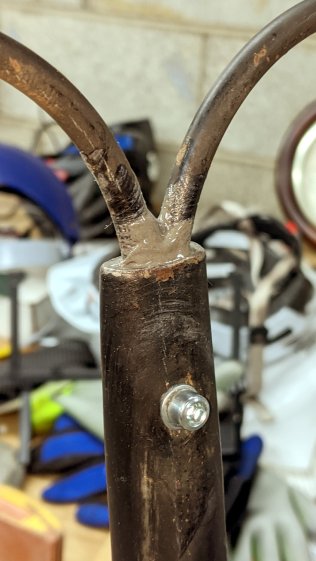
Go through the far side with a 13/16 inch drill for a generous 5 mm fit, drop a bolt into the hole while it can’t get away, tighten the nyloc nut, and it’s all good:
Garden rake – cross bolt
In fact, it’s better than it ever was, because now the shank can’t pull out until the ferrule falls off the handle. Which could happen, but I’m not averse to another bolt.
Admittedly, it’s not a stainless steel socket head cap screw, because that’d just about double the value of the rake. The handle is in such bad shape that the bolt will probably outlast the wood …
Done!
Update: The consensus says I totally missed the Ritual Invocation of the Epoxy, so:
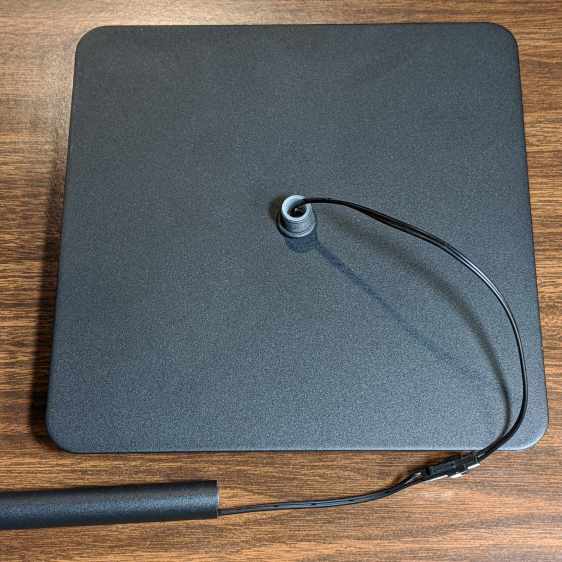
After trimming off all the extraneous bits, the larger half of the connector (male pins) fits through the tubing and the smaller half (female sockets) barely fits through the bottom bushings.
It turns out half-inch copper pipe fittings (ID = 15.9 mm) almost exactly fit the tubing (OD = 15.7 mm):
Floor Lamp – copper 45° elbow
A quick test showed the 45° (actually, it’s 135°, but we’re deep into plumbing nomenclature) positioned the lamp head too high and with too much reach:
Floor Lamp – gooseneck exercise
So shorten the tube attached to the head and deburr the cut:
Floor Lamp – tube deburring
The 45° fitting is too high and a 90° fitting is obviously too low, so cut a 20° slice out of a 90° fitting:
Floor Lamp – copper 90° elbow – 20° cutout
Cut a snippet of brass tubing to fit, bash to fit, file to hide, buff everything to a high shine, silver-solder it in place, and buff everything again:
Floor Lamp – copper 90° elbow – 20° fill strip
The 5/8 inch aluminum rods serve to stiffen the fitting, smooth out the torch heating, and generally keep things under control.
Wrap the obligatory Kapton tape around the butt ends of the tubes to fill the fitting’s oversize hole, put everything together, and it’s just about perfect:
Floor Lamp – copper 70° elbow – installed
I immobilized the fitting with black Gorilla tape, but it really needs something a bit more permanent. One of these days, maybe, a pair of setscrews will happen.
The additional reach required a little more counterweight on the far side for security, so I added the broken stub of a truck leaf spring. It should be secured firmly to the base plate, but no tool I own can put a dent in those three pounds of spring steel. Maybe it’ll merit a fancy enclosure wrapped around the base?
Grab the buckle in the Sherline vise, center on the post hole, and drill a #38 = 2.58 mm hole:
Reversible Belt Buckle – cross drilling
Tap it M3×0.5, clean out the hole, tap the post + spring back in place, dab threadlocker on the shortest M3 setscrew from the assortment, snug down on the post, and reinstall the belt:
Reversible Belt Buckle – M3 setscrew installed
Looks like it grew there, doesn’t it?
Now, as my buddy dBm will remind me, the real problem is too much weight in the saddle, but this fix should move the symptoms elsewhere …
The pivot on the Fiskars Small Detail Scissors (the name is larger than the hardware!) in the bathroom gradually worked loose to the point where I hauled it to the Basement Shop and whacked the rivet with a concave punch:
Fiskars Small Detail Scissors – pivot restaking
Setting the rim of the rivet down a smidge tightened the joint wonderfully well and two oil dots smoothed the action.
I grew up using these concave punches (I have several sizes) to set finish(ing) nails, but apparently real nail punches have a nubbin in the middle to engage the little recess in the nail head which used to be common, back when finish nails arrived well-finished from the factory.
They’re not roll pin punches, either, because those have a different nubbin to support the inside of the pin.
For reasons not relevant here, I made another clamp for a magnifying desk lamp and mailed it off in a small box. A few measurements suggested all such lamps share a common design and similar parts, so I duplicated my previous attempt, with some improvements.
On the upside, the same scrap of aluminum plate I used for the previous clamp emerged from the stockpile and, after a session with Mr Disk Sander, sported two square & reasonably perpendicular sides:
Magnifying Lamp Clamp – squaring stock
Rather than rely on my original dimension scribble, I transfer-punched the hole location from my as-built clamp to the stock:
Magnifying Lamp Clamp – locating stem hole
That’s a reenactment based on a true story: the actual punching happened on the bench vise’s anvil surface, with too many moving pieces supported & aligned by an insufficient number of hands.
Drilling the 5/16 inch hole required mounting the Greater Chuck on an MT1 taper adapter for the Sherline:
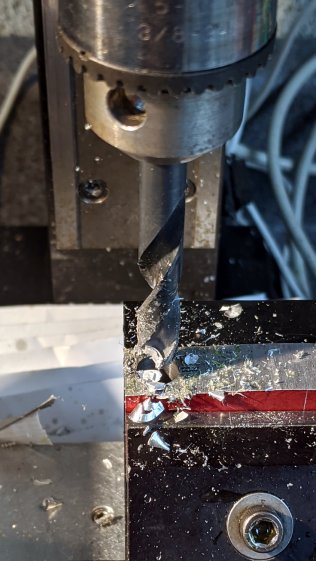
Magnifying Lamp Clamp – drilling stem clamp
It’s normally on an MT2 adapter for the mini-lathe tailstock, where it handles drills up to 3/8 inch. For the record, the Sherline’s Lesser Check tops out at 1/4 inch and the Least Chuck at 5/32 inch.
Punch & drill the 4 mm cross hole for the clamping screw:
Magnifying Lamp Clamp – drill cross hole
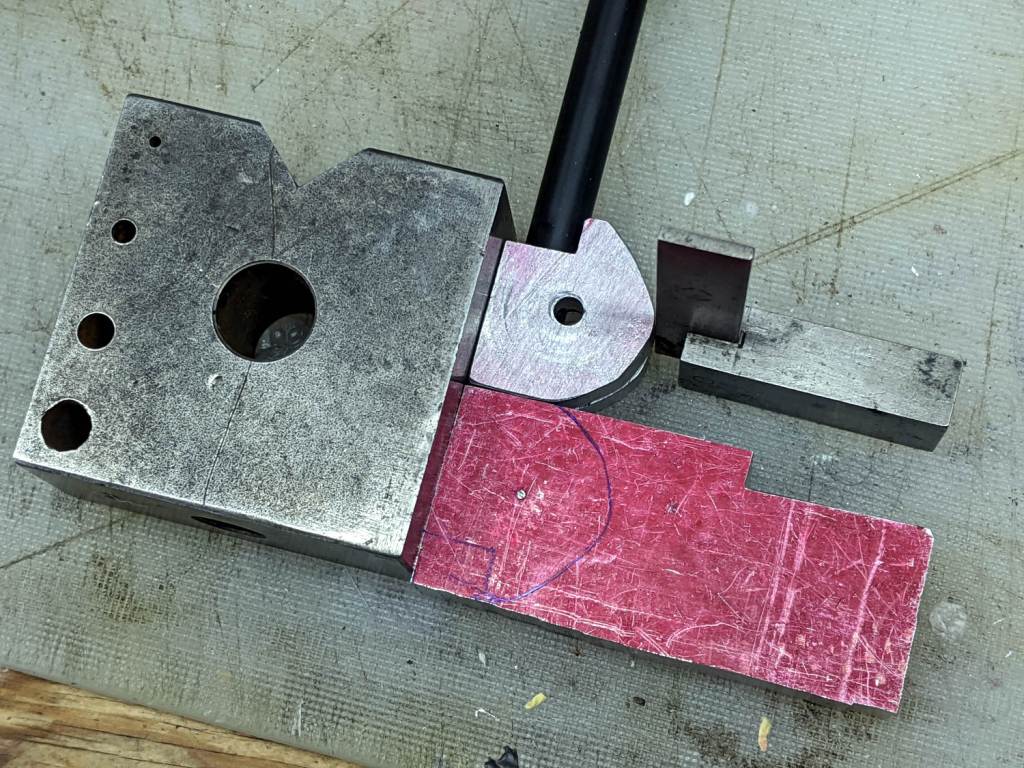
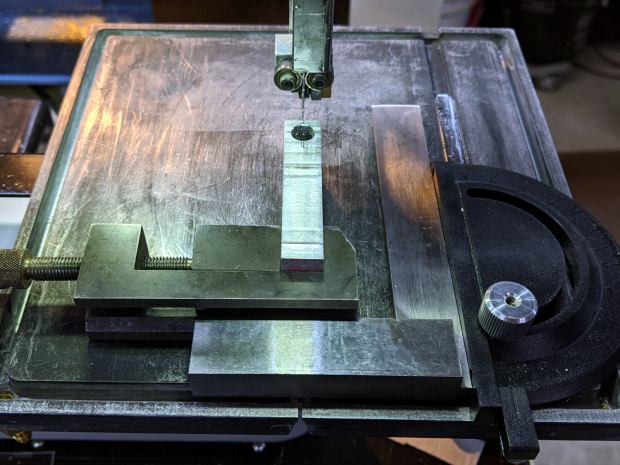
Grab the plate in a toolmaker’s vise, set up some casual guidance, and bandsaw right down the middle:
Magnifying Lamp Clamp – sawing clamp halves
Bandsaw the outline to free the two halves from the stock, then clean up their perimeter:
Magnifying Lamp Clamp – rounded
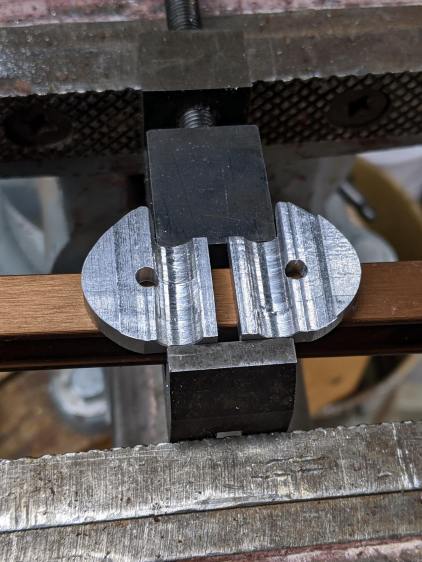
Saw the clamp clearance almost all the way through to leave a protrusion, then file the scarred kerf more-or-less flat:
Magnifying Lamp Clamp – filing interior
Do a trial fit in my lamp, which lacks the fancy brushed-metal finish of the remote one:
Magnifying Lamp Clamp – trial fit
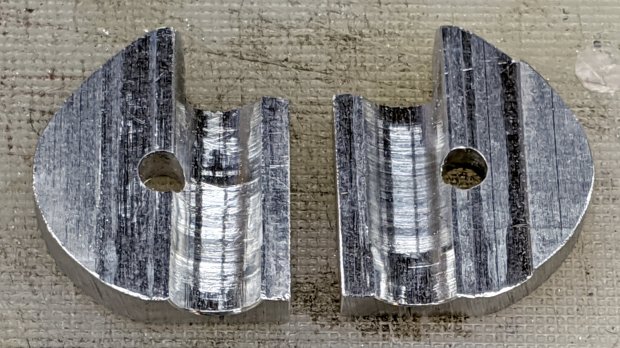
It holds tight and rotates well, so break the edges and shine up the outside to a used-car finish (“high polish over deep scratches”):
Magnifying Lamp Clamp – surface finish
The inside remains gritty to improve traction on the lamp stem:
After four years, I finally had occasion to use the blue label cartridge, only to have the tape refuse to feed. The mess on the tongue sticking out shows the result after I forcibly pulled the tape from the cartridge:
Cheapnified Brother Label Cartridge – exterior
The proximate cause was a fold in the imaging tape takeup path causing the driven spool to stop turning:
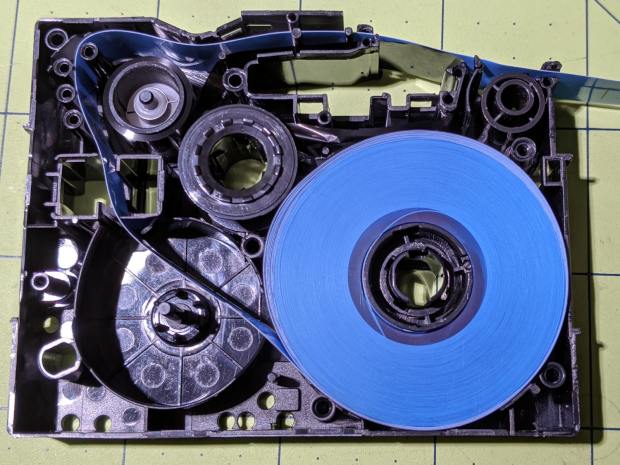
In the genuine cartridge, the base tape (with the sticky side and the colored side) feeds from the lower right directly into the assembly pressure roller. The transparent cover tape feeds from the spool in the lower left, up around the imaging tape supply spool, has the image fused to it, and is then pressed against the base tape on the assembly roller.
Update: Per david’s comment, the cartridges are even more complex than I thought! The printer has sense pins matching a group of cartridge holes to determine (at least) the tape size & orientation. See the pix added below.
Despite using the same cartridge body, the cheapnified tape path is entirely different. The base tape now feeds from the spool in the lower right through what should be the cover tape supply reel, around the imaging film supply spool, has the image fused directly to it, then passes out through the assembly pressure roller.
The cover tape is completely missing!
It turns out the cheapnified cartridges don’t bother with lamination. Instead, the printhead presses the imaging film against the top of the base tape, leaving the black image exposed to the elements. The assembly roller does nothing, apart from pulling the base tape through the cartridge.
Now that I know what to look for, the visible difference is the orientation of the base tape. A cartridge with the correct innards feeds the base tape with the colored side + image facing away from the long side of the cartridge. A cheapnified cartridge has the color + image facing the long side, with the major benefit of making the advertising look more appealing:
Fake Brother TZ cartridge – Amazon image
A genuine Brother cartridge would print the image on the bottom of the tape in that picture, so you’d see the blank side of the tape in that picture.
The “Amazon Marketplace” being what it is, I assume any pictures will not, in general, have much in common with what you actually receive, but at least I now know which ones to reject out of hand.
Update: The PT-1090 label printer has cartridge sensing pins:
Brother PT-1090 Labelmaker – sense pins
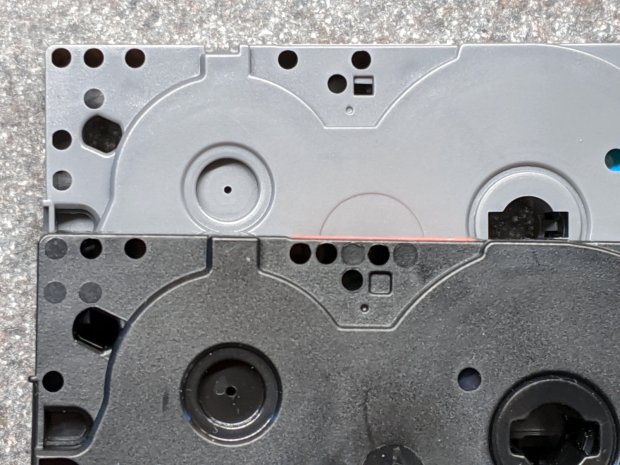
And the cartridges have corresponding holes, although the printer doesn’t sense all of them:
Brother PT-1090 Labelmaker – cartridge ID holes
Despite that, cheapnified cartridges are still cheapnified.
I learn something new every day around here! Thanks!