Ed Nisley's Blog: Shop notes, electronics, firmware, machinery, 3D printing, laser cuttery, and curiosities. Contents: 100% human thinking, 0% AI slop.
Plugging an Arduino with GRBL into a USB port on a Raspberry Pi 3 with bCNC causes an immediate crash: the Arduino doesn’t power up and the Raspberry Pi stops responding. A hardware reset / power cycle with the Arduino plugged in doesn’t improve the situation, so it seems the Arduino draws more current from the USB port than the default setup will allow.
Most likely, the Arduino’s 47 μF power supply caps draw too much current while charging, as the steady-state current seems to be around 40 mA:
RPi vs Arduino – USB current
The solution / workaround requires a tweak to /boot/config.txt:
#-- boost USB current for Arduino CNC

max_usb_current=1

# blank line above to reveal underscores
Update: As mentioned in the comments, the max_usb_current option doesn’t apply to the Pi 3 you see in the picture and, thus, shouldn’t have changed anything. Your guess is as good as mine.
I’d be more comfortable with a separate power supply plugged into the Arduino’s coaxial power jack, but that’s just me.
You don’t get my patter, but perhaps you’ll get the gist from the pix.
Hearphone – Detail
Summary: I like ’em a lot, despite the awkward form factor and too-low battery capacity. If you’re more sensitive to appearances than I, wait for V 2.0.
Radio communication between our bikes failed on the way back from a grocery ride and the problem turned out to be a failed radio:
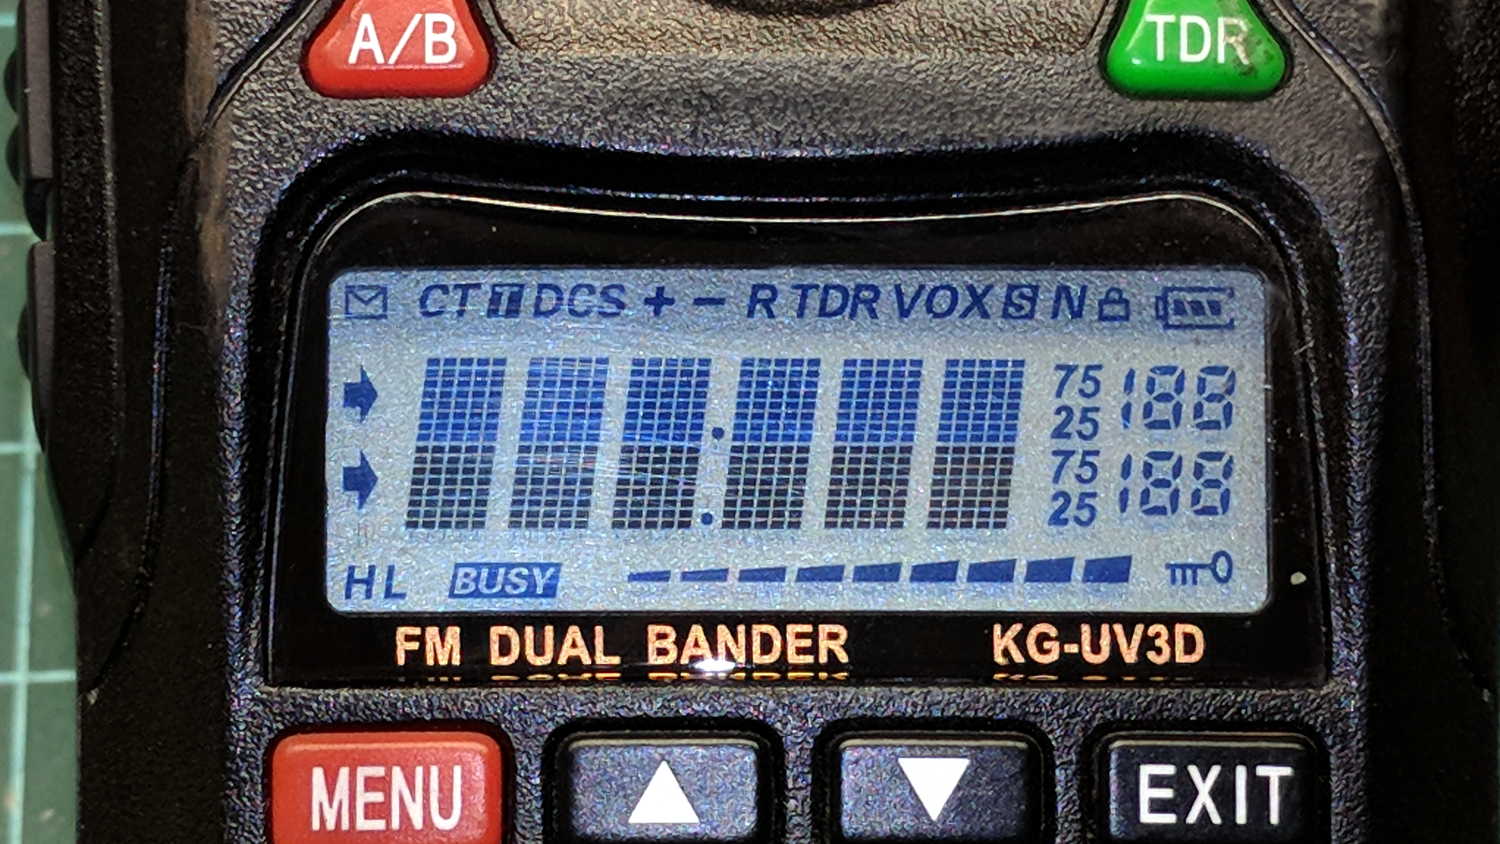
Wouxun KG-UV3D – defunct
The Wouxun KG-UV3D radio seems jammed firmly somewhere in its power-up sequence, doesn’t respond to any buttons, and has no hard-reset switch. On the other paw, it’s been in constant (and rugged!) use for almost exactly five years, so I suppose it doesn’t owe me much of anything.
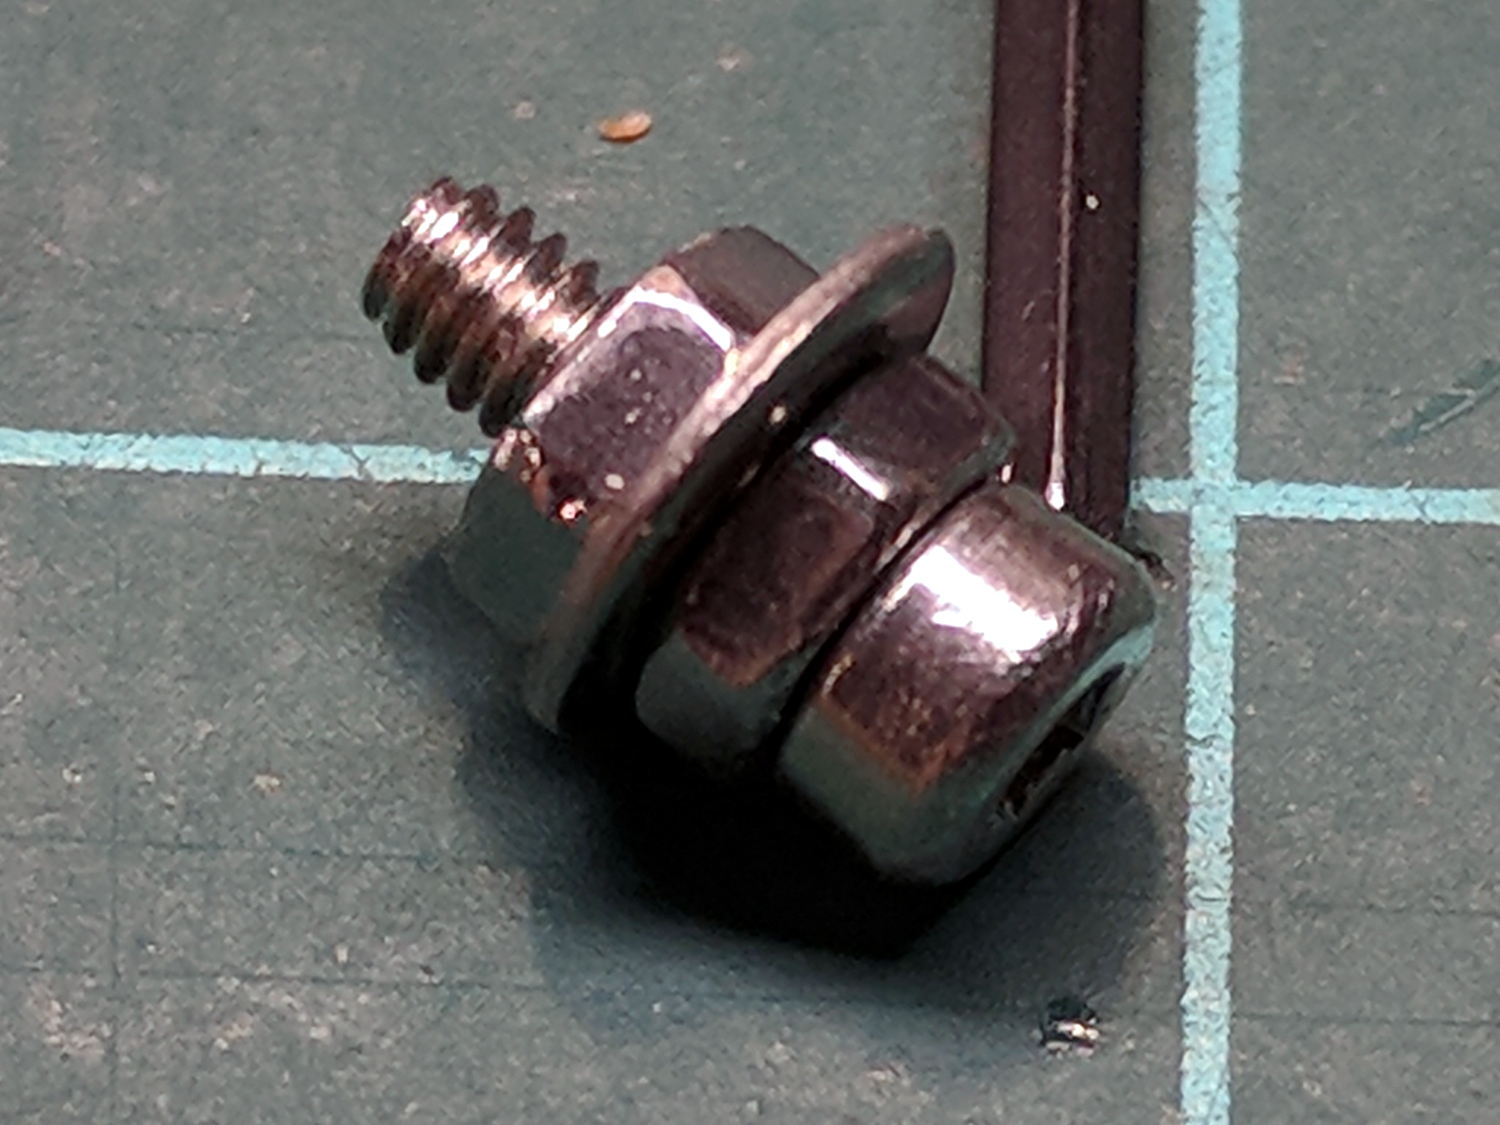
The new radio, another KG-UV3D from PowerWerx, has marginally different spacing around the screw attaching the plug cover preventing the previous screw from fitting, so I kludged up a screw from a 2 mm socket-head screw, a 2.5 mm (yes) washer, and a pair of 2 mm nuts:
Wouxun KG-UV3D – APRS plug plate screw
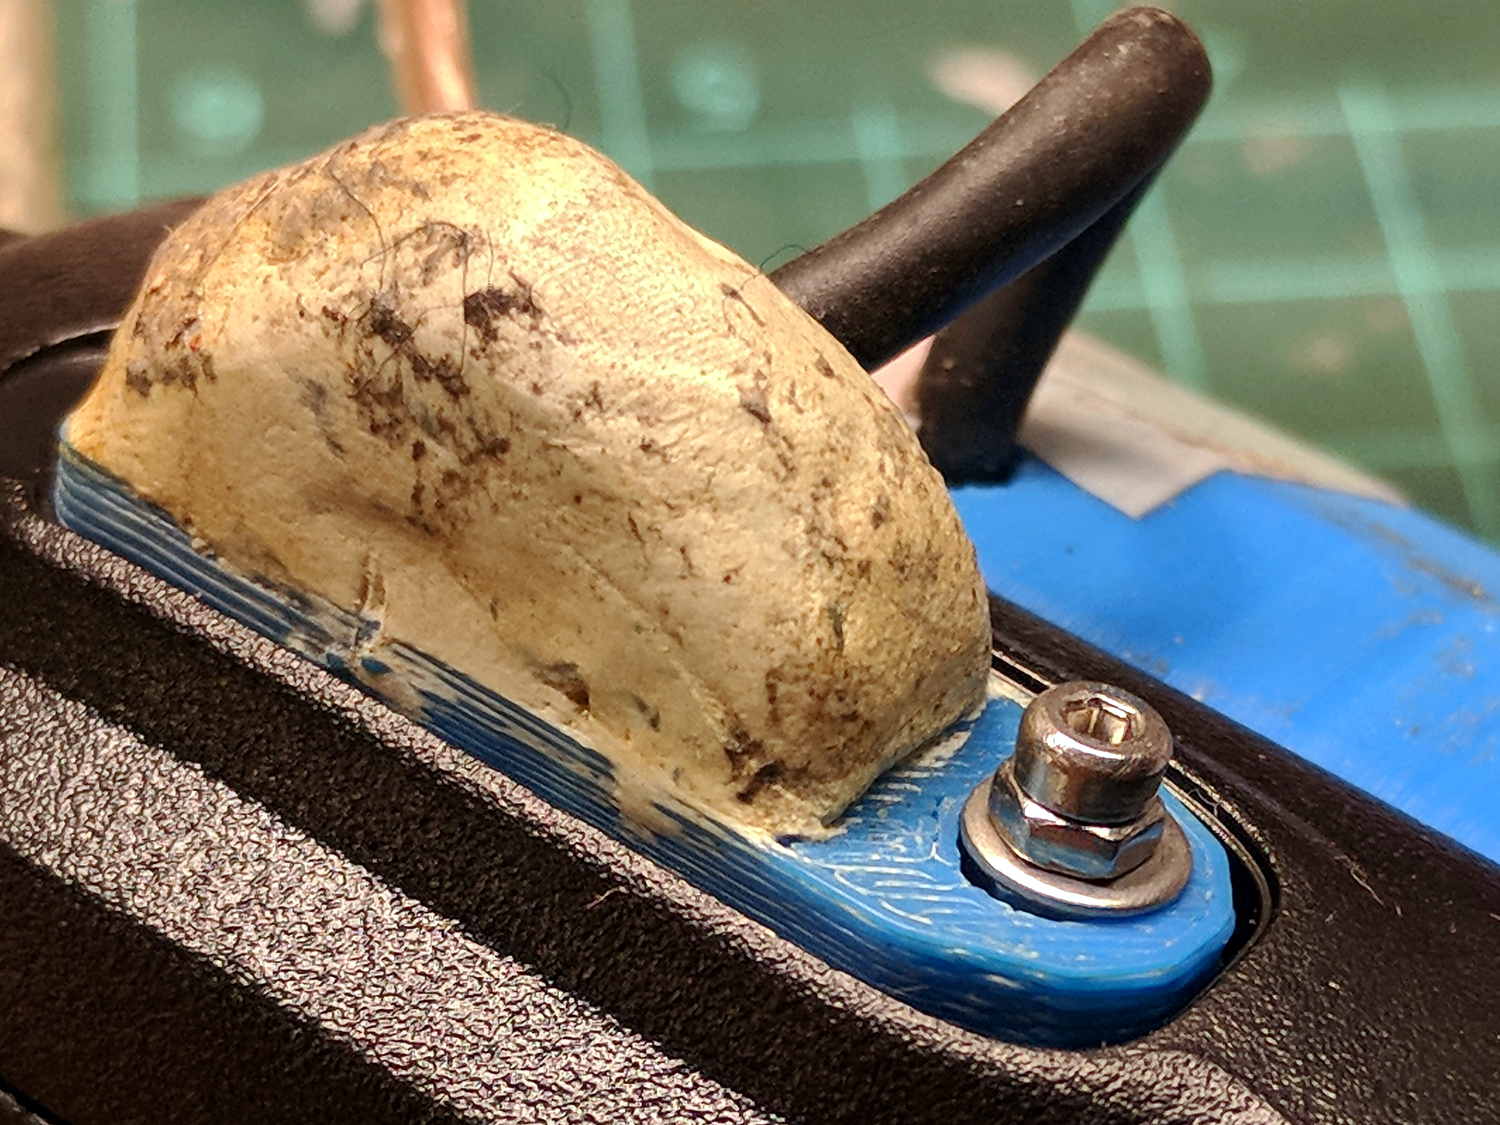
Which looks a bit odd, but holds the plug adapter plate firmly in place:
Wouxun KG-UV3D – APRS Voice Plug Block
I suppose when the radio on my bike fails, I must rebuild both APRS + voice interfaces for Yet Another Radio, because the Wouxuns will be completely unobtainable.
The weather abruptly became too cold for riding, at least for sissies such as we, but maybe we’ll get out later in the month …
Unlike the last CFL failure, this time I noticed the faint smell of electrical death near the Electronics Workbench, but I couldn’t track it down until the can light over the the Bench didn’t start:
Another Hot-Failed CFL Bulb
The date code suggests it’s been in the fixture for over a decade, so I can’t complain. Having two unrelated bulbs fail within a week, after years of service, is surely coincidence. If another fails within a week or two, however, it will definitely be Enemy Action.
The Fly6 rear camera on my bike started giving off three long beeps and shutting down. Doing the reformatting / rebooting dance provides only temporary relief, so I think the card has failed:
Sandisk Extreme Plus vs. Samsung EVO MicroSD cards
The Fly6 can handle cards up to only 32 GB, which means I should stock up before they go the way of the 8 GB card shipped with the camera a few years ago.
Some back of the envelope calculations:
It’s been in use for the last 19 months
The last 22 trips racked up 88 GB of video data = 4 GB/trip
They occurred over the last 6 weeks = 3.6 rides/week
Call it 250 trips = 1 TB of data written to the card = 32 × capacity
That’s only slightly more than the failure point of the Sony 64 GB MicroSDXC cards. The Fly6 writes about a third of the data per trip, so the card lasts longer on a calendar basis.
So now let’s find out how long the Samsung cards last …
Being a big fan of having a CNC machine know where it is, adding endstops (pronounded “home switches” in CNC parlance) to the Mostly Printed CNC axes seemed like a good idea:
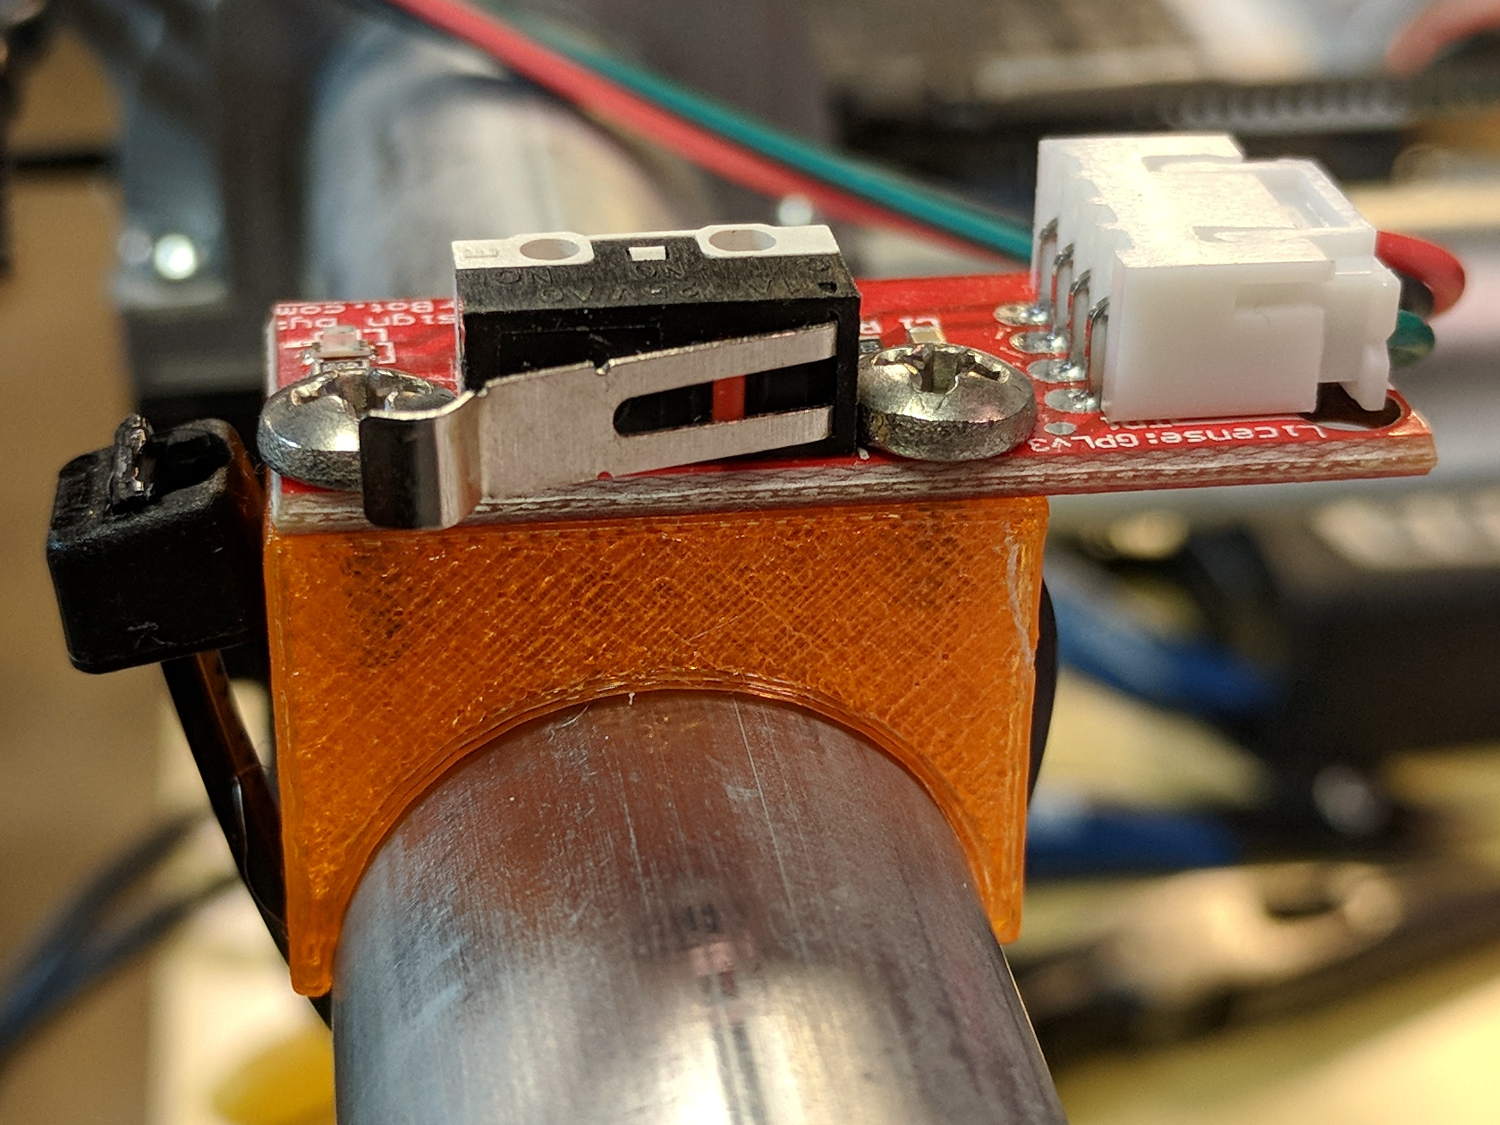
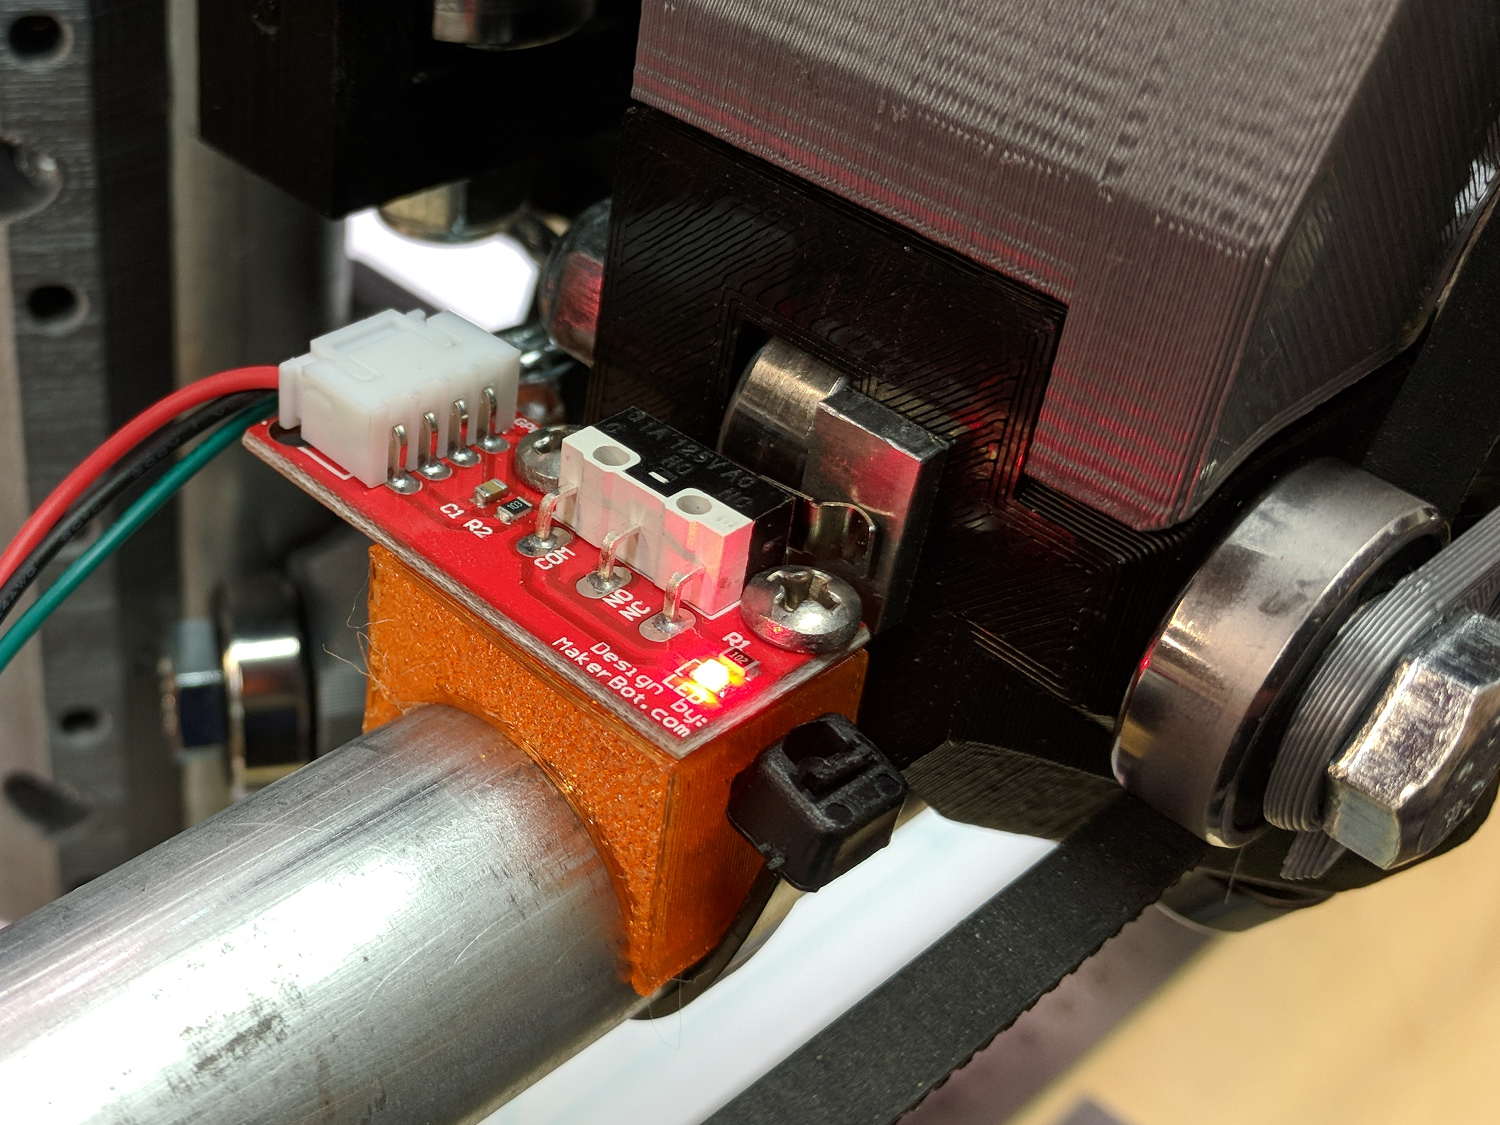
MPCNC – X min endstop – actuator view
All the mounts I could find fit bare microswitches of various sizes or seemed overly complex & bulky for what they accomplished. Rather than fiddle with screws and nut traps / inserts, a simple cable tie works just fine and makes the whole affair much smaller. Should you think cable ties aren’t secure enough, a strip of double stick tape will assuage your doubts.
A snippet of aluminum sheet moves the switch trip point out beyond the roller’s ball bearing:
MPCNC – X min endstop
I’m not convinced homing the Z axis at the bottom of its travel is the right thing to do, but it’s a start:
MPCNC – Z min endstop
Unlike the stationary X and Y axes, the MPCNC’s Z axis rails move vertically in the middle block assembly; the switch moves downward on the rail until the actuator hits the block.
Perforce, the tooling mounted on the Z axis must stick out below the bottom of the tool carrier, which means the tool will hit the table before the switch hits the block. There should also be a probe input to support tool height setting.
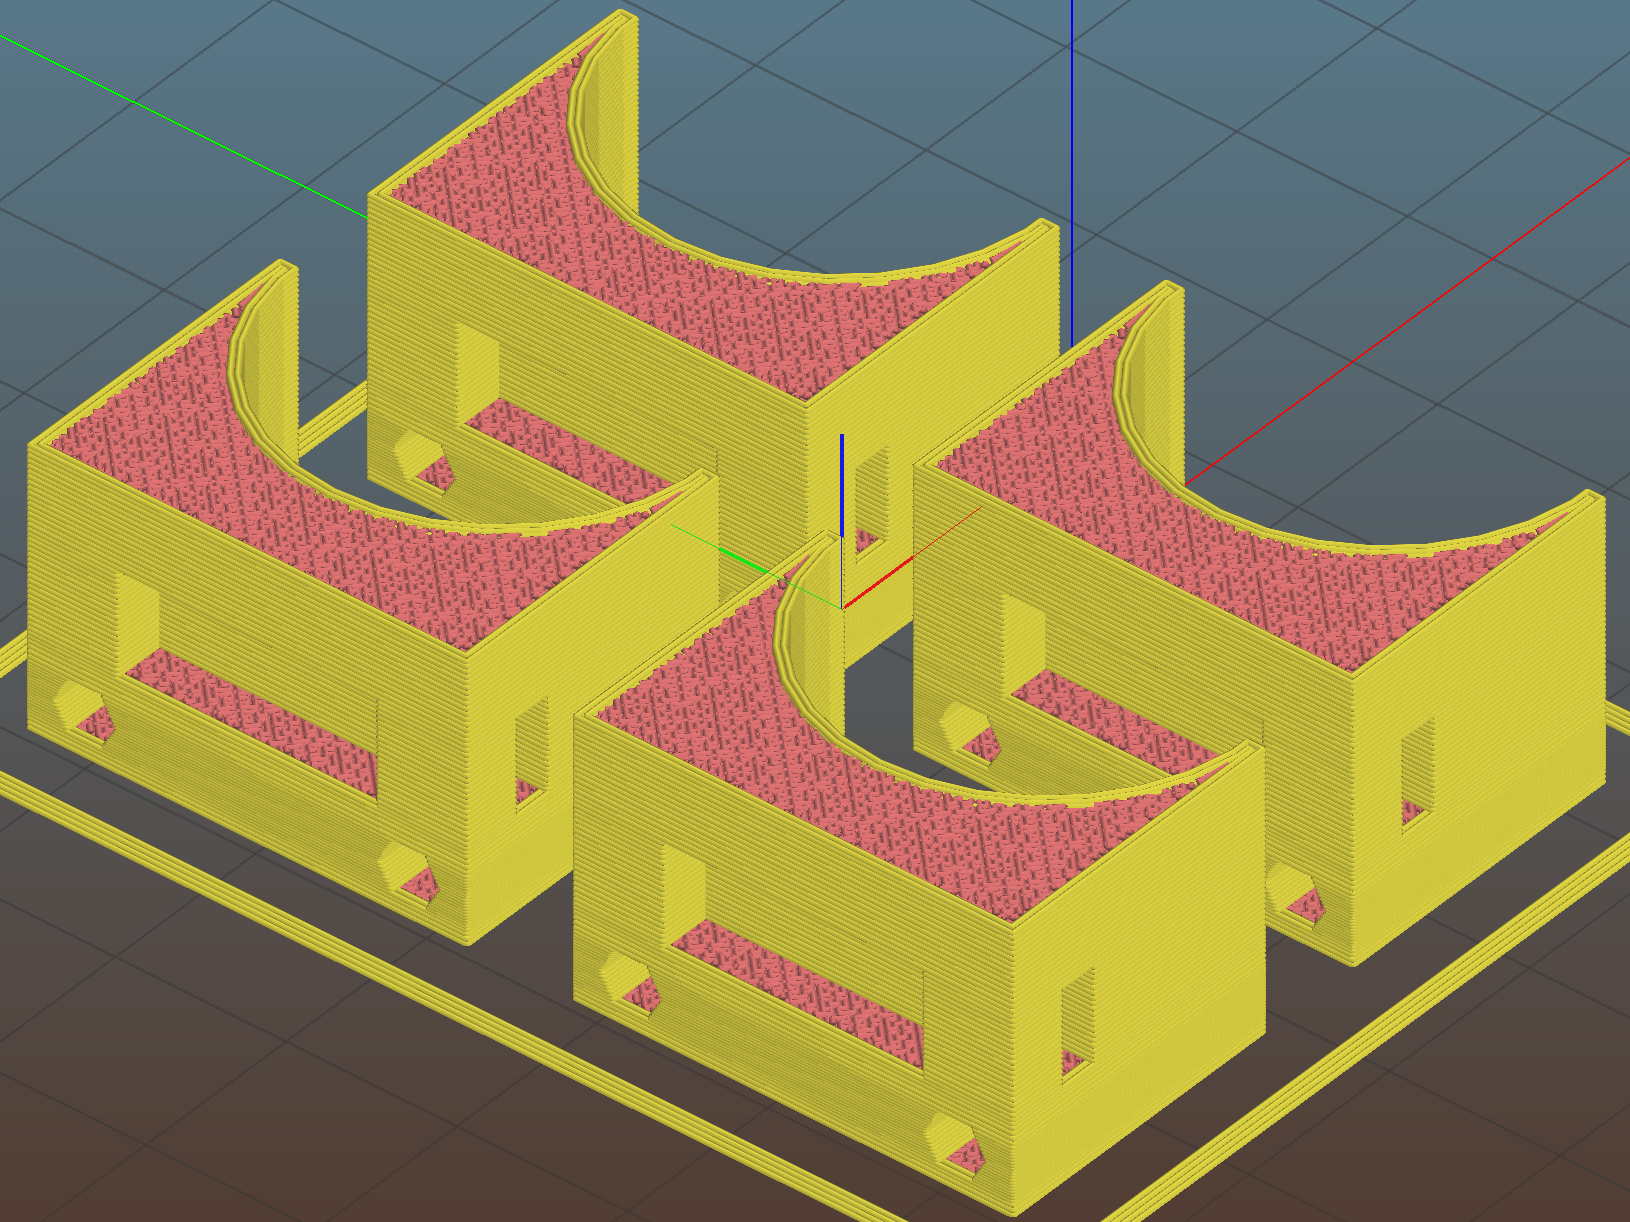
The first mount fit perfectly, so I printed four more in one pass:
MPCNC MB Endstop Mounts – Slic3r preview
All three endstops plug into the RAMPS board, leaving the maximum endstop connections vacant:
MPCNC – RAMPS min endstop positions
Obviously, bare PCBs attached to the rails in mid-air aren’t compatible with milling metal, which I won’t be doing for quite a while. The electronic parts long to be inside enclosures with ventilation and maybe dust filtering, but …
The switches operate in normally open mode, closing when tripped. That’s backwards, of course, and defined to be completely irrelevant in the current context.
Seen from a high level, these switches set the absolute “machine coordinate system” origin, so the firmware travel limits can take effect. Marlin knows nothing about coordinate systems, but GRBL does: it can touch off to a fixture origin and generally do the right thing.
This file contains hidden or bidirectional Unicode text that may be interpreted or compiled differently than what appears below. To review, open the file in an editor that reveals hidden Unicode characters.
Learn more about bidirectional Unicode characters
If link rot should set in, a direct rip from the website:
NEMA 17 BIPOLAR STEPPER MOTOR, KL17H248-15-4A, 76 oz-in
Specifications:
Shaft: 5mm diameter with flat
Current Per Phase: 1.5A
Holding Torque: 5.5Kg.cm (76 oz-in)
Rated Voltage: 4.2V
NO.of Phase: 2
Step Angle: 1.8° ± 5%
Resistance Per Phase: 2.8Ω± 10%
Inductance Per Phase: 4.8mH± 20%
Insulation Class: Class B
Dielectric Strength: 100Mohm
Operation Temp Range: -20 ~ +40° C
Lead Wire: 22AWG / 750mm with connector to stepper motor driver
Red- 1A
Green- 1B
Yellow- 2A
Blue- 2B
A nice torque curve:
KL17H248-15-4A – Torque curve
The present MPCNC design wires the motors on each end of X / Y axes in series. Each motor has 2.8 Ω of DC resistance = 5.6 Ω total and, given the small wire gauge (allegedly 22 AWG on the motors and unspecified for any eBay cables) and six (!) teeny header pins in series along the wires for each winding, a total series resistance of 6 Ω seems reasonable and is, in fact, what I measure with an ohmmeter.
The stepper drivers arrived preset for 1 A peak:
MPCNC Stepper Drive – as delivered – 500 mA div
The vertical scale is 500 mA/div. The waveform comes from a 10 mm move at 5000 mm/min = 83 mm/s, which is absurdly fast for such a machine, particularly seeing as how the default firmware limits it to 190 mm/min = 3 mm/s. Cutting speeds will be much lower than either of those.
The default DRV8825 current-setting pot setting was 600 mV, for a nominal current motor current of 1.2 A peak. That’s reasonably close to the measurement, all things considered.
However, because the motors run from a 12 V supply at 1 A, the winding and wiring losses mean they operate at a bit over 8 V: much much less than the nominal 24 and 32 V plotted in the torque curve. More voltage = faster response to microstep current changes = higher top speed. At sensible speeds, this surely does not matter.
Part of the tweakage will be to sort that out; a 24 V supply may be in order. Driving each motor separately (as required for automatic de-racking homing) at 1.5 A/phase would require 31.5×√2 A/motor × 5 motors = 15 10.5 A, which seems excessive even to me, particularly in light of sending it across a RAMPS board. At 1 A/phase, you need 10 7 A, which falls within the realm of reason and would be kinder to the PLA motor mounts. It’s not clear boosting the motor voltage will produce any real benefit, although giving the drivers more headroom seems reasonable.
The GT2 drive belts have 2 mm pitch, so the 16 tooth drive pulleys move 32 mm/rev and require 200 step/mm, which seems high to me. At a nice round 100 mm/s, the steppers must tick along at 20 k step/s, half of Marlin’s top speed, which may explain some of the roughness around 80 mm/s.
The torque curve suggests the motors want to run under 200 RPM = 3.3 rev/s = 100 mm/s with the stock 16 tooth pulley. No problem with those numbers!
Using 16:1 microstepping would produce 3200 step/rev, 100 step/mm, thus half the step rate at any speed. Reducing the driver step frequency can’t possibly be a Bad Thing for Marlin.