The IR sensor on the under-cabinet LED lights I installed half a dozen years ago became increasingly flaky. Its wall wart power supply was on the hot side of uncomfortably warm, so I had an obvious culprit.
The data plate says it’s UL Listed, which is comforting:

The open-circuit output of a 12 VDC power supply should not look like this:

The horizontal scale is 100 ms/div, so those ramps seem much more languid than you might expect from a 60 Hz wall wart.
Adding a 16 Ω load to draw maybe 750 mA got its attention:
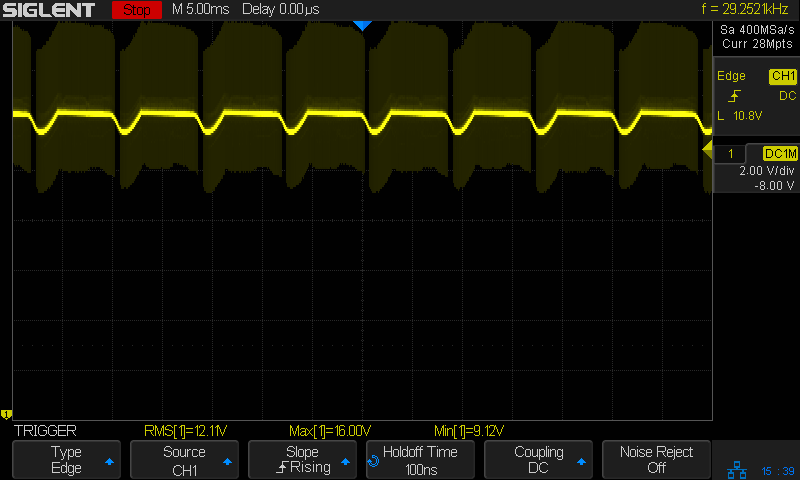
The average may be 12 V with too-large dips at the expected 120 Hz, but looky at all the hash riding the output!
No wonder the IR sensor was having such a hard time. When the LEDs are off the voltage ramps between 16 and 5 V. When it eventually turns on the supply has impossible noise levels.
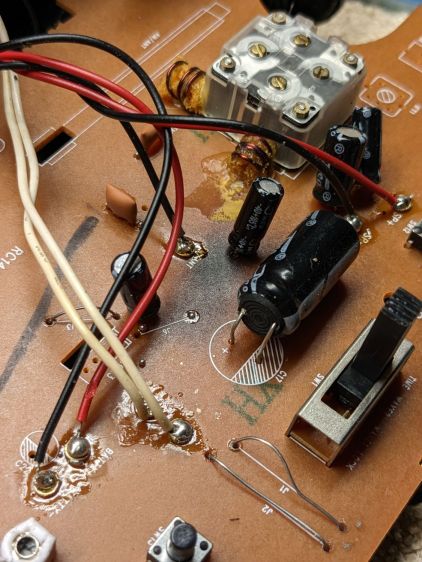
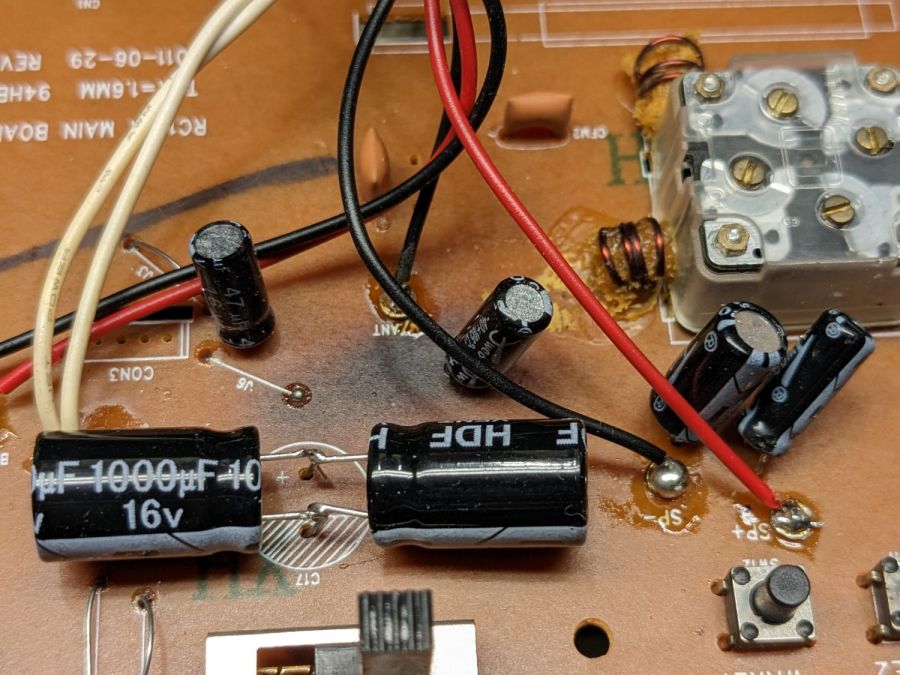
So I cracked the case and extracted the electronics:

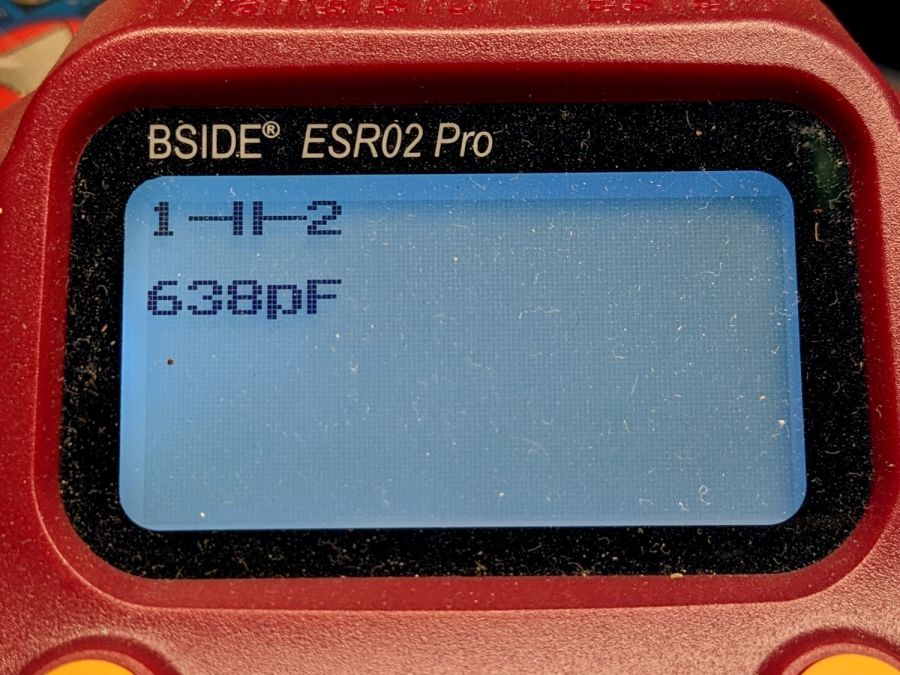
Those caps over there on the left rear don’t look healthy, do they?

No. No, they don’t and you shouldn’t be able to see the wiring inside the inductor between them, either.
Probing the Box o’ Wall Warts produced a similar-ish wart that only required harvesting and splicing the teeny coax plug from the failed adapter to put the LED strips back into normal operation.
The identical supply for the identical LED strips on the other side of the kitchen continues to work fine and feel only warm-ish, so I’ll let it be.