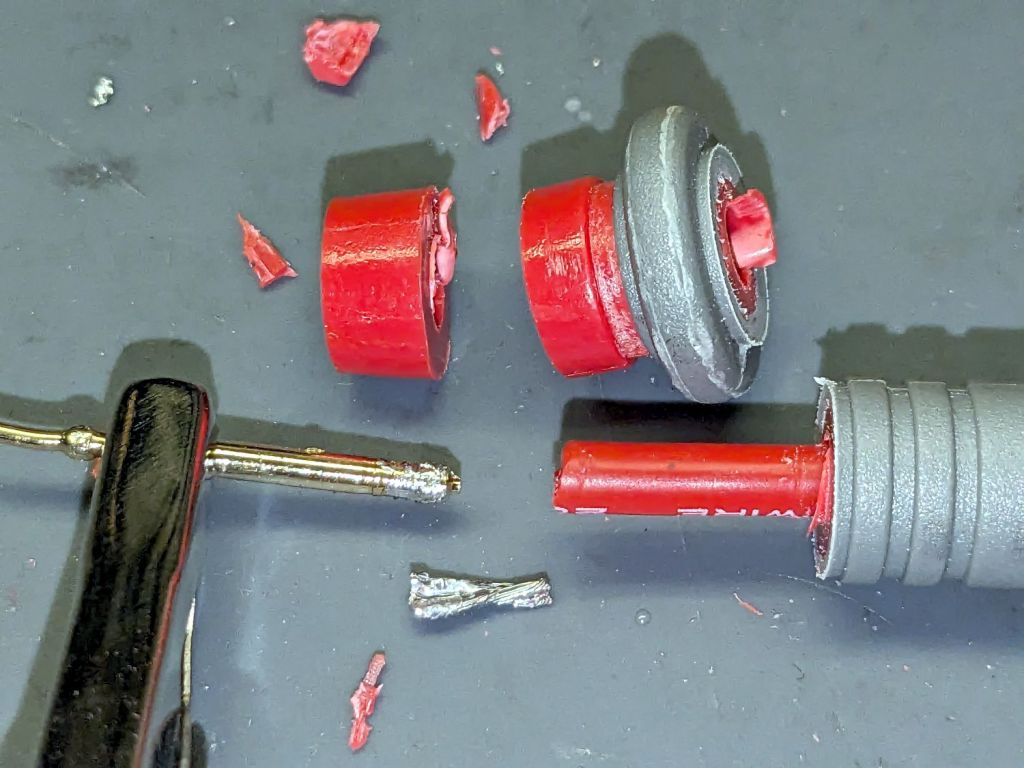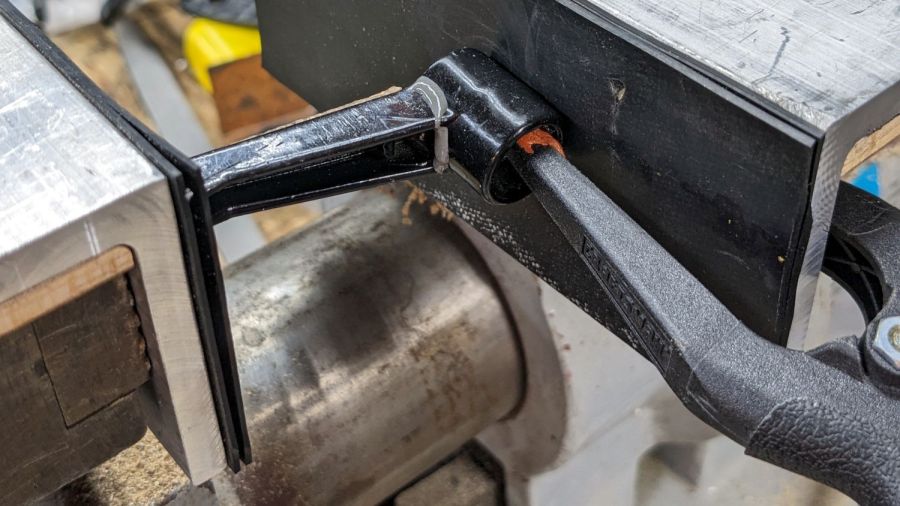
One of the sticky traps absorbed a mighty blow during the season and its ski-pole mount snapped off. Rather then rebuild the whole thing, I decided to just epoxy the pieces together and stick a reinforcing plate on the bottom.
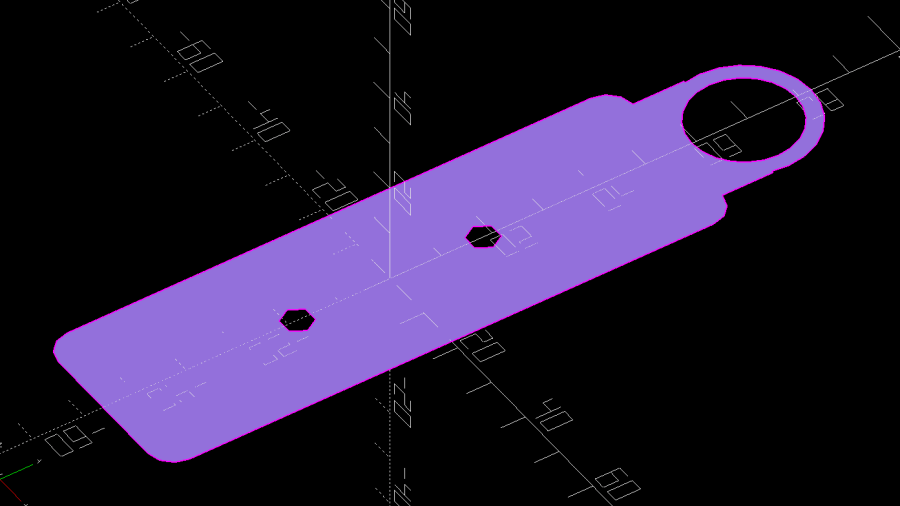
I added a pair of screw holes to the OpenSCAD model and produced a projection of the bottom layer:
if (Layout == "Projection") {
    projection(cut=true) {
        Attachment();
        Cap();
    }
}
Which looked like this:
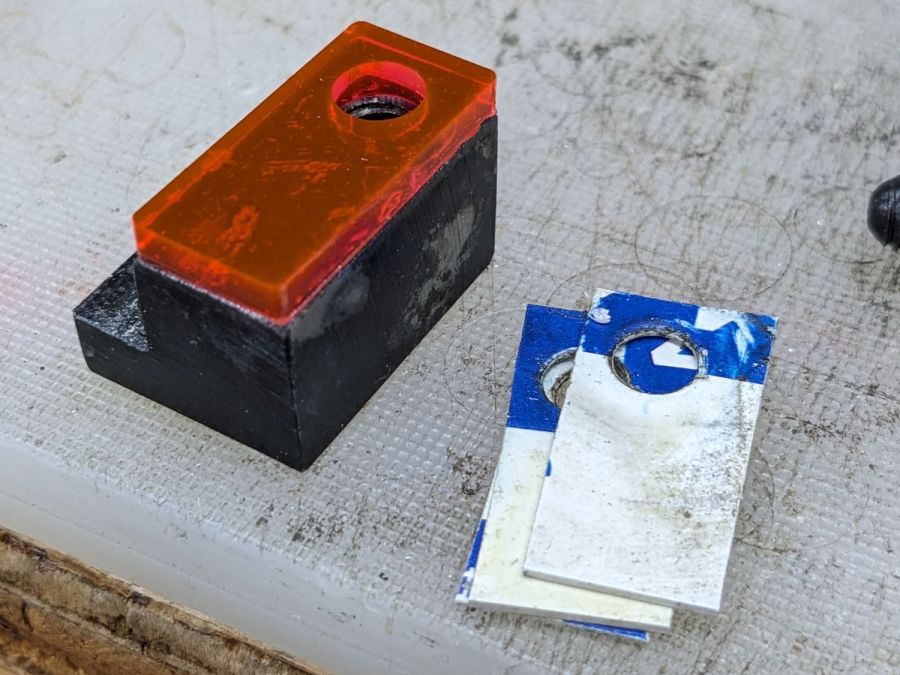
Cutting that shape from an adhesive sheet looks the same:

The somewhat raggedy large hole seems to come from OpenSCAD’s somewhat low-res SVG outline conversion.
Fill the broken part with epoxy:
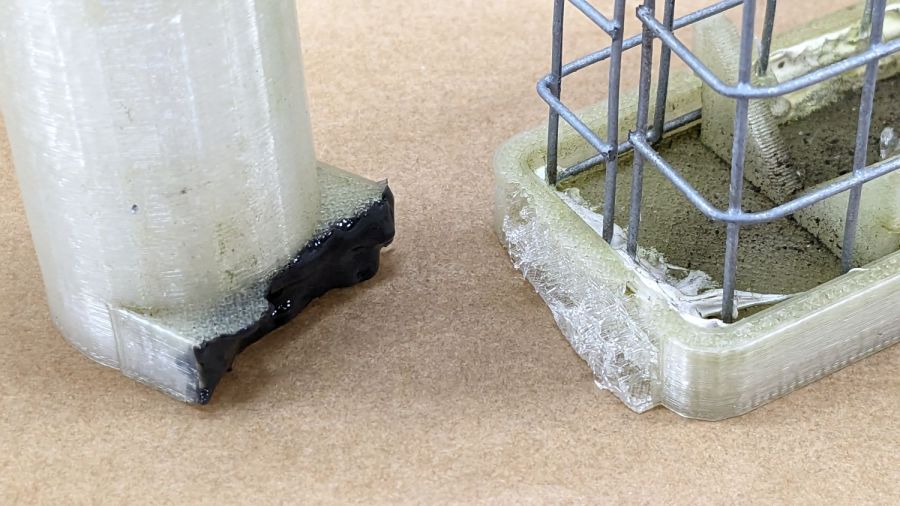
Clamp it together on a plate to keep the bottom aligned:

Cut an acrylic baseplate:

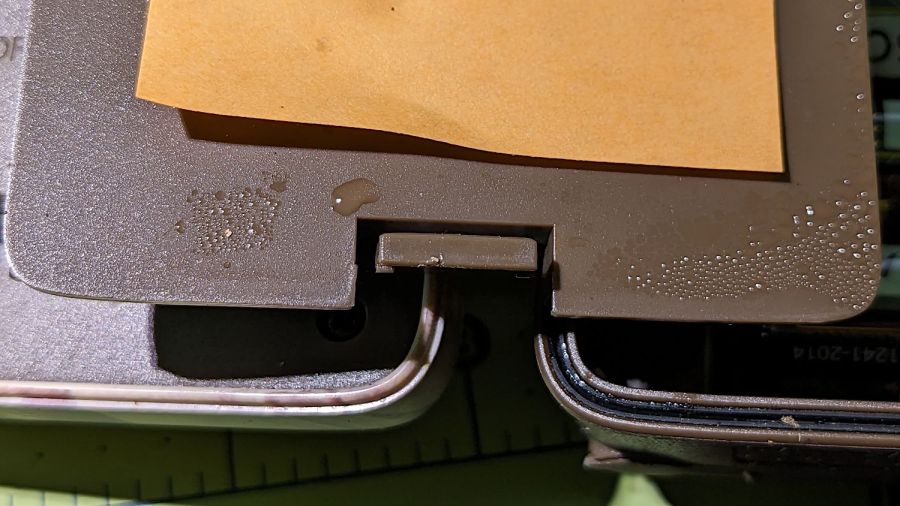
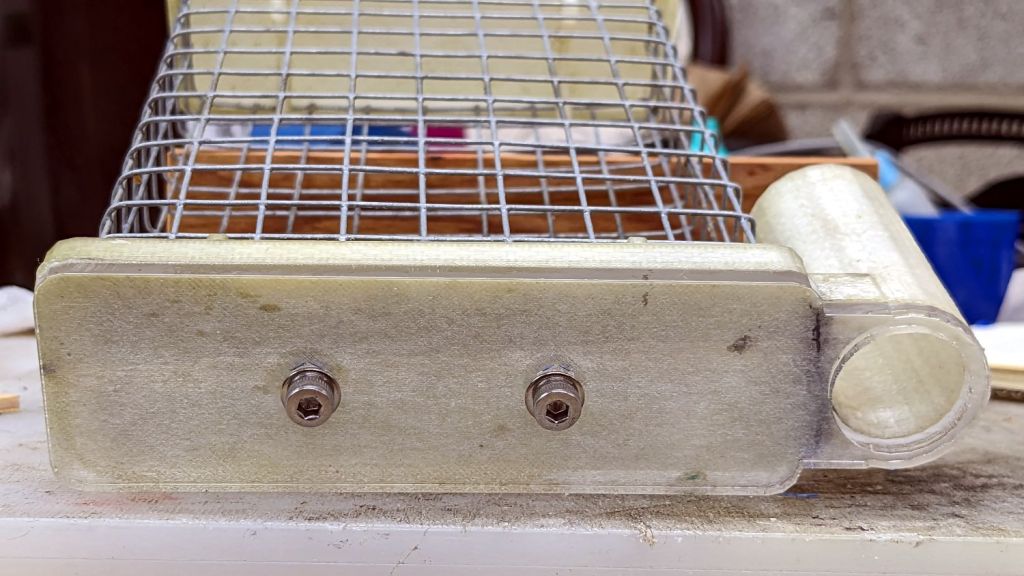
Apply adhesive sheet to acrylic, stick it on the bottom of the cage, add a pair of stainless steel screws, and declare victory:

We’ll see how long that lasts out in the garden next year …