Ed Nisley's Blog: Shop notes, electronics, firmware, machinery, 3D printing, laser cuttery, and curiosities. Contents: 100% human thinking, 0% AI slop.
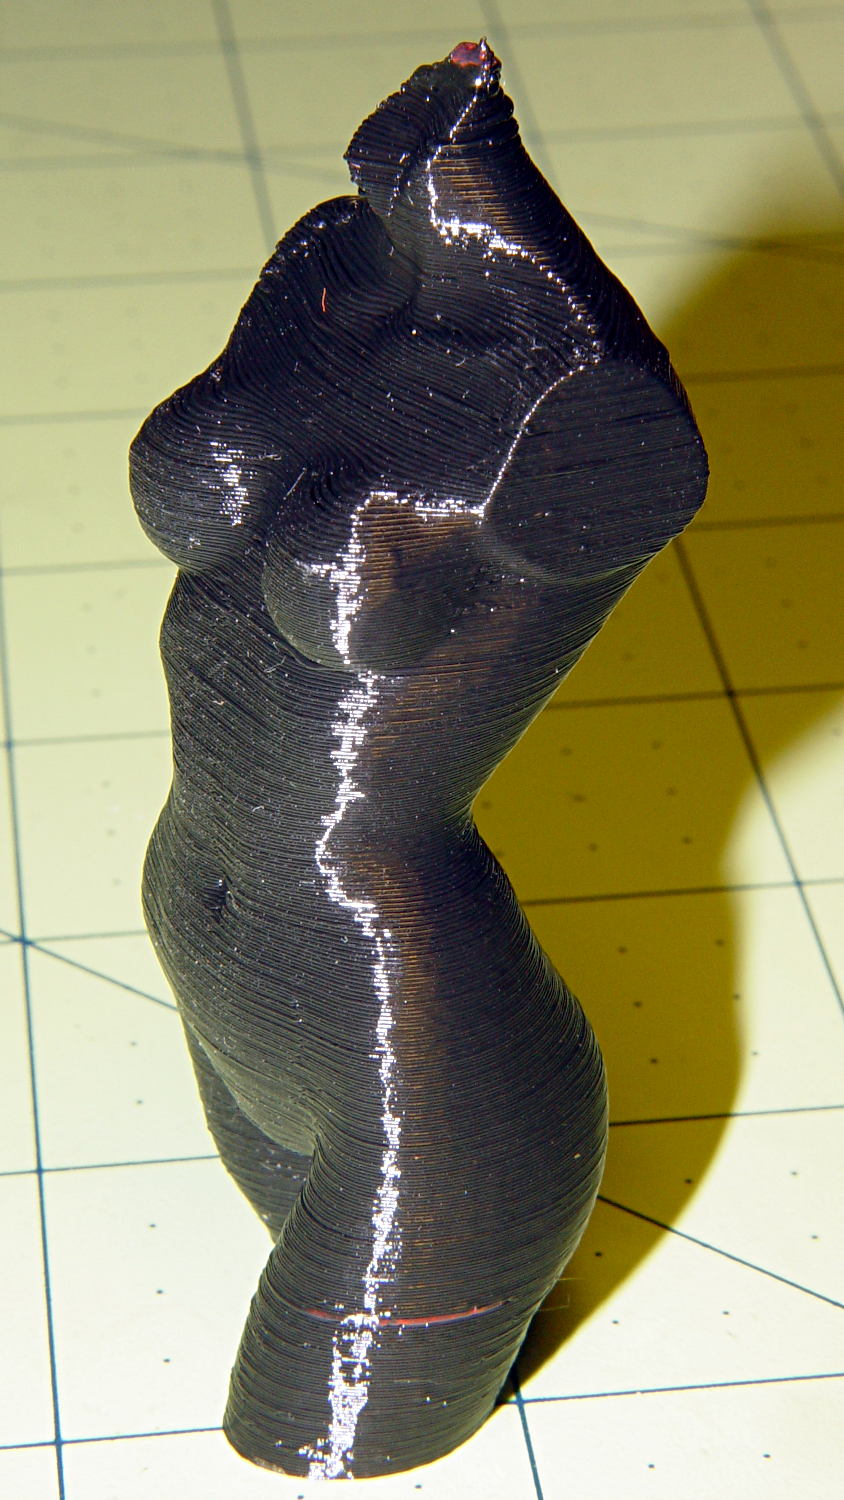
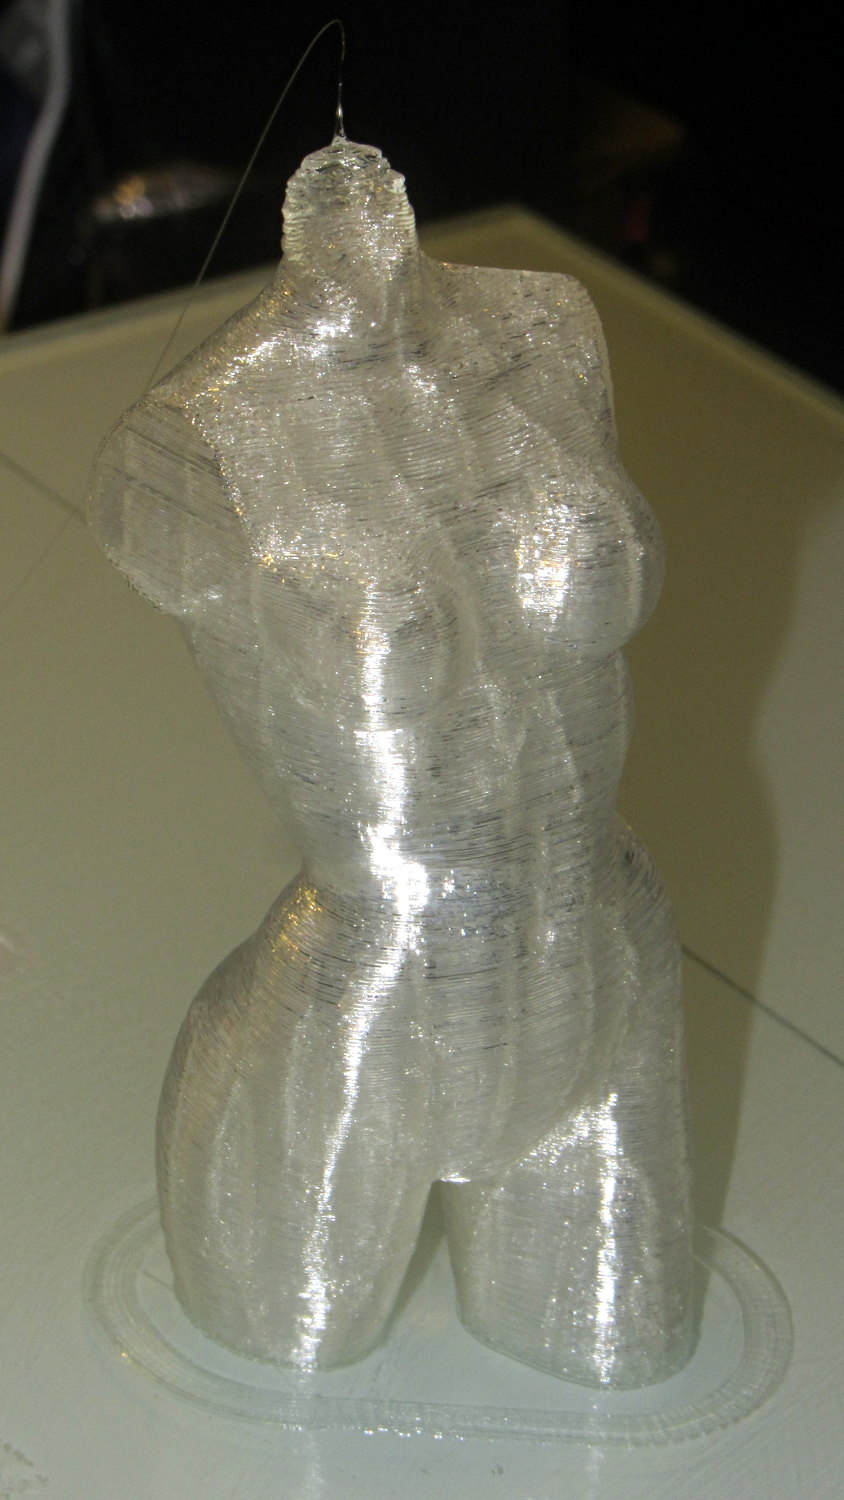
Done in natural PLA, as it seems the previous version also walked off:
Pink Panther Woman – natural PLA
The attentive reader will note an odd red stripe on the left leg of the black PLA version. Here’s a closer look:
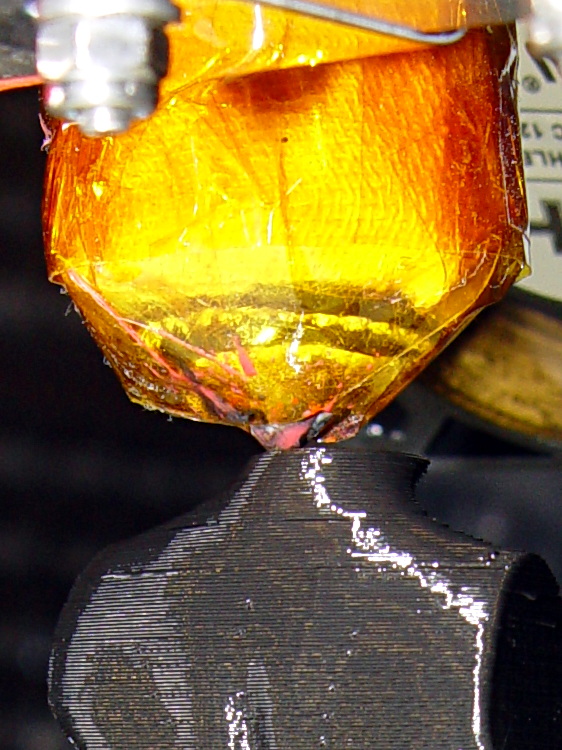
Pink Panther Woman – black with red contamination – detailPink Panther Woman – black with red contamination – detail
I had recently changed from red to black PLA and, as usual, purged the extruder with a few hundred millimeters of black filament, until it emerged pure black. Alas, I forgot to wipe the outside of the nozzle:
Pink Panther Woman – black – contaminated nozzle
That red blob produced the red tab on the neck, as you can see if you look carefully at the first picture.
There are very few visible imperfections in either object: the state of DIY 3D printing is pretty good.
(*) Does anyone know of similar male figures suitable for this purpose? That torso seems to be about the extent of Thingiverse’s offerings.
The improved platform was designed for a 30 V supply that would run it at about 150 W, which took slightly less than forever to reach operating temperature.
With the 36 V supply set to 38.6 V, the platform drew 6.2 A at room temperature, which worked out to 6.2 Ω and 240 W. It was a tad pokey getting up to temperature
At 40 V, the platform starts at 6.3 A / 6.3 Ω / 250 W from a bit over room temperature and drops to 5.8 A / 6.9 Ω / 232 W at 70 °C.
At about 250 W, the platform takes about three times longer to reach operating temperature than the extruder, but it doesn’t require calling down to the engine room for more coal before maneuvering. I must run some numbers on it, now that I have a power supply with a useful range.
There’s obviously an upper limit to the peak power the PCB traces under the glass can handle, but it runs at the same average power (to produce the same average temperature) and, at least so far, hasn’t shown any signs of distress. The few additional watts at 40 V won’t make any difference.
Note that you must use an external DC-to-DC solid state relay, because the Rambo controller board can’t handle anything over 24 VDC and high current loads tend to melt its Phoenix-style connectors. When you add the SSR, replace the HBP connectors with Anderson Powerpoles, use fat wires, and be done with it.
M2 HBP SSR Wiring
The M2’s Marlin firmware uses bang-bang control and tends to overshoot the setpoint; I’m not sure a few degrees makes all that much difference, particularly because it’s not measuring the temperature at the top of the glass plate.
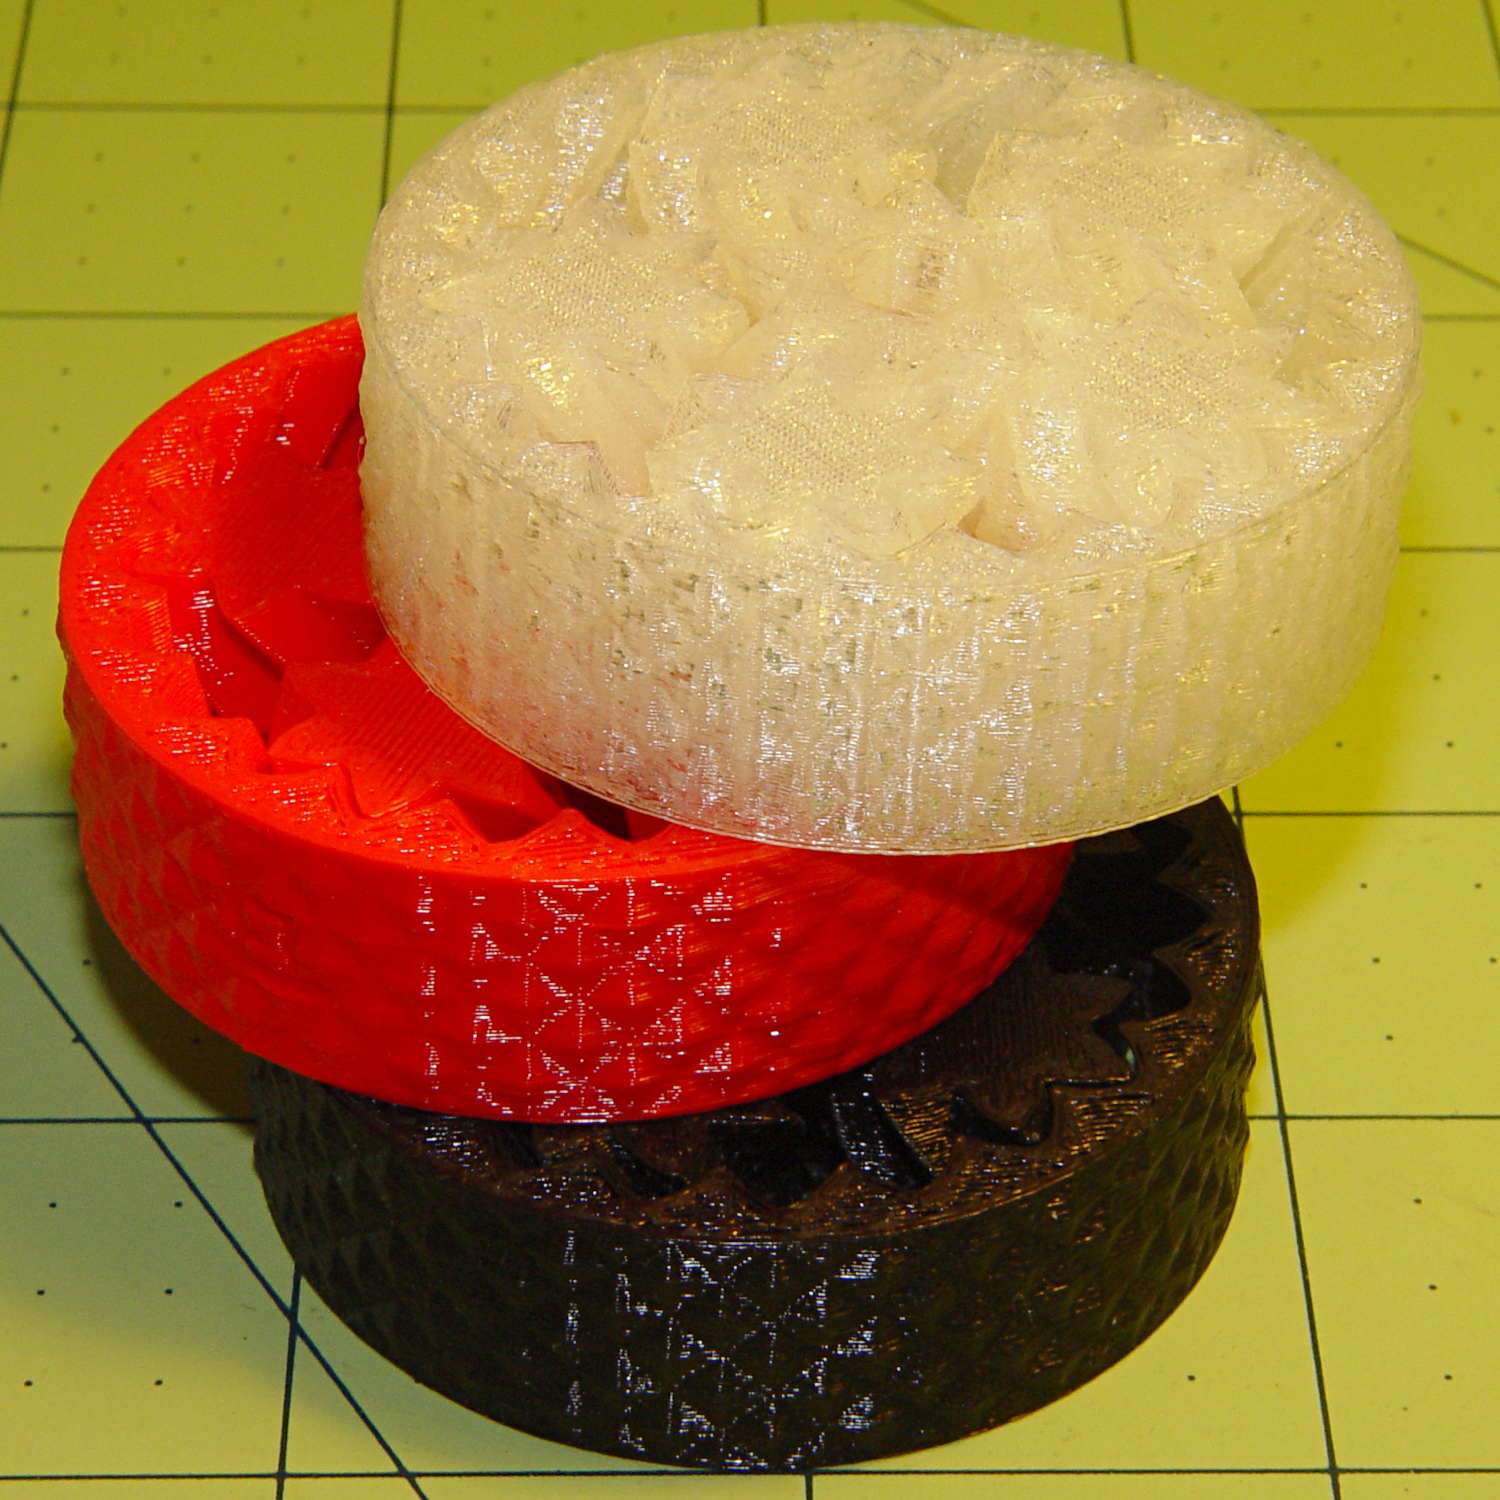
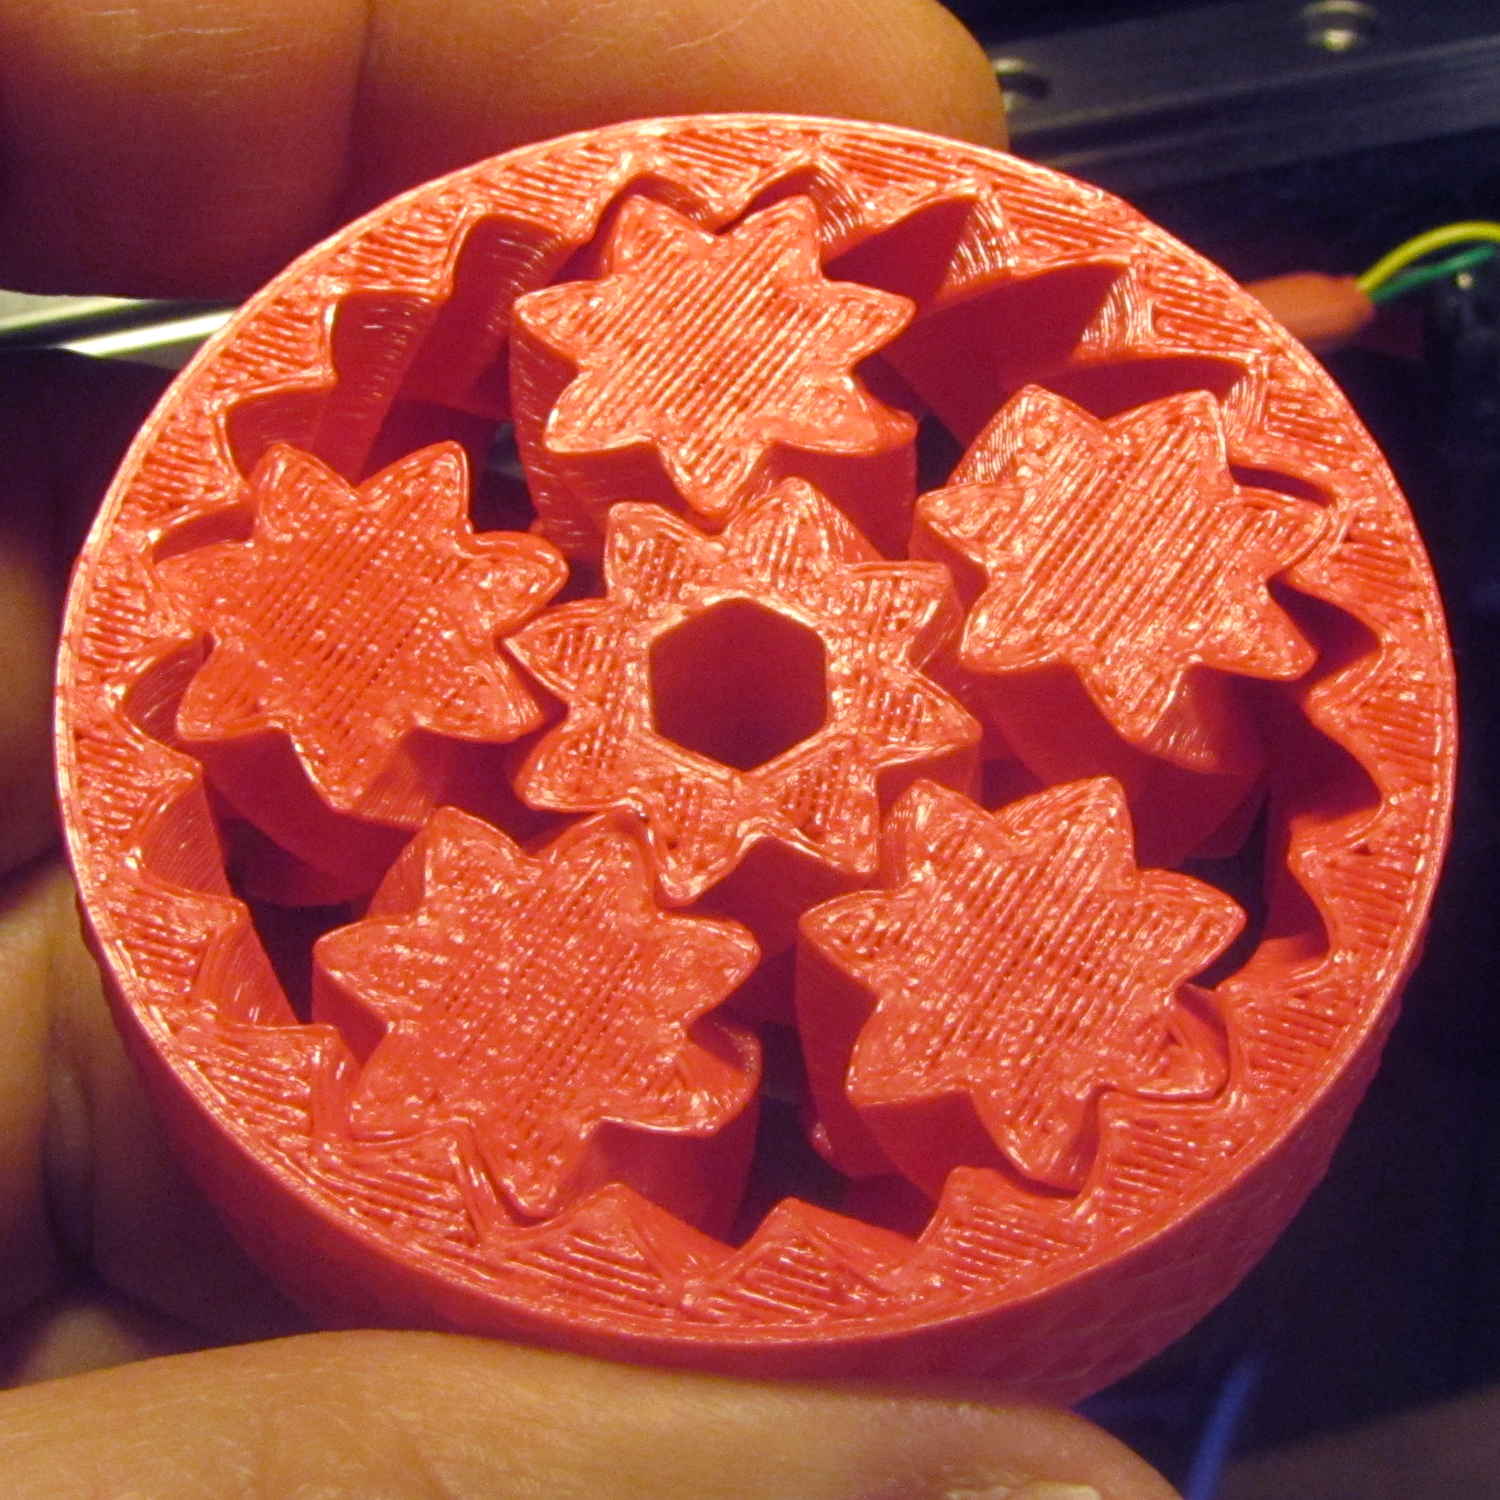
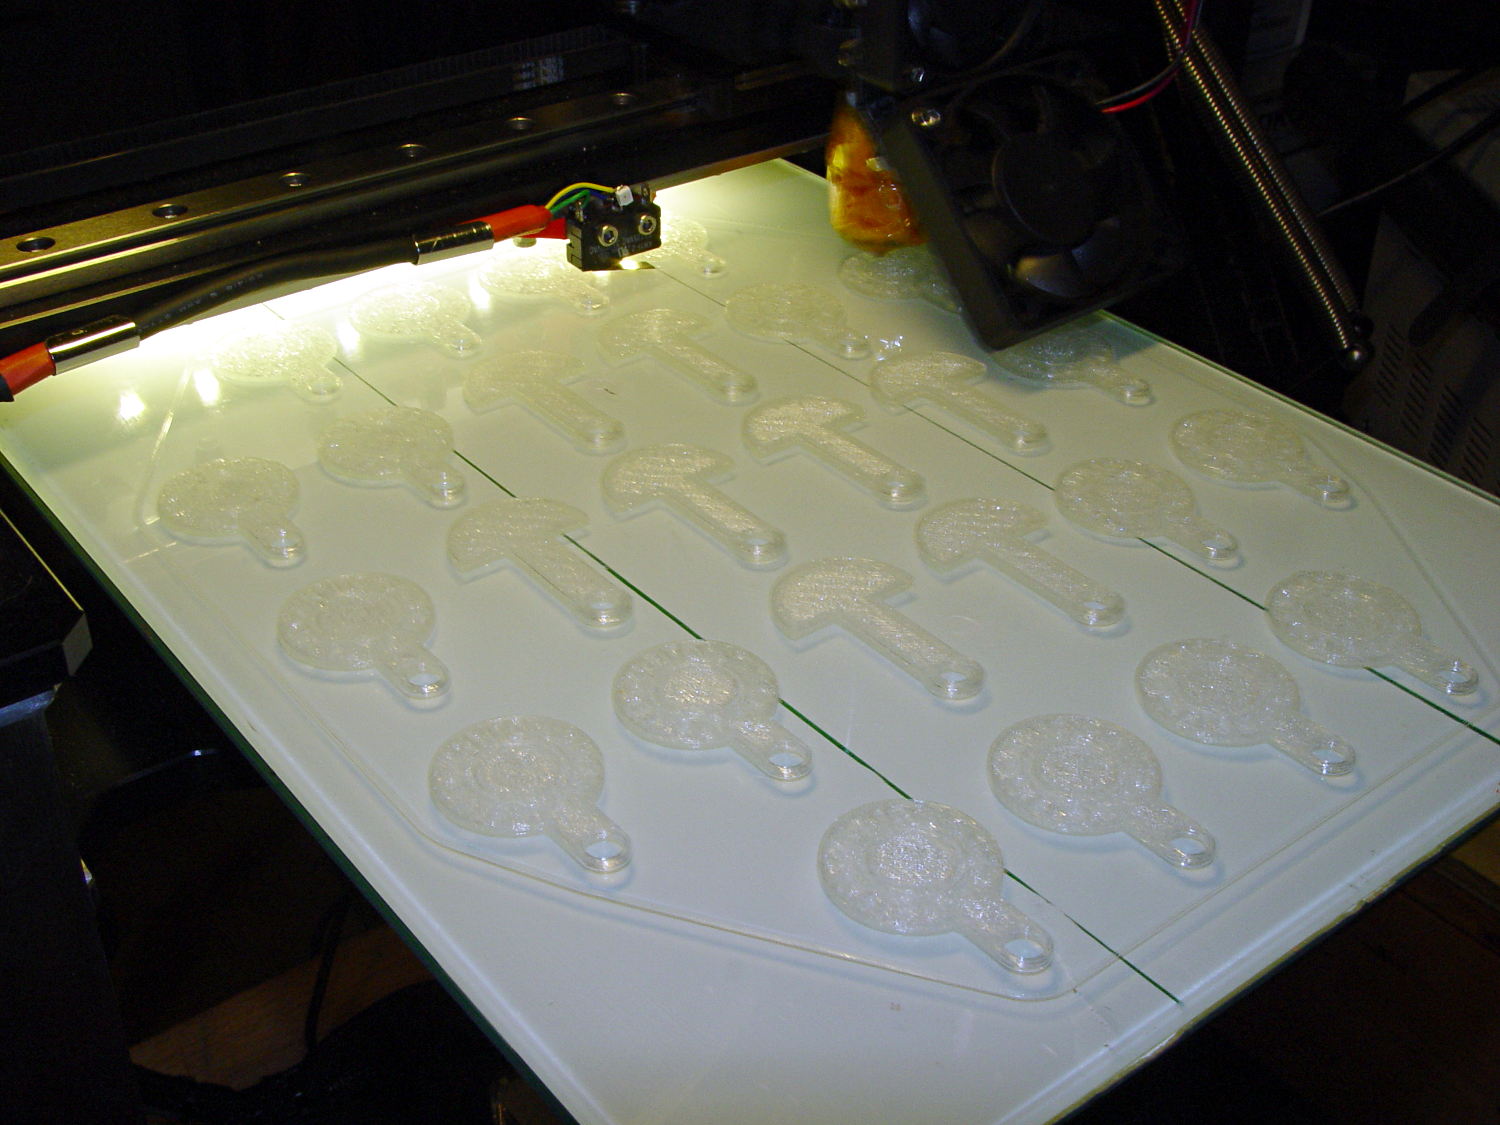
It turns out that an array of Cart Coins and Cart Releasers make a fine thickness test pattern and become useful tchotchkes when you’re done:
Cart Coins – printing
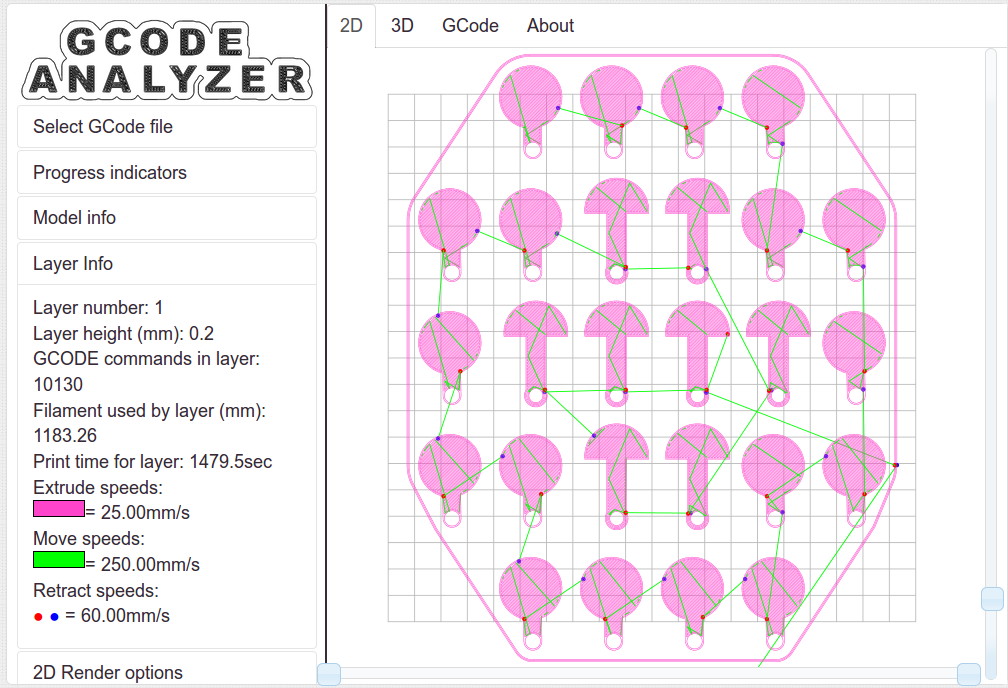
They’re a bit easier to see in the digital realm:
Cart Coins – platform layout – layer 1
The trick is that they’re both eight layers thick at 0.20 mm/layer. With the platform aligned exactly right, all the objects should measure exactly 1.60 mm thick.
The blue numbers give the thickness measured across the stem, just above the hole, on each object:
Platform Leveling – Initial
The green numbers are the skirt thickness: 22 = 0.22 mm.
The platform has a tilt of 0.20 mm from +Y to -Y and is just about perfect from -X to +X.
The M3x0.5 adjusting screws under the (improved) platform, seen from the front (-Y) end of the platform:
M2 – Improved HBP – bottom view
The silicone plugs inside the springs are slightly compressed, so the springs are only decorative. The platform is rigidly mounted on the plugs, with only very slight compliance, and I haven’t leveled the platform in a few months.
Tightening the “north” adjusting screw by 1/6 turn lowered the +Y end of the plate by about 0.05 mm and tilted the +X side slightly higher:
Platform Leveling – Adjustment 1
The skirt thicknesses are now in blue, too.
Tightening the “north” screw an additional 1/6 turn and tightening the “east” screw 1/6 turn produced an almost perfect result:
Platform Leveling – Adjustment 2
The thicknesses don’t vary quite randomly, but I think further adjustments won’t make much difference: the total range is only 0.12 mm = 1.53 to 1.65 mm. That’s pretty close to the limit of my measurement ability on the plastic pieces.
Notice that the skirt thread, which should be exactly 0.2 mm thick all around, really isn’t. I’m going to see whether a two-layer-thick skirt measures a more consistent 0.40 mm.
The Sony HDR-AS30V perched atop a tripod behind the table, where only one errant Scout bumped it, recording one image every 5 seconds. The non-adjustable focus seems biased for selfies, but the compression definitely produces softer images in subdued lighting conditions, so it’s hard to say.
Each NP-BX1 battery lasts about 2.5 hr in that mode and I brought all three, but simply forgot to install the third one. As a result, we don’t get to see the last 2+ hours… it was a long day.
The “image processing” behind the movie went a little something like this, modulo a few edits to elide my blundering around:
sudo mount /dev/sdb1 /mnt/backup
sudo mount -o uid=ed /dev/sdd1 /mnt/part
mkdir /mnt/backup/Video/2014-05-17
rsync -au /mnt/part/DCIM/100MSDCF/ /mnt/backup/Video/2014-05-17
rsync -au /mnt/part/DCIM/101MSDCF/ /mnt/backup/Video/2014-05-17
cd /tmp
mkdir Video
cd Video
sn=1 ; for f in /mnt/backup/Video/2014-05-17/*JPG ; do printf -v dn 'dsc%05d.jpg' "$(( sn++ ))" ; cp -a $f $dn ; done
mkdir Shrink
for f in *jpg ; do convert $f -resize 50% Shrink/$f ; done
cd Shrink/
avconv -r 30 -i dsc%05d.jpg -q 5 3DPrinting-q5.mp4
mv 3DPrinting-q5.mp4 "3D Printing Demo - HV Scout CamporALL 2104.mp4"
One could, of course, do all that in fewer steps, if one knew the answers ahead of time, which should may apply when I refer back to this post.
Using rsync -au to copy the files from the camera to the 2 TB backup drive neatly solves the problems that occur when the camera’s USB port abruptly disconnects itself during the copy: rsync can recover without losing or trashing any files. Alas, after the camera disconnects, it requires a power cycle to recover its wits.
The USB camera connection reads data at 6 MB/s. Removing the MicroSD card and jamming it in the card-reader slot on my monitor runs at 18 MB/s. Apart from the fact that the MicroSD card seems so flimsy, I wonder how long the spring-detent latch inside the camera will continue working. On the other paw, when the USB port finally breaks, it’ll take the GPS assist data path along with it.
Not shown: the rename 'y/A-Z/a-z/' *JPG that converts the original filenames to lowercase, which I did after the fact. Because blundering around, OK?
The 3964 original 1920×1080 images, hot from the camera, weigh in at 2.2 GB and the half-size video emerged at 118 MB. The default avconv quality setting produces surprisingly crappy results, so I used -q 5. Some after-the-fact fiddling showed that -qscale 5 produces the same file size with about the same apparent quality.
None of that matters, because Youtube set the maximum resolution to 480 and applied ruthless compression. Now I know better…
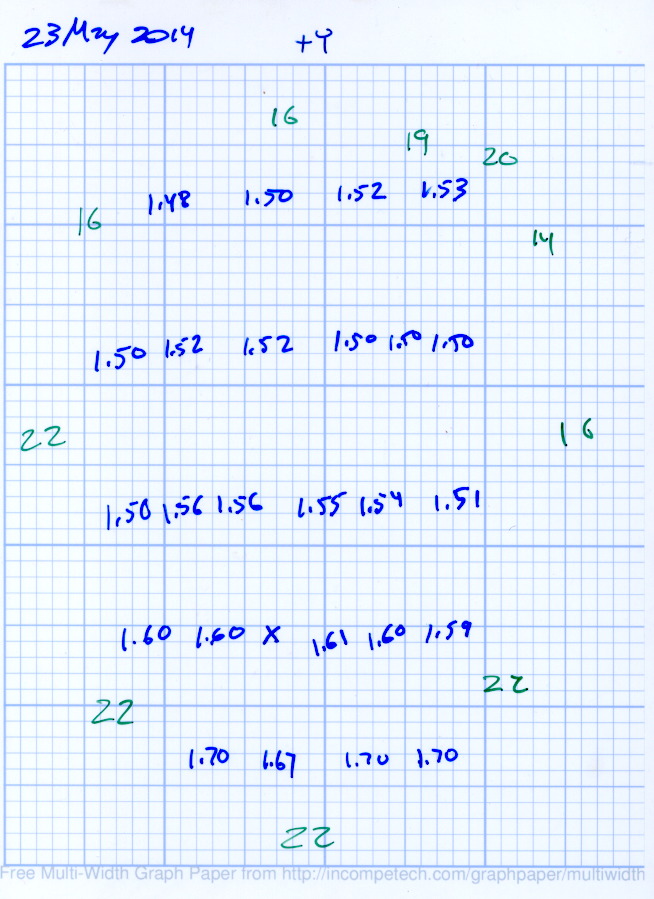
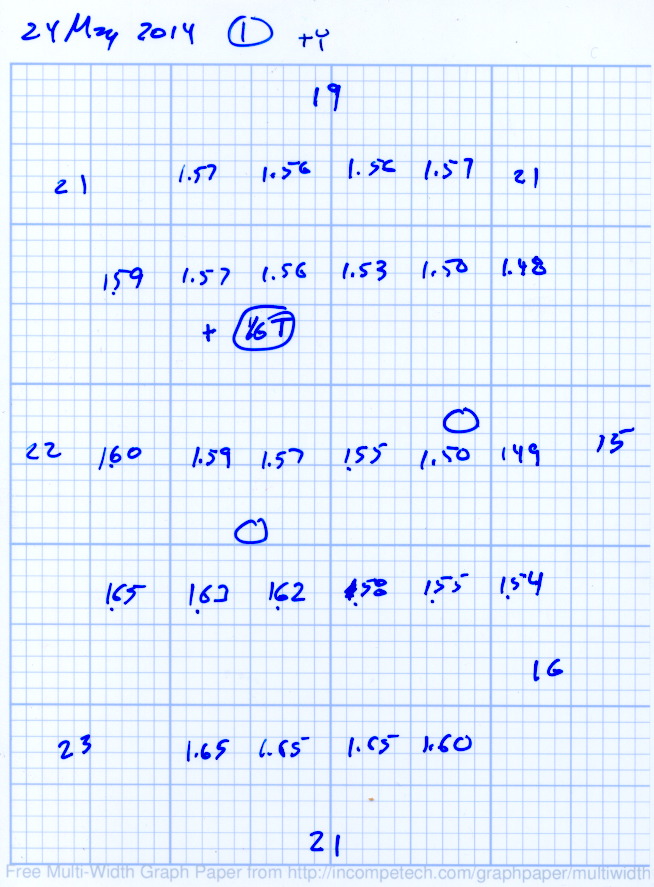
The whole reason I got a 3D printer in the first place was to make things that would otherwise be too difficult or tedious by hand or on a CNC mill. Most of the things I make look like brackets and I don’t do sculptures … this stuff solves problems!
Being able to go from “I need a part shaped like that” to holding the thing in my hand a few hours (or, for complex designs, days) later is empowering. Being able to adjust a dimension by changing the source code and “recompiling” to get a new part is wonderful.
These five slides from the presentation show my answers to the question “Why would anyone want a 3D printer?” Clicky for more dots.
Things I Designed – 1Things I Designed – 2Things I Designed – 3Things I Designed – 4Things I Designed – 5
Herewith, the MHVLUG – 3D Printing Status 2104 slides (remember slides?) I’ll be using for my talk this evening at the MHVLUG meeting; you don’t get the audio track in the PDF, but the pictures may be informative.
If you believe everything you read, you might think personal 3D printing will go like this:
3D Printing 2014 – What They Say
But it requires entirely too much of this:
3D Printing 2014 – What They Dont Say
Personal 3D printing requires that you take full control:
3D Printing 2014 – Personal 3D Printing
Not knowing the answers, I’ll still make some guesses about what lies ahead:
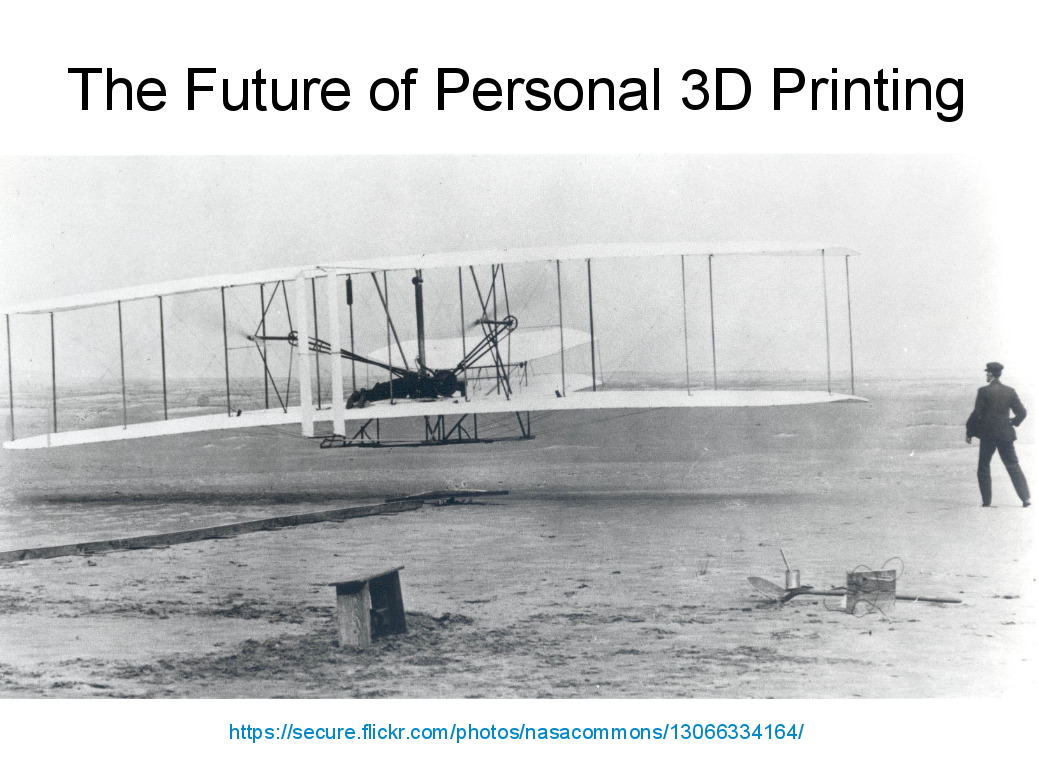
3D Printing 2014 – The Future
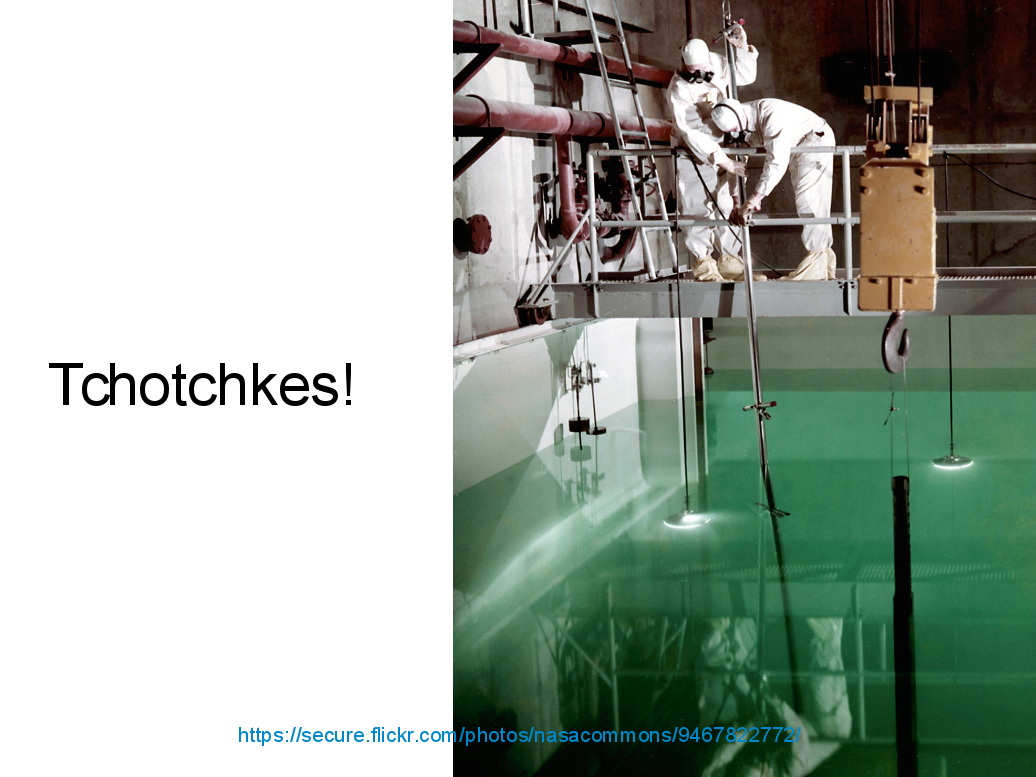
And I found the best tchotchkes ever:
3D Printing 2014 – Tchotchkes
See you there…
(The PDF has clickable links for those images, plus the 60-some-odd other slides. The plan: talk like an auctioneer for an hour!)