
Other than demonstrating that it’s possible to laser-engrave a 3 mm deep pocket in a ¼ inch thick piece of scrap paneling, the process didn’t have much to recommend it:
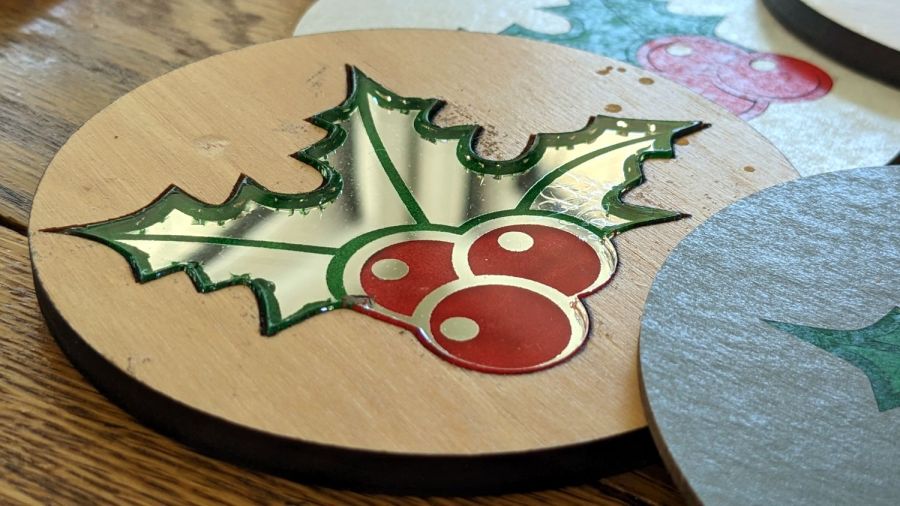
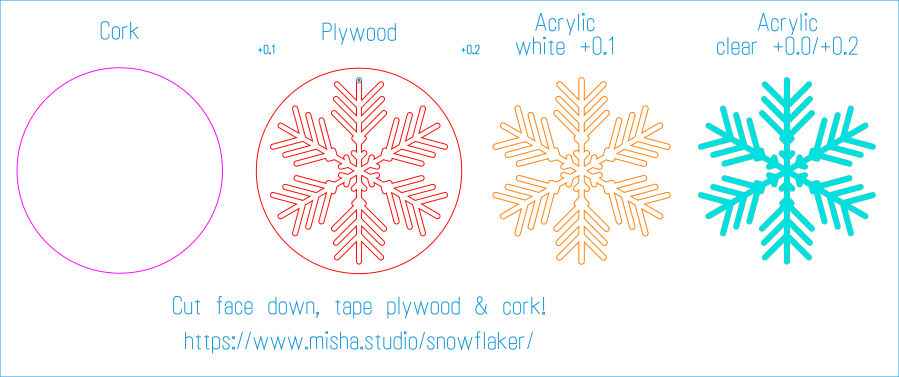
So I re-did the layout to put the 3 mm mirror in 3 mm thick plywood:

The coaster has a self-adhesive cork pad on the bottom, which required an intermediate adhesive layer holding the aluminized Mylar reflector on the bottom of the mirror to brighten the colored areas.
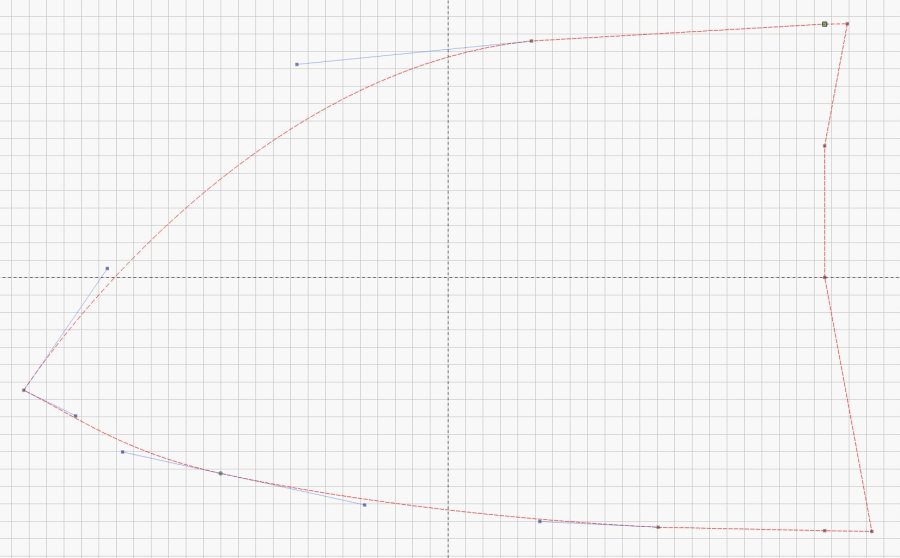
The LightBurn layout shows all the pieces:

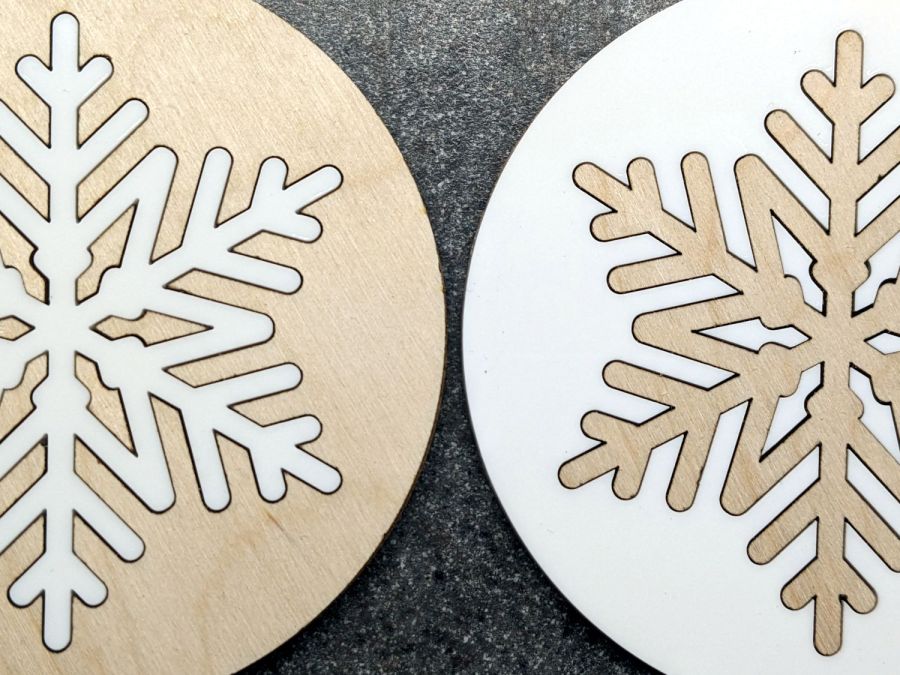
The plywood cuts with the good side down, although “good” is certainly a judgement call with B/BB grade plywood. I cover the good side with blue painter’s tape to reduce scorch marks. In a real application, you’d do some sanding and finishing, probably before cutting; in this case, I want to see what happens to bare wood in coaster duty.
Engrave and cut the mirror with the backing upward:

The tracer rounds may be burning aluminum.
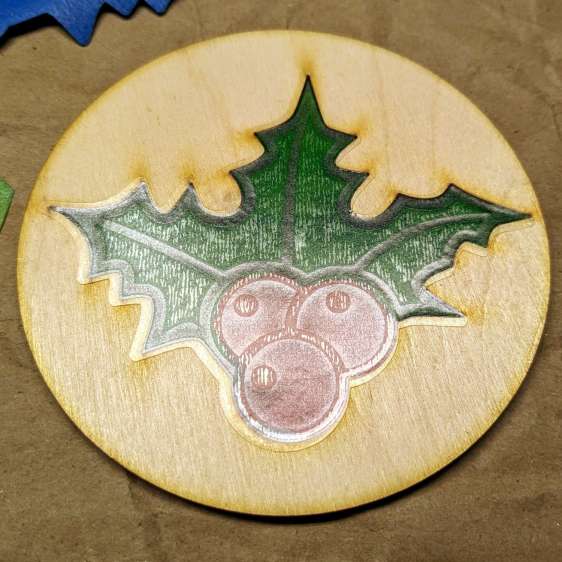
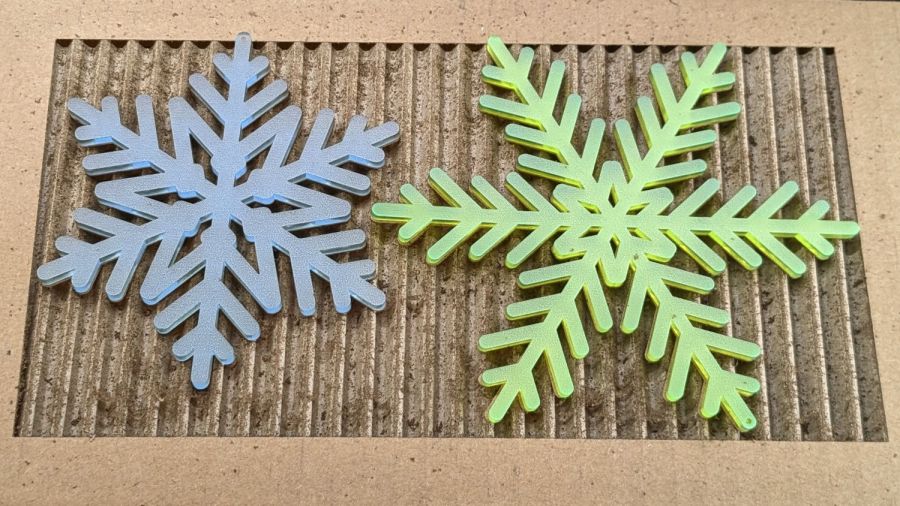
I colored the engraved areas with fat-tip permanent markers, despite knowing the alcohol will crack the acrylic. In real life, you’d use spray paint, probably with laser-cut tape masks.
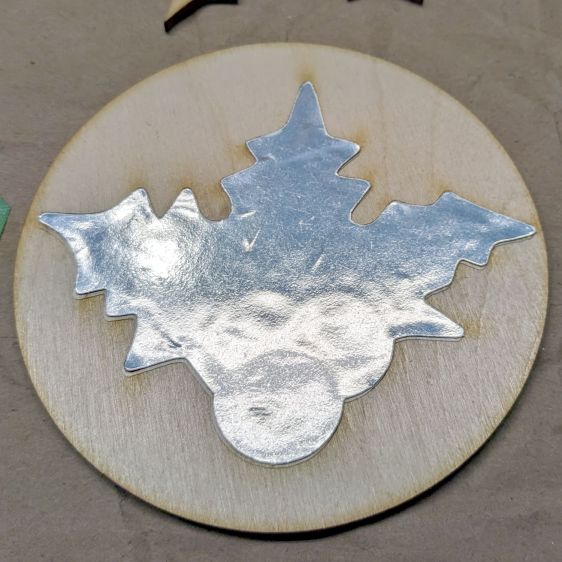
The adhesive layer extends 2 mm beyond the mirror perimeter to stick onto the bottom face of the plywood:

Peeling off the paper reveals the adhesive tape stuck to the back side of the mirror:
Apply the similarly embiggened aluminized Mylar to the adhesive:
Cutting the holly shape directly from the original foot-square adhesive sheet lets me tuck smaller shapes into the remaining uncut areas. In a production environment, however, joining the Mylar and adhesive (perhaps using pre-cut squares), then cutting them as one sheet would definitely simplify the process.
Then peel-n-stick a cork disk (thus explaining why the plywood is exactly 4 inch OD) on the bottom:

I’ve been aligning the cork by feel, which explains the half-millimeter overhang along the right side. Inexplicably, I have yet to justify an alignment fixture.
The LightBurn SVG layout as a GitHub Gist:


