Ed Nisley's Blog: Shop notes, electronics, firmware, machinery, 3D printing, laser cuttery, and curiosities. Contents: 100% human thinking, 0% AI slop.
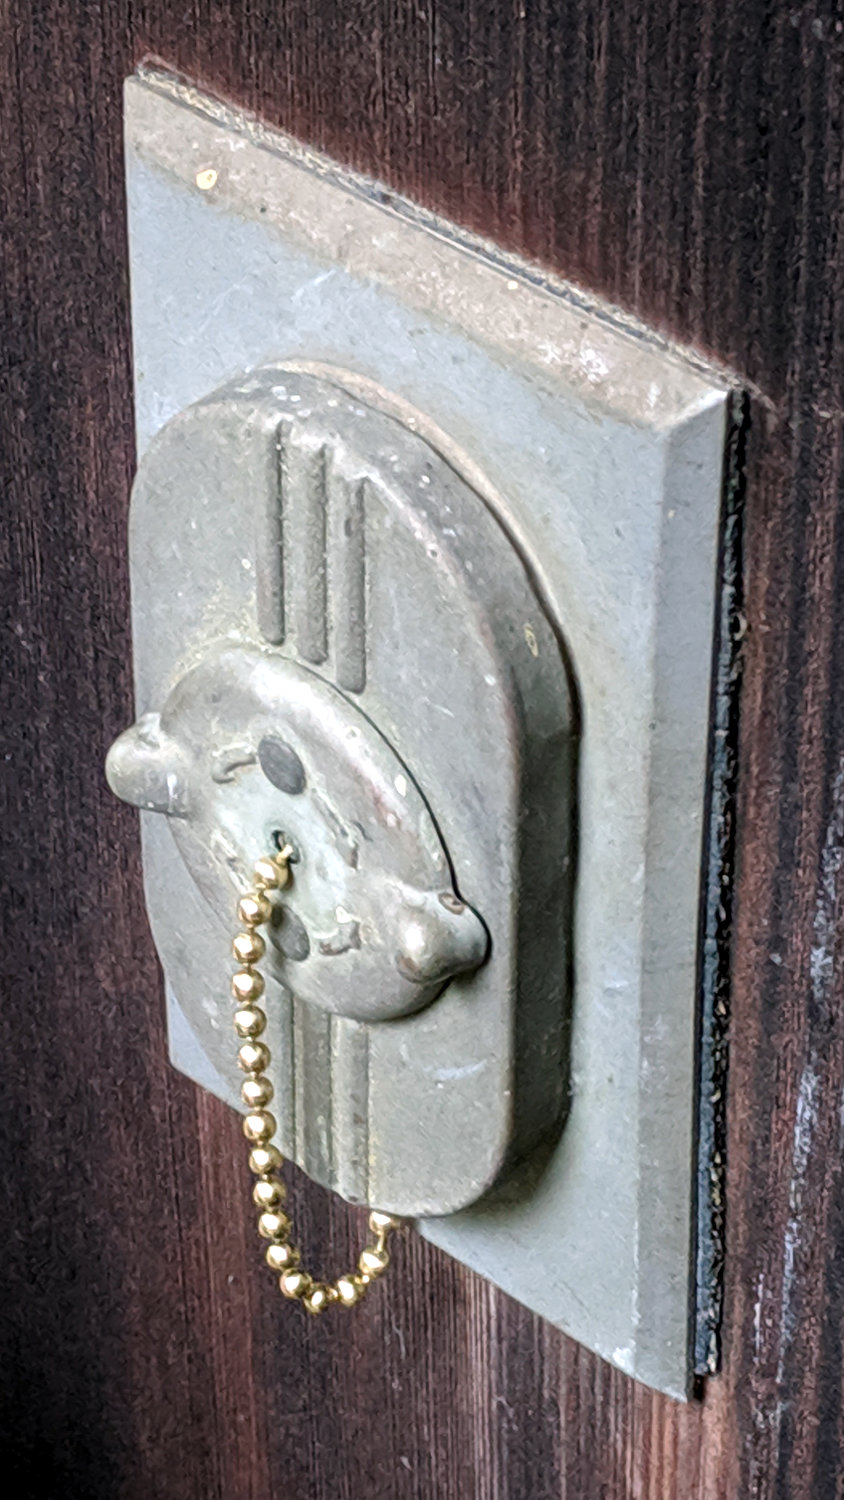
The yard camera now resides outdoors and plugs into one of three outlets on the patio, all of which have weatherproof covers attached by a bead chain to the trim plate:
Patio Outlet – new chain installed
That’s the after-repair condition, as two of the three chains were broken when we bought the house.
Stipulated: the covers needed scrubbing, but sometimes ya gotta stay focused on the Main Goal.
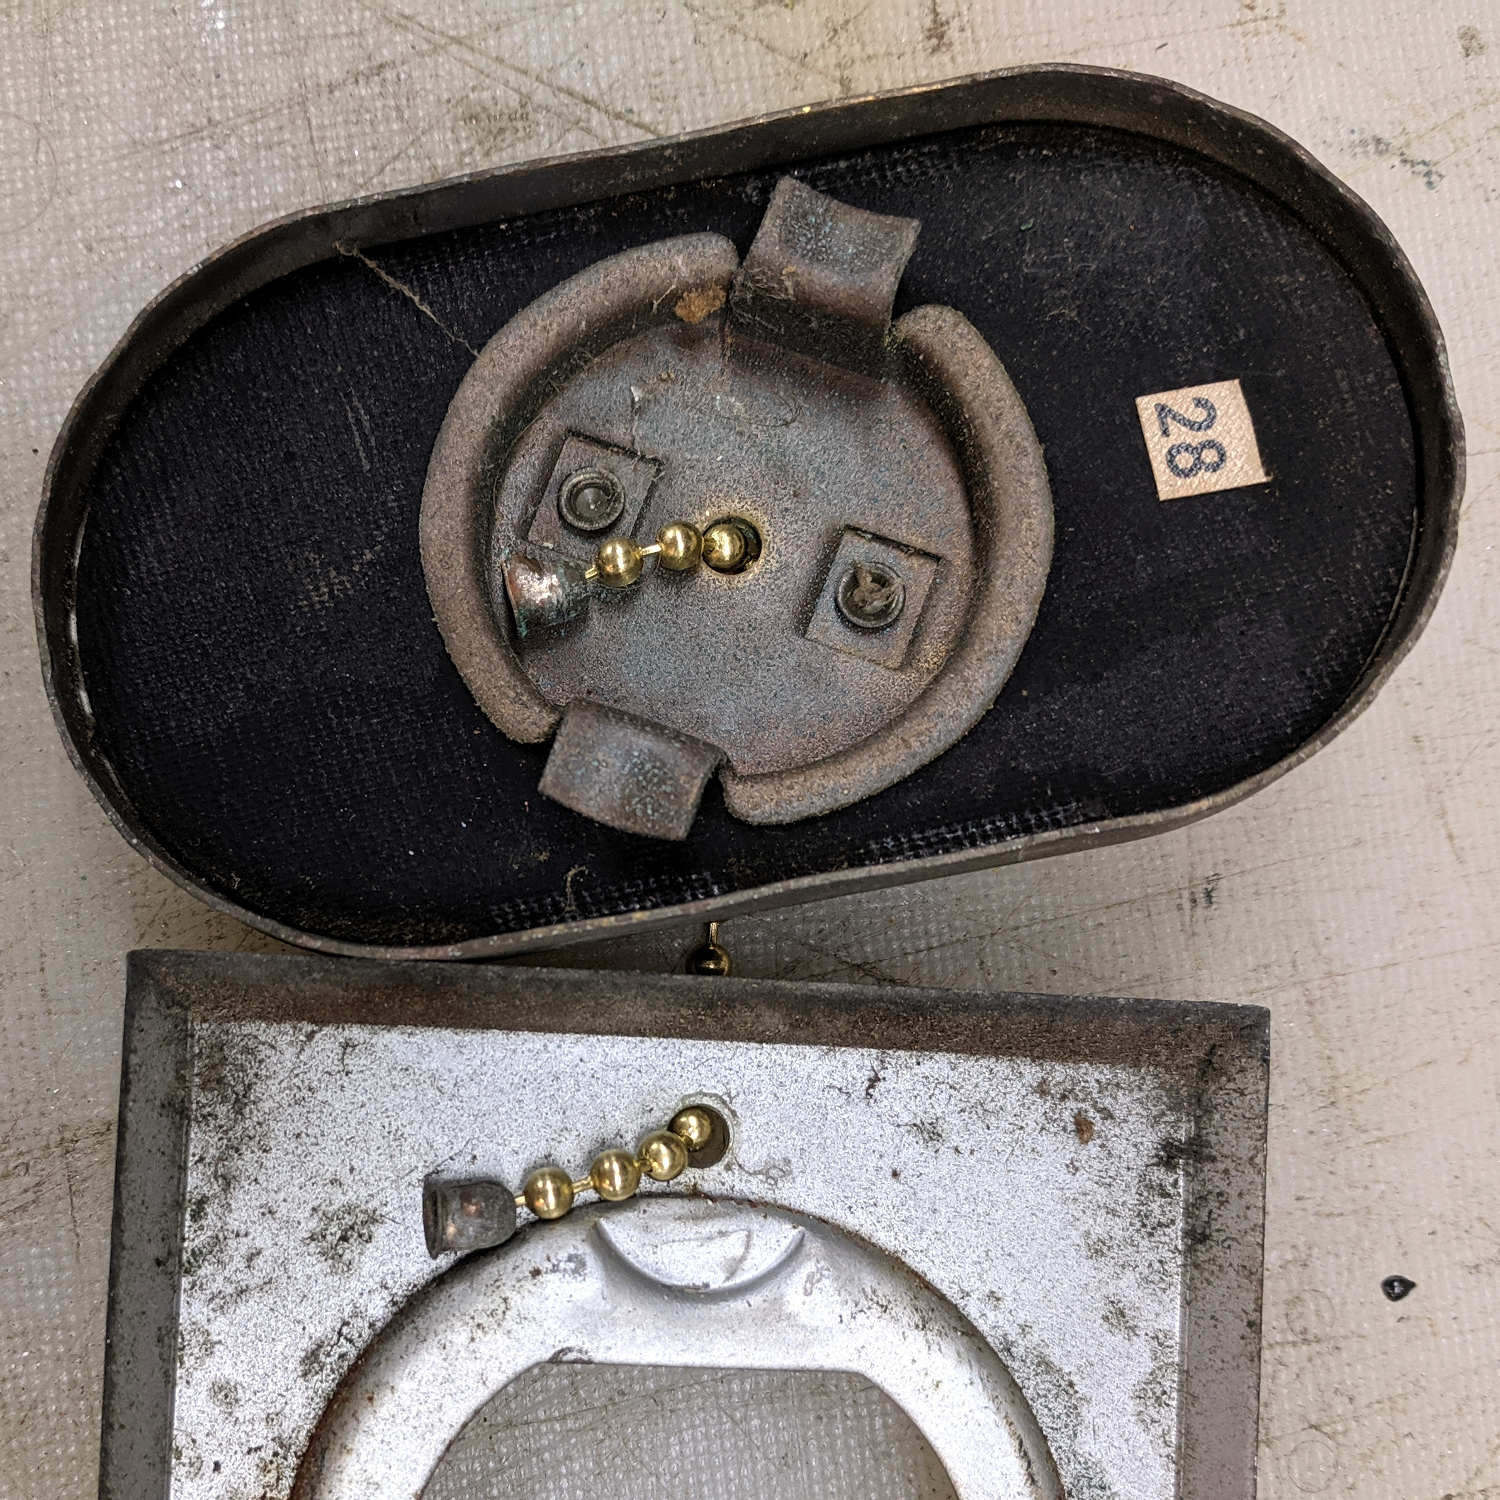
Two feet of 3.4 mm brass bead chain (because spares: ya gotta have stuff) arrived from eBay, I dismounted all three covers, and discovered the bell-shaped brass caps on the old chains were perfectly serviceable after six decades:
Patio Outlet – chain retainers
The outlets are wired to circuit breaker 28, of course.
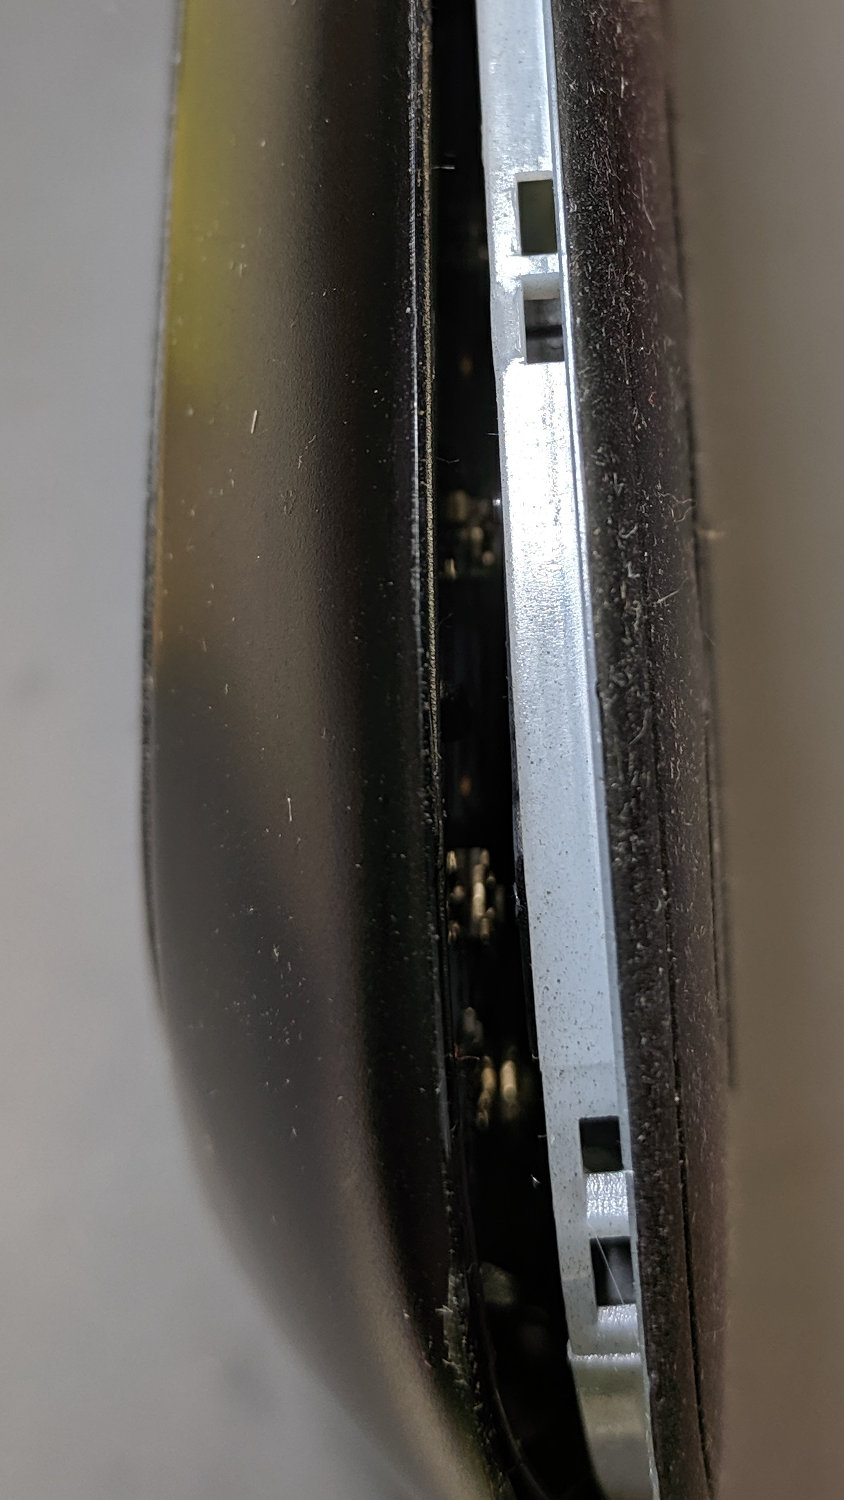
Having enough chain to go around, each cover now sports a slightly longer leash than before:
Patio Outlet – chain assembly
Reinstall in reverse order, the camera rebooted as it should, and it’s all good out there:
Spring cleaning provided the opportunity for Yet Another Episode in my long-standing battle with the Whirlpool refrigerator entropy generator:
Whirlpool Refrigerator – drawer support gluing
That little thing supports half the weight of the two drawers across the bottom of the refrigerator; how such a thin plastic member was supposed to be adequate to the task continues to escape me.
If we had to pay real money for all the repairs I’ve made to that piece of crap, we’d have replaced it long ago. The only thing that hasn’t failed so far is the compressor, so driving it until it drops continues to make sense; replacing a working anything seems like a bad idea.
On the other paw, the eyeballometric trend line since mid-April slopes at -1 lb/month and arrives at just over 150 lb in December, so progresscontinues apace.
The latest in a continuing series of annoyances from our American Standard kitchen faucet: it became increasingly hard to turn it on with the handle all the way to the left in the “hot” position. Bear in mind this valve is less than a year old and I replaced its predecessor two years before that, after maybe a decade of service from the OEM valve.
Pulling it apart revealed the problem, which requires a close inspection.
The view from the “cold” side:
American Standard faucet cartridge – cold side
And from the “hot” side:
American Standard faucet cartridge – hot side
See it?
The valve handle stem pivots on the 4 mm shaft passing through the black “engineering plastic” shape inside the red hot-limit ring. This top view shows the overall layout:
American Standard faucet – hot limit ring
The shaft has worked its way leftward, toward the “hot” side, until it bumped into the limit ring. The right end of the shaft hasn’t come completely out of the inside of its pivot, but it’s apparently gone far enough to stop pivoting freely.
This may also explain how the previous hot-limit ring worked loose: the misplaced shaft applies torque to the limit ring as we move the lever to the “cold” side. I don’t know how the ring worked its way upward from its positioning notches. Overall, it seem plausible.
Installing a new valve isn’t going to get us a better design, so I must figure out how to keep the shaft in the middle of its travel. Perhaps replacing it with a slightly longer shaft will work around the problem, because it simply can’t slide in either direction.
Loosening the three screws holding the cartridge down (and applying pressure against the seals) reduces the force required to move the faucet, even with the shaft in the wrong position. This suggests the valve body distorts slightly, so I loosened all three and (roughly) equalized their torque; the valve isn’t leaking and we’ll see what happens next.
Start by prying the recessed top panel off the case:
Ooma Telo 2 – upper case latches
Remove the circuit board to expose the tiny speaker, taking care not to rip the tiny wires out of the tiny connector:
Ooma Telo 2 – OEM speaker to PCB
You can’t measure a dead speaker, but it seems to be an 8 Ω unit.
The speaker sits in a rubber surround, with a foam rubber cushion against the PCB, tucked into a walled garden stiffening the case:
Ooma Telo 2 – speaker port
I don’t happen to have a tiny 8 Ω speaker, but I do have a bunch of small speakers (Update: 28 mm OD), so I bulldozed those walls with a flush cutting pliers and a bit of cussing to make room:
Ooma Telo 2 – modified speaker port
Nibble an adapter ring to match the rim of the new speaker, thereby routing the sound out those little holes, and hot-melt glue it in place:
Ooma Telo 2 – speaker adapter
Hot-melt glue the new speaker in place atop the adapter, taking care to fill all the edges / cracks / crevices below it with an impenetrable wall of glop:
Ooma Telo 2 – replacement speaker installed
The sealing part turns out to be critical with these little speakers, because a leak from front to back will pretty much cancel all the sound from the cone.
Cut the wires off the old speaker, affix to the new one, replace the PCB, snap the case lid in place, and it sounds better than new.
Millions of transistors in those ICs, but Ooma can’t spec a good speaker? Maybe they should have used a bigger speaker to begin with; ya never know.
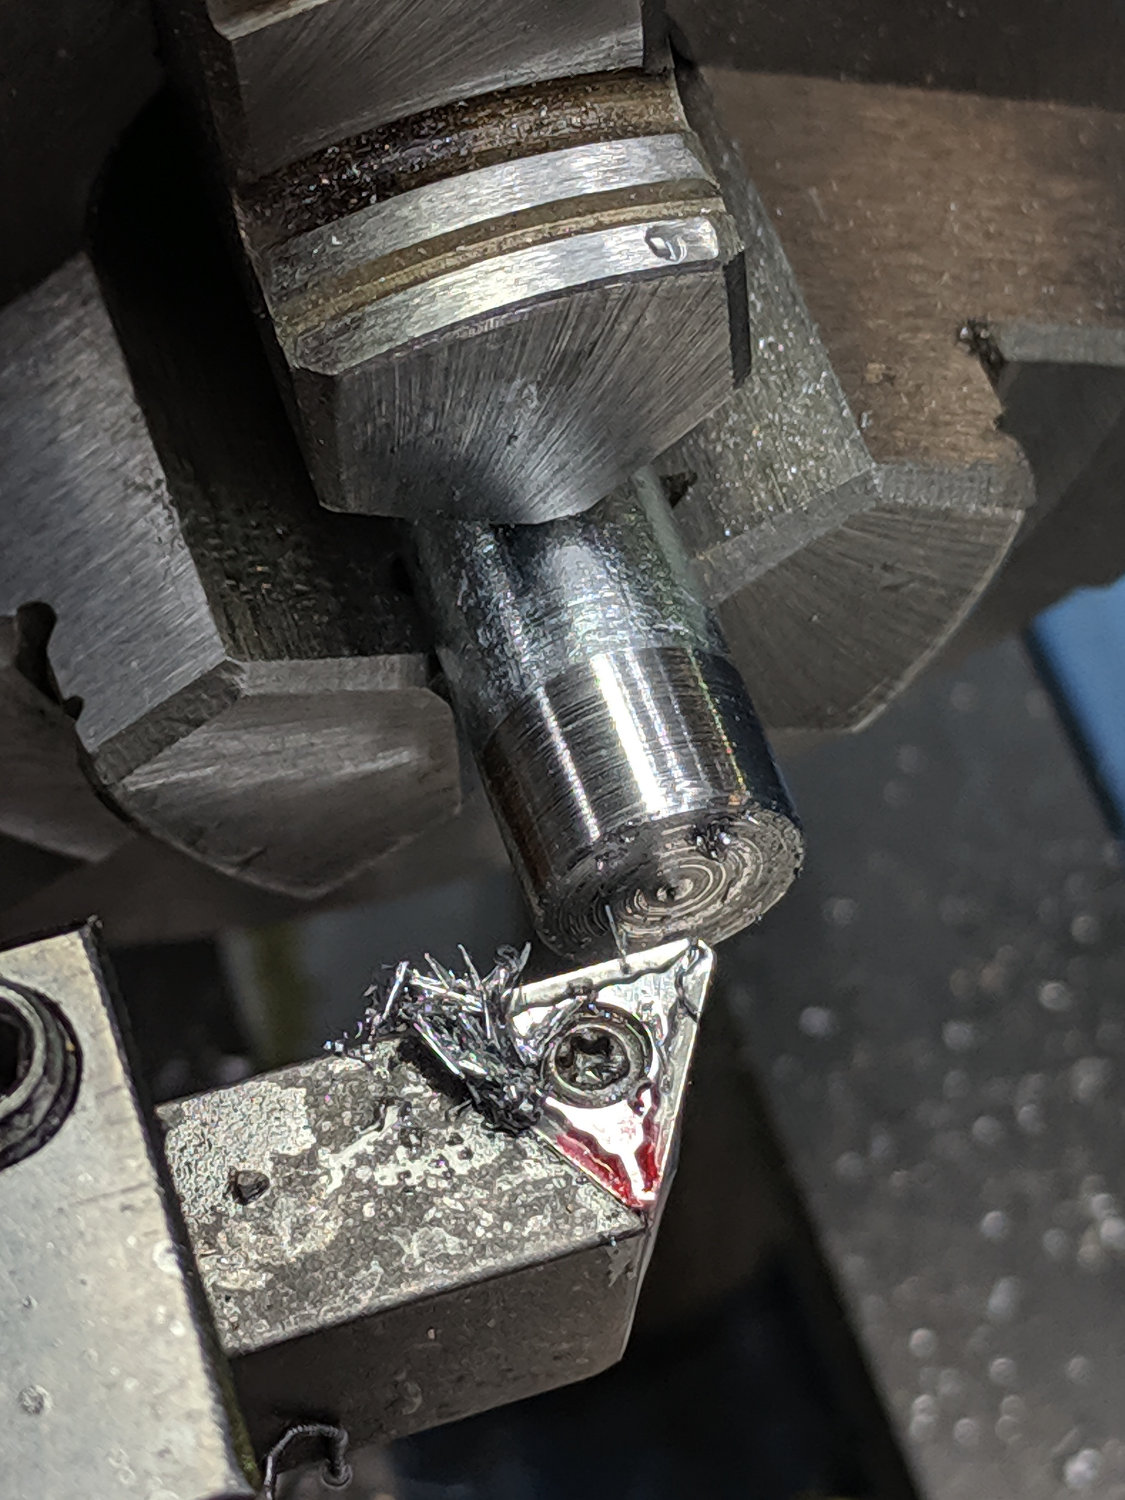
Painting the patio railing required removing the short section on the garage, which stalled with a thoroughly galled / corroded nut on the 2 inch bolt going through the wall. Deploying a Dremel slitting wheel and bashing the slit open with a cold chisel saved the day, as shown in this staged reenactment:
Patio railing – square head bolt – extraction
It seems square head bolts have gone out of fashion, at least in the 3/8-16 size seen here, over the last half century:
Patio railing – square head bolts
I reused the lag screw with no qualms at all.
The local fastener emporium had square bolts ranging upward from 3/4-10, which wasn’t much help. Amazon has ’em, if you spend enough time rummaging around in the debris from its search engine, at a buck apiece in lots of ten. Fortunately, a local big-box home repair store had 3/8-16 hex head steel bolts and square nuts, so I needn’t start from scratch.
Start by turning off the hex head:
Patio railing – square head bolt – removing hex head
Thread the end, starting in the lathe and ending with a die turned just barely enough to accept the nut:
Patio railing – square head bolt – threading
Epoxy the nut in place and sand it to rough up the surface finish enough to hold the primer:
Patio railing – square head bolt – lineup
Yeah, that’s a nasty little zit. Fortunately, nobody will ever notice.
Prime & paint the railing, affix it to the garage wall, then prime & paint the bolt:
Patio railing – square head bolt – installed
Thing looks like it grew there; tell nobody about the zit.
The yellow blotches decorating the shiny black paint come from the pine trees across the driveway. The first day of pine pollen season corresponded to the second day I intended to paint; the dust clouds were a wonder to behold.
Bonus Quality Shop Time!
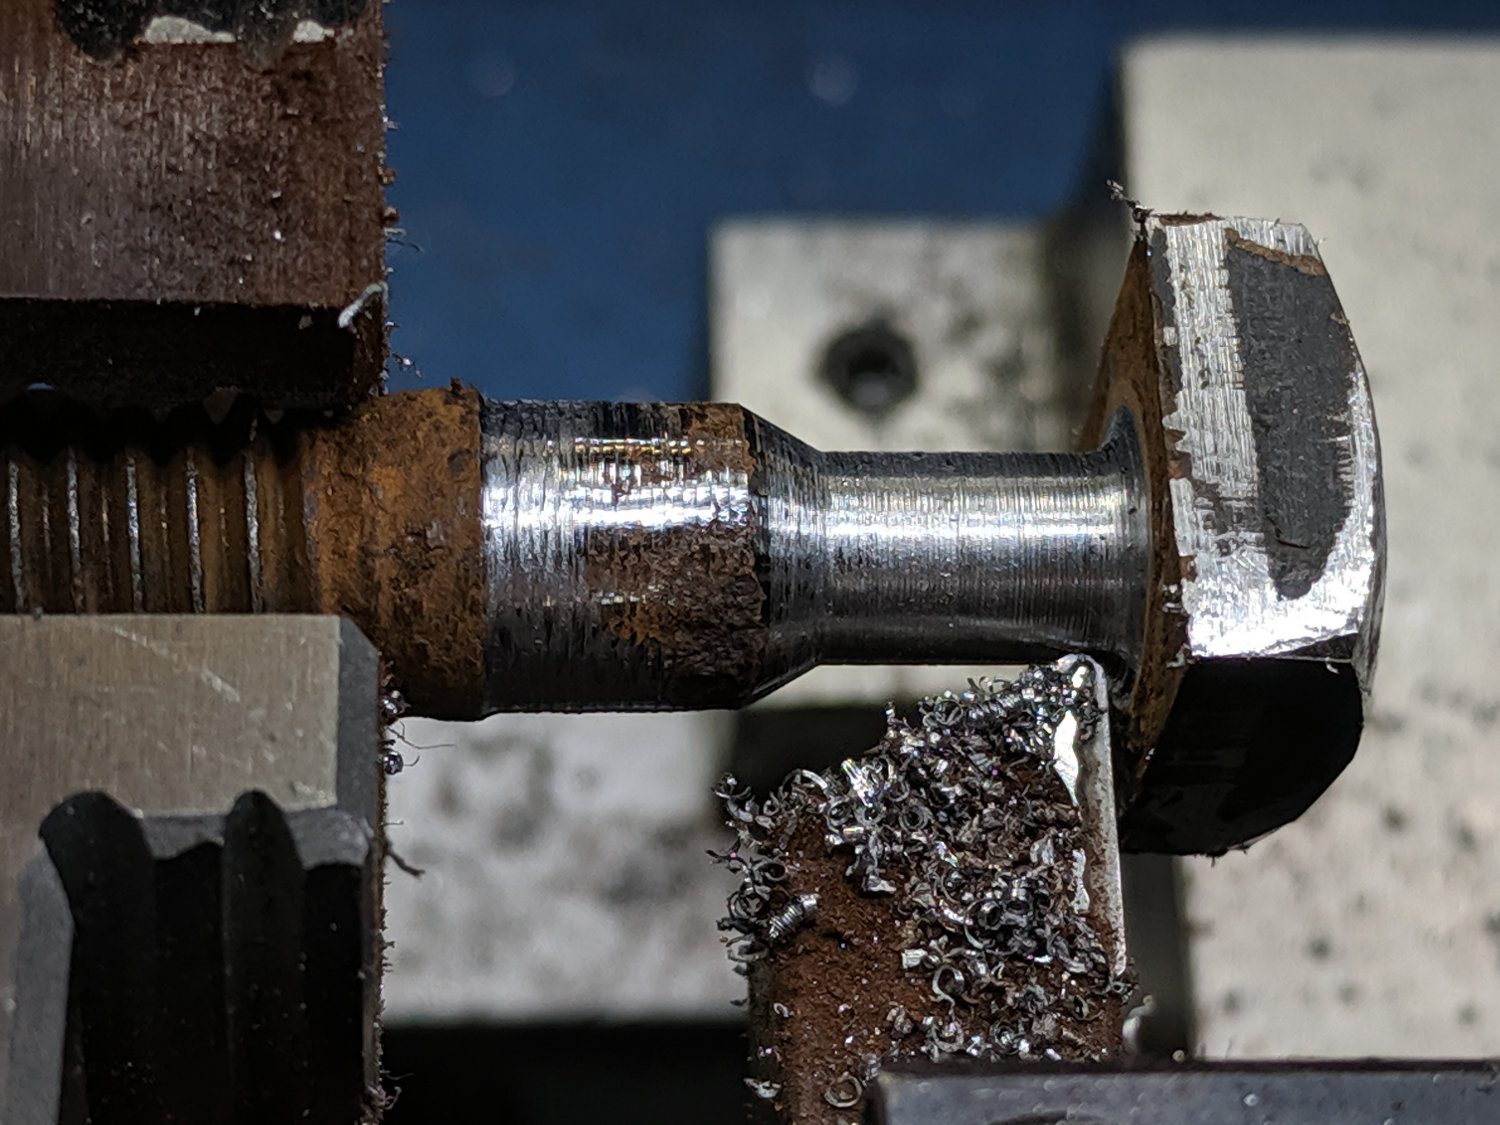
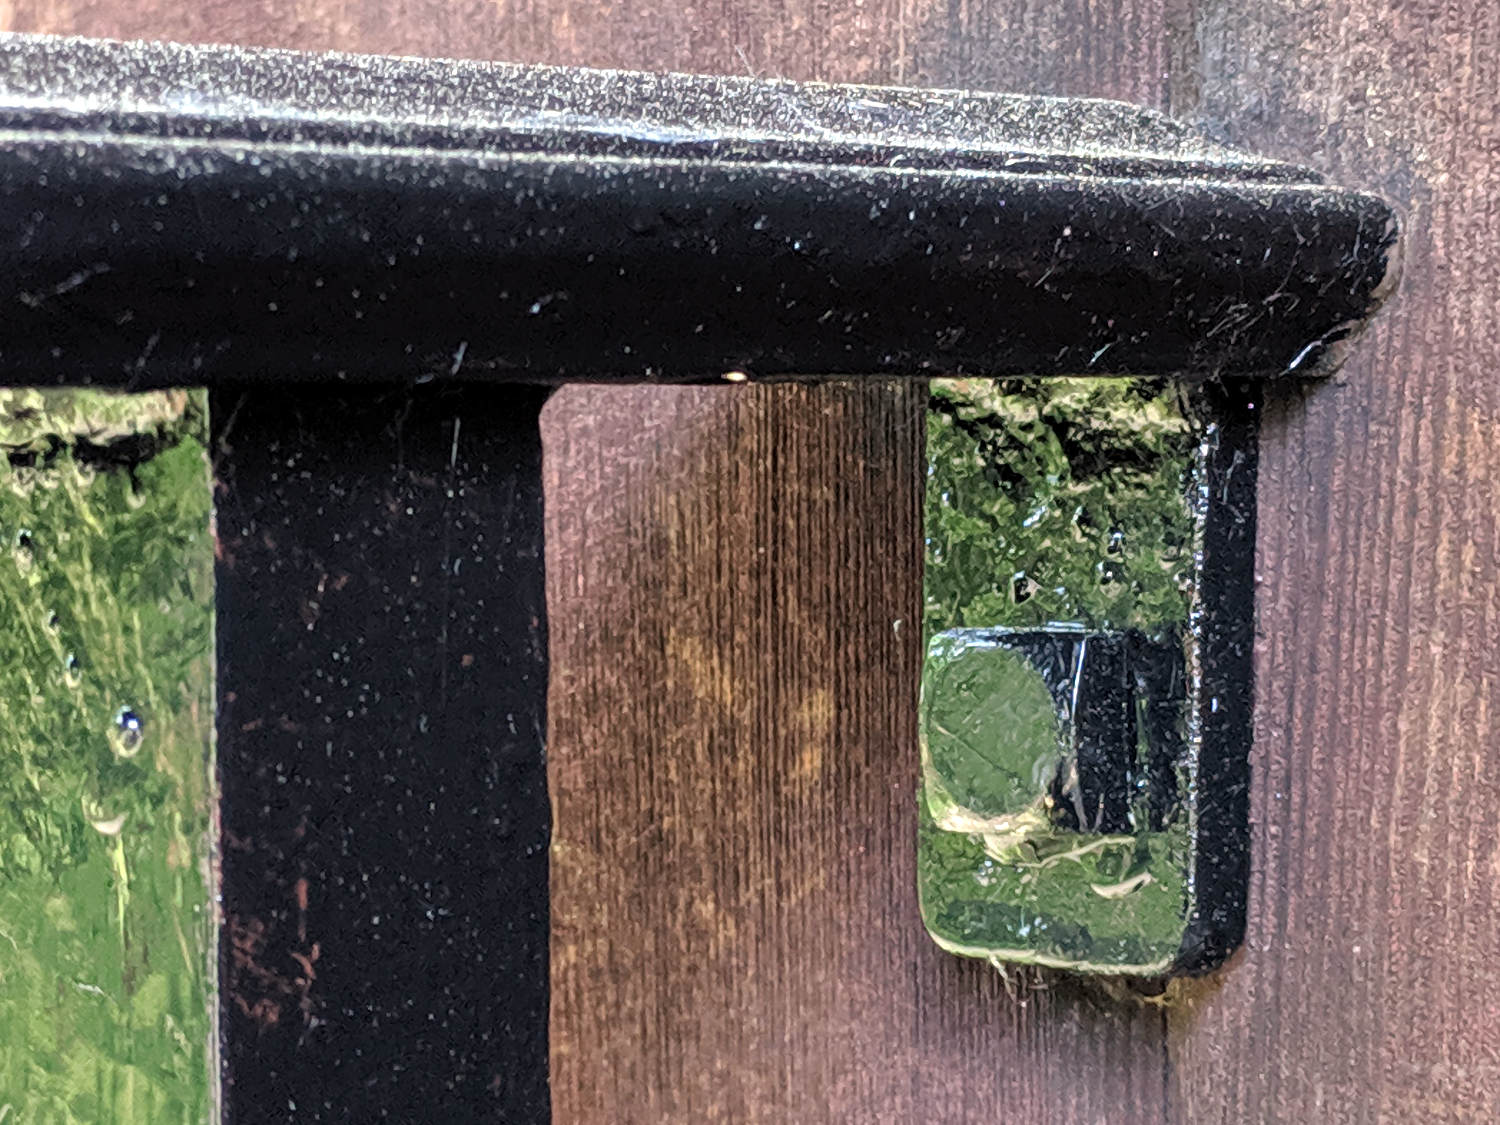
The far end of the railing around the patio has a bracket against the house siding with a hole intended for a 1/4 inch bolt they never installed, perhaps because there’s no way to maneuver a bolt into the space available.
The threads on the 3/8-16 bolt may be wrecked, but turning the shank down to 1/4 inch isn’t any big deal:
Patio railing – fake bolt – thinning shank
Part off the head with a stub just long enough to fit into the bracket, epoxy that sucker into the hole, and paint it black:
Patio railing – fake bolt – installed
The square post on the left goes down to an anchor in the concrete patio, the railing is welded to a 4 inch column a foot away, and the end of the railing isn’t going anywhere; the fake bolt is purely for show.
And, yes, the dust atop the railing is more pollen from the pine trees responsible for the weird green-yellow reflections on the vertical surfaces.
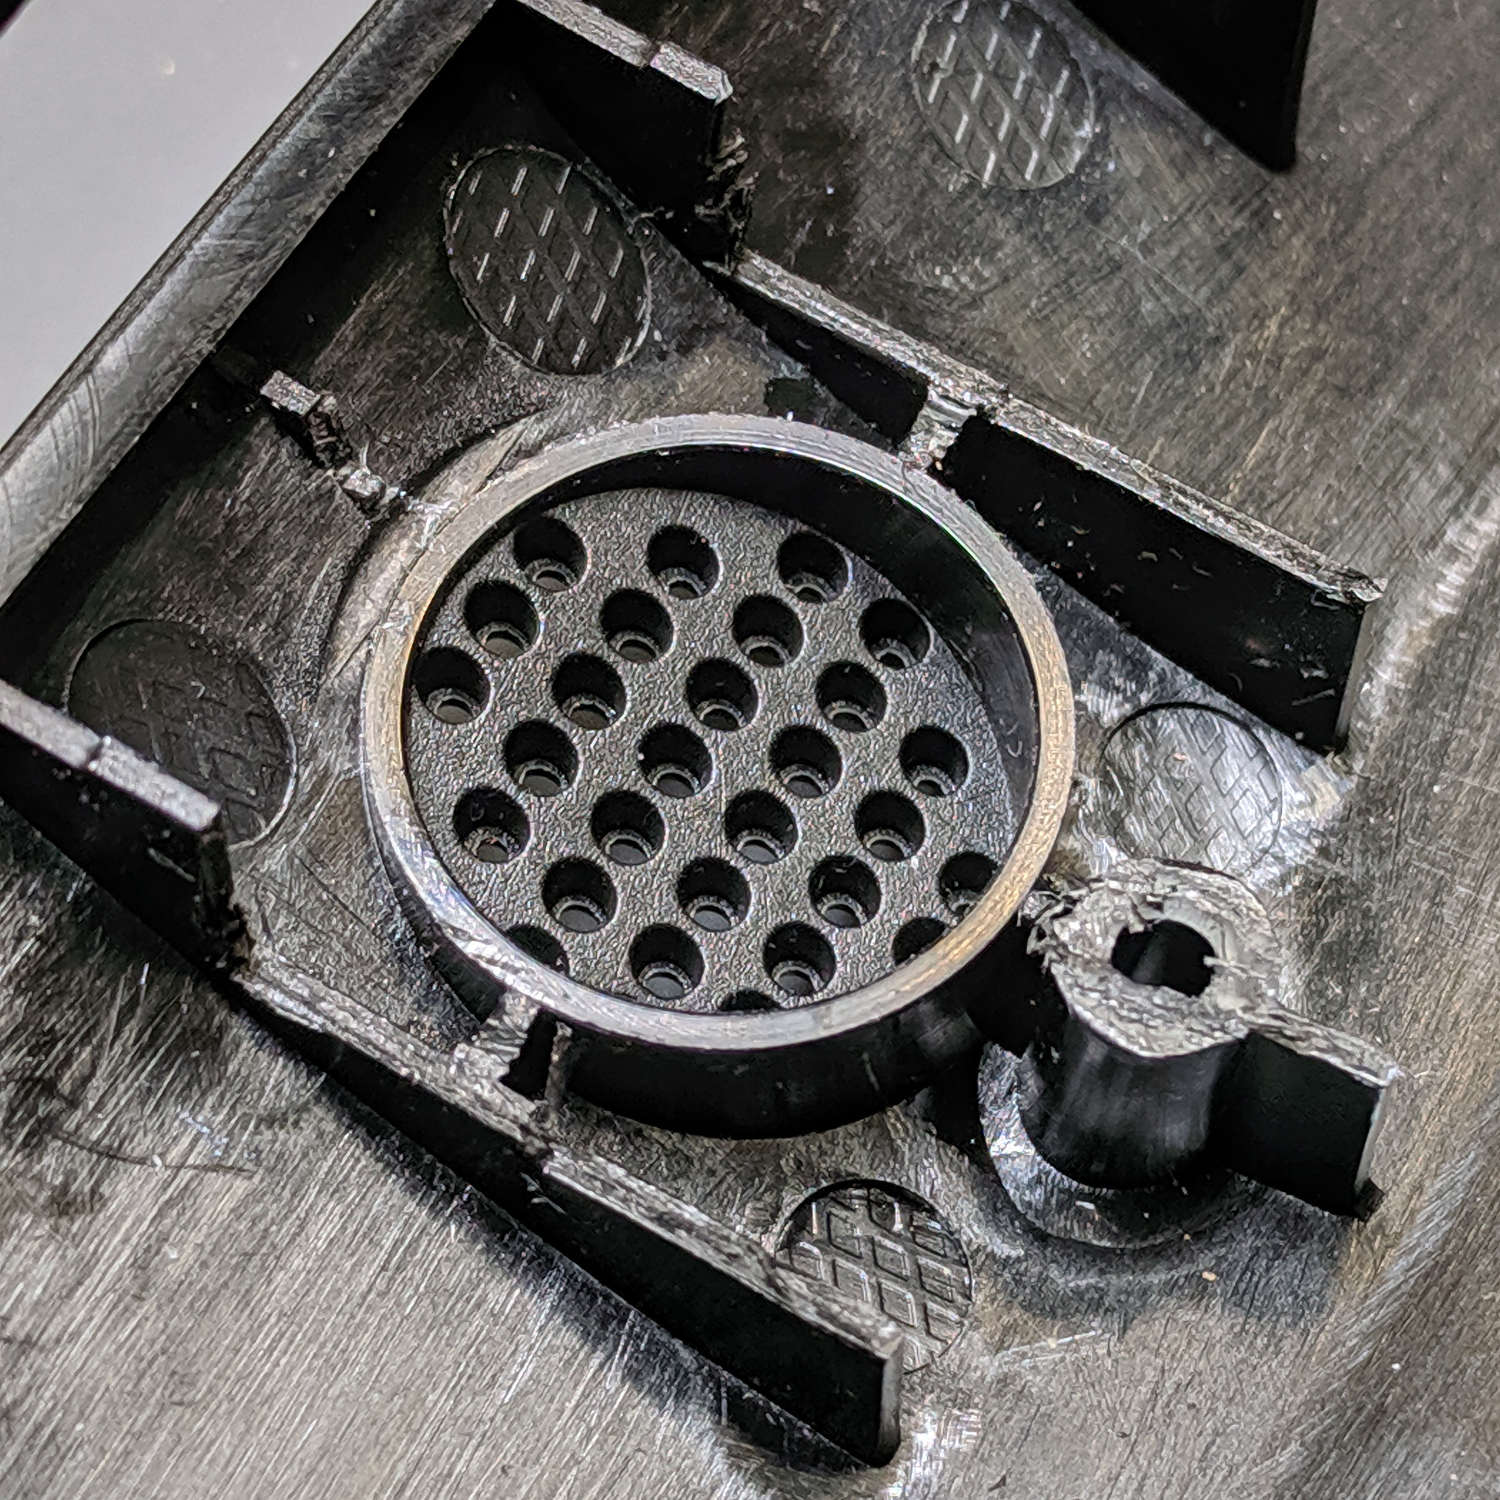
We don’t use the blender much, so the most recent bearing replacement continues to work. I never got around to re-making the overly long shaft spacer from the first bearing replacement, which I compensated for with a spacer kludge cut from a random chunk of bendy plastic sheet.
Which we put up with For. Eleven. Years.
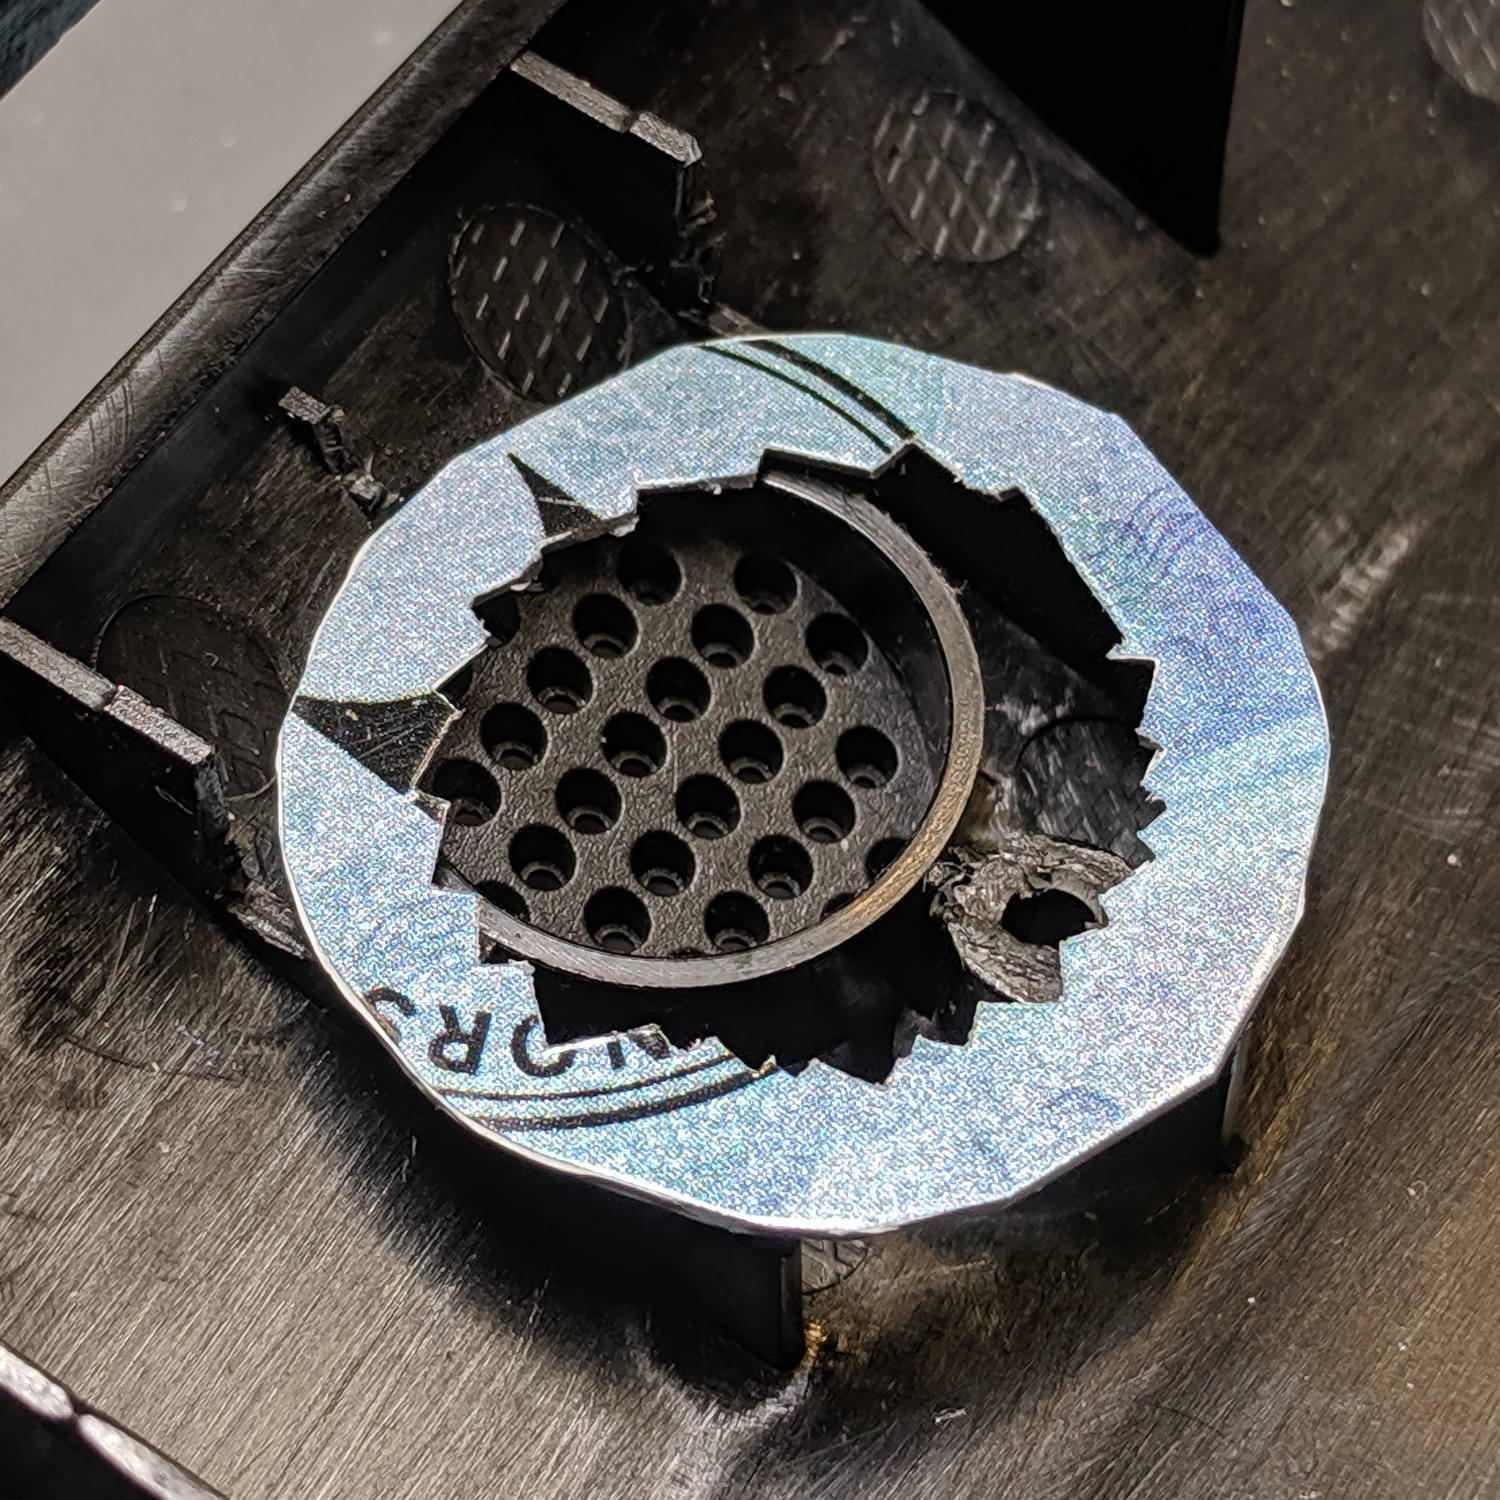
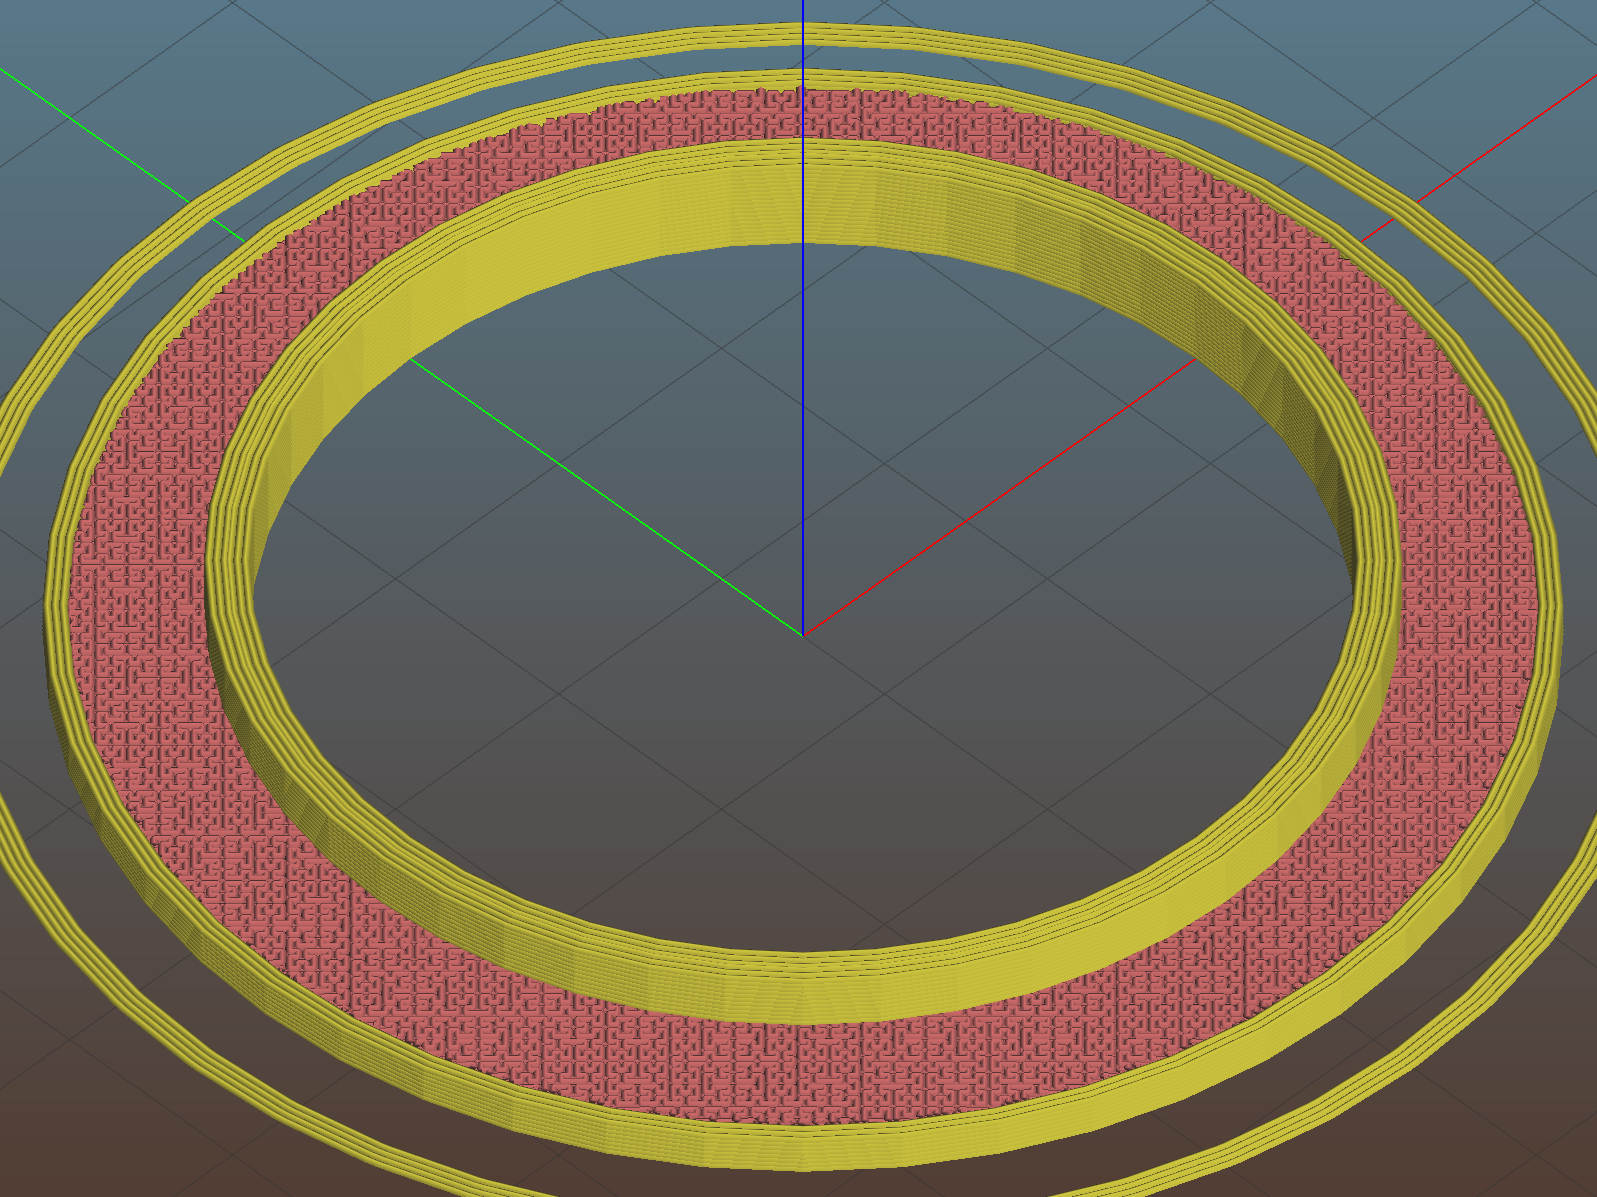
The blender recently emerged from hiding and, with my solid modeling-fu cranked up to a dangerous chattering whine, I conjured a real spacer:
Blender base spacer – Slic3r preview
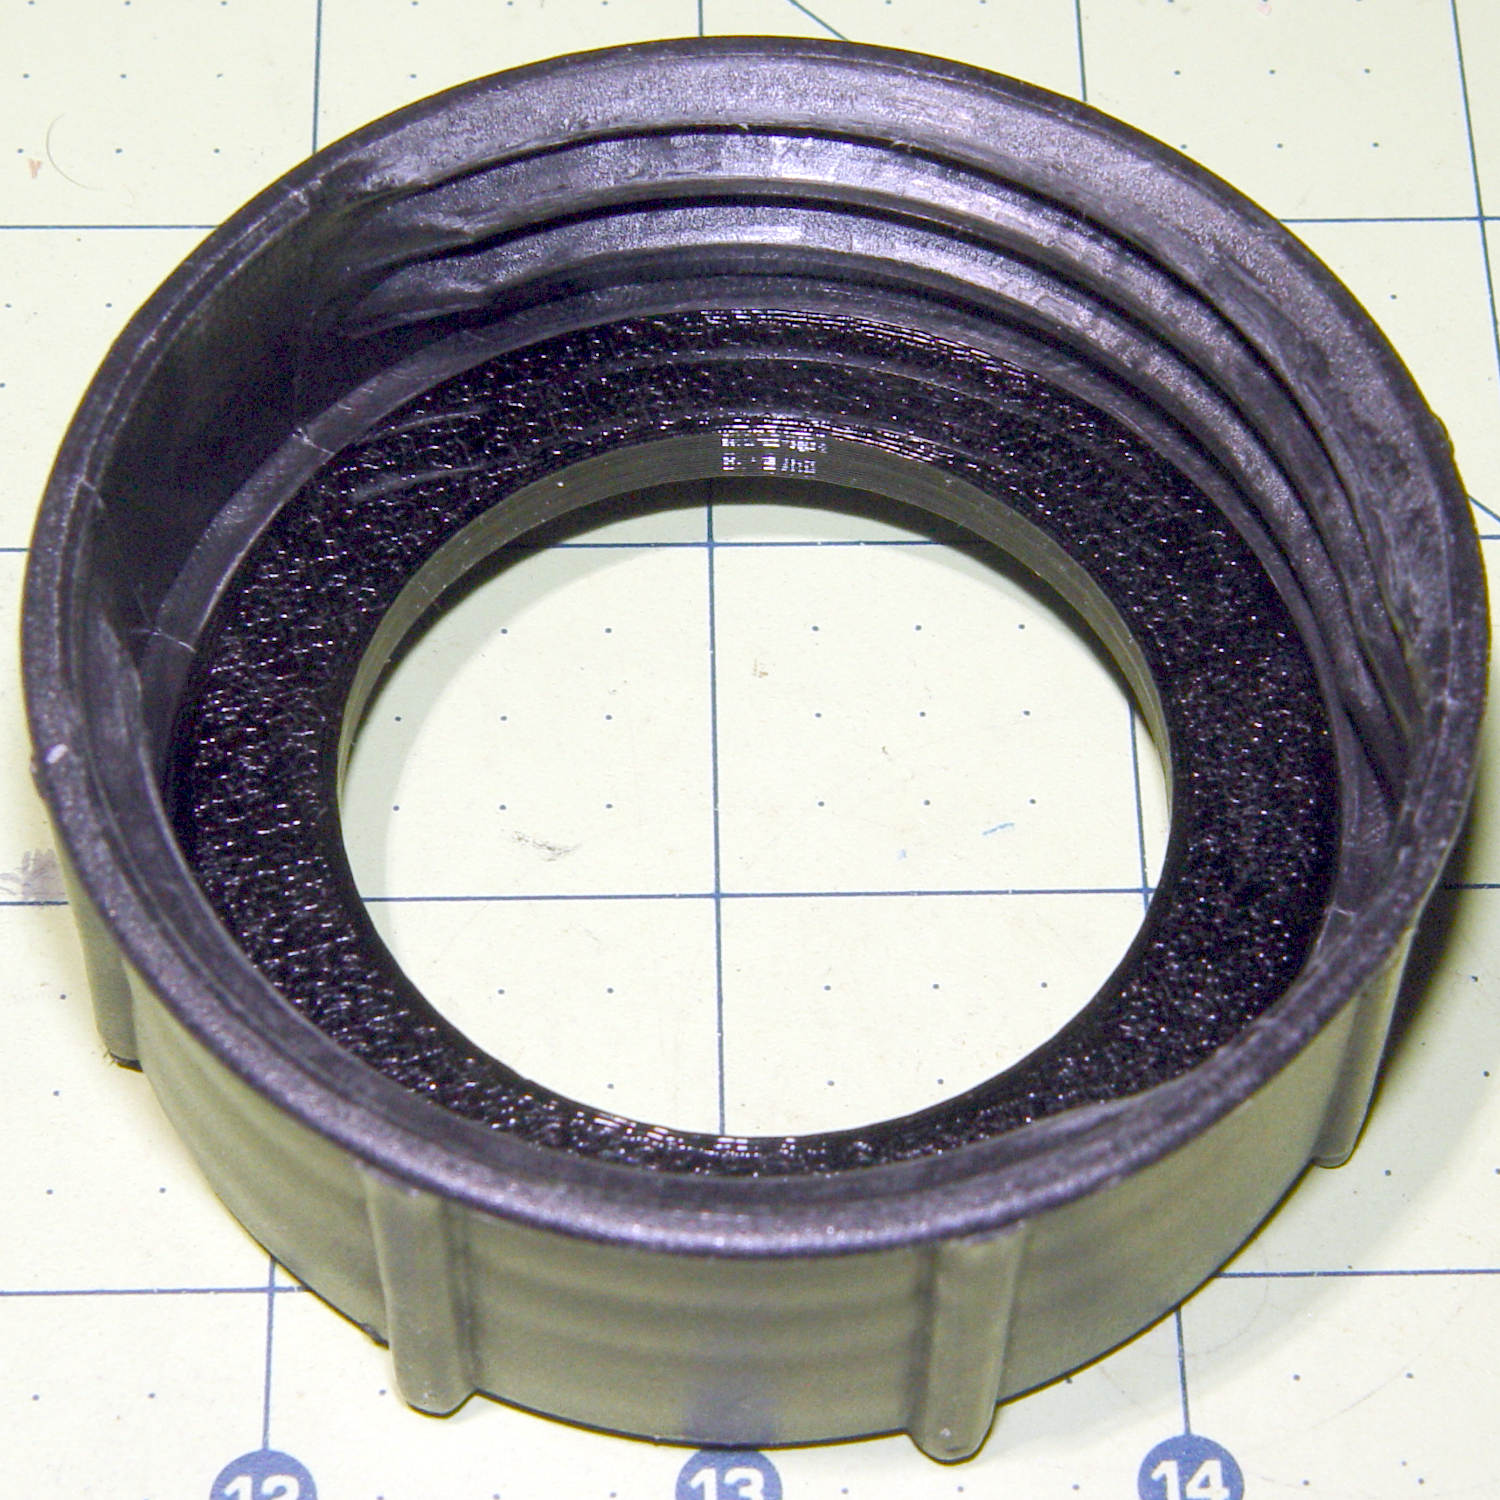
It pretty much disappears into the blender base, which is the whole point of the operation:
Blender base spacer – installed
When the bearings fail again, I promise to make a proper shaft spacer and toss this bodge.
This file contains hidden or bidirectional Unicode text that may be interpreted or compiled differently than what appears below. To review, open the file in an editor that reveals hidden Unicode characters.
Learn more about bidirectional Unicode characters