After about a month, a replacement for the fallen utility pole arrived:

This is much easier than digging a hole by hand:
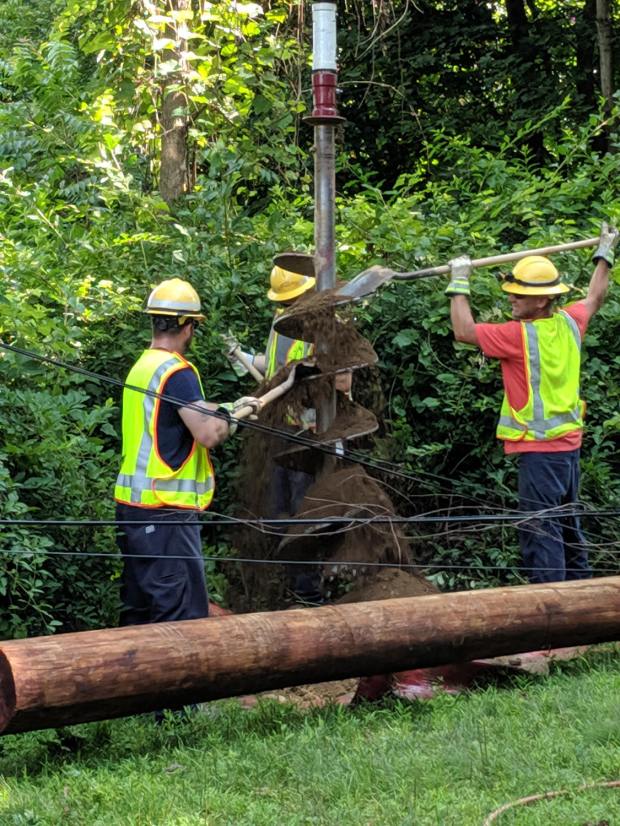
Verily, given the right tools, any job becomes do-able:
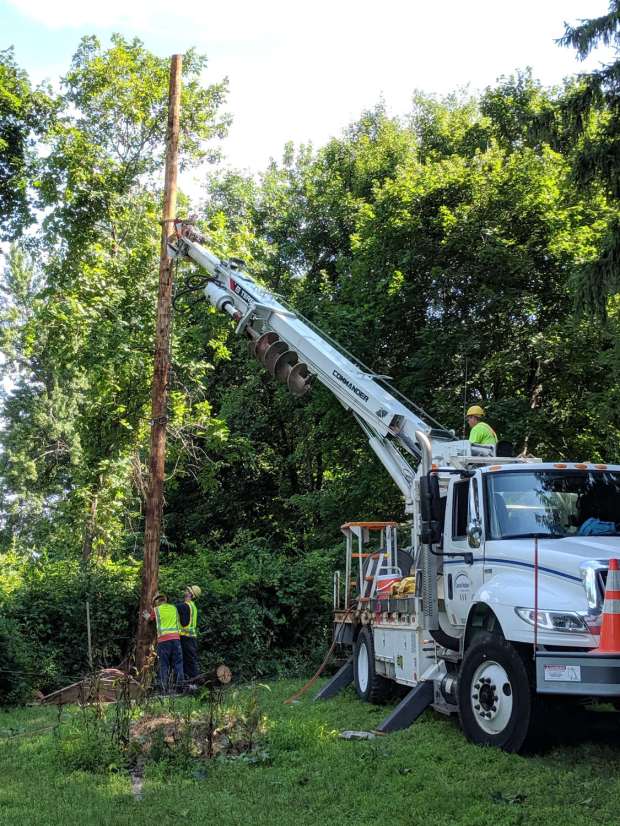
It was fascinating for me and just another day at the office for everybody else:
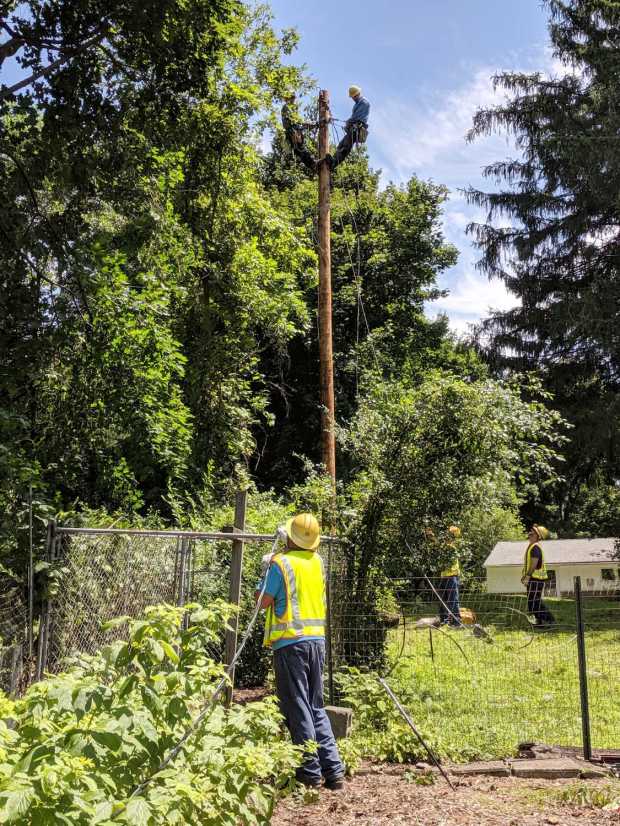
They nailed the original pole tag to the new pole, complete with the original 1940 nail:

I expect this pole will outlive me, just as the original pole outlived the folks who built our house.
The most memorable comment came from the person doing the CHG&E damage assessment, who really really wanted this to not be their problem: “Anybody could steal a pole tag and nail it on that pole.” I asked what location their records showed for the pole tag, whereupon the conversation moved on.
Second-place award: no, we were not interested in trenching underground lines 300 feet along the property line, at our expense, to avoid an “unsightly” pole.
For unknown reasons, I was supposed to figure out which telecom utilities had wired the pole, notify them, and wait for them to tack their cables to the new pole. I called both Verizon and Altice / Optimum, got service tickets, and watched them close the tickets without further action. I tried re-opening the Verizon ticket and was told somebody would be there within 48 hours. An Optimum guy showed up, promised a quick return visit from a team with proper equipment, but nothing happened.
I suppose having no customer at the end of the cable removed any motivation to clear their hardware off our lawn, so, after two weeks, I deployed the bolt cutter, rolled up the cables, and scrapped ’em out.
Done!