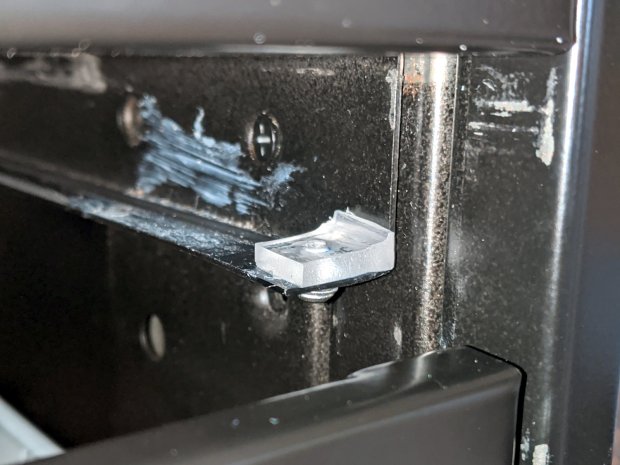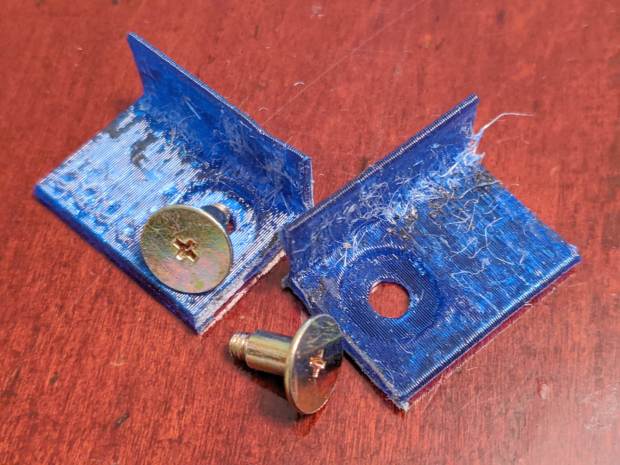
Our Young Engineer recently rented a house, now knows why our sinks have CNC-machined strainers, and asked for something better than the disgusting stainless mesh strainer in the kitchen sink.
Being a doting father, I turned out a pair to get a pretty one:
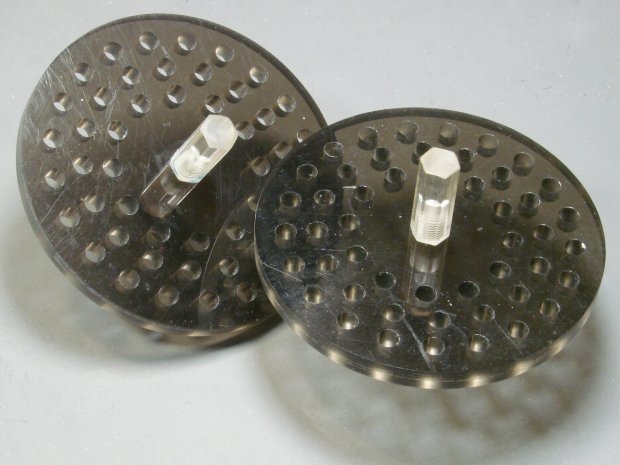
They’re made from the same scrap smoked acrylic as the ones in our sinks:

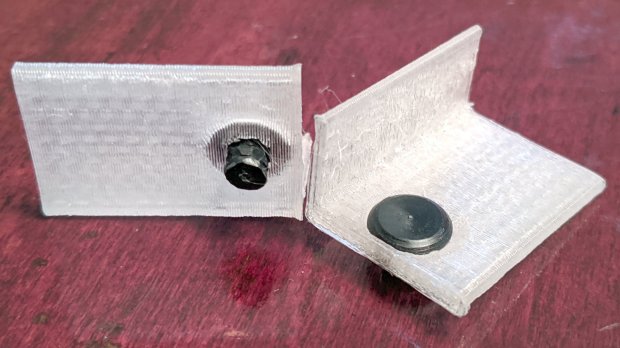
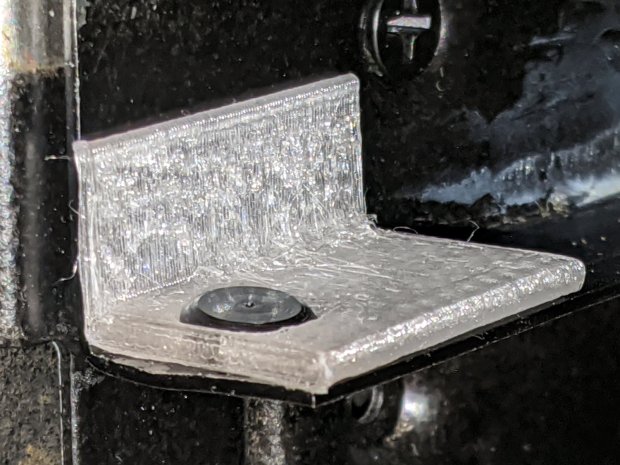
They’re definitely upscale from the (not watertight!) 3D printed version I built for a Digital Machinist column to explain OpenSCAD modeling:

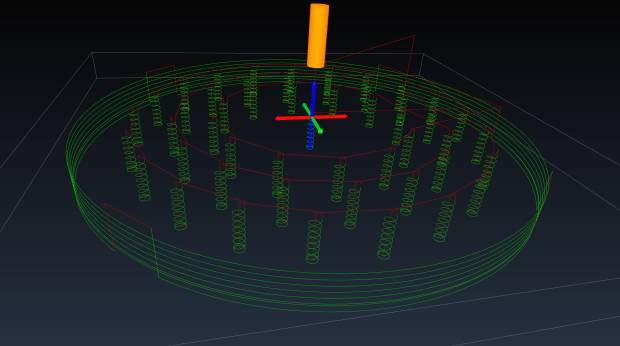
This time around, though, I rewrote the subtractive design in GCMC, with helical milling for all the holes to eliminate the need to change tools:
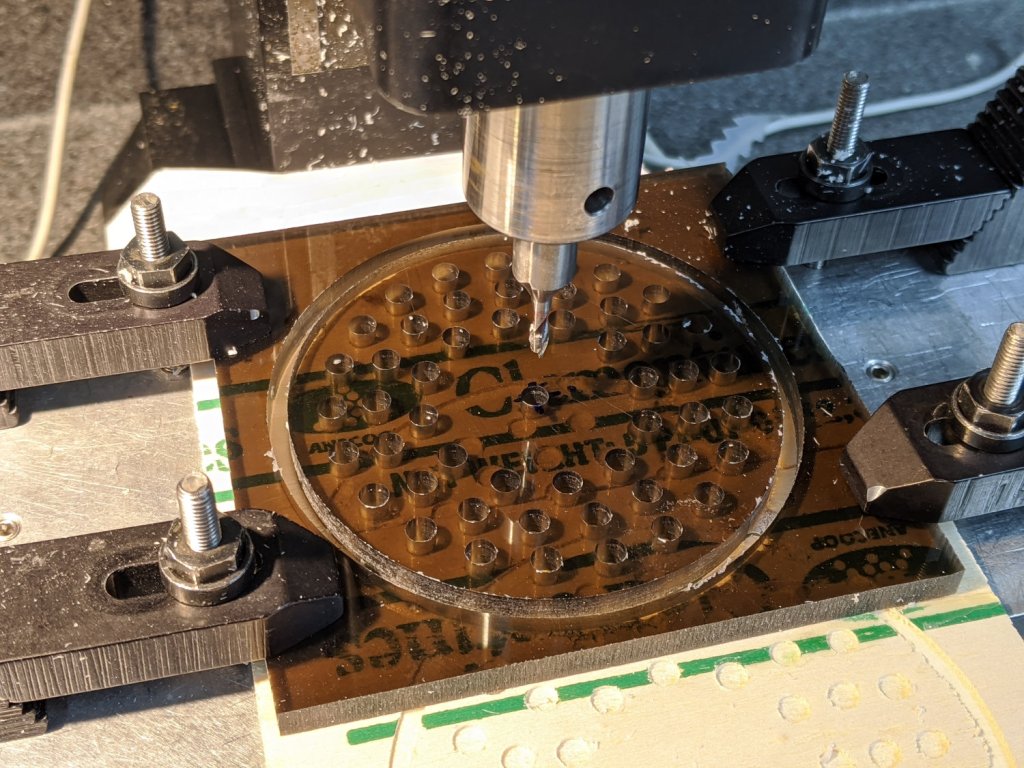
They’re done on the Sherline, because it has real clamps:
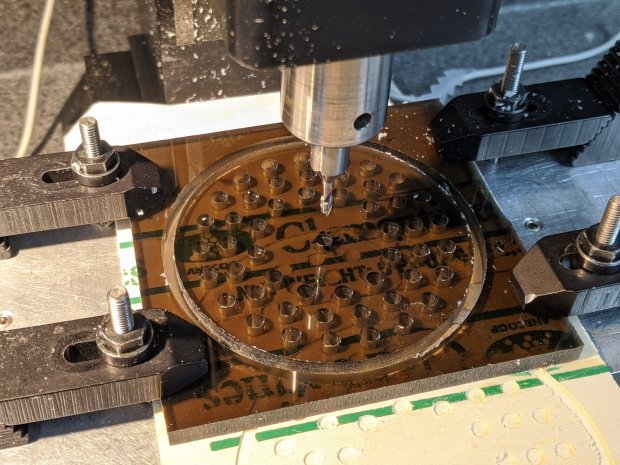
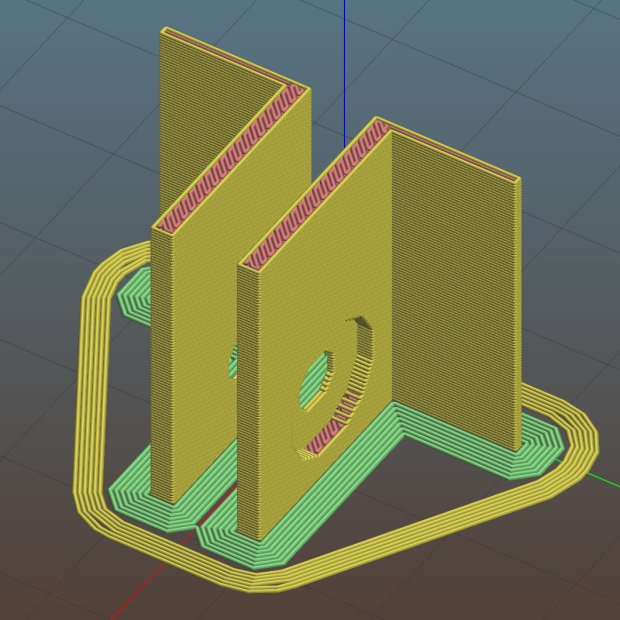
Four tabs eliminated the need to reclamp the stock before cutting the perimeter, but I should have ramped, not plunged, through the final cut between the tabs:

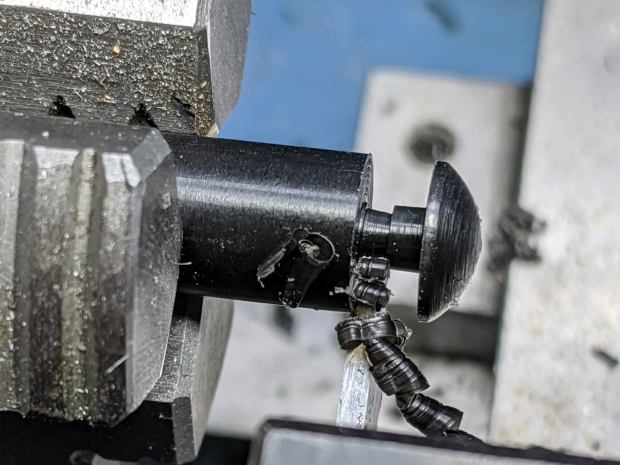
The handles come from the same chunk of hex acrylic as before, eyeballed to length, tapped 8-32, and secured with acrylic adhesive.
The GCMC source code as a GitHub Gist:
| // Drill & mill sink drain strainer | |
| // Ed Nisley KE4ZNU — Digital Machinist 15.2 Spring 2020 | |
| // polycarbonate or acrylic sheet | |
| // External clamps at corners | |
| // Origin at center of sheet | |
| //—– | |
| // Dimensions | |
| DiskOD = 80.0mm; // usual kitchen drain = 3-1/4 inch | |
| DiskRad = DiskOD/2; | |
| PlateThick = 6.0mm; // stock thickness | |
| MillOD = 3.170mm; // measured end mill OD | |
| HoleDia = 4.75mm; // 3/16 inch drain holes | |
| ScrewOD = 0.18in; // knob screw clearance | |
| NumRings = 3; // rings of drain holes | |
| RingSpace = 1.5 * HoleDia; // .. between rings | |
| MaxZCut = 0.25 * MillOD; // max cut depth | |
| MillSpeed = 1000mm; // horizontal feedrate | |
| NumTabs = 4; | |
| TabTilt = 45deg; | |
| TabLength = 5.0mm; | |
| TabThick = 0.5mm; | |
| SafeZ = 10.0mm; // above all obstructions | |
| TravelZ = 1.0mm; // within engraving / milling area | |
| MillZ = -(PlateThick + 0.5mm); // through disk into spoil board | |
| TwoPi = 2*pi(); | |
| //—– | |
| // Mill one hole | |
| function MillHole(ctr,radius,turns) { | |
| goto([-,-,TravelZ]); | |
| goto(head(ctr,2) + [radius,-,-]); | |
| goto([-,-,0]); // kiss surface | |
| circle_cw(ctr,turns); // helix downward | |
| circle_cw(head(ctr,2)); // remove last ramp | |
| goto(ctr); // get elbow room | |
| goto([-,-,TravelZ]); | |
| } | |
| //—– | |
| // Start cutting! | |
| goto([-,-,SafeZ]); | |
| goto([0,0,-]); | |
| goto([-,-,TravelZ]); | |
| feedrate(MillSpeed); | |
| // Mill center screw hole | |
| comment("– Center hole"); | |
| ctr = [0,0,MillZ]; | |
| MillHole(ctr,(ScrewOD – MillOD) / 2,ceil(abs(ctr.z) / MaxZCut)); | |
| // Mill hole rings | |
| comment("– Drain hole rings"); | |
| repeat (NumRings; ri) { | |
| comment("Ring: ",ri); | |
| rr = DiskRad – ri*RingSpace; // ring radius | |
| comment(" radius: ",rr); | |
| nh = to_int(floor(TwoPi*rr / (2*HoleDia))); // number of holes | |
| comment(" holes: ",nh); | |
| repeat(nh; h) { | |
| a = (h – 1) * TwoPi / nh; // angle of hole | |
| ctr = [rr*cos(a),rr*sin(a),MillZ]; // center point at ending Z | |
| MillHole(ctr,(HoleDia – MillOD)/2,ceil(abs(ctr.z) / MaxZCut)); | |
| } | |
| } | |
| // Mill perimeter | |
| comment("– Perimeter"); | |
| r = DiskRad + MillOD/2; | |
| goto([r,0,-]); | |
| goto([-,-,0]); | |
| ctr = [0,0,-(PlateThick – TabThick)]; | |
| circle_ccw(ctr,ceil(abs(ctr.z) / MaxZCut)); // ramp downward | |
| circle_ccw(ctr,1); // remove last ramp | |
| goto([-,-,TravelZ]); | |
| comment("– Tabs"); | |
| ta = 360deg / NumTabs; // between tabs | |
| tsa = to_rad(TwoPi*((TabLength + MillOD) / (TwoPi * r))); // subtended tab angle | |
| repeat (NumTabs; i) { | |
| comment(" # ",i); | |
| a = TabTilt + (i – 1)*ta; // tab center angle | |
| p0 = [r*cos(a + tsa/2),r*sin(a + tsa/2),MillZ]; // entry on ccw side | |
| p1 = [r*cos(a + ta – tsa/2),r*sin(a + ta – tsa/2),MillZ]; // exit at next tab | |
| if (0) { | |
| comment(" angle: ",a); | |
| comment(" entry: ",p0); | |
| comment(" exit: ",p1); | |
| } | |
| goto(head(p0,2)); // to entry point | |
| move(p0); // plunge through | |
| arc_ccw(p1,r); | |
| goto([-,-,TravelZ]); | |
| } | |
| goto([-,-,SafeZ]); | |
| goto([0,0,-]); | |
All in all, a pleasant diversion from contemporary events …