Ed Nisley's Blog: Shop notes, electronics, firmware, machinery, 3D printing, laser cuttery, and curiosities. Contents: 100% human thinking, 0% AI slop.
When Aitch moved to NC, he unloaded a stack of printer paper on me to avoid paying half a buck a pound to haul it along. One package contained some high-end HP photo paper that, not being a high-end photo kind of guy, I figured I’d use for my 3D printing brag sheets.
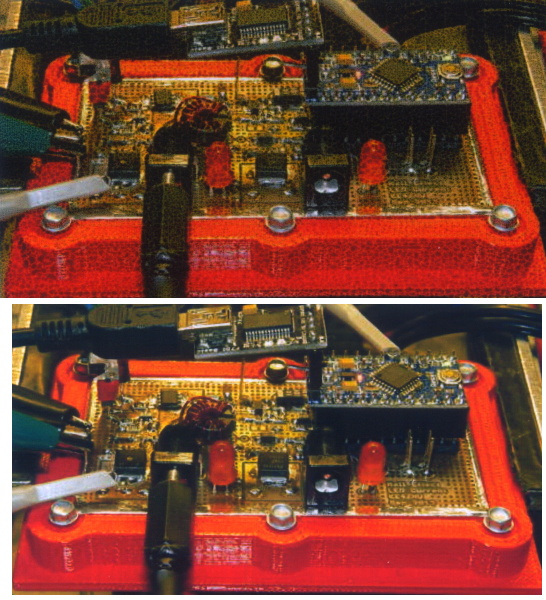
Alas, after trying several permutations of image quality / paper type / ink density, it seems that the cheap generic ink I’m using in the Epson R380 simply isn’t compatible with the HP paper. The top image shows that the ink doesn’t wet the paper and forms a weird alligator-skin pattern:
HP vs Staples Glossy Photo Paper
The bottom image looks perfectly fine; it’s on cheap Staples photo paper, printed with the usual Photo quality on Photo paper.
I’ve read vague statements here-and-there that some HP ink uses an entirely different chemistry from the usual inkjet printers and, perhaps, that accounts for the mismatch. Not a problem, but it did blow an hour while proving that it wasn’t the configuration settings doing me in.
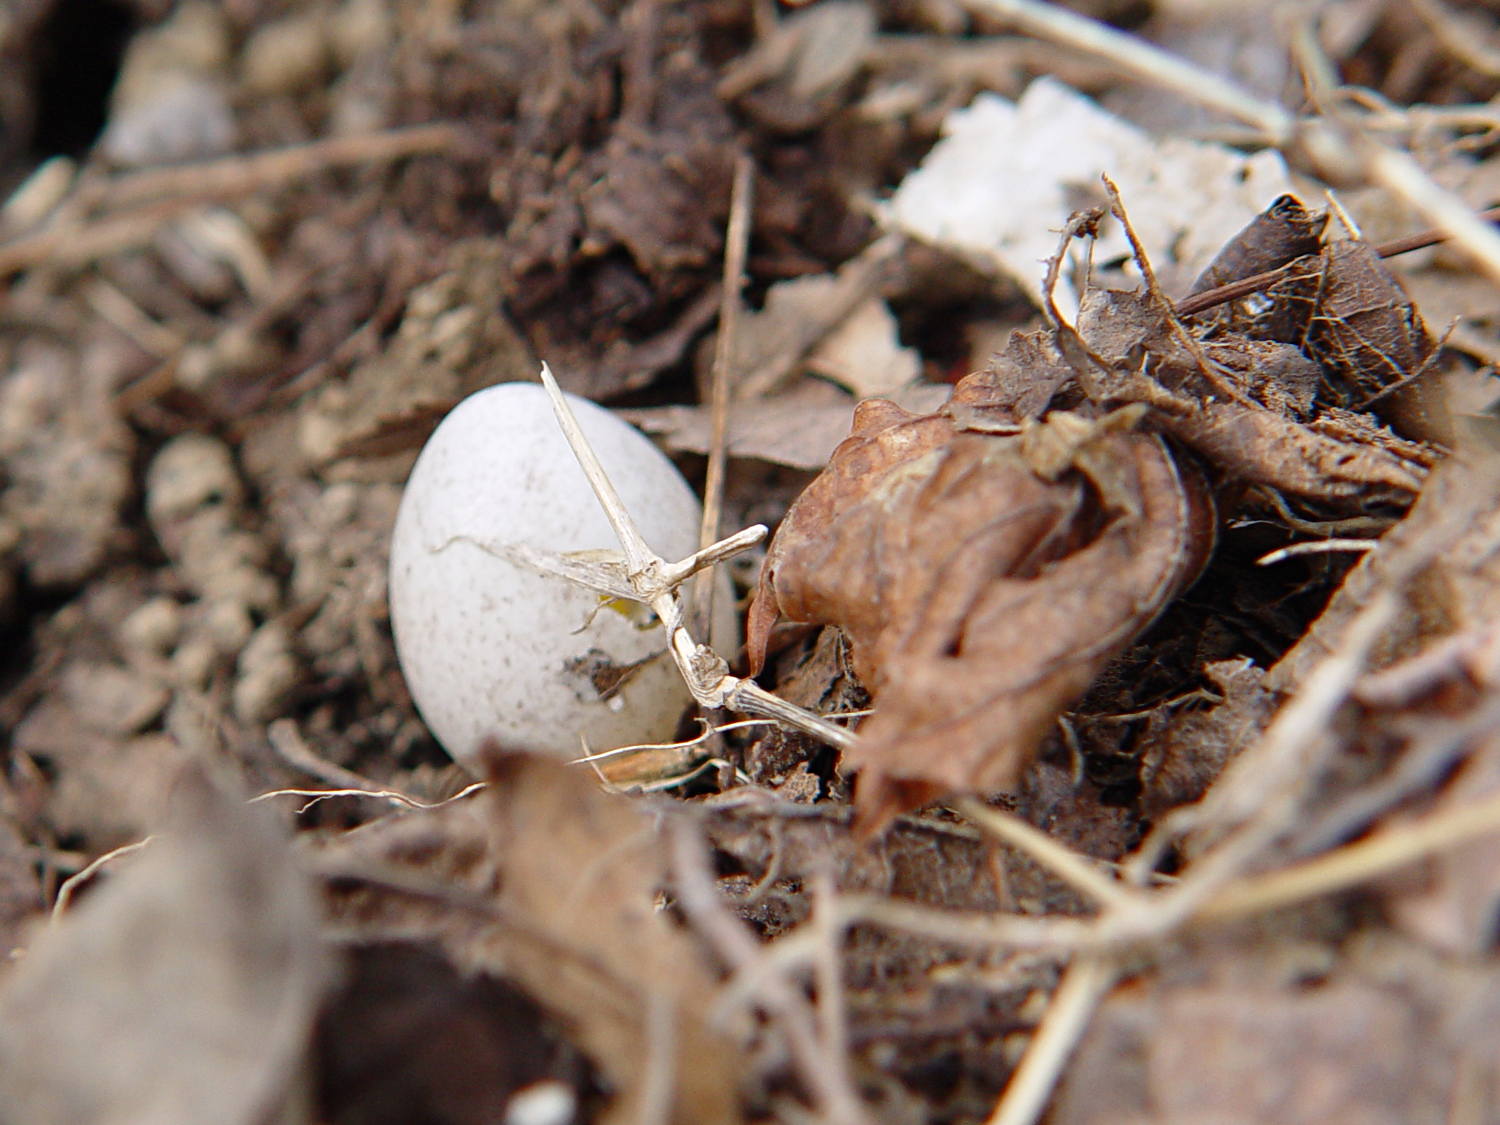
Mary spotted three eggs on the ground under one of the garden bird boxes, surrounded by a spray of feathers. We first thought that a hawk had dismantled another songbird, but the feathers came from many different birds.
All three eggs were stone cold and this one had a puncture wound:
Sparrow egg in garden
We think one of the myriad blackbirds inhabiting the forsythia along the property line cleaned out the nest. It seems sparrows completely fill their nesting cavity, putting their eggs hazardously close to the hole.
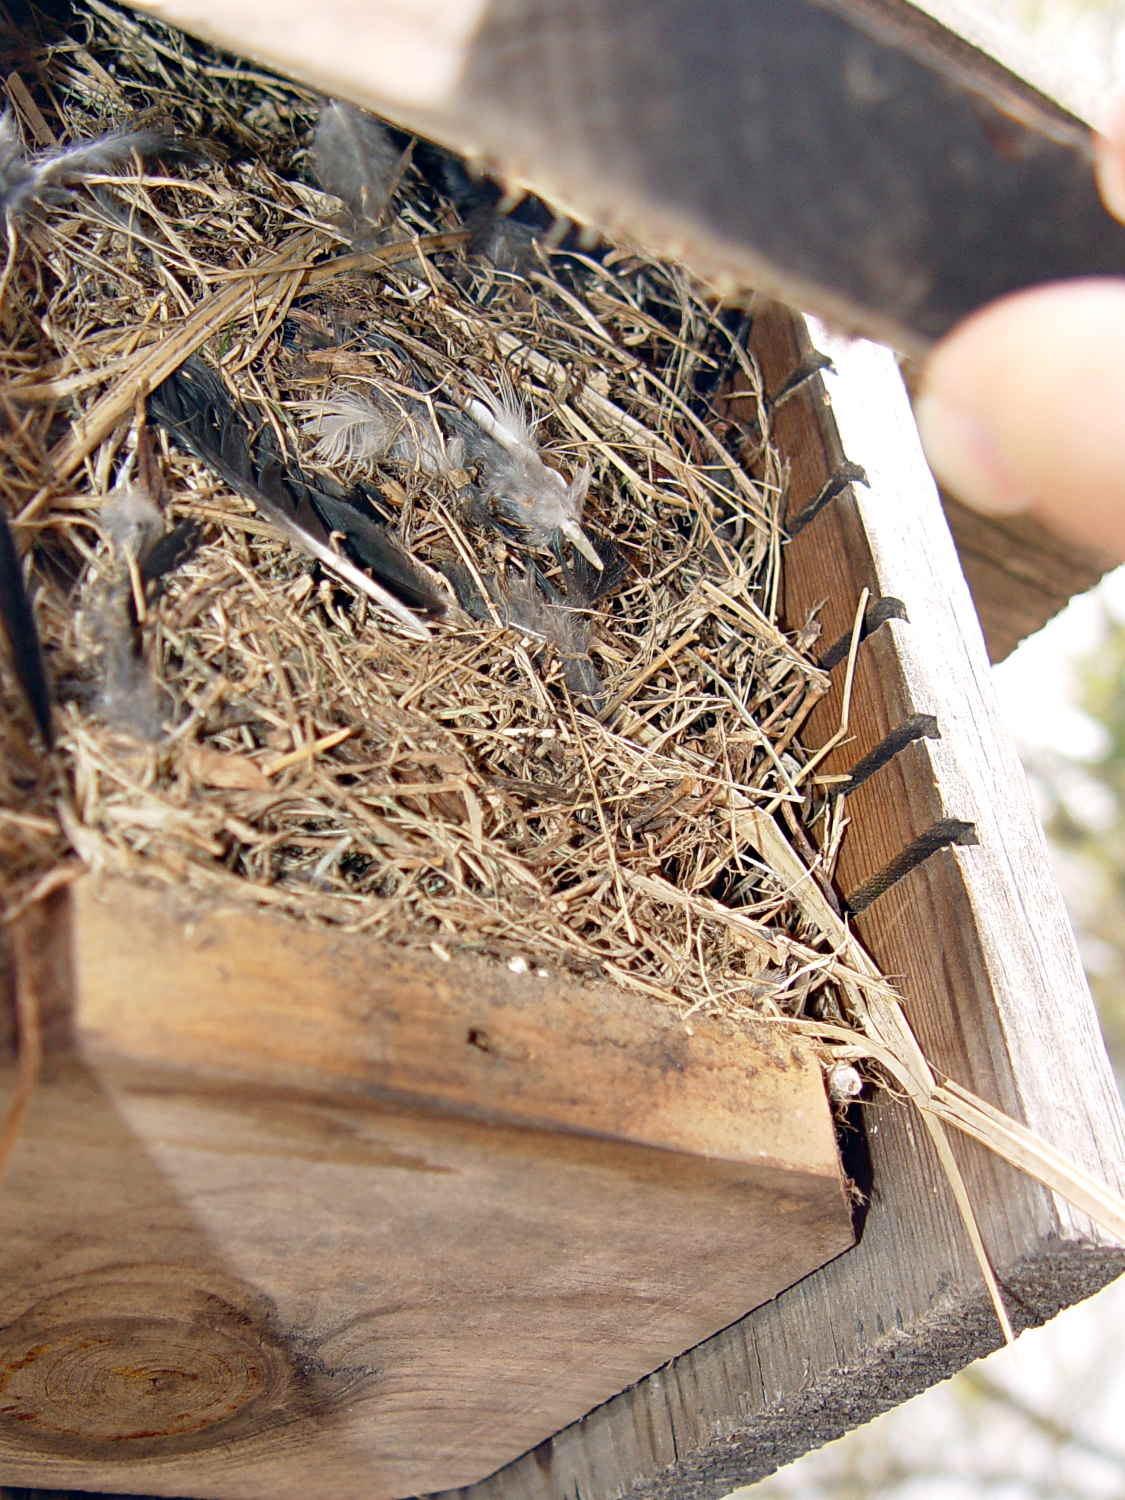
This side view shows the entire column of fill:
Abandoned sparrow nest box
We’d cleaned out those boxes not long ago, so we’ll let the sparrows handle this one on their own. A pair of Carolina wrens have been hauling grass into the other garden box and we hope the sparrows won’t bother them.
I’m grinding uphill at about 5 mph on Jackson Drive, in the middle of the surprisingly good shoulder, with the bright-red Planet Bike taillight blinking away to the rear. I am not inconspicuous, but …
You’ll never see the one that kills you:
Near Miss – Jackson Drive – 2014-05-03 – 1
The speed limit is 40 mph = 60 ft/s. The door-to-shoulder clearance might have been the better part of a foot; the mirror didn’t quite clip my arm.
The license plate is legible in the original image, although I’ve blurred it here:
Near Miss – Jackson Drive – 2014-05-03 – 2
Adrenaline is wonderful stuff; I caught up with him at the next light … uphill and 1/3 mile later:
Near Miss – Jackson Drive – 2014-05-03 – 3
I said “Hey!” When he looked over, I explained I needed a face to go with the plate and pointed to the camera. He said he was really, really, really sorry.
I’ll not ascribe to malice what can be explained by distraction; if he wanted to hassle me, I’d be dead now. Most likely, it’s one of those distracted driving things that happens to all of us … to some, alas, far more frequently than to others.
Took a while for the shakes to stop.
Put down that damn phone / tablet / burger and pay attention!
[Update: Still images captured from the Sony HDR-AS30V helmet camera, recorded at 1920×1080 60 fps.]
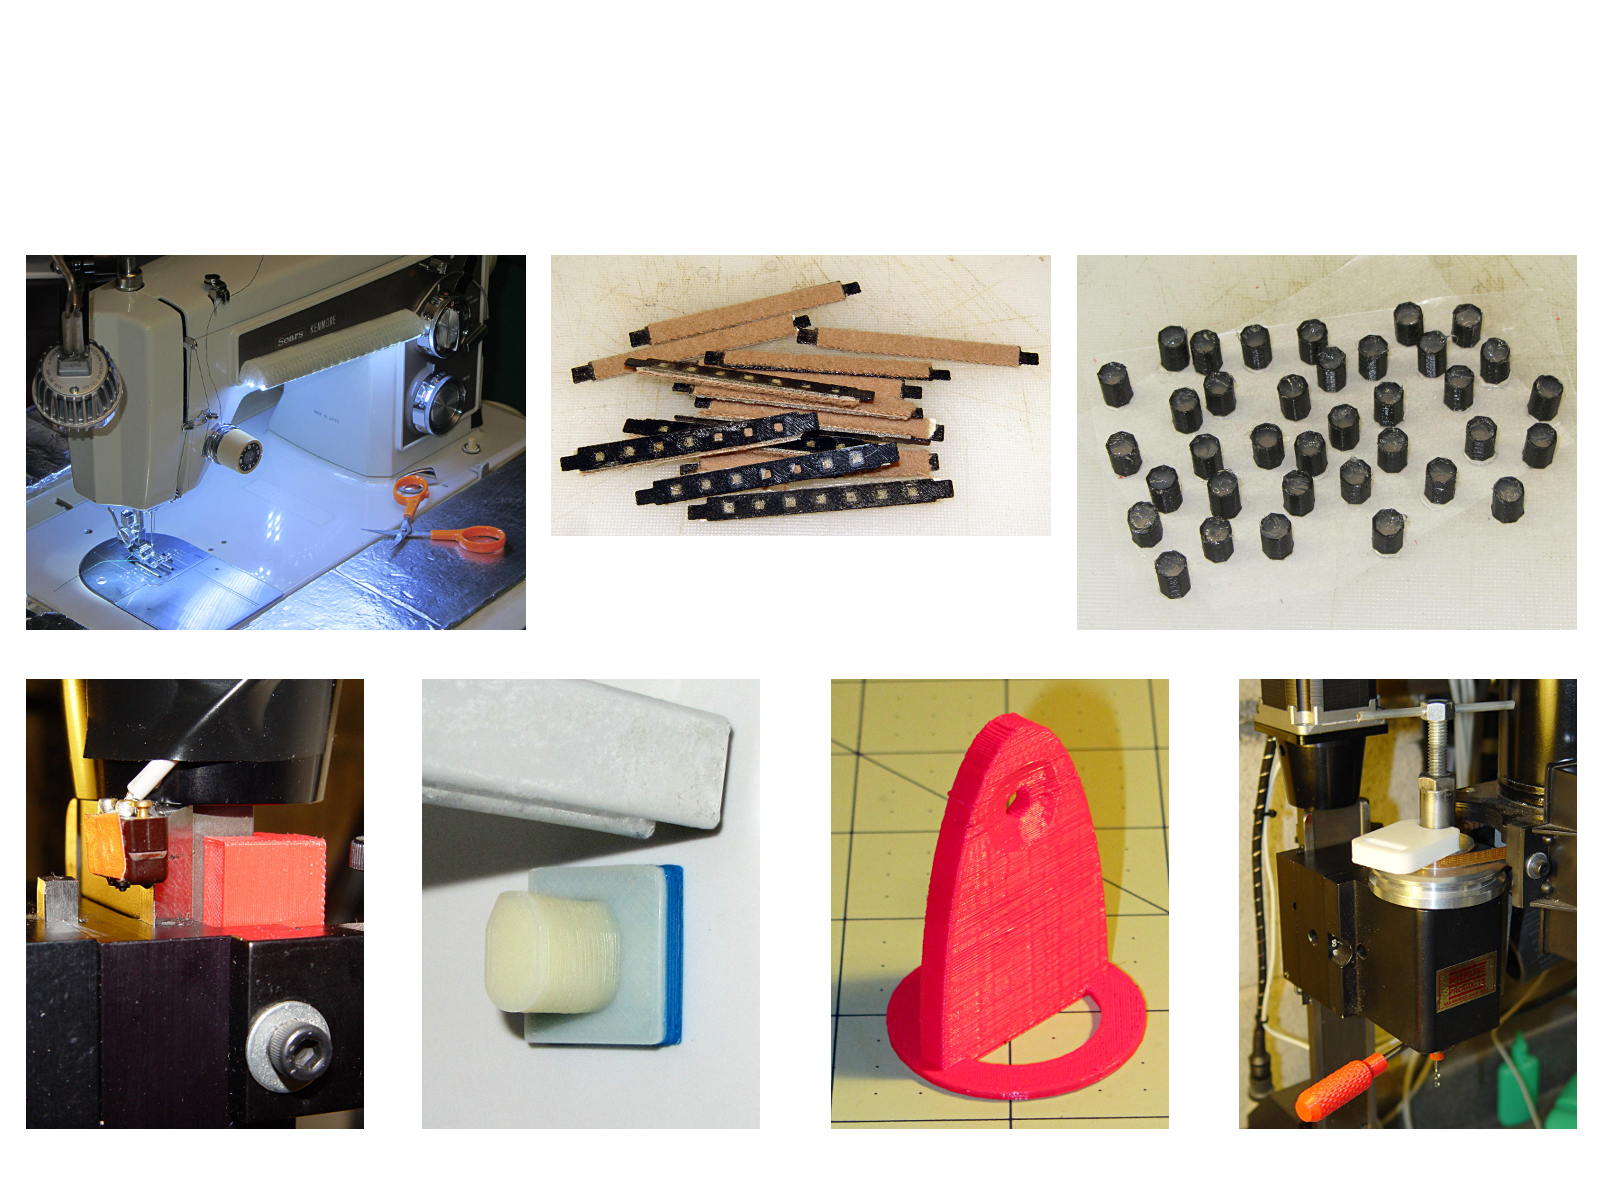
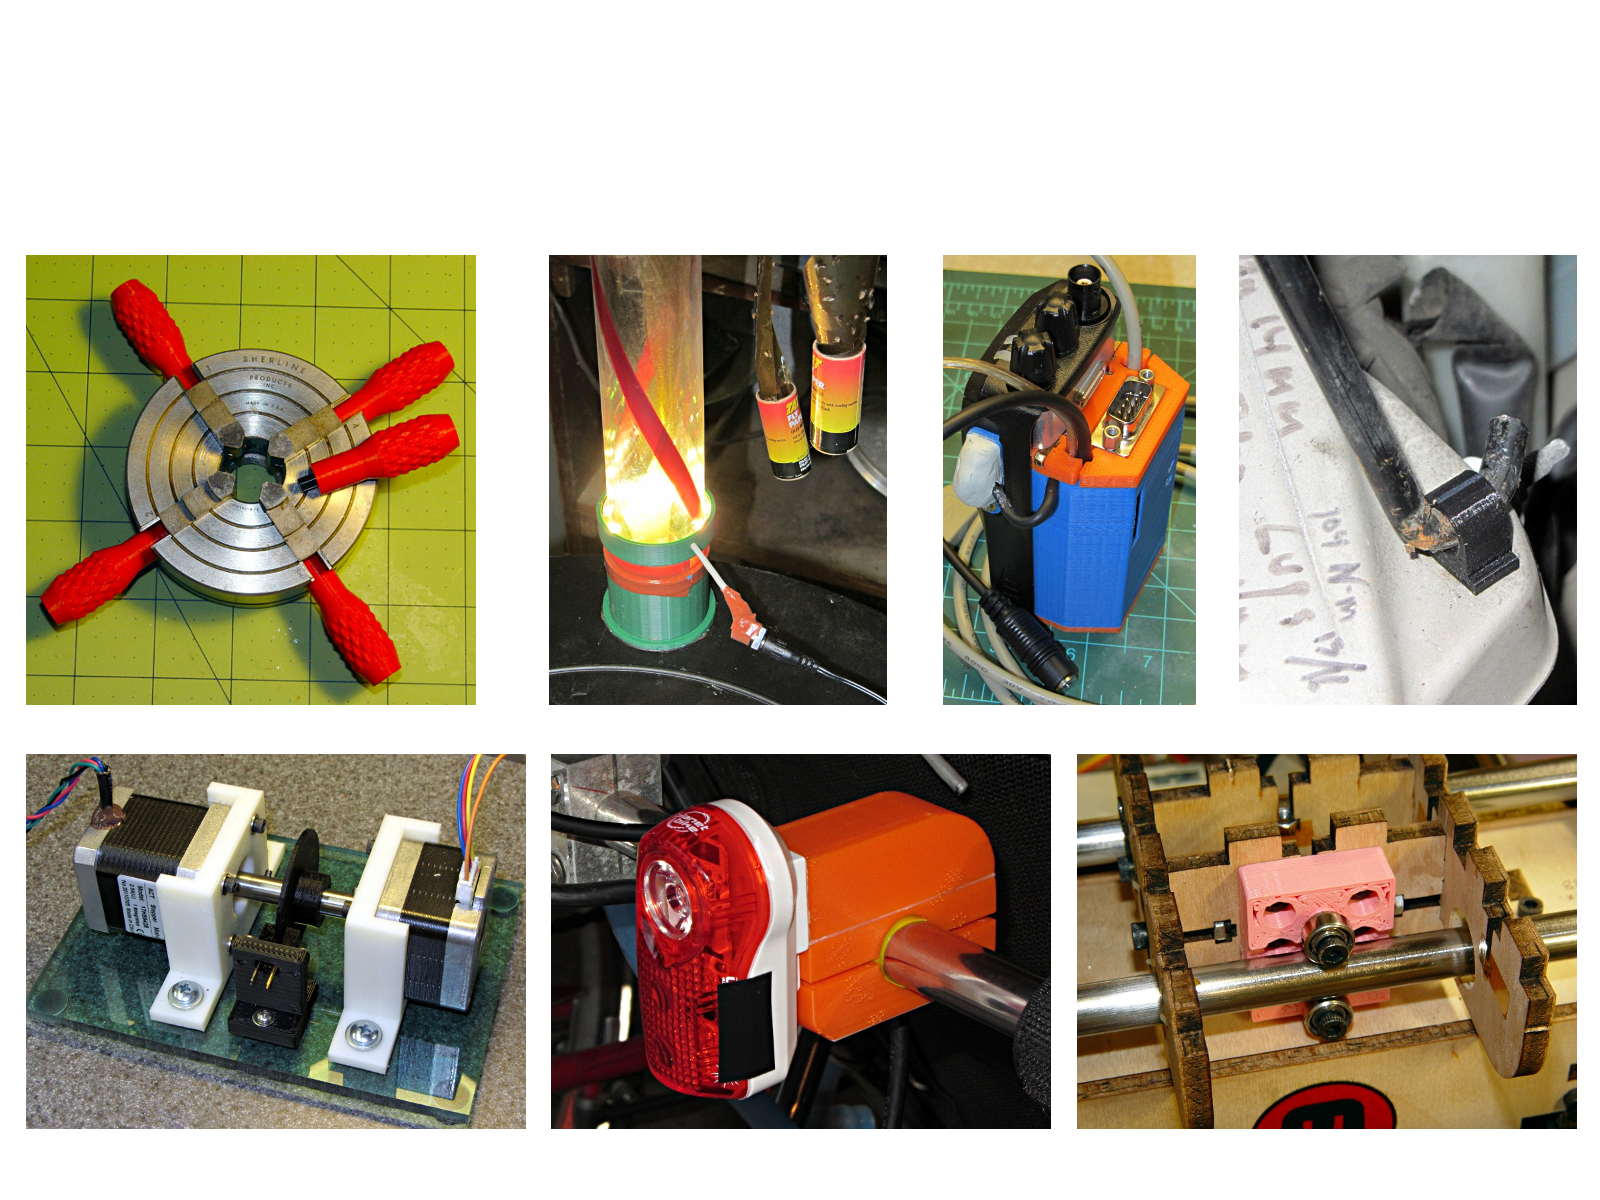
The whole reason I got a 3D printer in the first place was to make things that would otherwise be too difficult or tedious by hand or on a CNC mill. Most of the things I make look like brackets and I don’t do sculptures … this stuff solves problems!
Being able to go from “I need a part shaped like that” to holding the thing in my hand a few hours (or, for complex designs, days) later is empowering. Being able to adjust a dimension by changing the source code and “recompiling” to get a new part is wonderful.
These five slides from the presentation show my answers to the question “Why would anyone want a 3D printer?” Clicky for more dots.
Things I Designed – 1Things I Designed – 2Things I Designed – 3Things I Designed – 4Things I Designed – 5
Herewith, the MHVLUG – 3D Printing Status 2104 slides (remember slides?) I’ll be using for my talk this evening at the MHVLUG meeting; you don’t get the audio track in the PDF, but the pictures may be informative.
If you believe everything you read, you might think personal 3D printing will go like this:
3D Printing 2014 – What They Say
But it requires entirely too much of this:
3D Printing 2014 – What They Dont Say
Personal 3D printing requires that you take full control:
3D Printing 2014 – Personal 3D Printing
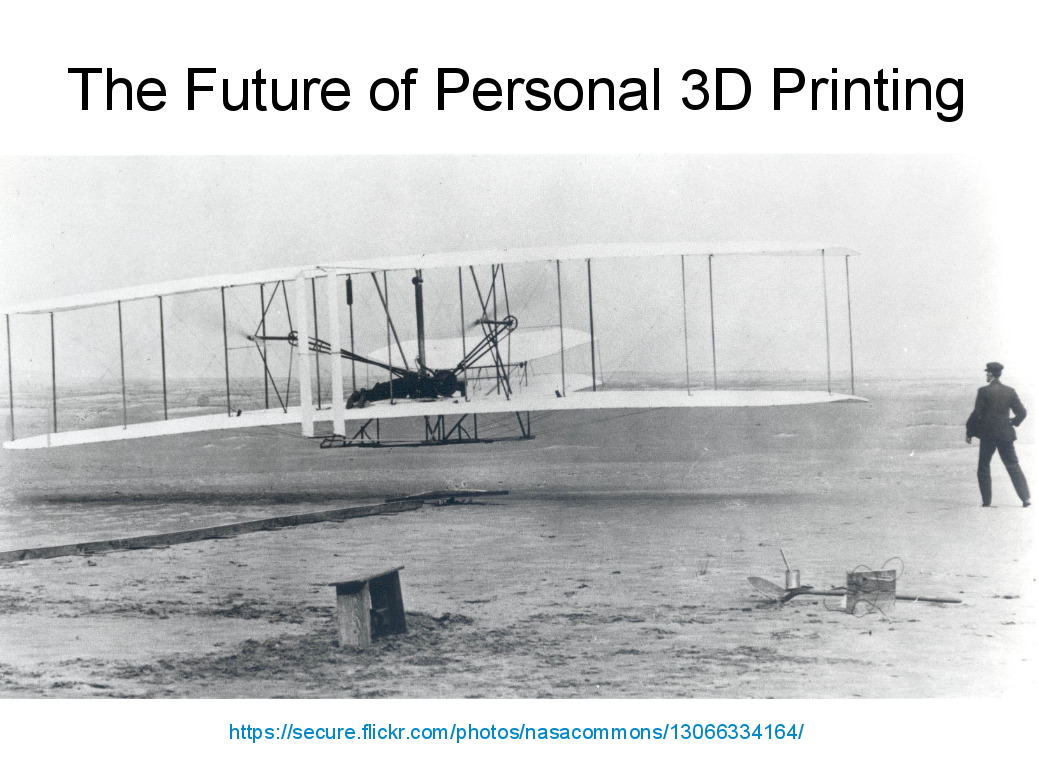
Not knowing the answers, I’ll still make some guesses about what lies ahead:
3D Printing 2014 – The Future
And I found the best tchotchkes ever:
3D Printing 2014 – Tchotchkes
See you there…
(The PDF has clickable links for those images, plus the 60-some-odd other slides. The plan: talk like an auctioneer for an hour!)
Seeing as how the Tux chocolates were produced in a facility containing a big nut, some folks may prefer an (inedible, at least by humans, but correspondingly more permanent) Tux tchotchke in PLA. I plan to have the M2 running off more of them, so there should be enough to go around.
For what it’s worth, you can actually buy a 3D chocolate printer that seems rather overpriced for what’s basically a desktop CNC gantry mill with a heated syringe. The site seems dead, so maybe other folks came to that conclusion, too.
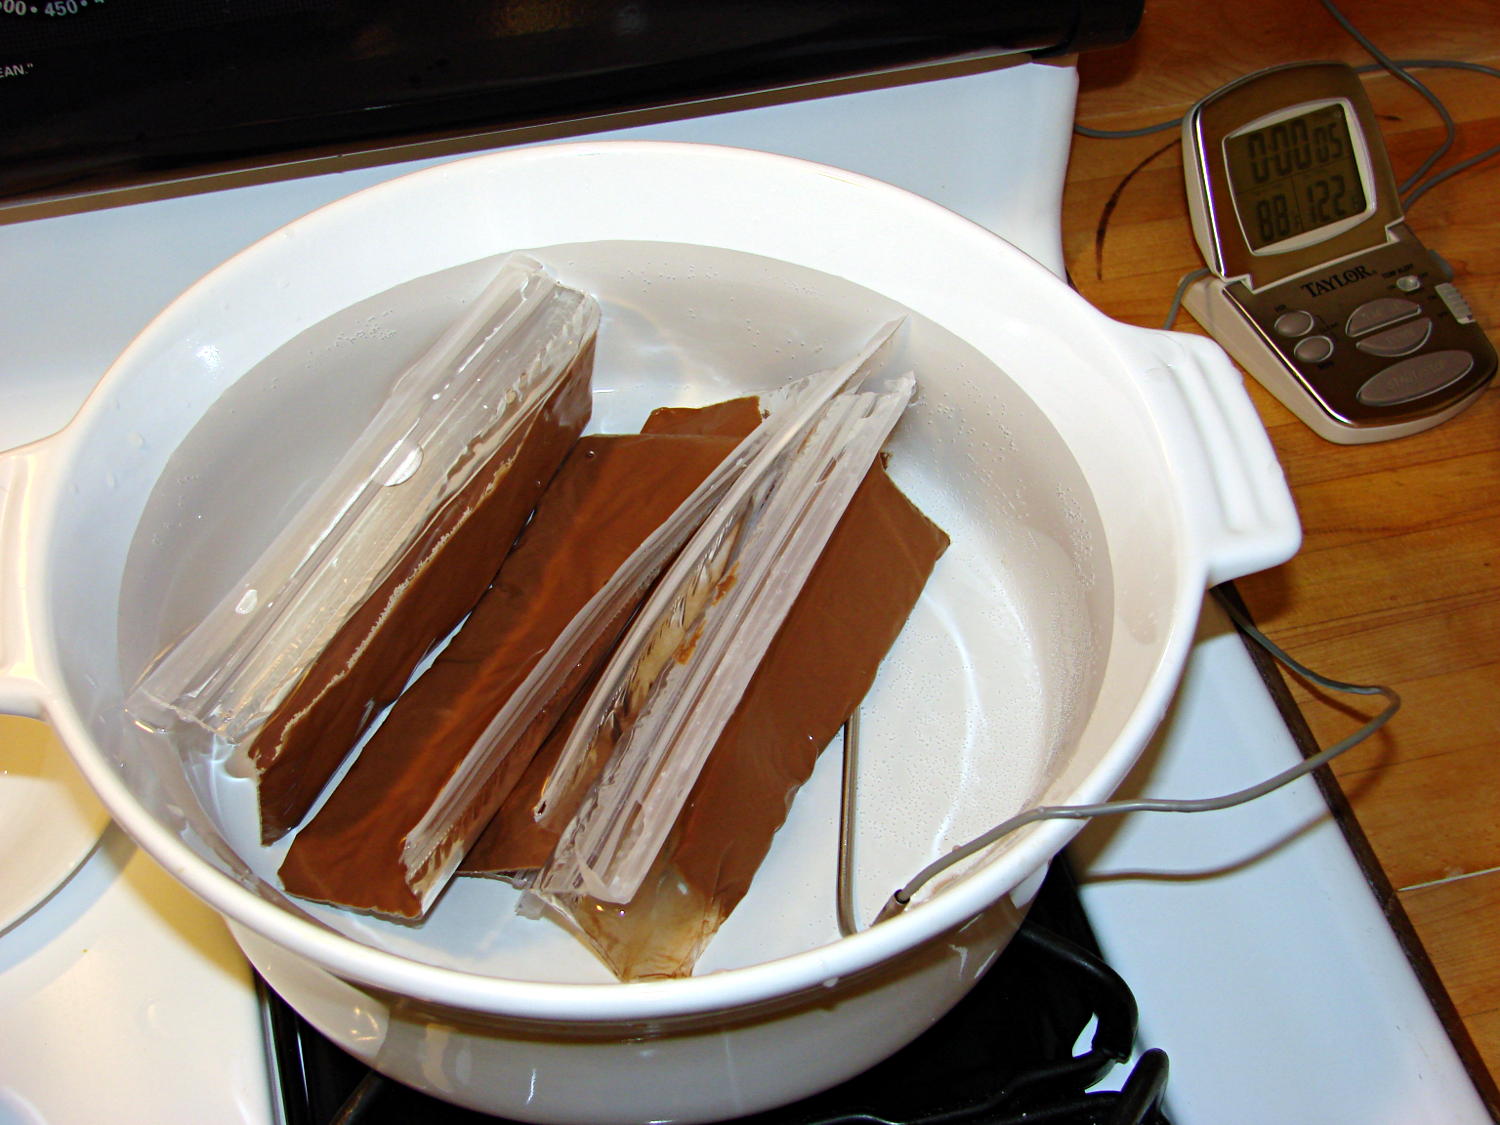
I’m producing more Tux chocolates with the 16 cavity silicone mold, so I dumped four bags (each with 50 g of chocolate chips) into a big pot of tepid water:
Milk Chocolate Bags – in Tempering Bath
I taped them closed to ensure the zip tops didn’t come unzipped while squeezing the chocolate, which worked out quite well: highly recommended.
Based on previous experience, I paid a bit more attention to the water temperature and kept it at 88±1 °F, transferring a cup or two at a time between this pot and the slightly hotter water (about 95 °F) in another pot. Although I’m sure a closed-loop sous vide bath would maintain tighter tolerances, I’m also sure that wouldn’t make any real difference in this operation.
I also wore thin white cotton gloves, in an attempt to prevent my hands from warming the chocolate above the proper temperature while squeezing the bags. That probably didn’t make any difference, because you must get pretty chummy with the bags and the gloves didn’t amount to much.
The results, just after extracting the second set of 16 chocolates (minus some, ah, shrinkage), looks pretty good:
Tux – Milk Chocolate – Batch 1
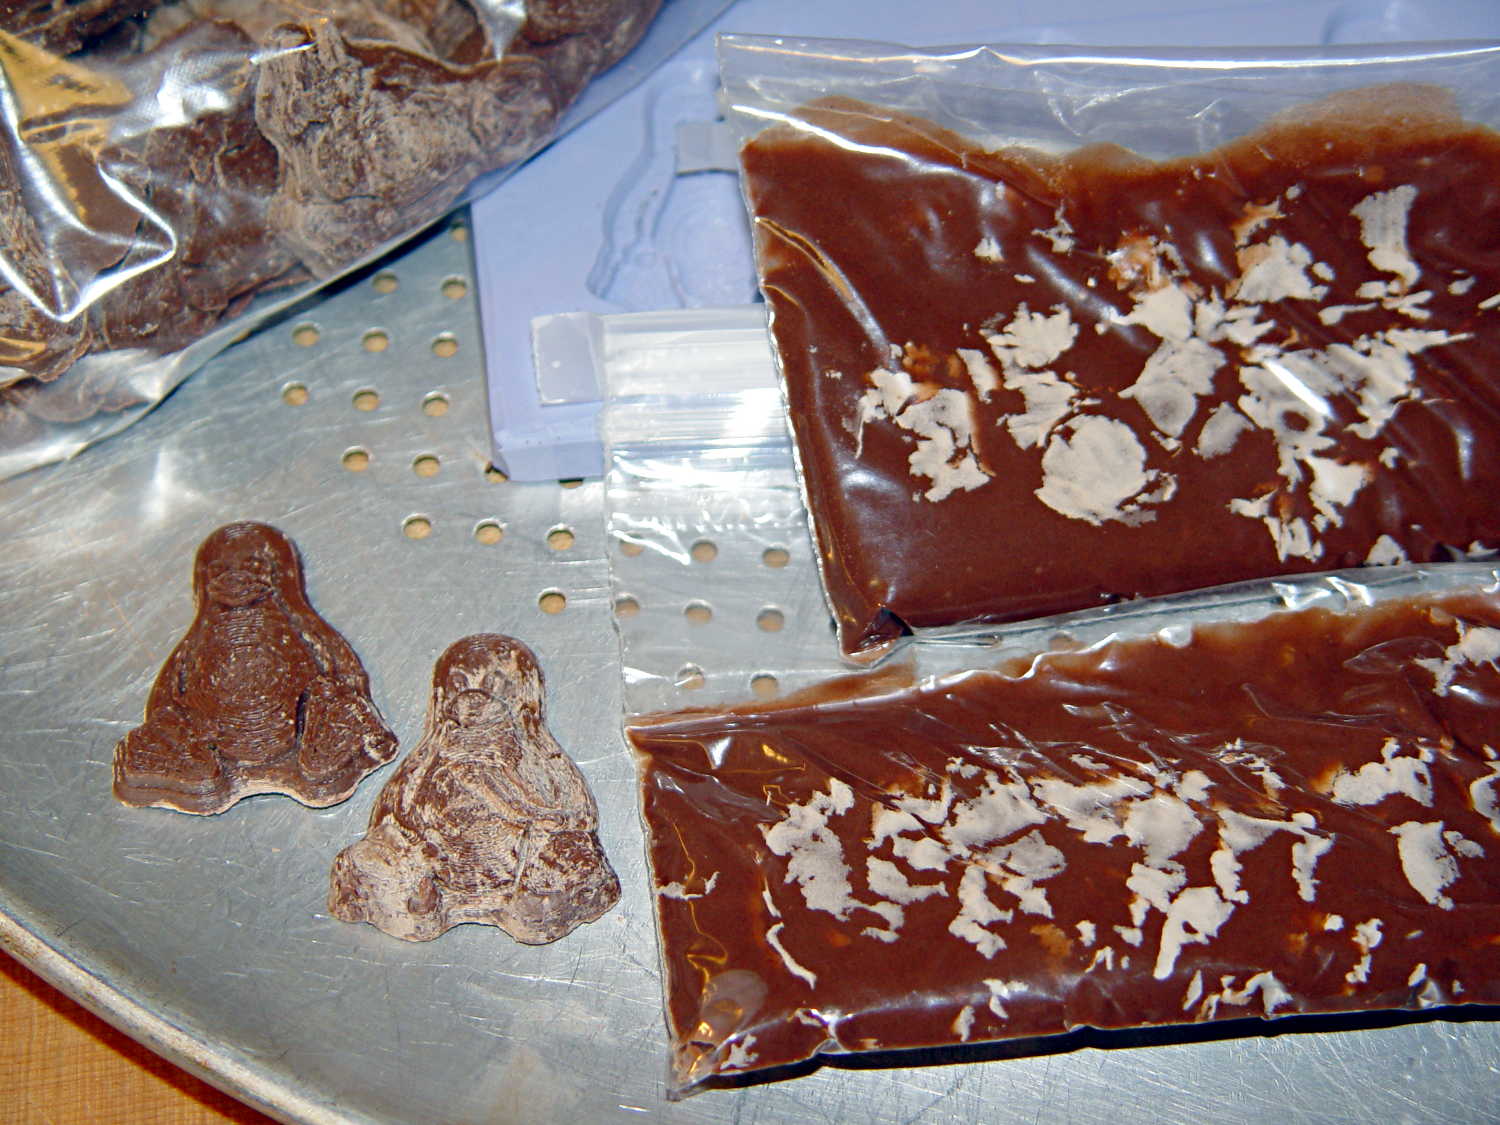
I called it quits for the evening, extracted the two unopened bags from the bath, and let them cool overnight. The next morning revealed an interesting sight:
Milk Chocolate Blooming – Tux and bags
Now, I’d kneaded all the bags to mash the melting chocolate chips together and squeeze out the air, but hadn’t done much more than that. The patches of white cocoa butter seem to correspond to individual chips within the melted mass, so it’s not entirely a temperature thing; I don’t see how to make an individual chip hotter (or colder) than everything else in the bag.
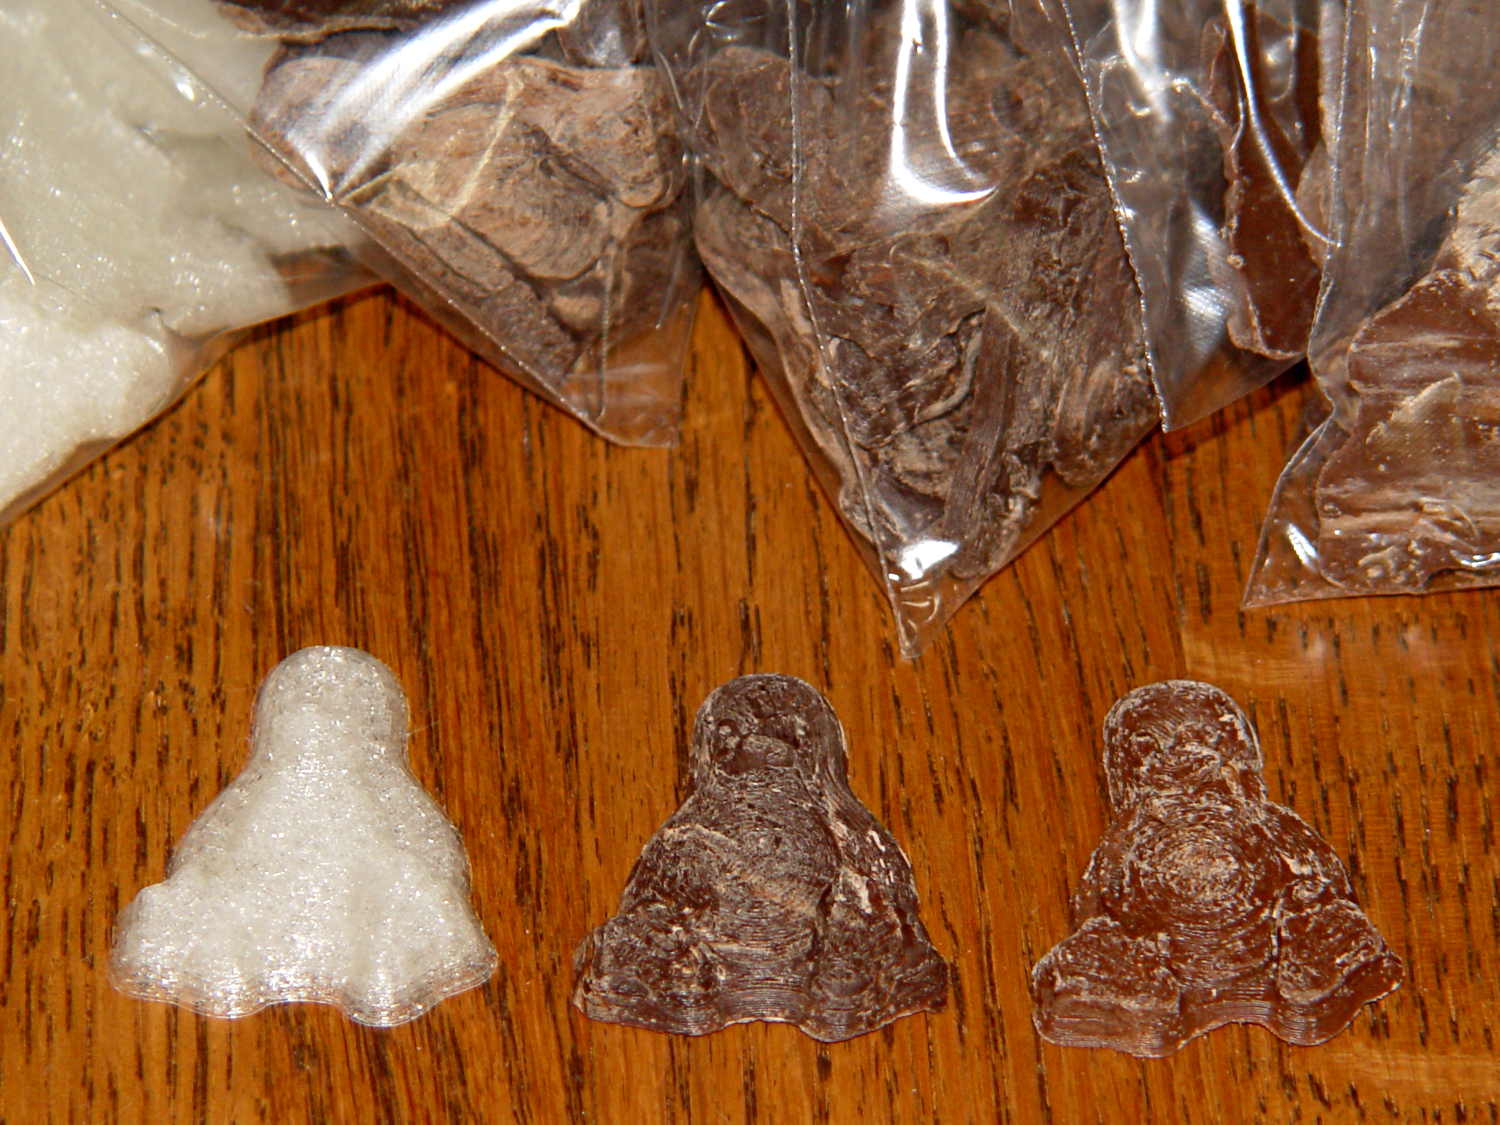
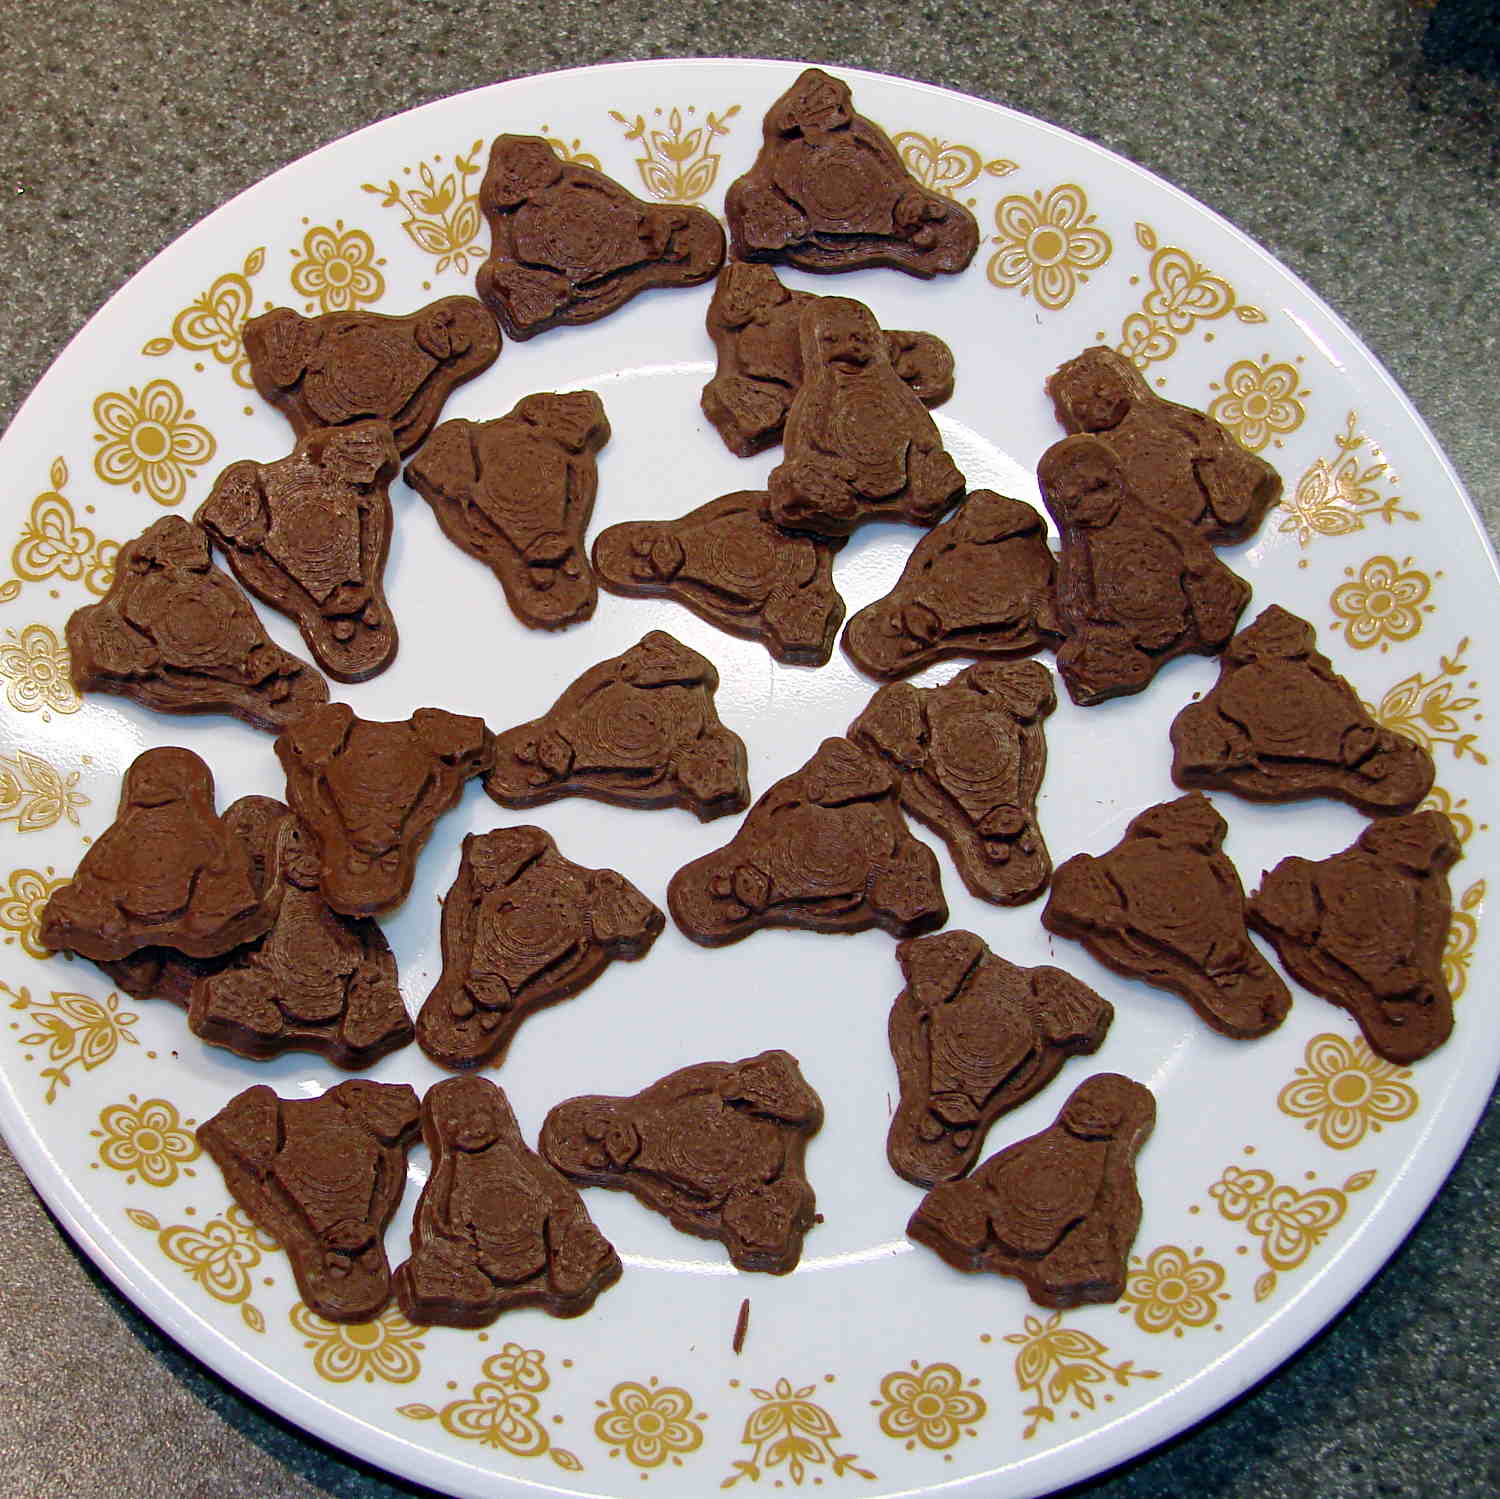
Remelting those two bags the next morning produced these Tuxen, with the very brown ones having just emerged from the mold:
Tux – Milk Chocolate – Batch 2
The proper temperature for dark chocolate is about two degrees higher than for milk chocolate, so I boosted the water bath from 88 °F to 90 °F and dropped in four bags of dark chocolate chips.
At those low temperatures, the chocolate resembles putty, rather than honey, and requires firm pressure on the bags. I think the close contact with my fingers, even with gloves, raises the temperature too much; the chocolate isn’t untempered (I think that’s the right word; “distempered” sounds much more ominous), but it may be more prone to blooming.
Thinking that the silicone mold might chill the chocolate too rapidly, I put a warming pad under the aluminum pizza pad, brought the silicone slab up to about 85 °F, and found that the chocolate molded much more readily. Cooling the mold to 72 °F, just over room temperature, took quite a while.
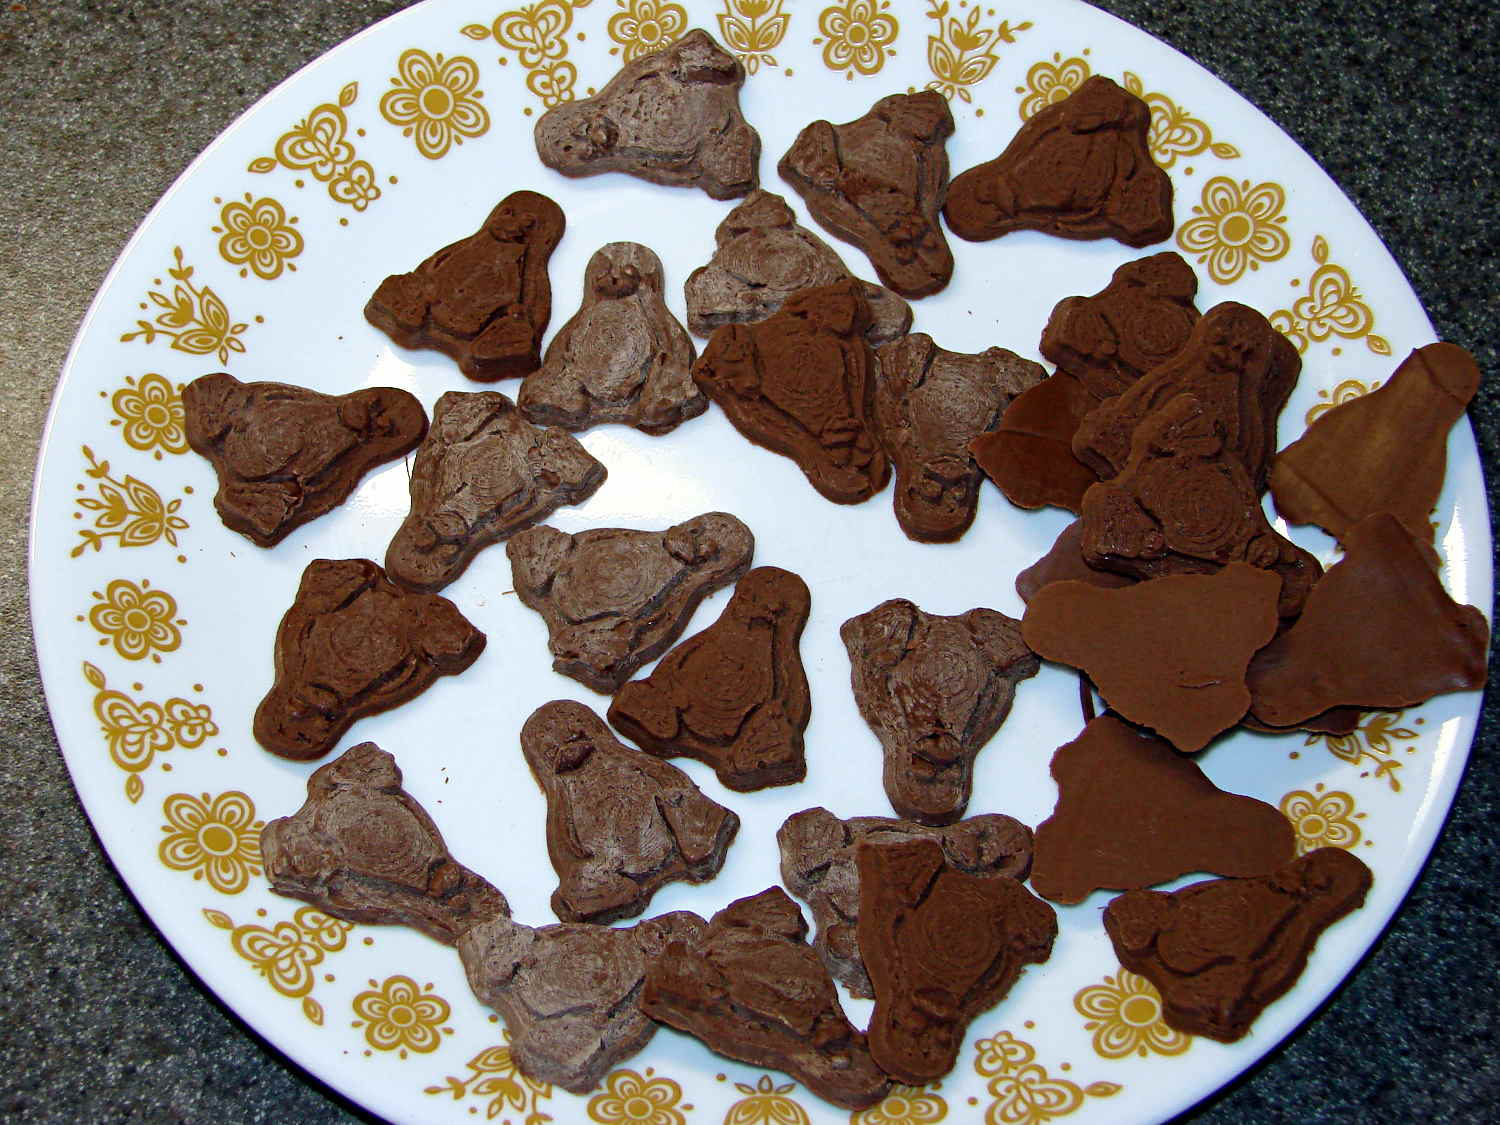
The first dark chocolate Tuxen were already blooming when the second set emerged:
Tux – Dark Chocolate – Batch 1
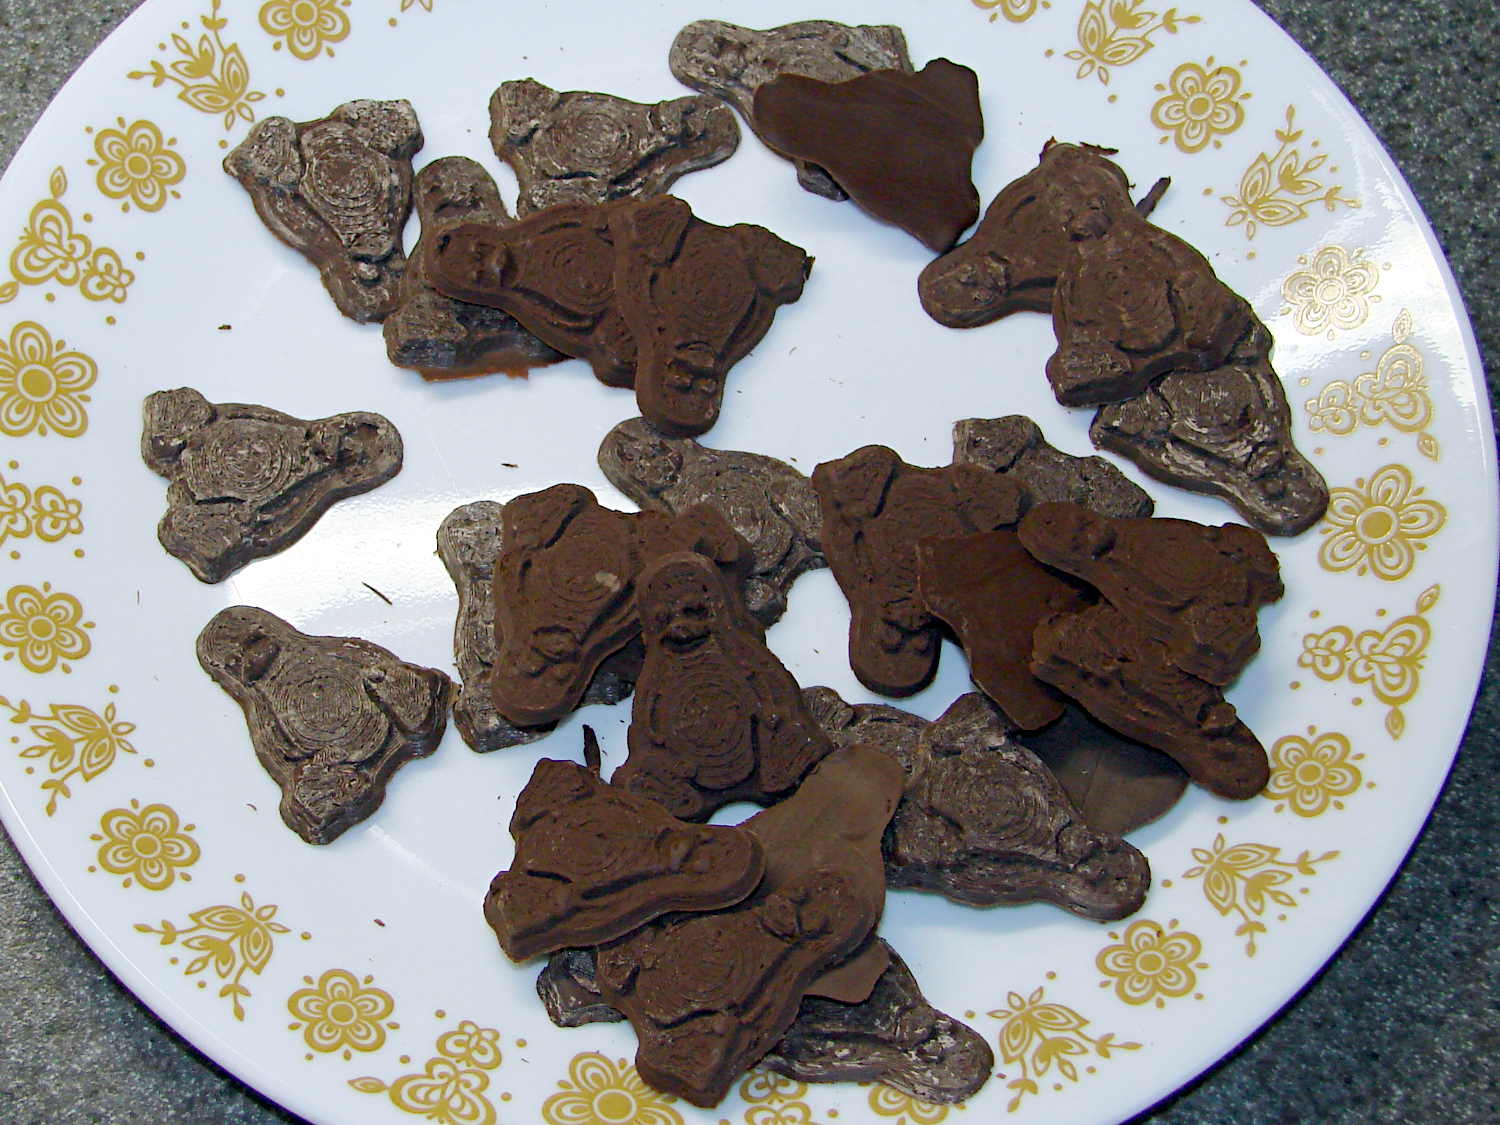
I tried cooling the mold by putting a damp towel under the pizza pan, with equivocal results: the last two sets of dark chocolate bloomed about as rapidly as the first.
It is, perhaps, significant, that the blooming seems confined to the chocolate surfaces in contact with the mold. The flat back surface of each Tux remains in good condition, which suggests that the mold temperature is more critical than I expect.
So my process, such as it is, doesn’t produce good results. Obviously, I need more practice…