Ed Nisley's Blog: Shop notes, electronics, firmware, machinery, 3D printing, laser cuttery, and curiosities. Contents: 100% human thinking, 0% AI slop.
While packing the vacuum tube LEDs for the HV Open Mad Science Fair, I noticed the knockoff Arduino Nano inside one had come unstuck from the base. It seems the double-stick foam tape I’d used had lost its sticky:
Vacuum Tube LEDs – unstuck foam tape
Replacing it with my now-standard black 3M outdoor rated tape ought to solve the problem forever more.
For whatever it’s worth, the SK6812 RGBW LEDs have had exactly zero failures in the last two years or so; I finally turned off the test fixture.
Before reassembling the light, I plugged the USB cable into the bench supply and watched the Nano reset erratically. Careful poking showed the USB cable was intermittent, so I carved it up:
Failed USB cable – autopsy
As far as I can tell, the black wire (supply common) was cut mostly all the way through, with just a few strands remaining, before I peeled the insulation back.
A closer look at the solder joints doesn’t inspire much confidence in their QC:
Failed USB cable – solder joints
If those pads tarnished along with their solder blobs, the overmolded plastic isn’t the right stuff for the job. If they started life like that … ick.
I must up my cable spend, although I have no confidence doing so will improve the quality.
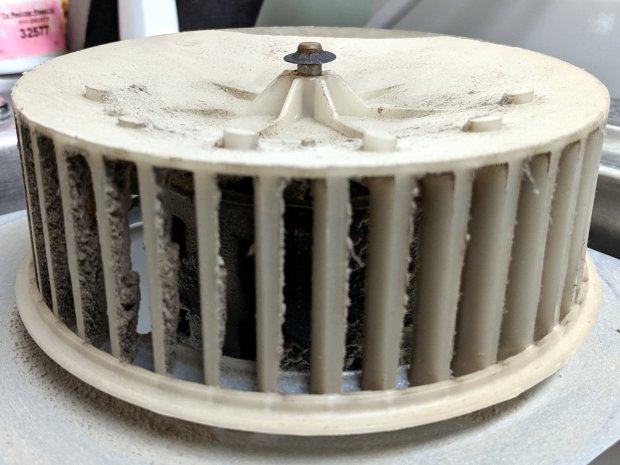
The NuTone 8663RP (for future reference) vent fan in the Black Bathroom began making horrible grinding sounds and, after a day or two, stopped turning. Pulling it out showed the impeller had slipped downward on the motor shaft:
Bath Vent Fan – impeller shift
Which meant the impeller was now resting on the steel frame:
Bath Vent Fan – impeller interference
Curiously, there’s no retainer under the impeller preventing it from sliding downward, other than good intentions and a friction fit. Nothing lasts, although it’s been working for the last two decades, so I guess it doesn’t owe me much.
My first thought was to build a steel or aluminum collar with a setscrew to hold the thing up, but I decided to try a simple bushing made of UHMW polyethylene between the motor and the impeller.
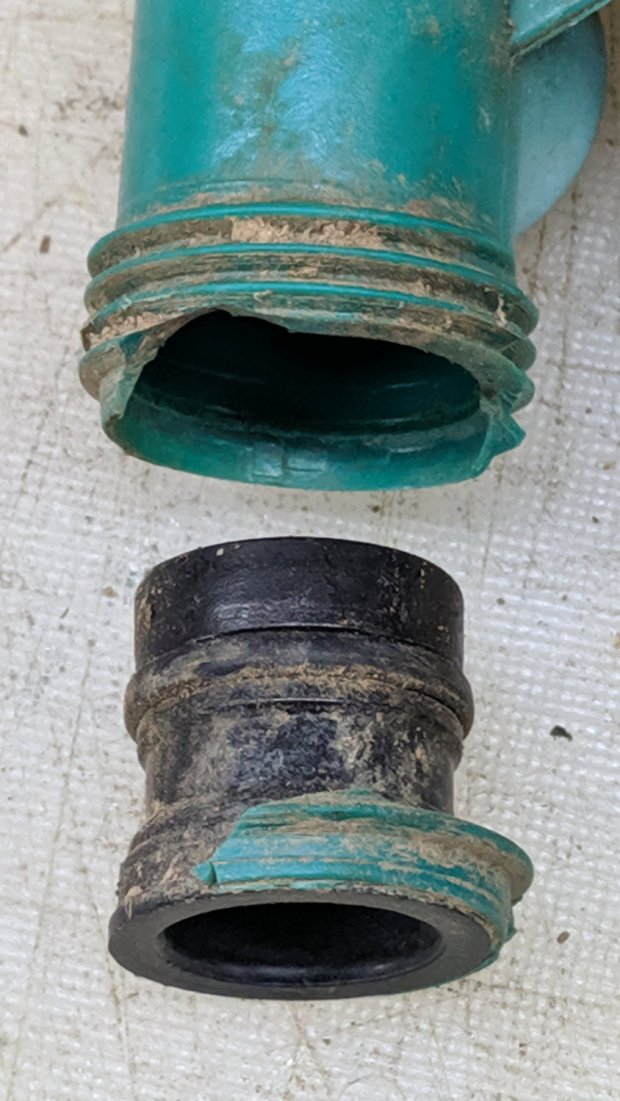
Turning it to the proper length required a test fit, then another session on a mandrel made from some aluminum tubing:
Bath Vent Fan – bushing trim
The snout came out just long enough to clear the motor frame, resting the impeller’s weight atop the bearing around the shaft:
Bath Vent Fan – bushing installation
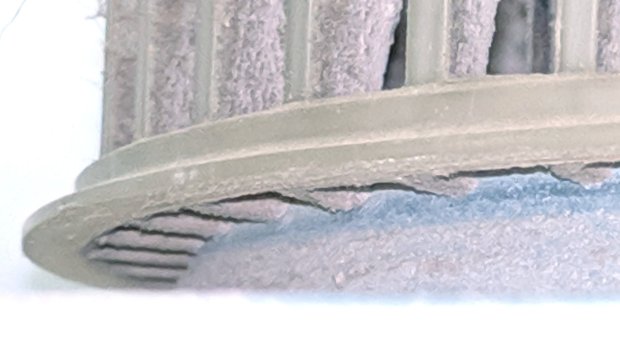
It’s hard to see between the impeller blades, but there’s actually a bit of clearance underneath:
Bath Vent Fan – bushing installed
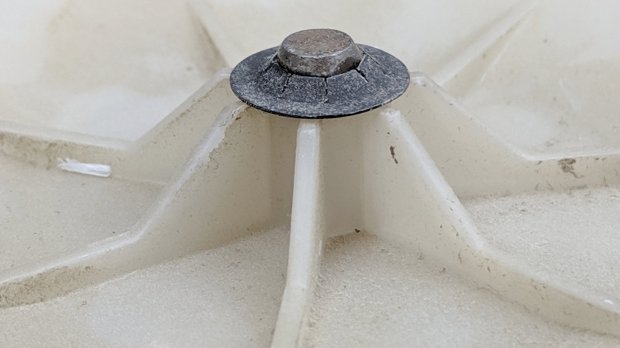
Which left just barely enough room on the top for the retaining clip:
Bath Vent Fan – shaft clip – detail
I had high hopes for the UHMW, but it seems any contact between the rotating impeller and the stationary bearing transmits enough sound to be annoying.
So I must break down and build a collar, although it’s off the critical path right now.
As far as I can tell from the pictures, dropping $50 on a new fan unit will get me exactly the same problem. Whether it would last for two decades before failing is an open question, but my experience with freezer fans suggests what we have is as good as it gets and making a bushing is the least-awful way to proceed.
After five years, I figured it’d be a Good Idea™ to replace the Forester’s wiper blades. Being in the Walmart at the time, I tried to use their helpful Wiper Selector gadget:
Walmart Wiper Selector
You’d think whoever is responsible for updating / replacing such things would have done so several times during the last eight years.
Well, all I can say is it seemed like a good idea at the time.
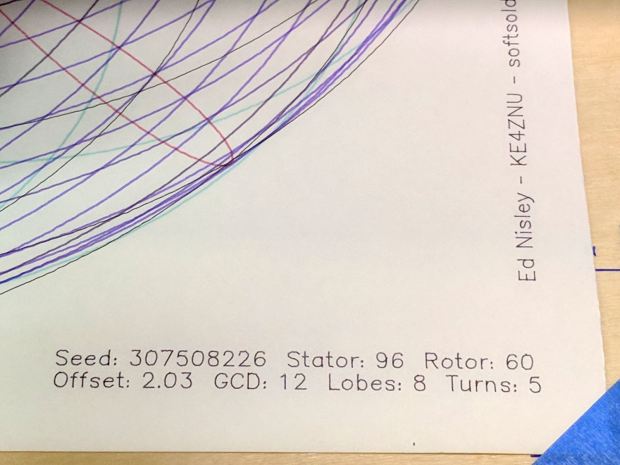
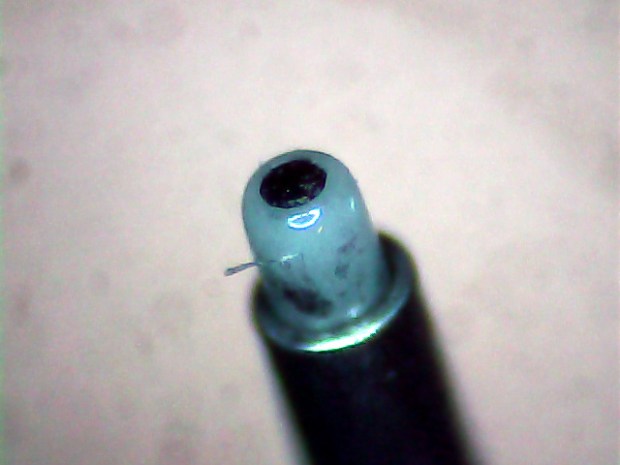
Alas, even the newly exposed fiber didn’t make much of a mark on the paper and, as you’d expect, the ragged ceramic tip dragged painfully across the paper. I assume the fiber had filled with fossilized dry ink.
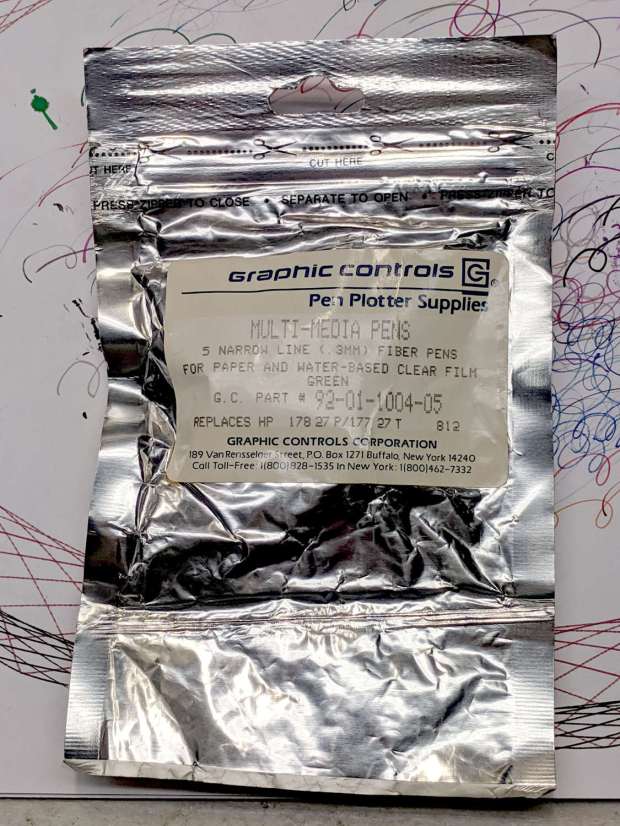
A New Old Stock bag of fiber-tip pens emerged from the Big Box o’ Pens while I was flailing around:
HP 7475A Plotter – NOS Green pen package
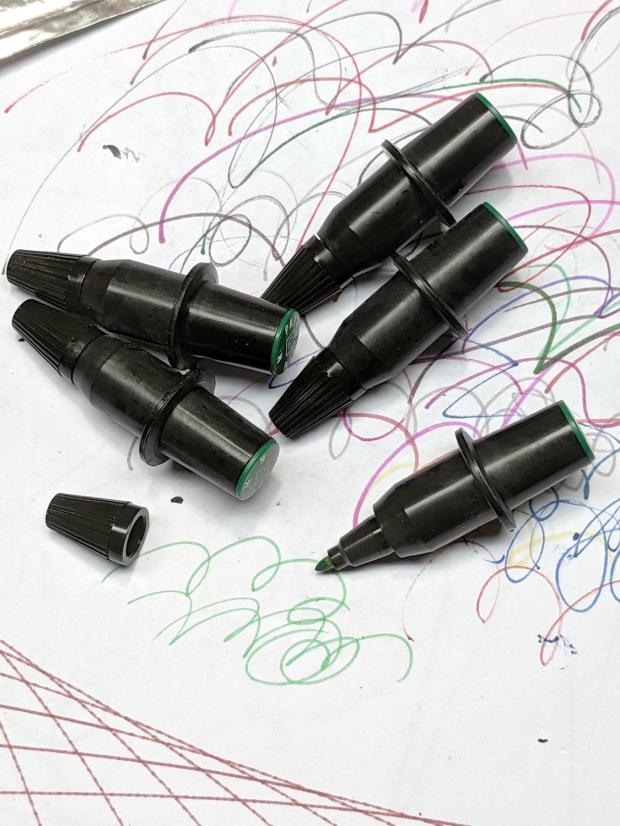
I think the “812” in the lower right corner is a date code, most likely early in 1988, so the pens started their lifetime countdown at least three decades ago. They still work, though:
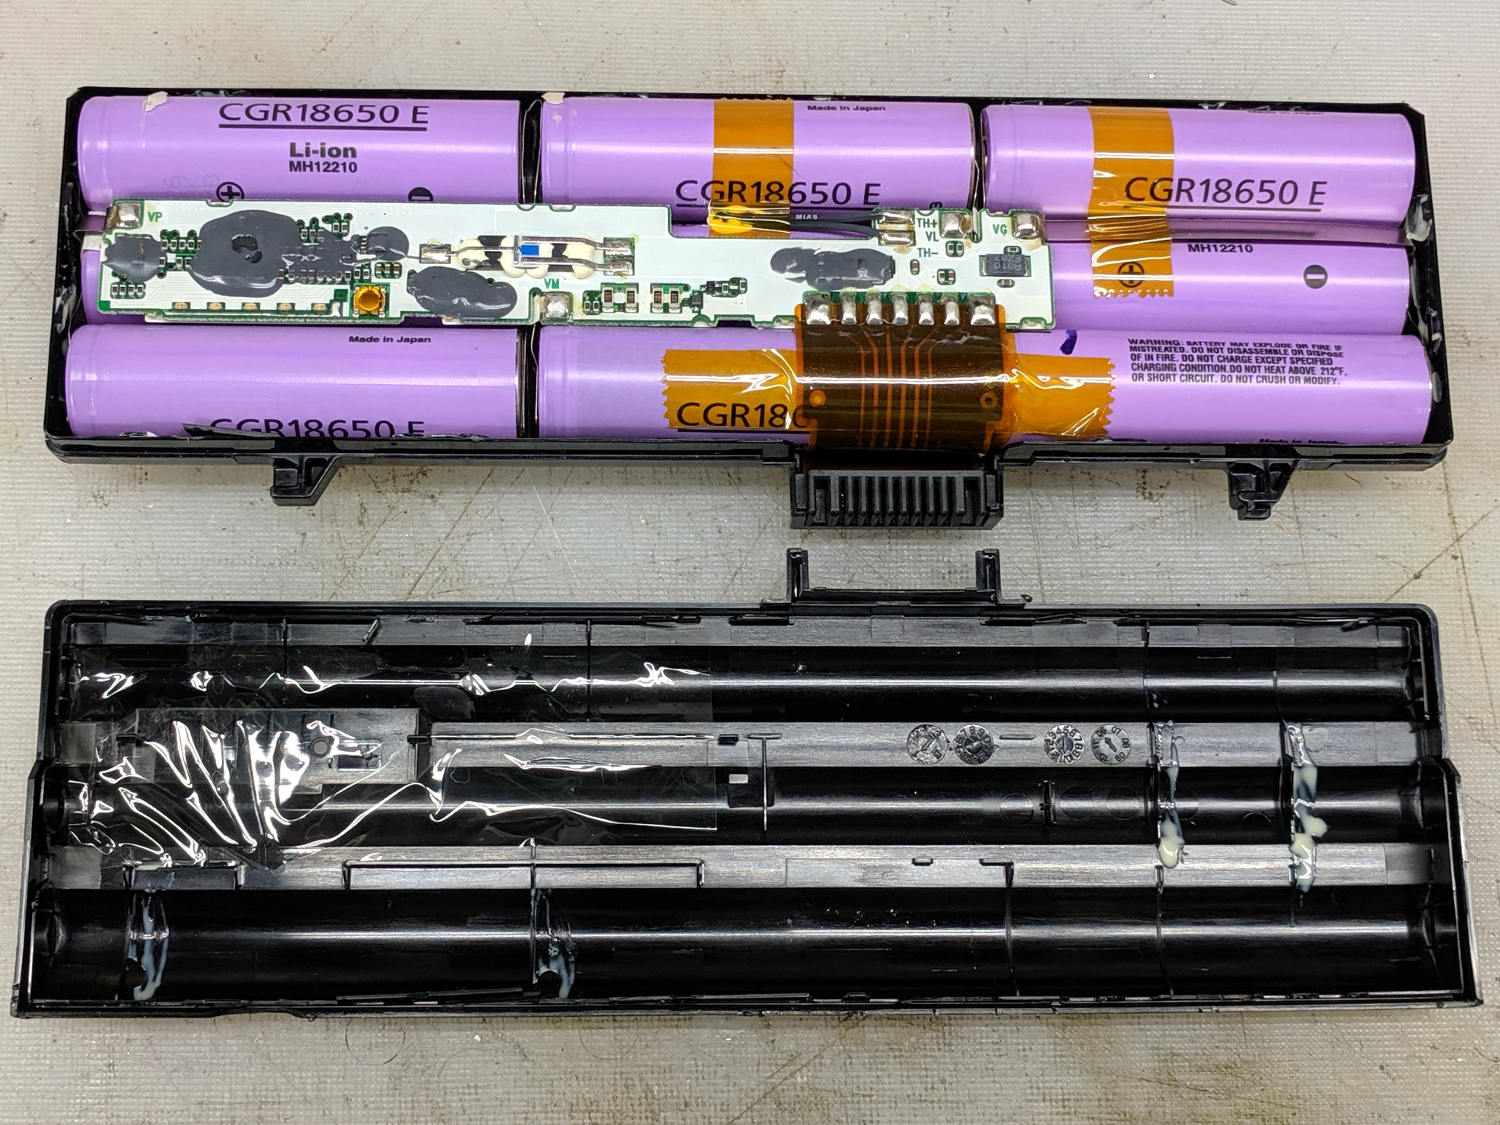
The battery pack on my ancient Dell E1405 laptop finally died, so I tore it apart to see what horrors might lurk within:
Dell UG679 Lithium Battery – teardown
The case snaps apart without too much effort, although the delicate single-use latches won’t survive the operation. These certainly didn’t, which didn’t bother me at all, as I already had a replacement battery on order.
One of the cells (in the front) seems to have leaked ever so slightly inside its wrapper:
Dell UG679 Lithium Battery – leaky cell
The three cells in that 3P section seem to have failed open: they pass no current at all.
The other pair of 3P slices, charged at 4.2 V with a 700 mA current limit until the current dropped under 10 mA, still have some life:
Dell UG679 3P sections
Perhaps recycling individual cells into LED glowies would be nice, as they have enough capacity remaining to run an Arduino for quite a while, and a 1S USB charger would make for a self-contained package.
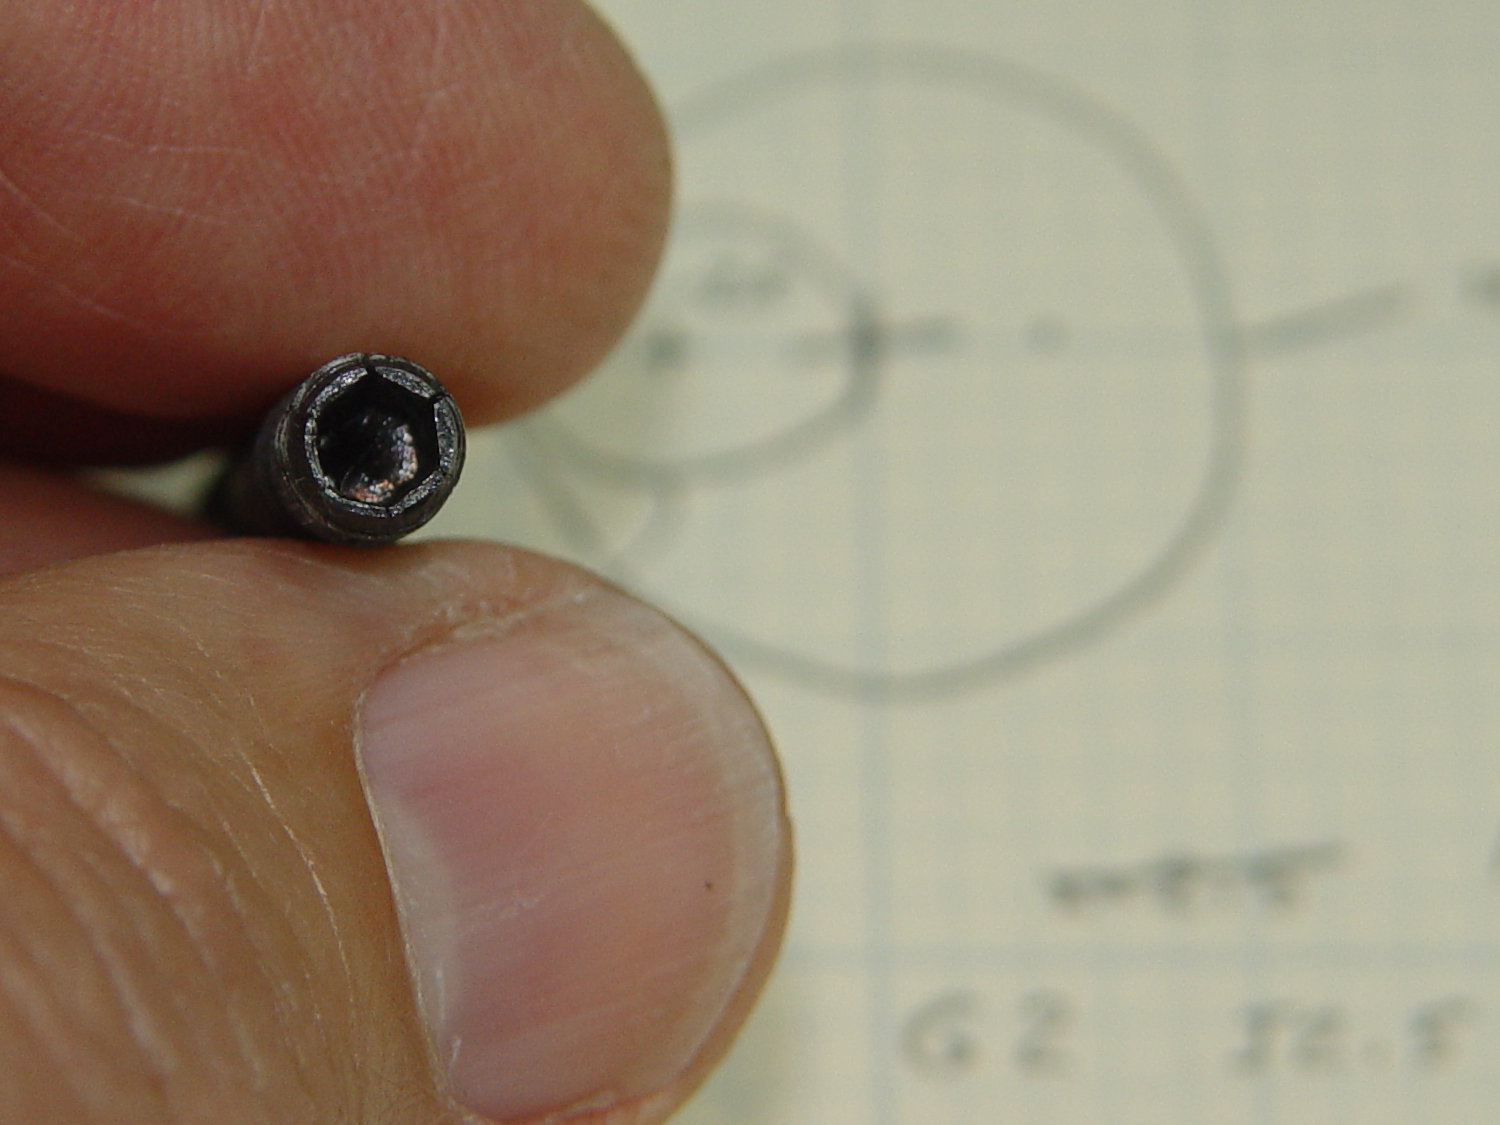
The clamp tightening screw is made from butter-soft Chinese steel with a swaged hex socket. As you’d expect, the hex wrench eventually (as in, after a few dozen adjustments, tops) rips the guts right out of the socket.
The screw has a M6×1.0 mm threads, but the thread around the hex recess is left-handed. While I could, in principle, print a 127 tooth change gear, rebuild the lathe’s banjo to accommodate it, then single-point a backassward M6 thread, it’s easier to just use a standard socket head cap screw:
Lathe Cutoff Tool – rebuilt screw
The clamp screw passes through the block at an angle:
Lathe Cutoff Tool – blade view
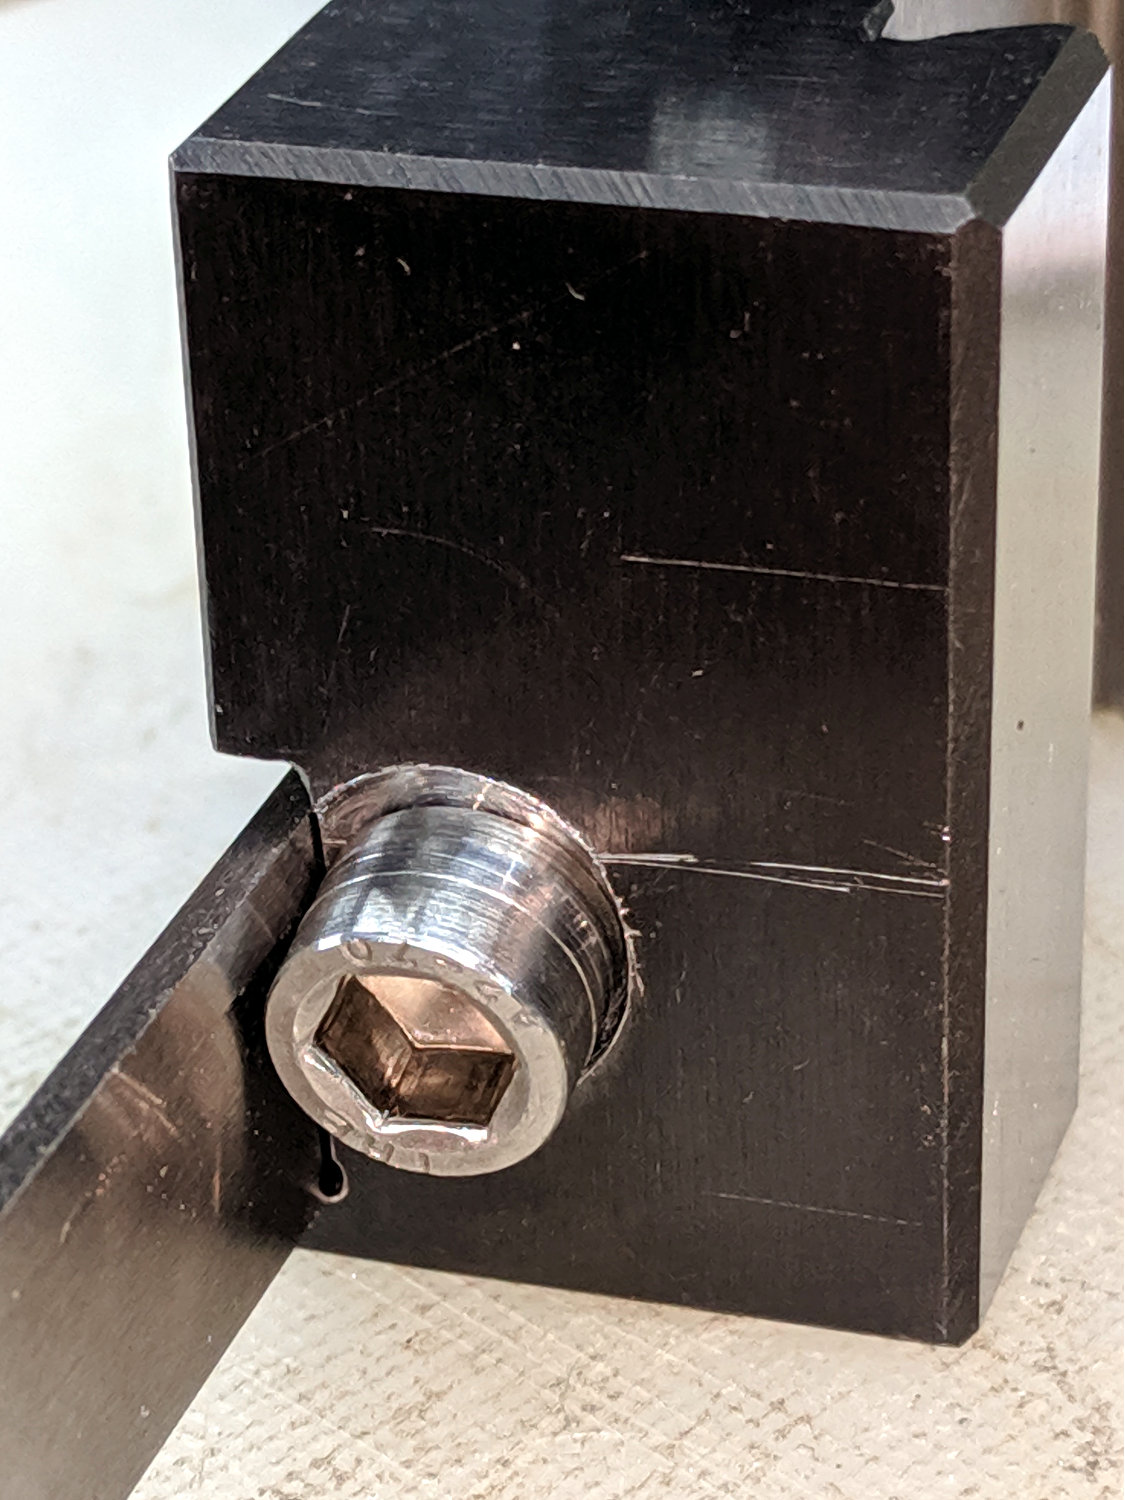
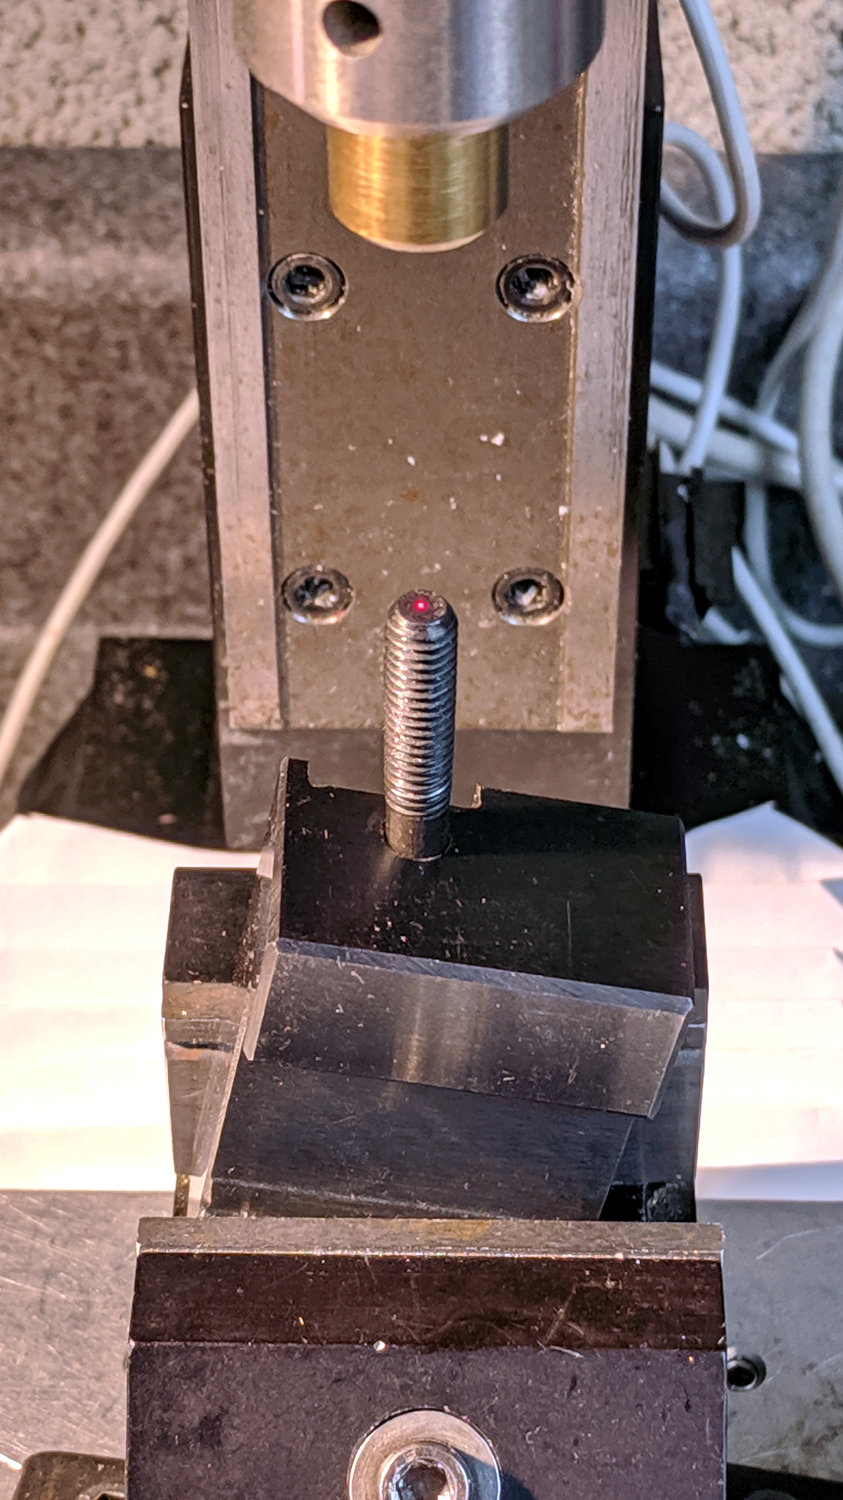
Fortunately, the screw is perpendicular to the angled side over on the left, making it easy to clamp in the Sherline’s vise:
Lathe Cutoff Tool – aligning to screw
Using the laser aligner seemed like a good idea at the time, but the top of the screw wasn’t particularly well-centered on the hole’s axis. I couldn’t screw the left-hand part (with the socket) in from the bottom and center the block near its surface, because then I couldn’t extract the screw before proceeding.
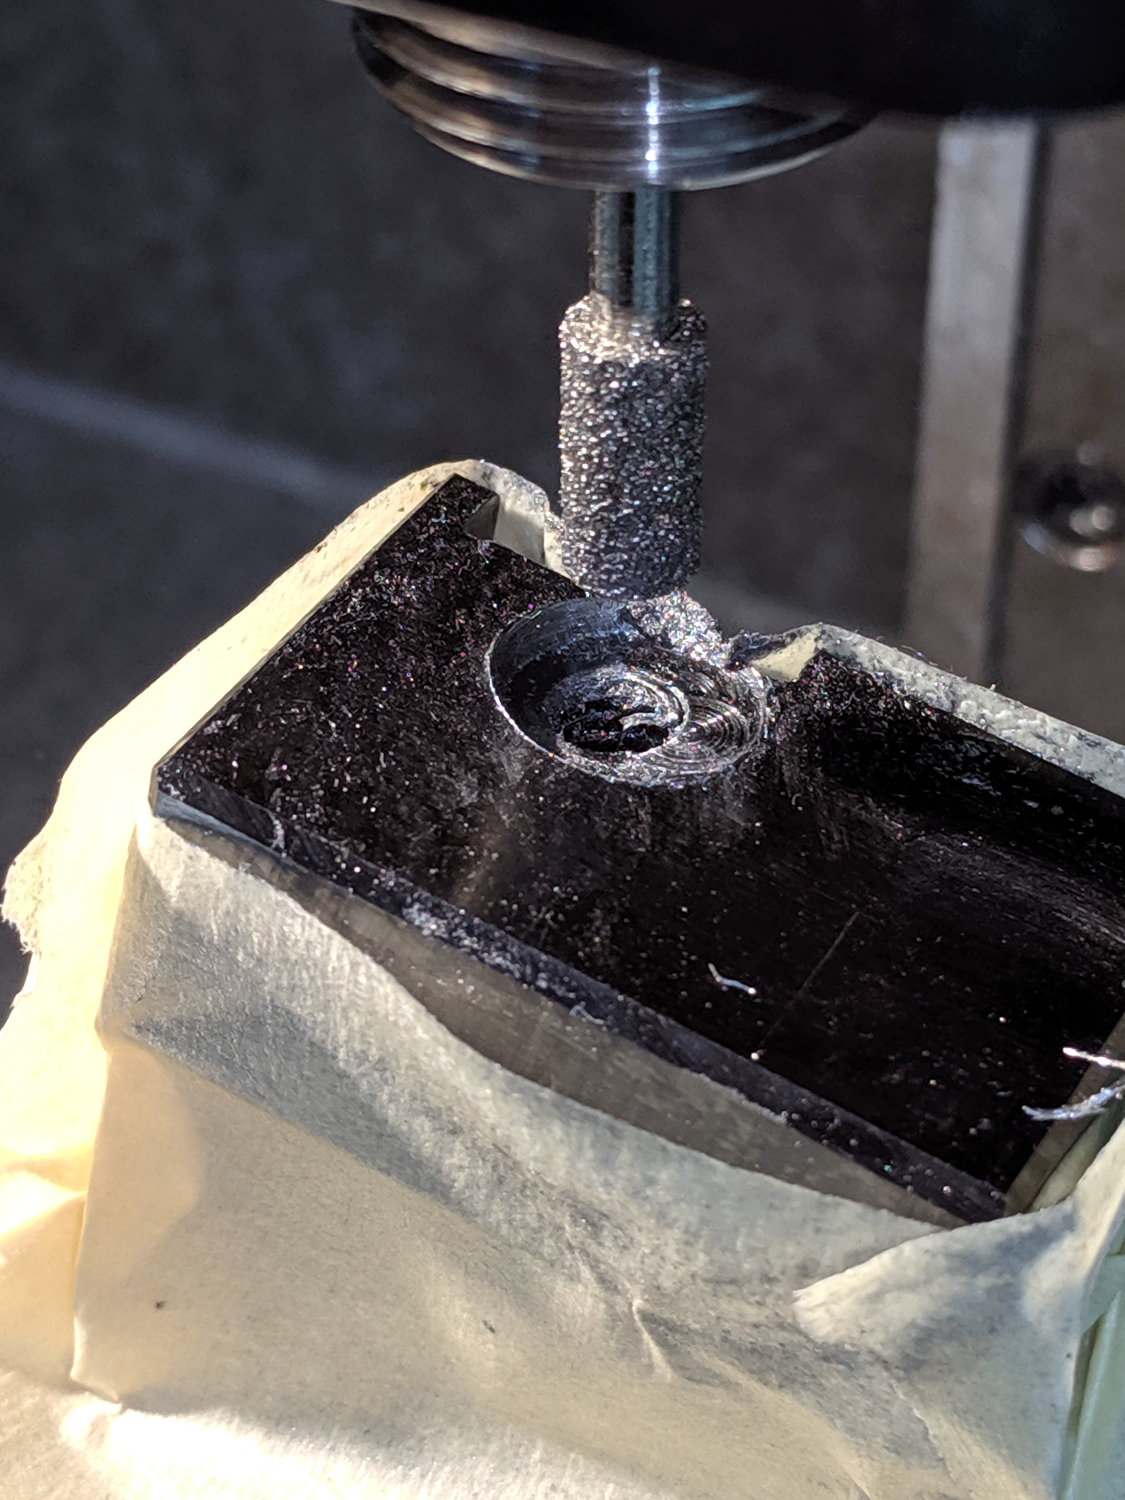
I used a diamond burr to grind out a flat for the screw head:
Lathe Cutoff Tool – clearing screw recess
The flat came from about twenty manual G2 I-2.5 full-circle passes, stepping down through the hard steel block 0.1 mm per pass, at a too-slow 4000 RPM and a too-fast 30 mm/min feed, with plenty of water squirted from one side into a shop vac snout on the other. The doodle in the background of the first picture shows a first pass at the layout, with the burr centered at X=-2.5; I actually did the grinding from X=+2.5 so most of the passes started in thin air.
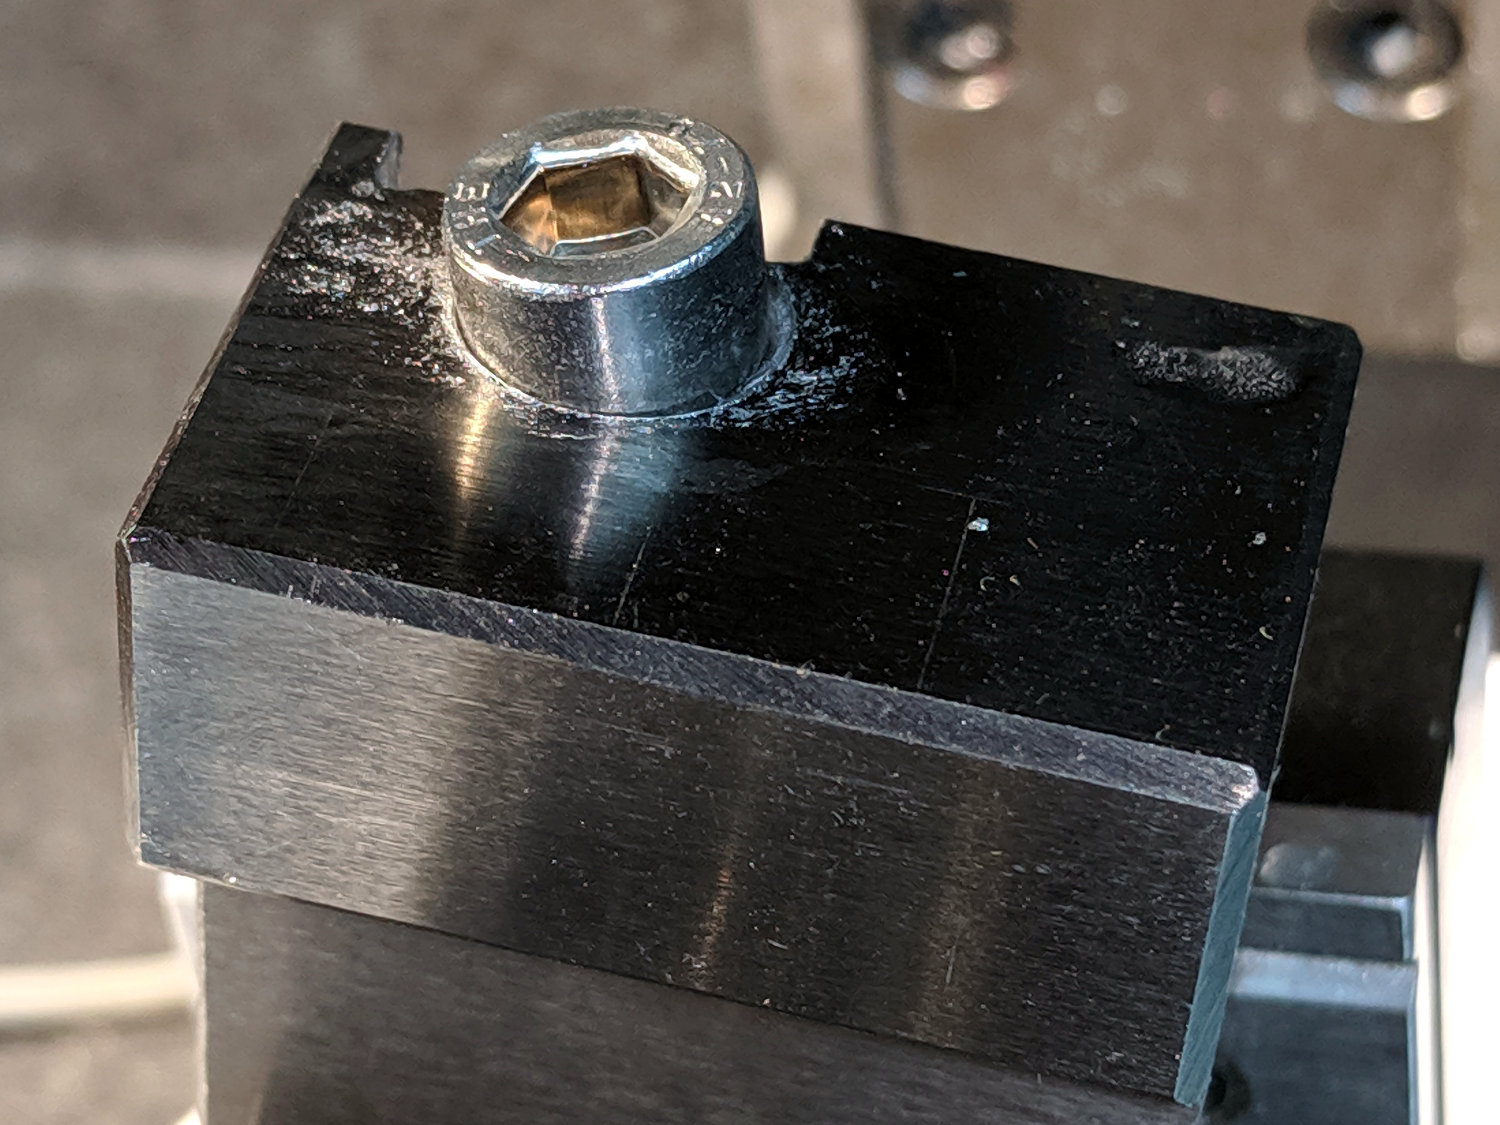
The screw head started just shy of 10 mm OD and the burr just over 5.2 mm, so the ensuing 5 mm circles created a flat barely large enough. If the flat were perfectly centered on the screw axis, I wouldn’t have had to grind out another millimeter on the left side (toward the bottom of the tool holder body), but it worked out OK:
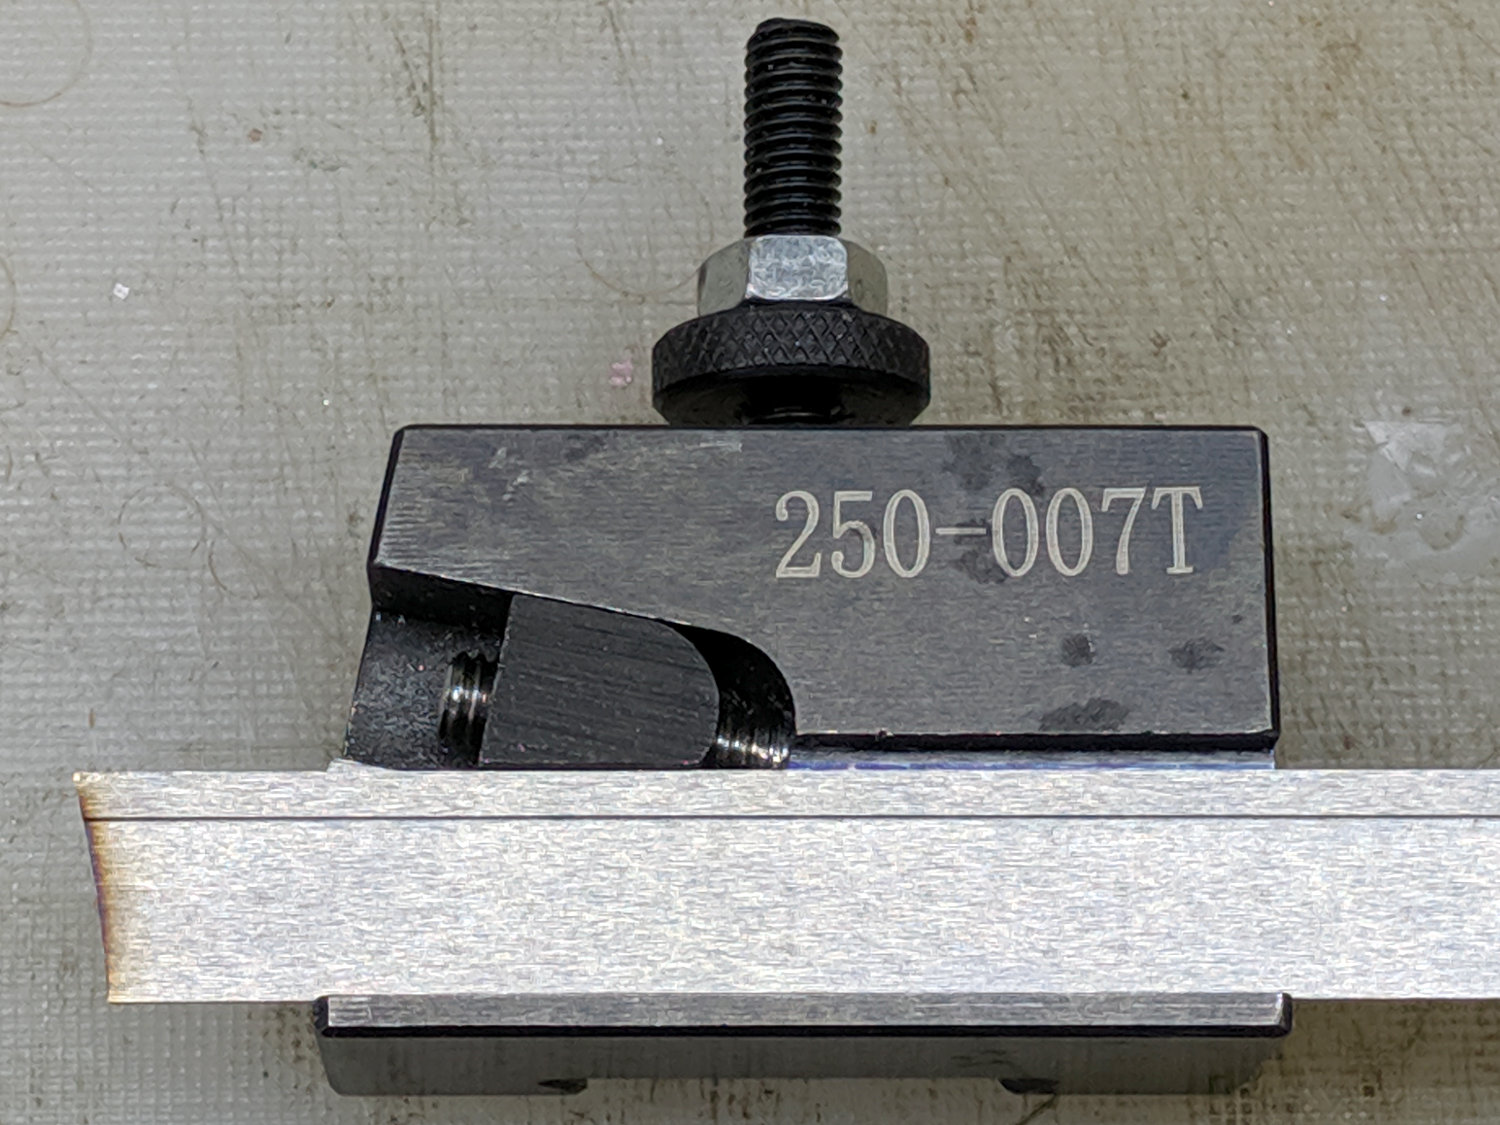
Lathe Cutoff Tool – 6 mm SHCS test fit
The trial fitting also showed the head stuck out ever so slightly beyond the far side of the block, where it would interfere with the blade, so I turned off 0.4 mm off its OD.
If I had a 50 mm SHCS in hand, I’d have used it. Instead, I extended the threads of a 75 mm screw, then lopped off the end to the proper length. I’ll spare you the ordeal, including the moment when I reached for the cutoff tool to shorten the screw. A bag of such screws will arrive shortly, in preparation for future need.
Now the [deleted] cut-off holder works the way it should have from the beginning.