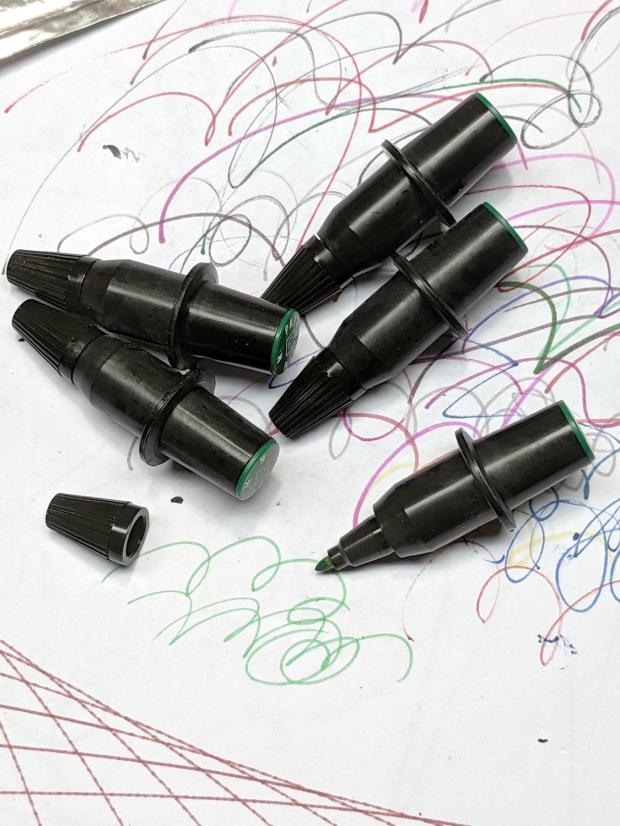
I got an email asking how the Kenmore Model 158 sewing machine’s foot pedal pivots worked. The notes on rebuilding the carbon disk rheostat and conjuring a Hall effect sensor show the innards, but here’s what you need to know to get there.
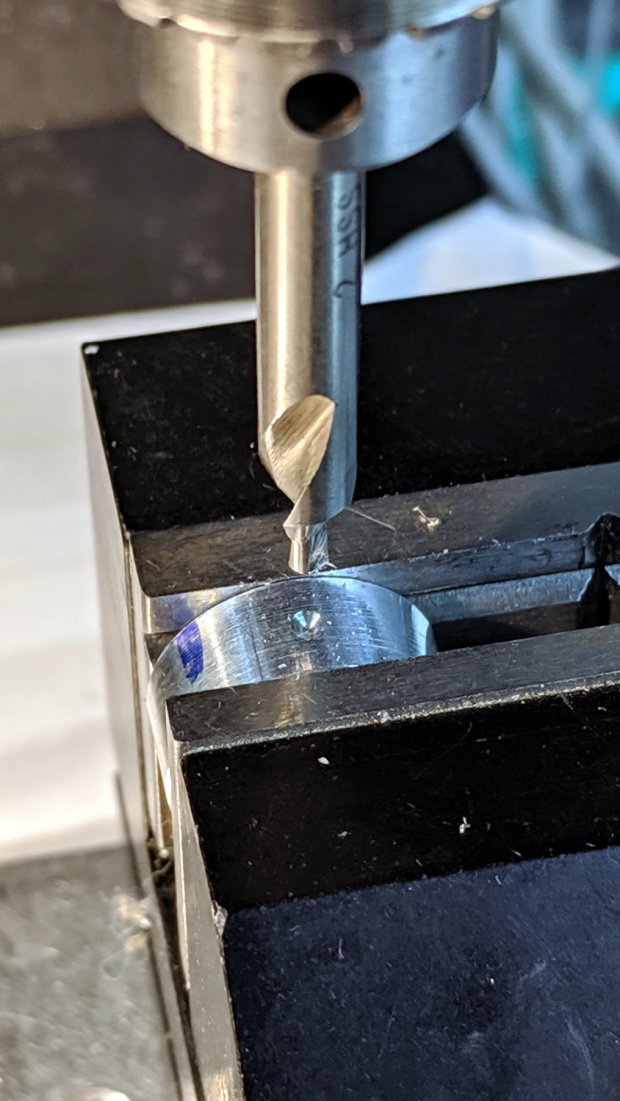
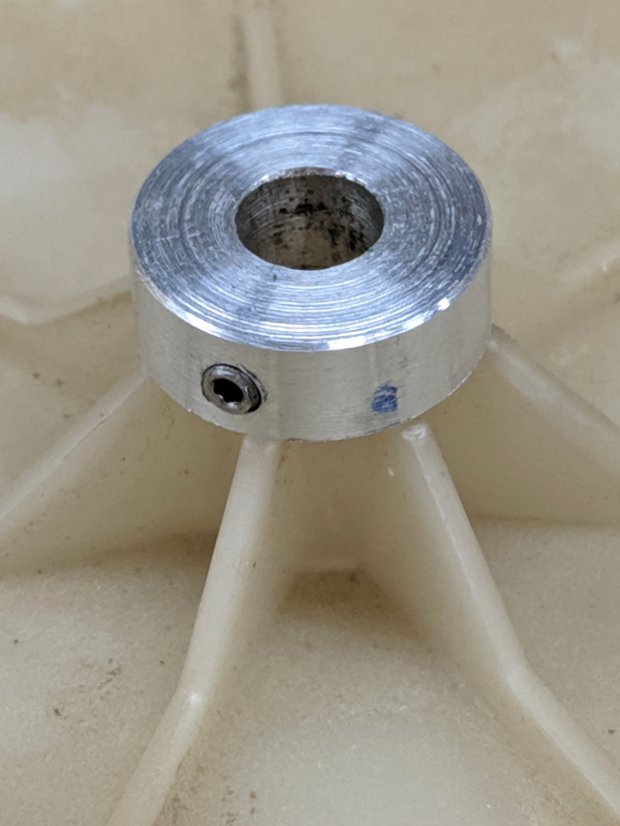
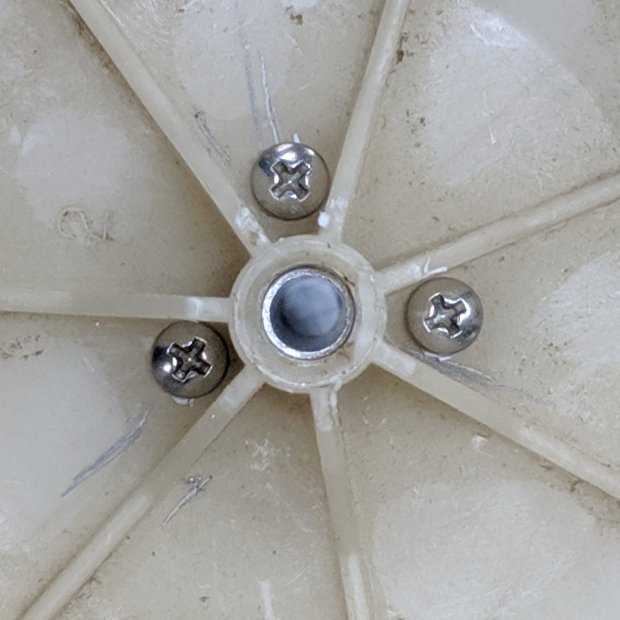
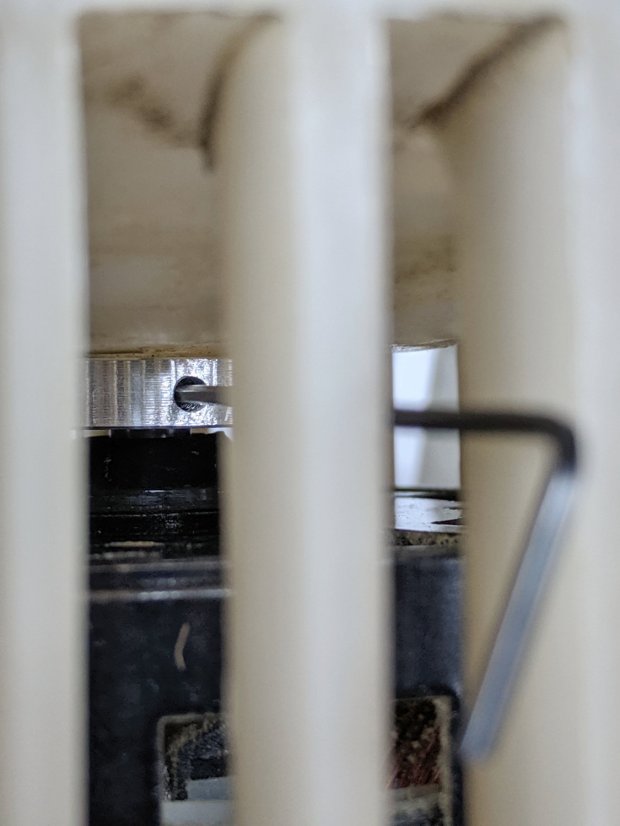
The pedal has a pair of pivots on the side closest to your foot, held in place with a small screw inside the two feet:
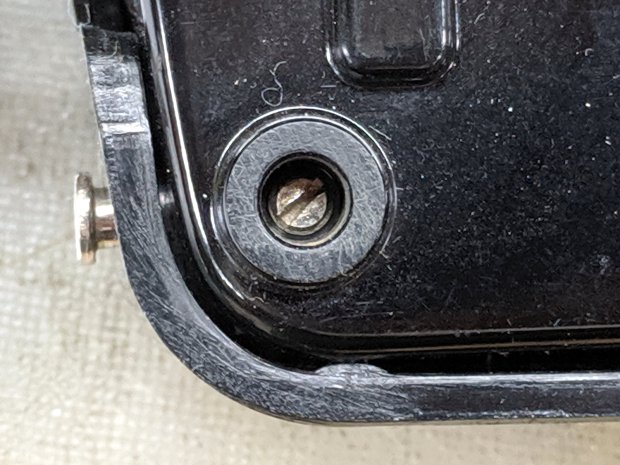
The screw fits into a notch in the unthreaded pin inserted from the side:

And that’s all there is to it!
Now, as happened to my correspondent, the pin can go missing, perhaps after the screw worked loose. Worst case, you’re looking at replacing both parts.
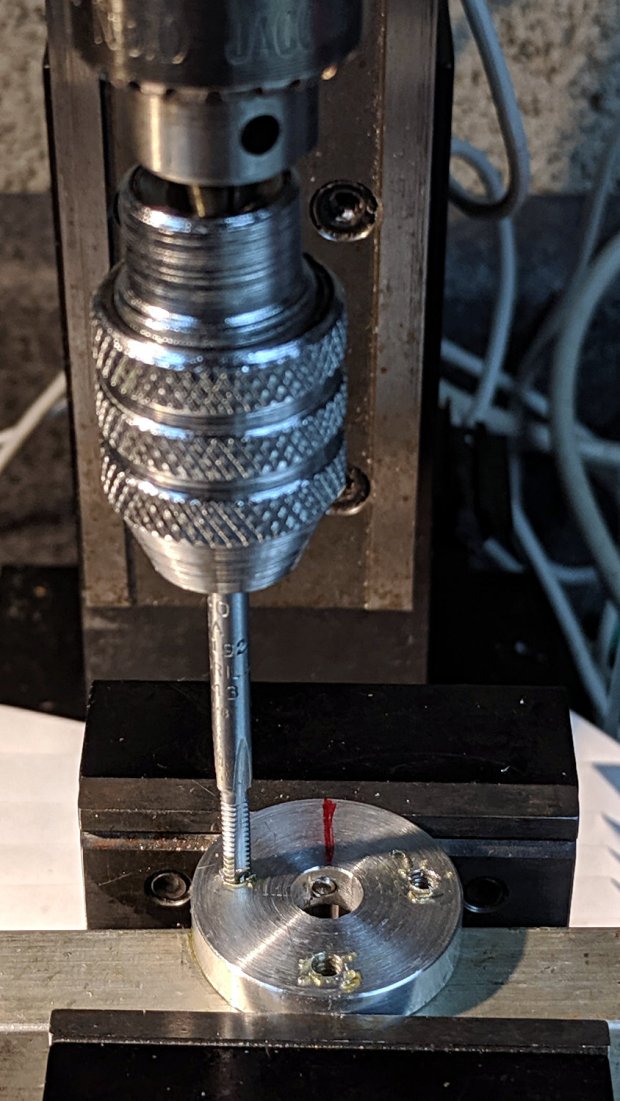
Being made in Japan (as ours were), the pedal has metric sizes: the unthreaded pin is 4 mm in diameter and 18 mm long and the setscrew has an M4×0.7 thread. You could replace the pin with an 18 mm (down to maybe 15 mm) long M4 screw. The threads would make a gritty pivot, but better than no pivot at all.
Better to get a longer M4 screw with an unthreaded section near the head, hacksaw it to the proper length, file to tidy up the cut end, maybe file a notch for the setscrew, and pop it in place. For tidiness, file off the slot / Philips / hex socket to eliminate the temptation to turn it out.
Worst case, a pair of plain old USA-ian 6-32 screws 3/4 inch long would make a sloppy fit. Don’t tell anybody I said so; that’d be barely better than nothin’ at all in there.
Lowe’s claims to have M4×0.7 setscrews (with a hex socket, not a slot) to secure the pin.
If my experience around here is any guide, however, Lowe’s / Home Depot / Walmart may claim to have metric hardware in stock, but the only way to know is to actually go there and rummage around in the specialty hardware section, inside the big steel cabinet with slide-out drawers filled with a remarkable disarray of ripped-open bags and misfiled parts.
Good hunting …