Ed Nisley's Blog: Shop notes, electronics, firmware, machinery, 3D printing, laser cuttery, and curiosities. Contents: 100% human thinking, 0% AI slop.
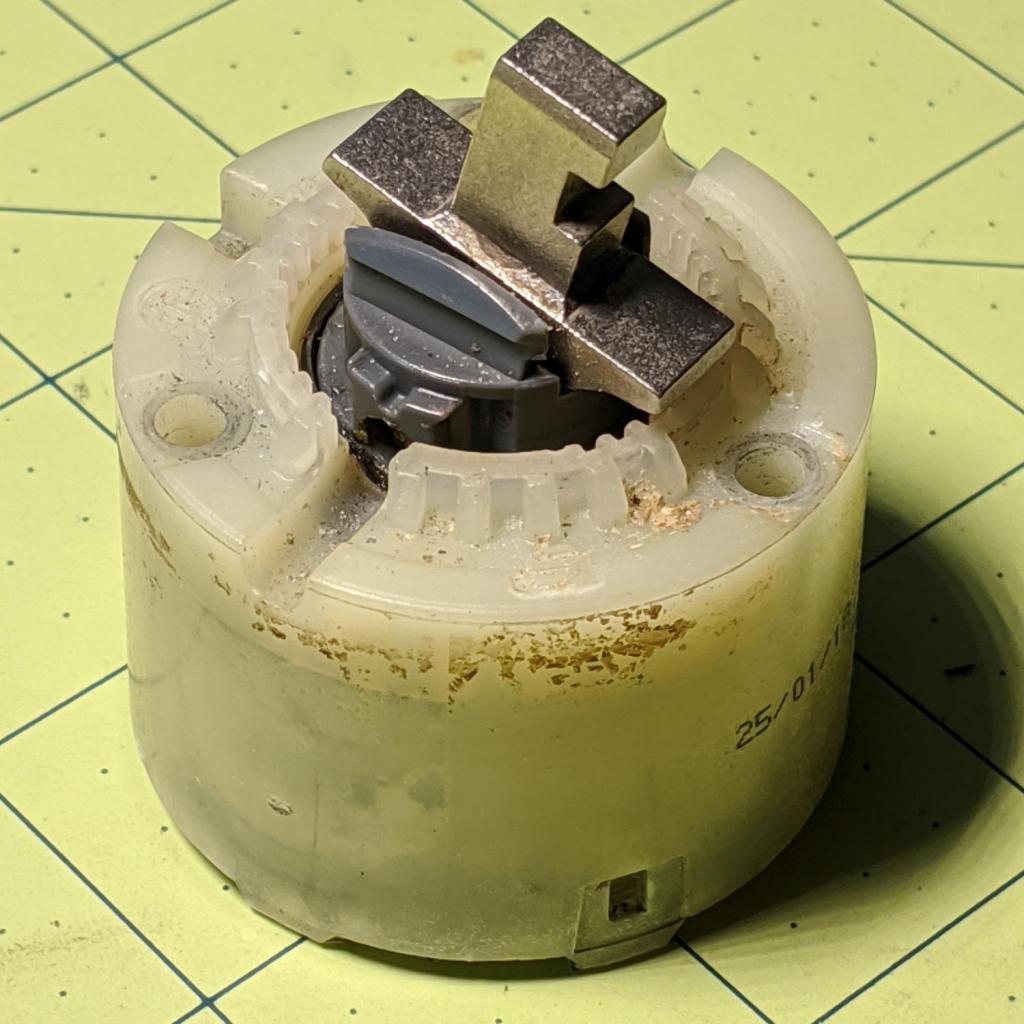
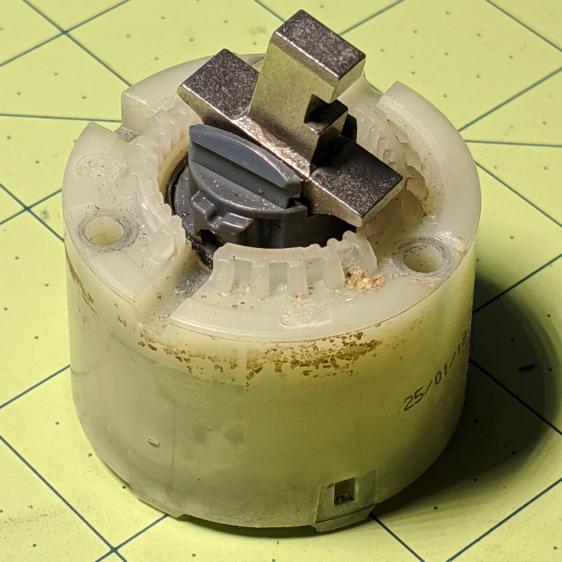
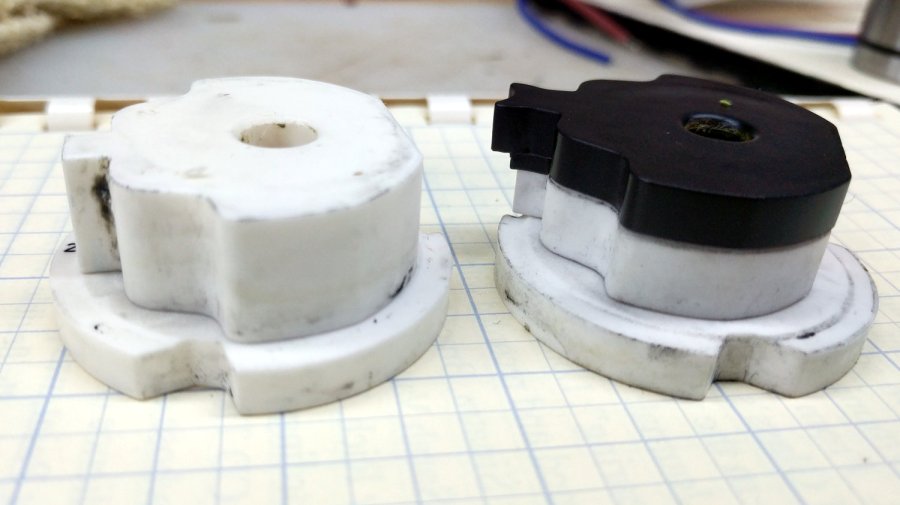
American Standard Ceramic Faucet Valve Cores – old vs new
I think the sliding fit between the two ceramic blocks laps itself into a more perfect joint, to the extent it’s wrung together and can’t be moved. Even after filtering, our town-supplied water apperently has enough micro-fine grit for the purpose.
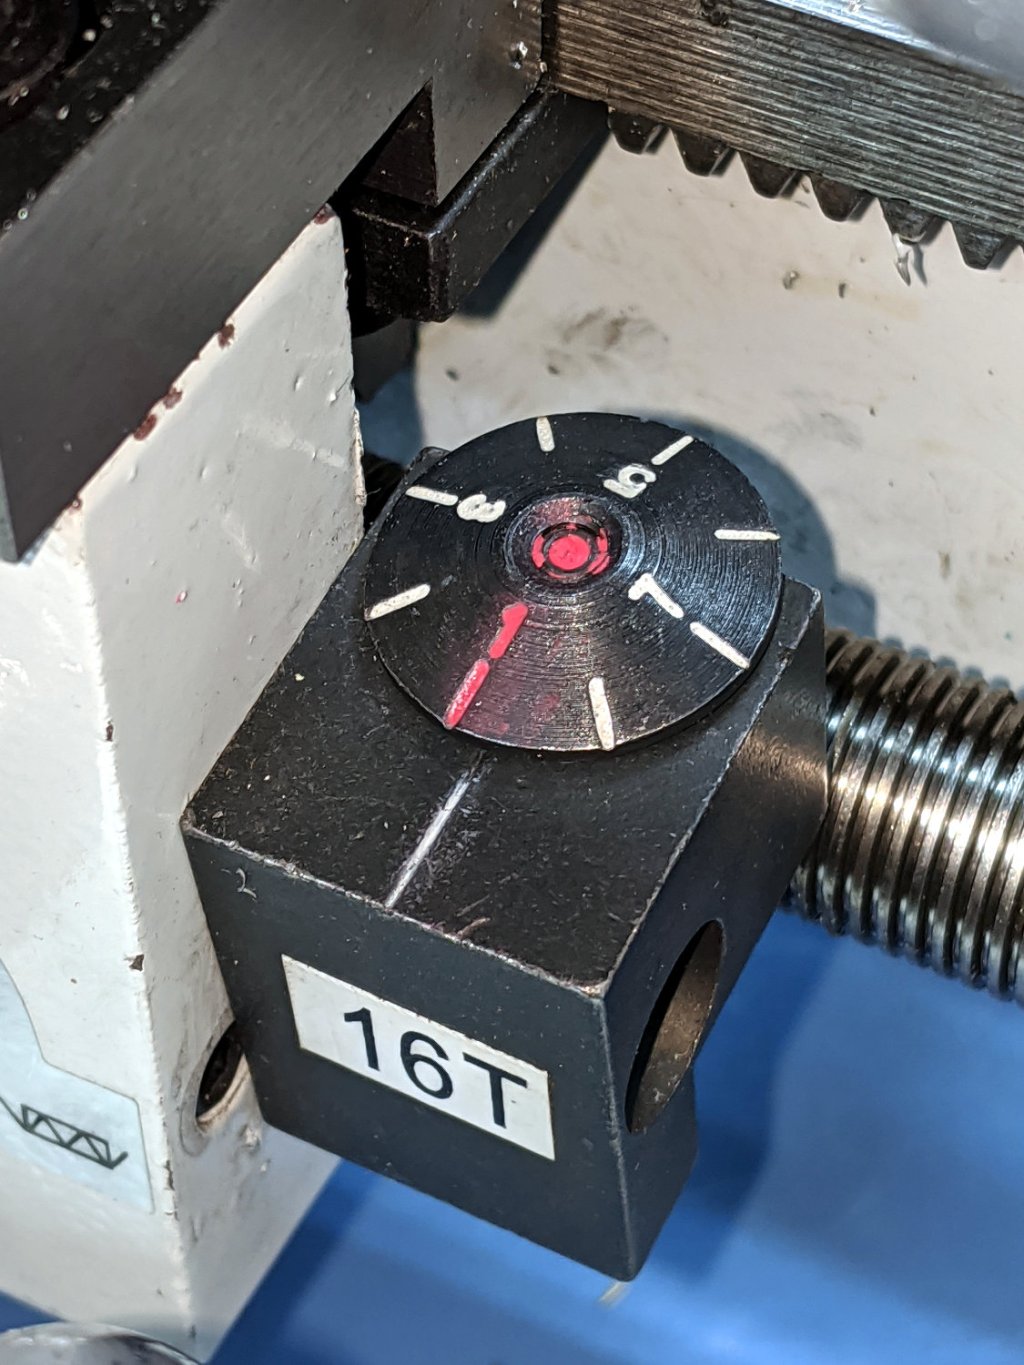
As received, the mini-lathe’s threading dial was misaligned by about 1/4 division, which is nearly halfway to the next engagement point midway between the divisions:
Mini-Lathe Threading Dial – as received – colorized
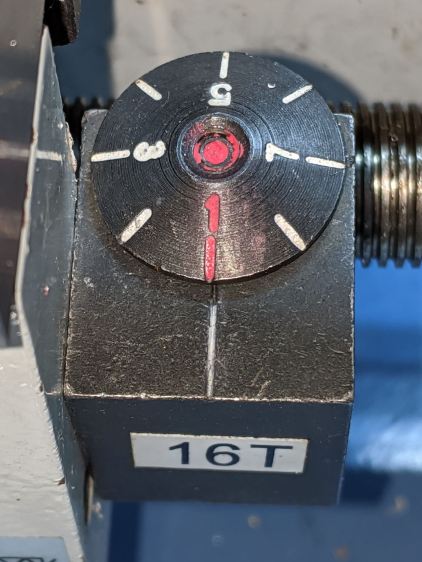
I added the red lacquer crayon while contemplating what to do, because I thought the dial was swaged onto the shaft. It turns out to be threaded, so I marked where the dial should be, grabbed the shaft in the (soft-jawed) bench vise, and twisted the dial with a Vise-Grip until it lined up:
Mini-Lathe Threading Dial – aligned
Well, it’s closer than it was, OK?
There’s about that much slop on either side of the index line coming from the loose gear engaging the leadscrew, so that’s as good as it gets.
Mary’s long-suffering garden rake pulled apart while we were flattening a section of what will become something like a lawn next to the garden:
Garden rake – shank and ferrule
For whatever reason, there’s no cross bolt holding the shank into the ferrule, like there should be on any tool subject to pulling force.
After marking the wide spot on the shank, a couple of good shots with a two pound hammer flattened the ferrule around it well enough to start a hole with a 3/16 step drill:
Garden rake – cross drilling
Go through the far side with a 13/16 inch drill for a generous 5 mm fit, drop a bolt into the hole while it can’t get away, tighten the nyloc nut, and it’s all good:
Garden rake – cross bolt
In fact, it’s better than it ever was, because now the shank can’t pull out until the ferrule falls off the handle. Which could happen, but I’m not averse to another bolt.
Admittedly, it’s not a stainless steel socket head cap screw, because that’d just about double the value of the rake. The handle is in such bad shape that the bolt will probably outlast the wood …
Done!
Update: The consensus says I totally missed the Ritual Invocation of the Epoxy, so:
Grab the buckle in the Sherline vise, center on the post hole, and drill a #38 = 2.58 mm hole:
Reversible Belt Buckle – cross drilling
Tap it M3×0.5, clean out the hole, tap the post + spring back in place, dab threadlocker on the shortest M3 setscrew from the assortment, snug down on the post, and reinstall the belt:
Reversible Belt Buckle – M3 setscrew installed
Looks like it grew there, doesn’t it?
Now, as my buddy dBm will remind me, the real problem is too much weight in the saddle, but this fix should move the symptoms elsewhere …
The pivot on the Fiskars Small Detail Scissors (the name is larger than the hardware!) in the bathroom gradually worked loose to the point where I hauled it to the Basement Shop and whacked the rivet with a concave punch:
Fiskars Small Detail Scissors – pivot restaking
Setting the rim of the rivet down a smidge tightened the joint wonderfully well and two oil dots smoothed the action.
I grew up using these concave punches (I have several sizes) to set finish(ing) nails, but apparently real nail punches have a nubbin in the middle to engage the little recess in the nail head which used to be common, back when finish nails arrived well-finished from the factory.
They’re not roll pin punches, either, because those have a different nubbin to support the inside of the pin.
Over the next several days, I’ll be screwing around with trying out different blog themes, because WordPress has “deprecated” the theme I’ve been using since about 2011; it no longer works well with their most recent infrastructure. There being no way to tell how any given theme will look, how difficult creating posts may be, or (in truth) anything about a theme without actually running it, I’ll be doing live-fire exercises while posting odds-n-ends projects from the shop.
Some themes strongly suggest require a logo, so you’ll see this monstrosity until something better comes along:
Logo – Isolated 0D3
Speaking of themes, you’re looking at a “free” blog on wordpress.com, not something I’ve conjured by installing the open-source blog infrastructure from wordpress.org on a server, which means few things you (think you) know about a “WordPress blog” apply. In particular, free blogs on wordpress.com lack access to the universe of themes & plugins applicable to a DIY FOSS installation.
(I think) I’d be perfectly happy to compose posts in Markdown (or some such) and slam them into a static site generator (Hugo / Gatsby / whatever), rather than slog through WP’s GUI editor, but I think my usual post-a-day pace conflicts with the fundamental assumptions of a “static site” generator.
I value blog comments from real people (you all know who you are and I thank you!), but blogspam presents a clear & present danger. Right now, Akismet kills nearly all the hundreds of spam comments per day; it’s obvious any blog comment system must include robust spam filtering. The alternative of, say, running a separate email list for comments seems far more trouble than it’s worth.
I absolutely do not want to sysop my very own blog configuration on a rented server / VPS / Digital Ocean Droplet / whatever. Things like WPengine.com would be attractive, except that this blog’s very long tail generates enough traffic to come very close to the 25 k visit/month upper limit of their “startup” plan; I’m reluctant to pay $100/month for the 100 k visit/month “growth” plan just to host my shop notes.
When I re-capped the HP 10525T Logic Probe, I expected the matching HP 10526T Logic Pulser would require the same treatment. Having finally gotten a Round Tuit, I preemptively pulled it apart to see what was going on inside:
The IC is a Motorola SN7404 Hex Inverter sporting an HP house number in a ceramic flatpack: pin 1 in the upper right, VCC on pin 4, and common on pin 11. The 7716 datecode suggests the chip first saw daylight shortly after single-chip microcontrollers became a nontrivial thing.
The pushbutton switch triggers the expected pulses at pins 10 (purple) and 12 (yellow), with timings controlled by the RC networks:
U1.12 U1.10
The collector output of Q2 is a robust 73 mA pulse through its 62 Ω resistor:
Q2.c
Q1 dumps 15 mA into its 300 Ω resistor:
Q1.C
The push-pull output at the emitter of Q3 and the collector of Q4 looks similar (albeit with some delay cranked in to show the tidy exponential tail):
Q3.e – Q4.c
The manual specifies a 3.0 Ω resistor to ground for Test A, thusly:
HP 10526T Logic Pulser – Test A setup
The output peaks at nearly 3 V to drive a robust 1 A (!) pulse:
Test A pulse
Test B requires a 6.2 Ω resistor driven from 5 V, but a 6.8 Ω resistor came to hand:
HP 10526T Logic Pulser – Test B setup
The downward pulse doesn’t quite reach 0 V (because saturation voltage, etc), so it’s a mere 725 mA:
Test B pulse
HP’s formal setup for Test C requires a totalizing counter to show the pulser produces exactly one pulse for each button push. I just wired up a 47 Ω resistor and eyeballed a few pulses:
Test C pulse – 47 ohm
The lighter 85 mA load through the resistor allows a more rectangular pulse than the 3 Ω resistor. Yup, looks clean to me.
Because the pulser drives its output both low and high with great authority, it doesn’t care what state the external net wants. Here’s what happens with the 47 Ω resistor connected to a 2.5 V supply:
Bipolar pulse – 47 ohm 2.5 V
No matter where the logic family’s threshold might be, the net will experience one downward and one upward transition through it: with the pulser delivering nigh onto an amp, the net’s driver doesn’t stand a chance.
However, the pulser was designed for TTL and DTL (remember DTL?) circuitry, so hammering a 3.3 V microcontroller pin probably isn’t a Good Idea. The notion of keeping a pulser around Just In Case may have reached its end times.
Oh, and about the re-capping. Turns out HP used solid tantalum capacitors and they’re still doing fine after four decades, thankyouverymuch. I put it back together and expect it will continue working forevermore.