The MAXTEMP error killing the M2 while printing the bar clamp mounts (probably) came from a short in the thermistor pellet that lowered the thermistor resistance and raised the calculated temperature. I manually heated the extruder and, although the temperature stabilized at 250 °C, the history plot showed irregular downward jogs from increasing resistance. Whenever this constellation of symptoms appears on the M2 forums, I always recommend ordering another thermistor or two, so …
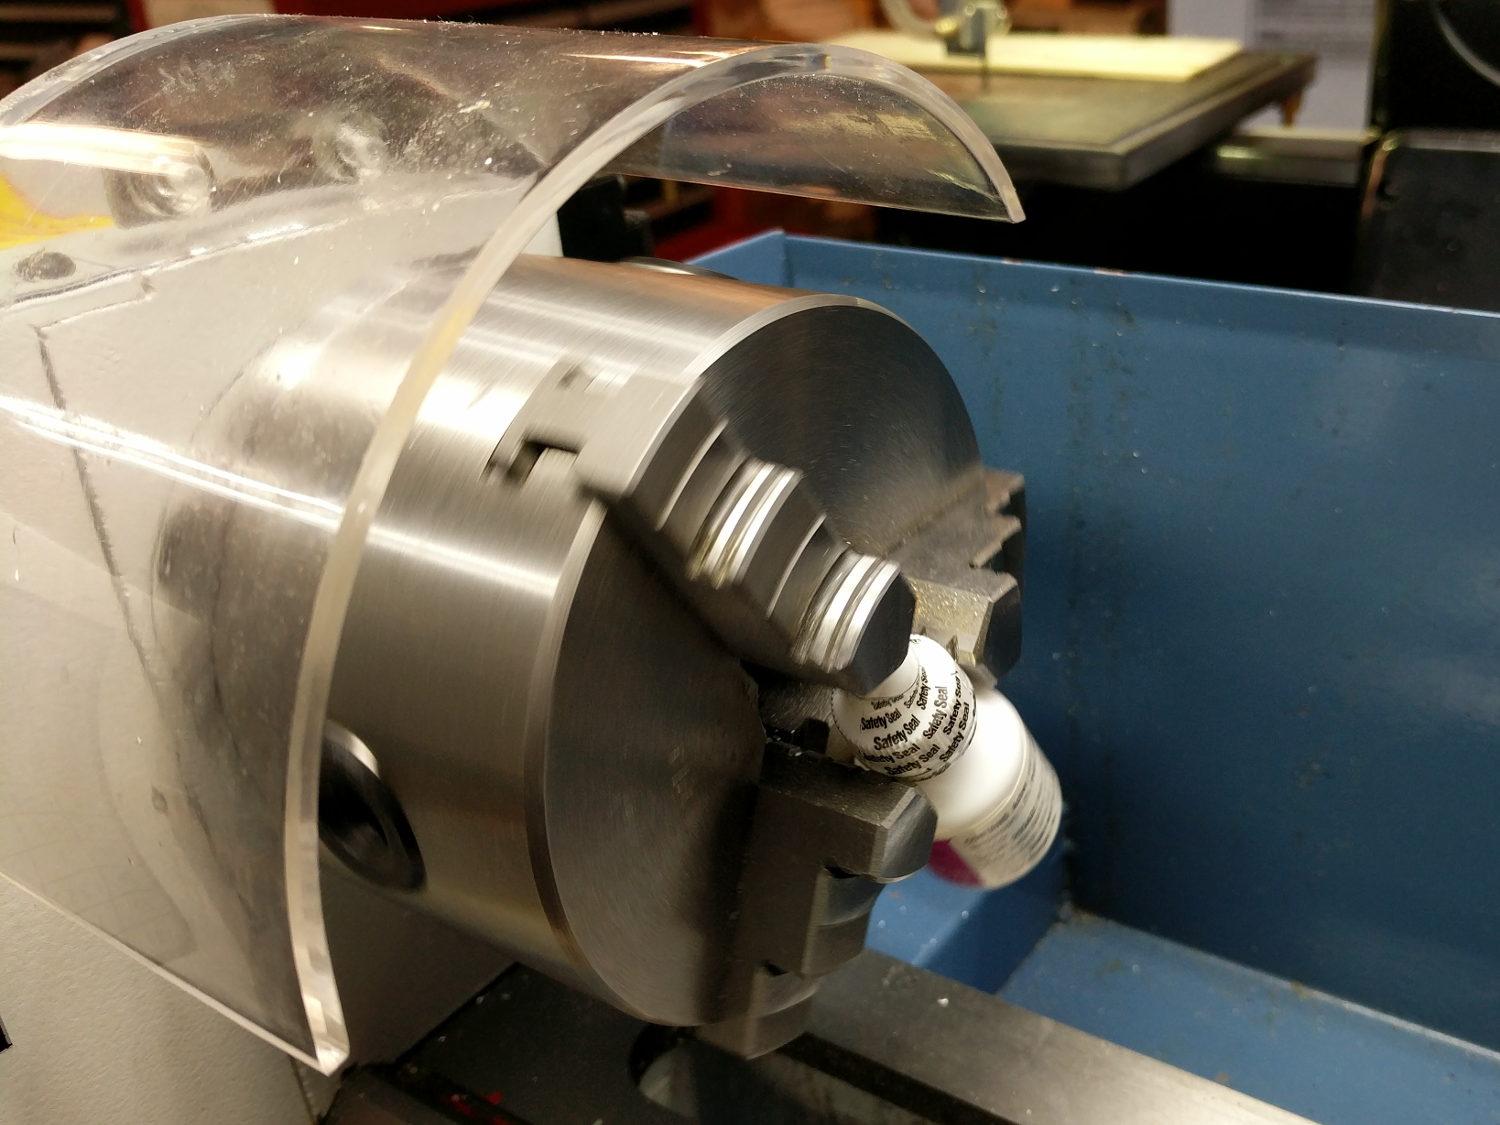
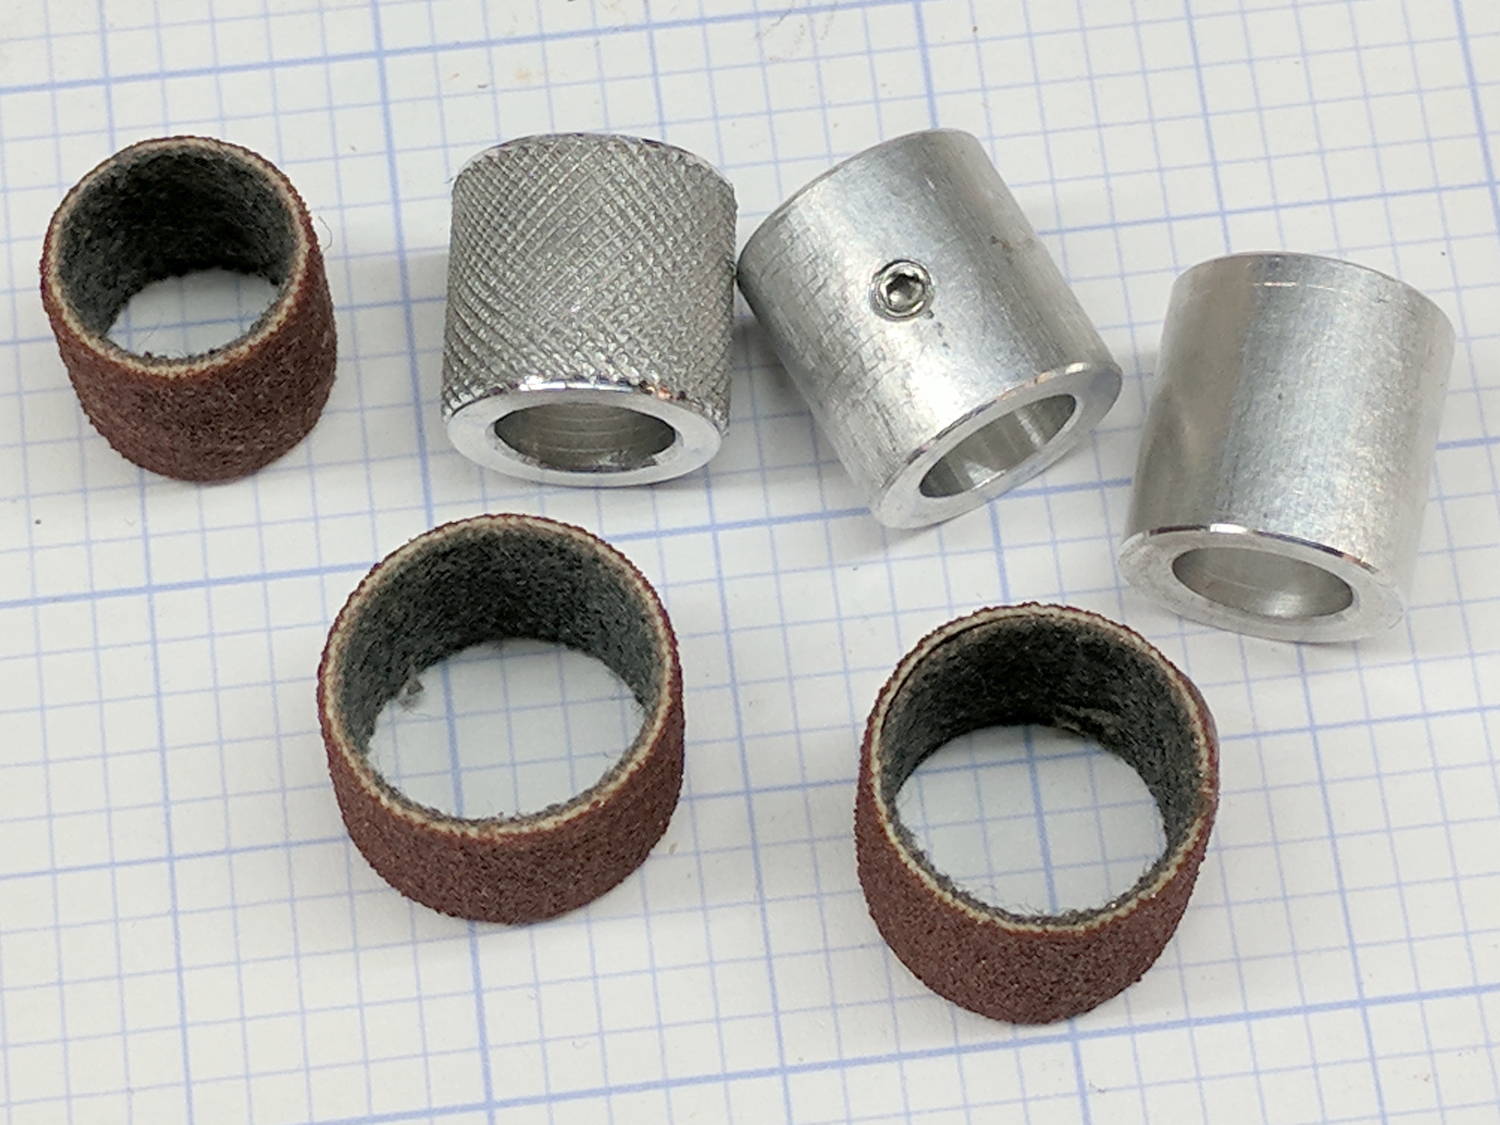
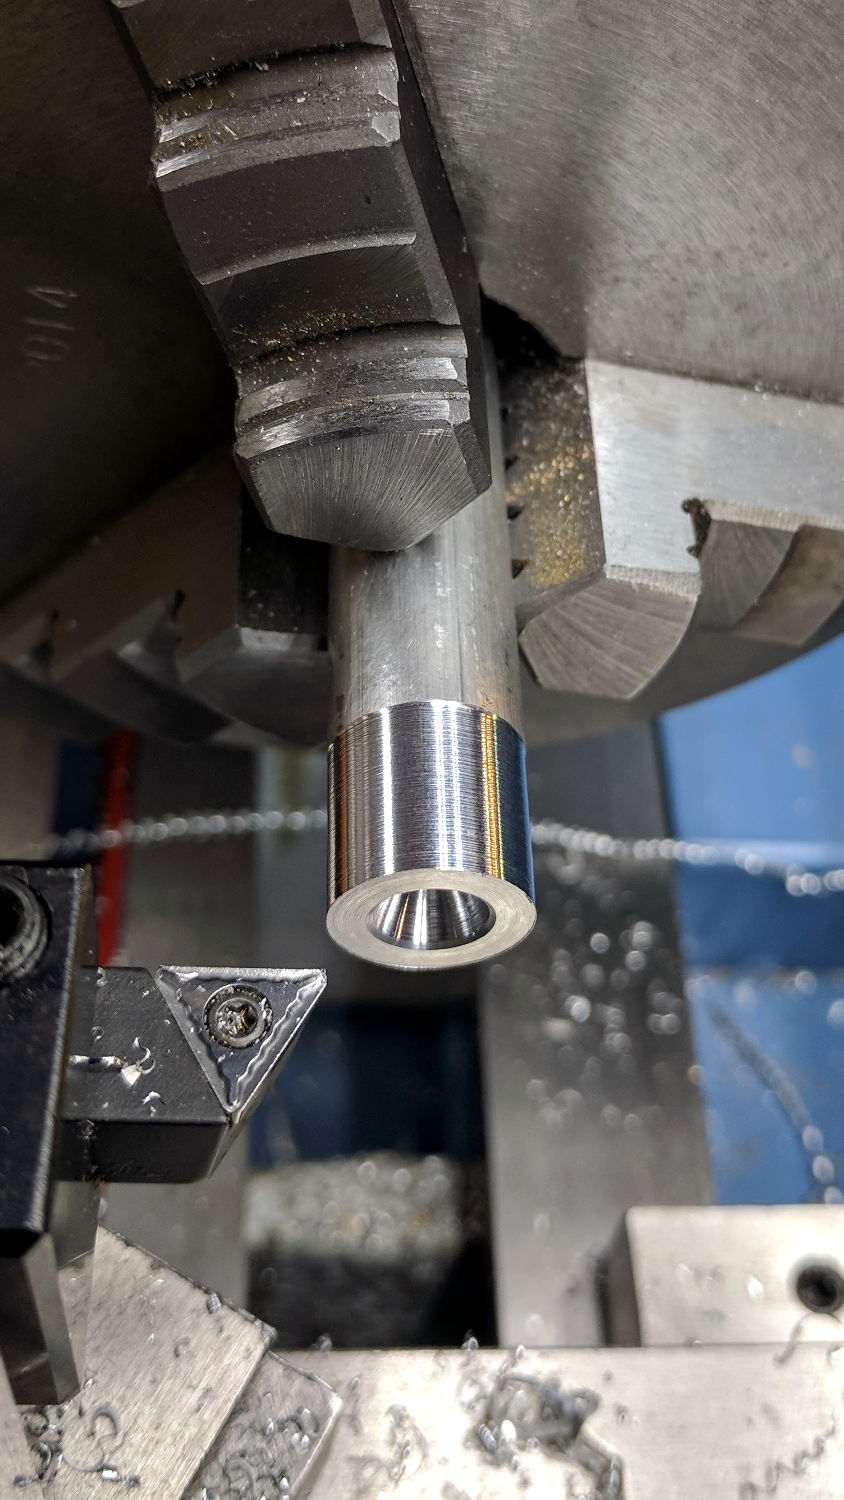
Start by turning a 1/8 inch OD brass tube down to 3.00 mm, parting off a suitable length, facing the ends:

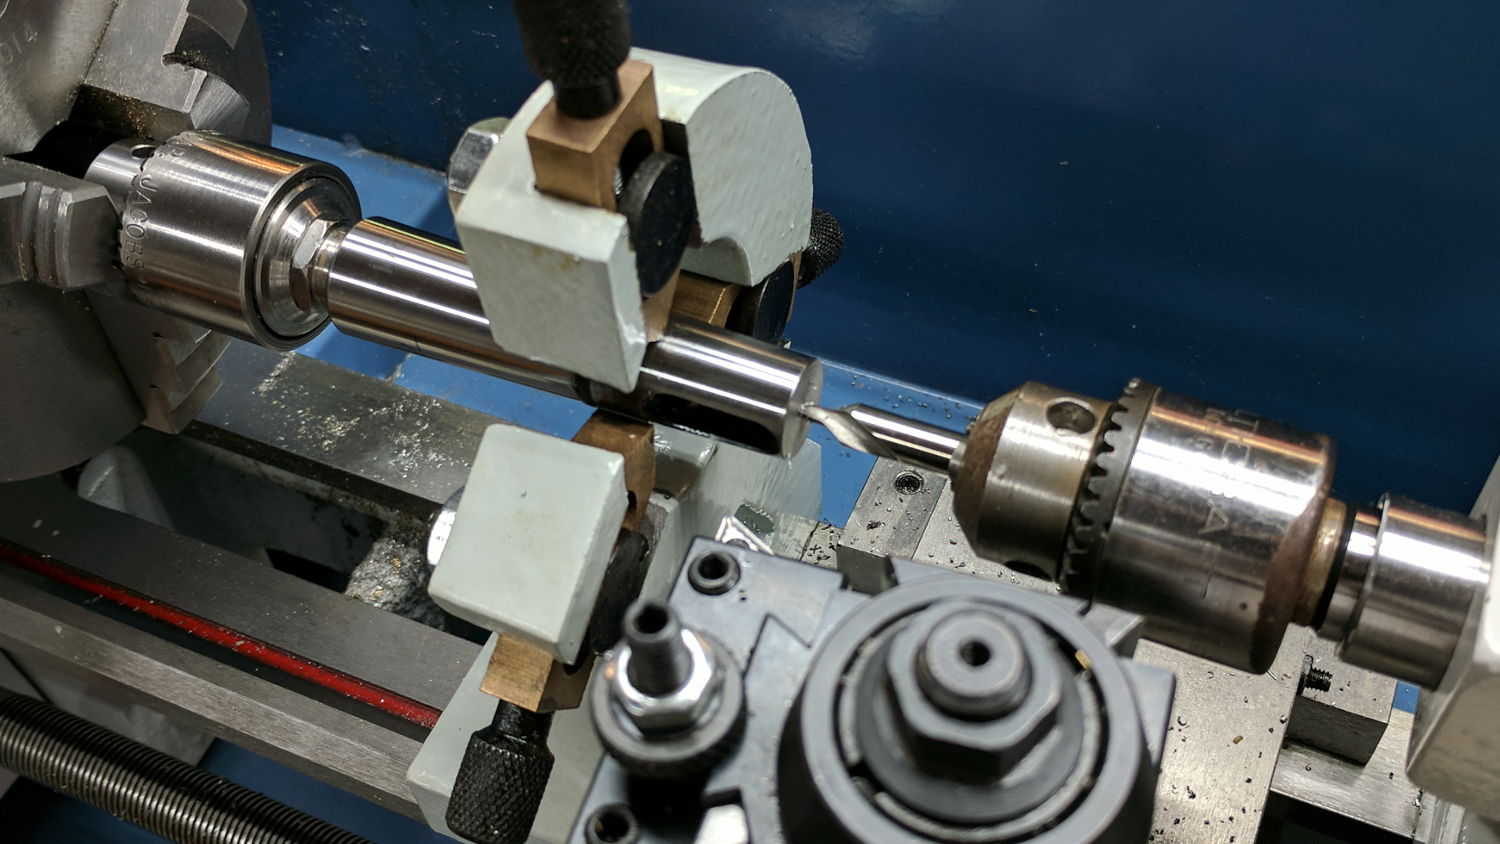
Countersink the ends just for pretty.
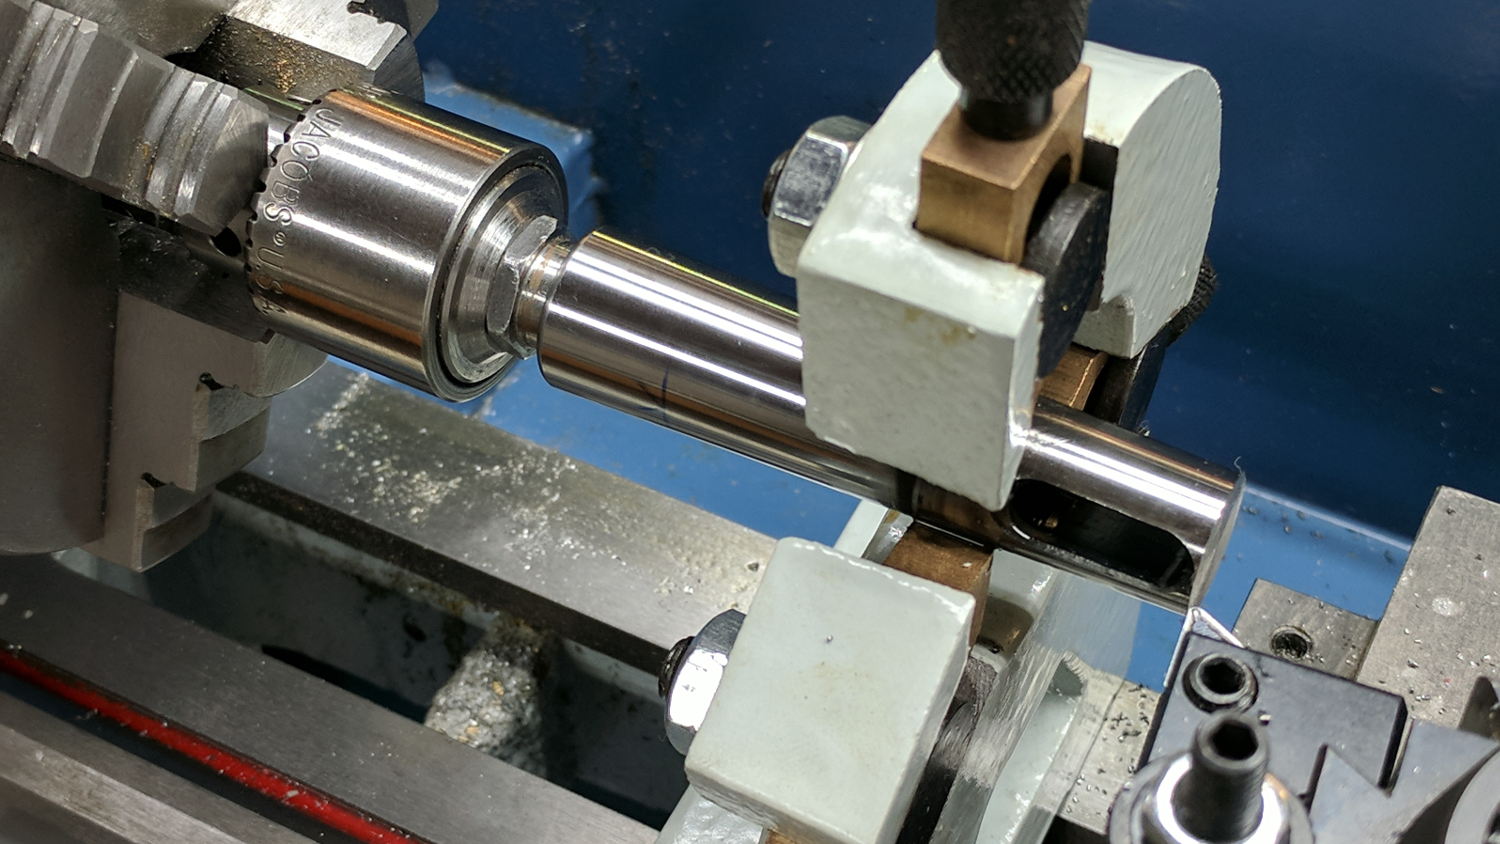
The tube should be a slip fit in the hot end:

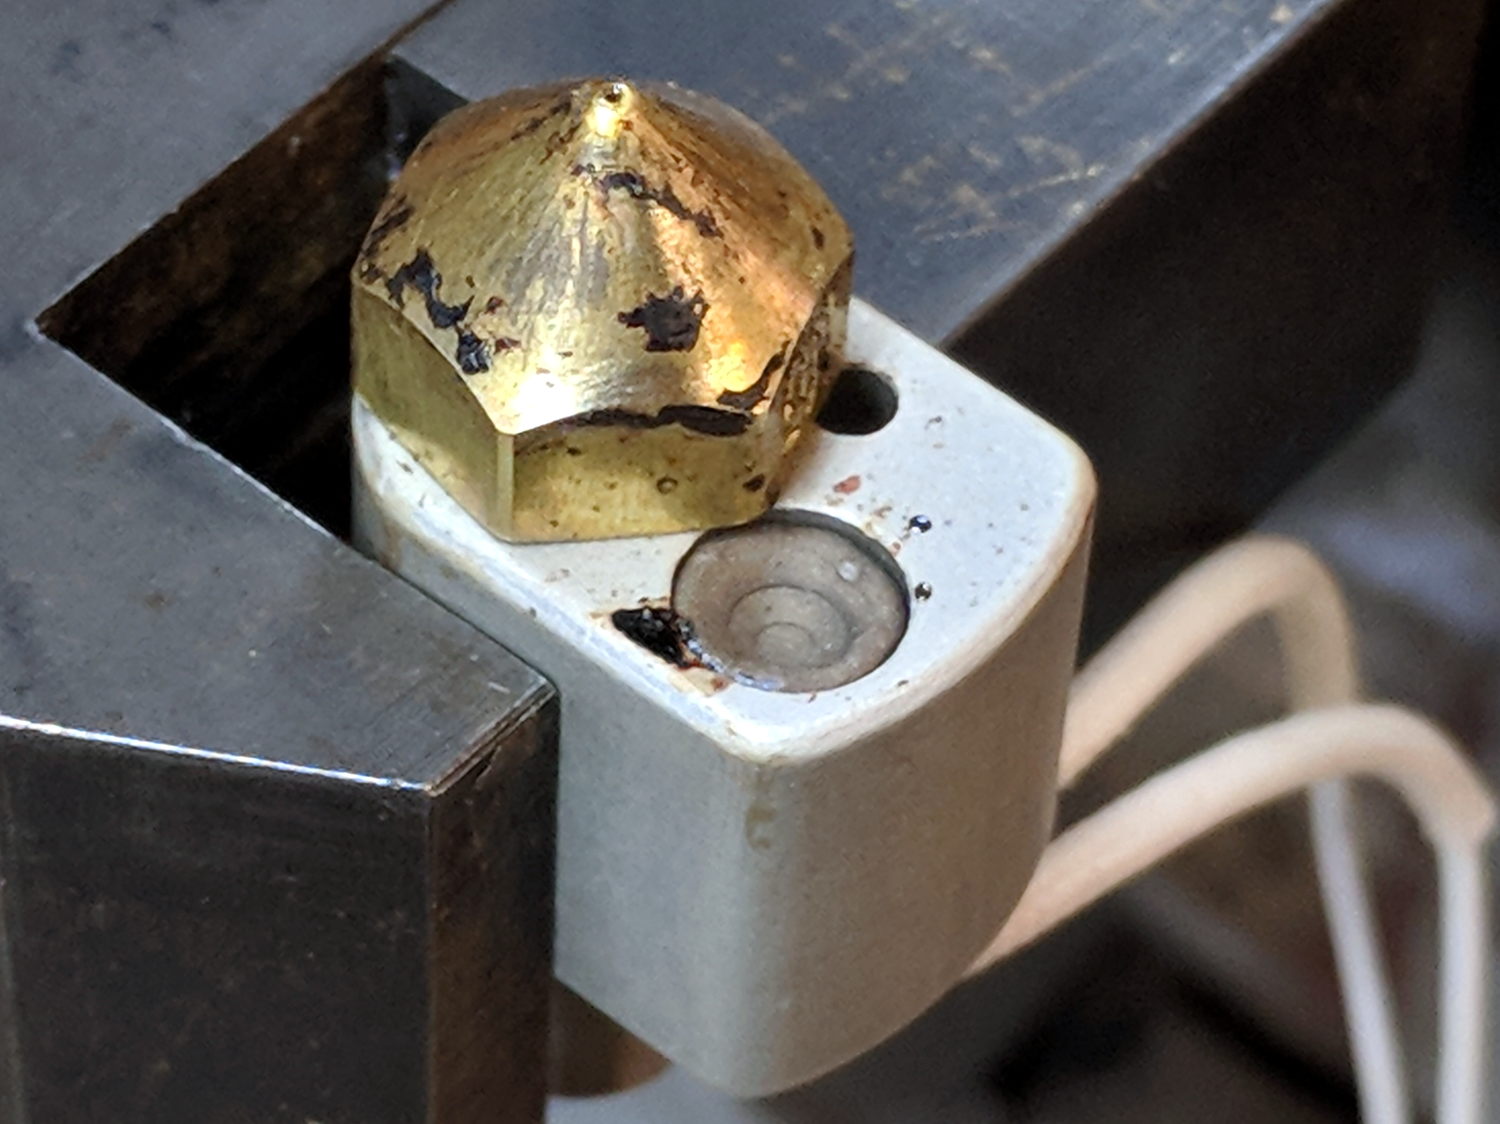
While I had the hot end on the bench, I scuffed the nozzle to remove (most of) the baked-on crud:
The plan is to seal the thermistor bead inside the tube with JB Weld epoxy, which I’ve verified (!) to work at extrusion temperatures, depending on the epoxy to insulate the wiring and immobilize all the pieces.
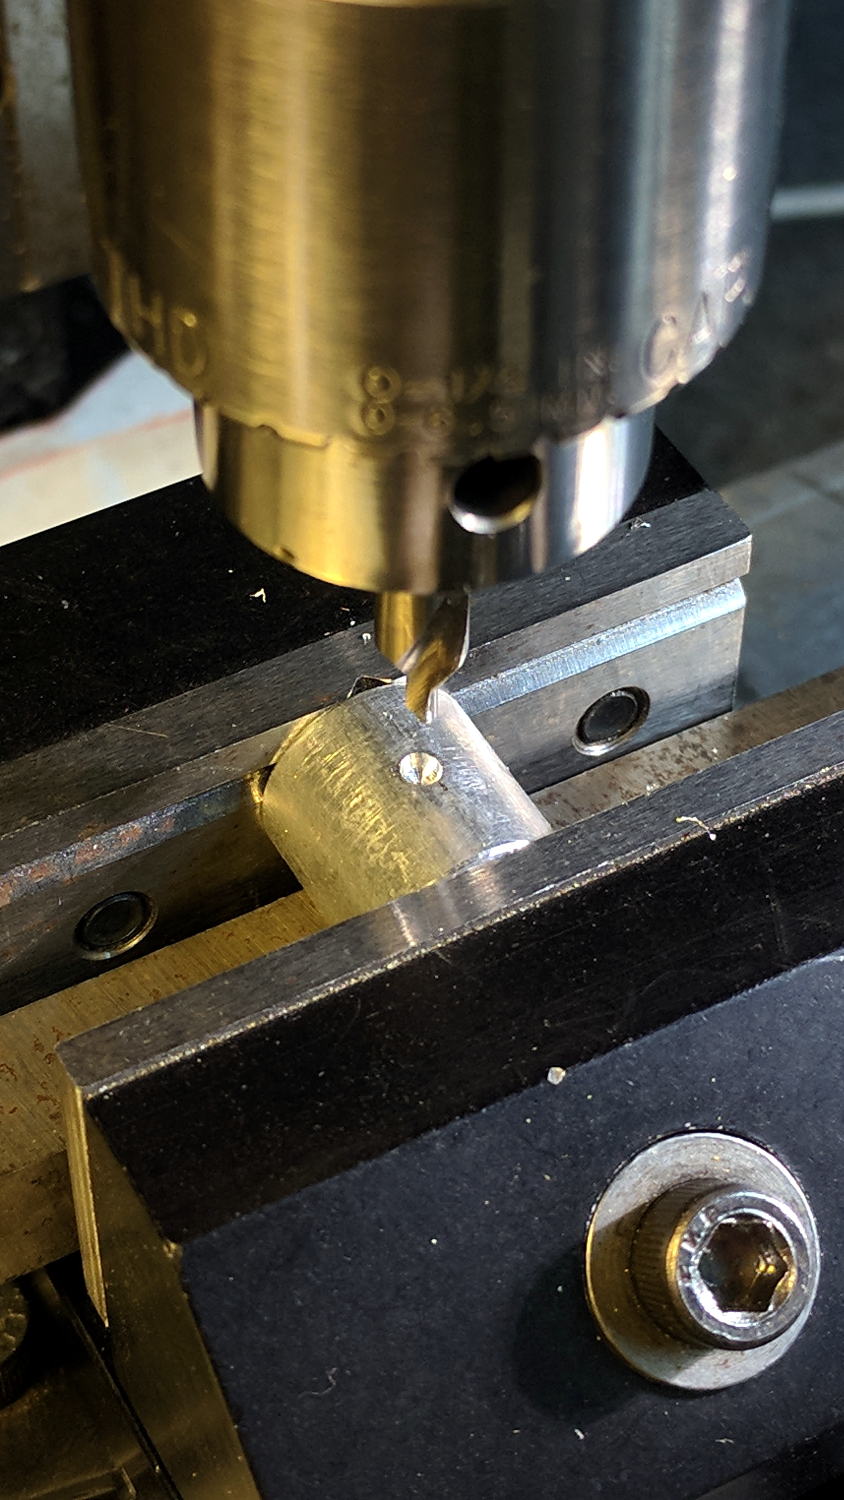
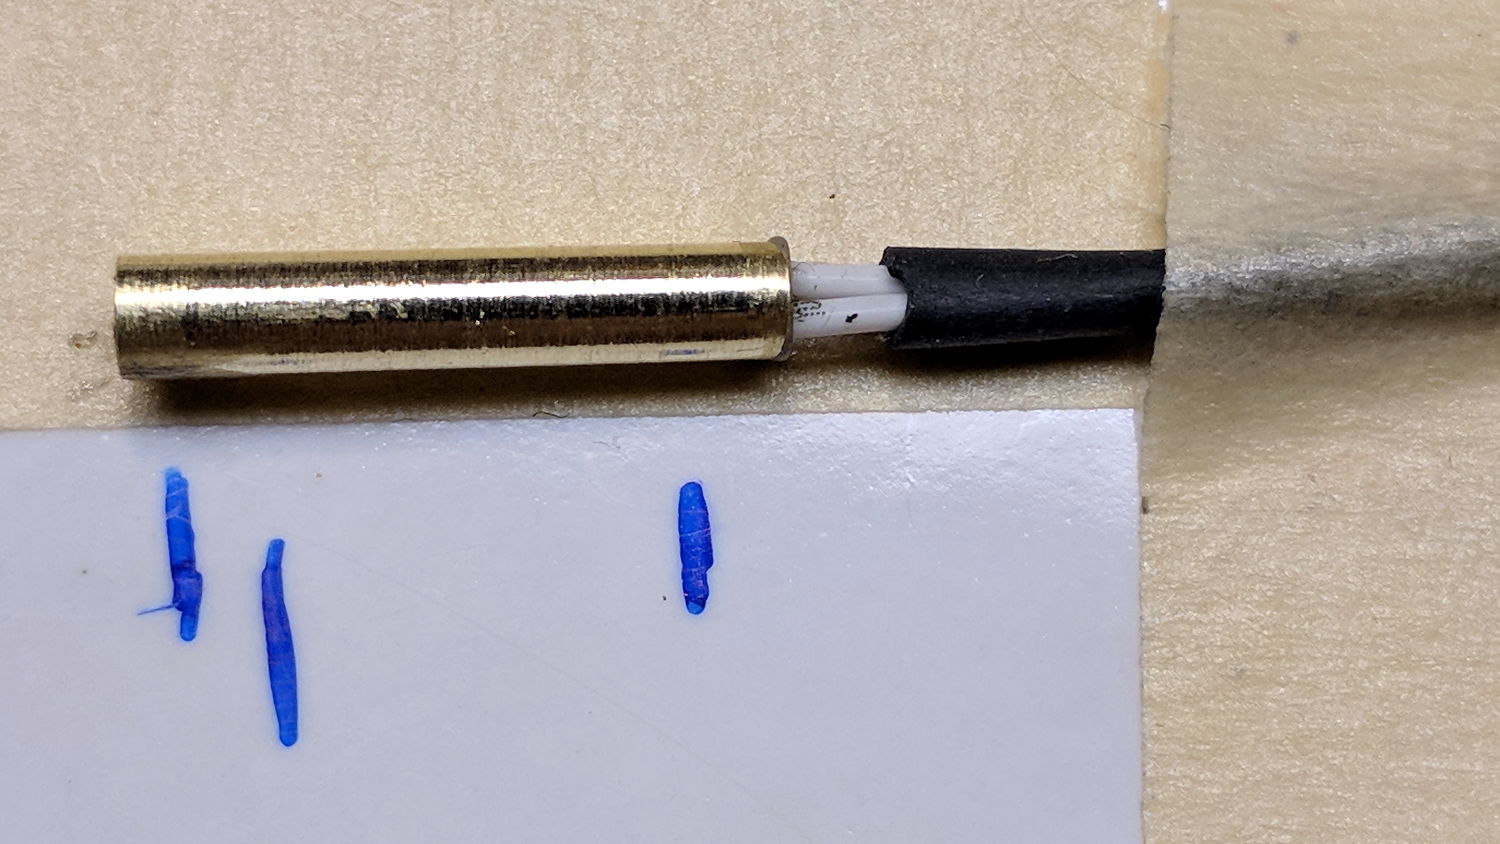
Harvest the original wire harness from the defunct thermistor, solder to the bead, lay out guide lines:

Slobber epoxy over everytyhing, fill the tube, insert bead into tube, stabilize with tape:
Verify connectivity through the thermistor and isolation from the brass tube, then return upstairs to warm up thaw out while the epoxy cures.
At this point, the observant reader should be thinking “Uh, Ed, that bead looked a tad large. Are you absolutely sure … ?”
Halfway up the basement stairs I realized I’d meticulously entombed a 10 kΩ thermistor, not the 100 kΩ thermistor used in the M2’s hot end. You can easily verify the resistance, as I did, with a quick web search; I have hella-good SEO for some specific topics.
Back to the lab …
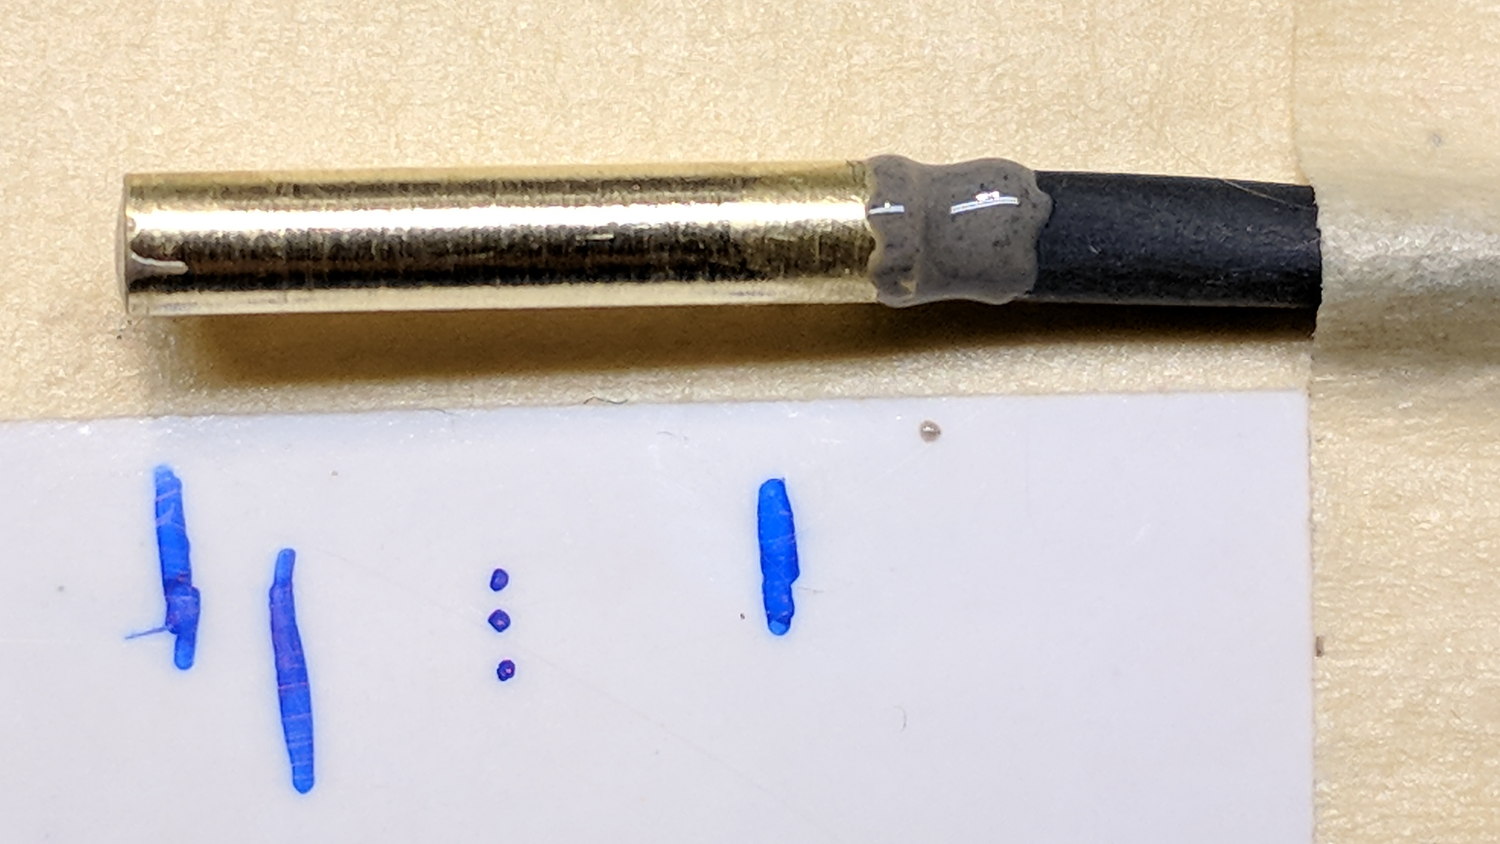
Fortunately, JB Weld has a pot life over an hour, so extract the wrong bead, unsolder, install the right thermistor using snippets of insulation harvested from the original wiring, realign components:

Reapply epoxy:
Re-verify resistances, return upstairs, fast-forward through the night, have another good idea …