Ed Nisley's Blog: Shop notes, electronics, firmware, machinery, 3D printing, laser cuttery, and curiosities. Contents: 100% human thinking, 0% AI slop.
Having seen some rather bizarre laser tube current waveforms from the replacement power supply (and an equivalent Cloudray supply I bought as a backup) in the OMTech 60 W laser, I finally got A Round Tuit for a closer look.
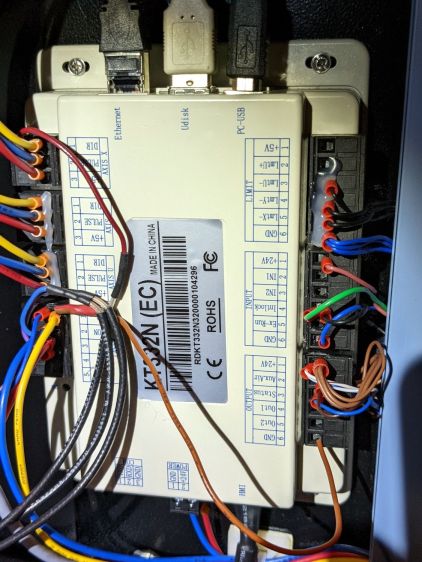
I tapped three signals from the Ruida KT332N controller by the simple expedient of crunching wires into the output terminal clamps along with their original ferrules:
KT332N controller – Tube Current test connections
From top to bottom:
X axis DIR: low = left-to-right motion = toward X+
Laser L-ON: low-active laser beam enable
PWM: pulse-width modulation laser power control
Those three cables pass through a small hole in the cabinet to the left of the hatch on their way to channels 1, 2, and 3 of the scope.
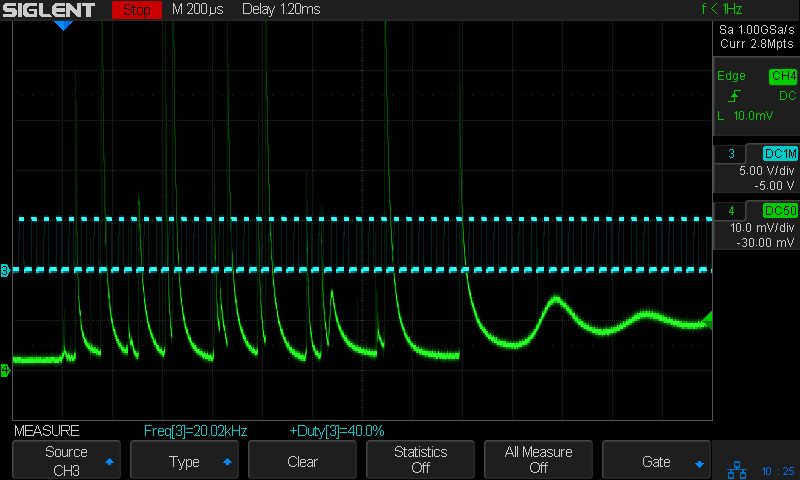
The PWM signal (cyan, channel 3) isn’t particularly useful, but a quick look confirmed it is an active-high signal ticking along at 20 kHz, with a duty cycle corresponding to the selected laser “power”:
Tube Current – 40pct PWM first detail – 250mm-s – 10ma-div
The bottom trace (green, channel 4) is the laser tube current, as monitored by a Tek A6302 Hall-effect current probe around the tube’s cathode (low voltage return) lead:
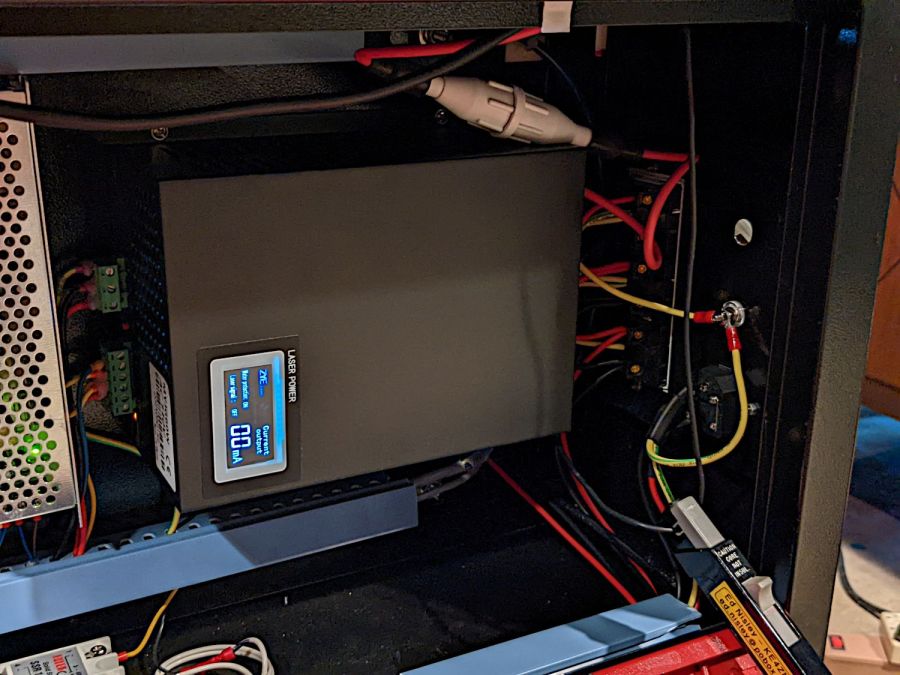
HV laser power supply – current probe setup
This time around, I poked a bight of that overly long wire through the hole in the cabinet (just above the power-line earth ground terminal) so I could keep the probe outside the cabinet and close the hatch.
Minus the PWM signal, the scope looks like this:
Tube Current – 40pct – 250mm-s – 5ma-div
The top trace (yellow, channel 1) is the DIR signal, with a high-to-low transition triggering the scope when the X axis begins moving from left to right.
The second trace (magenta, channel 2) is the L-ON laser enable; the high-voltage power supply drives current through the laser tube only when L-ON is low.
The third trace (green, channel 4) is, as above, the laser tube current. The Tek AM502 amplifier sets the gain, with the scope channel always set to 10 mV/div with a 50 Ω input impedance, so I must put the current scale in the screenshot file name (which becomes the caption here).
With all that in mind, the next few posts will make more sense … and I can remember what I did.
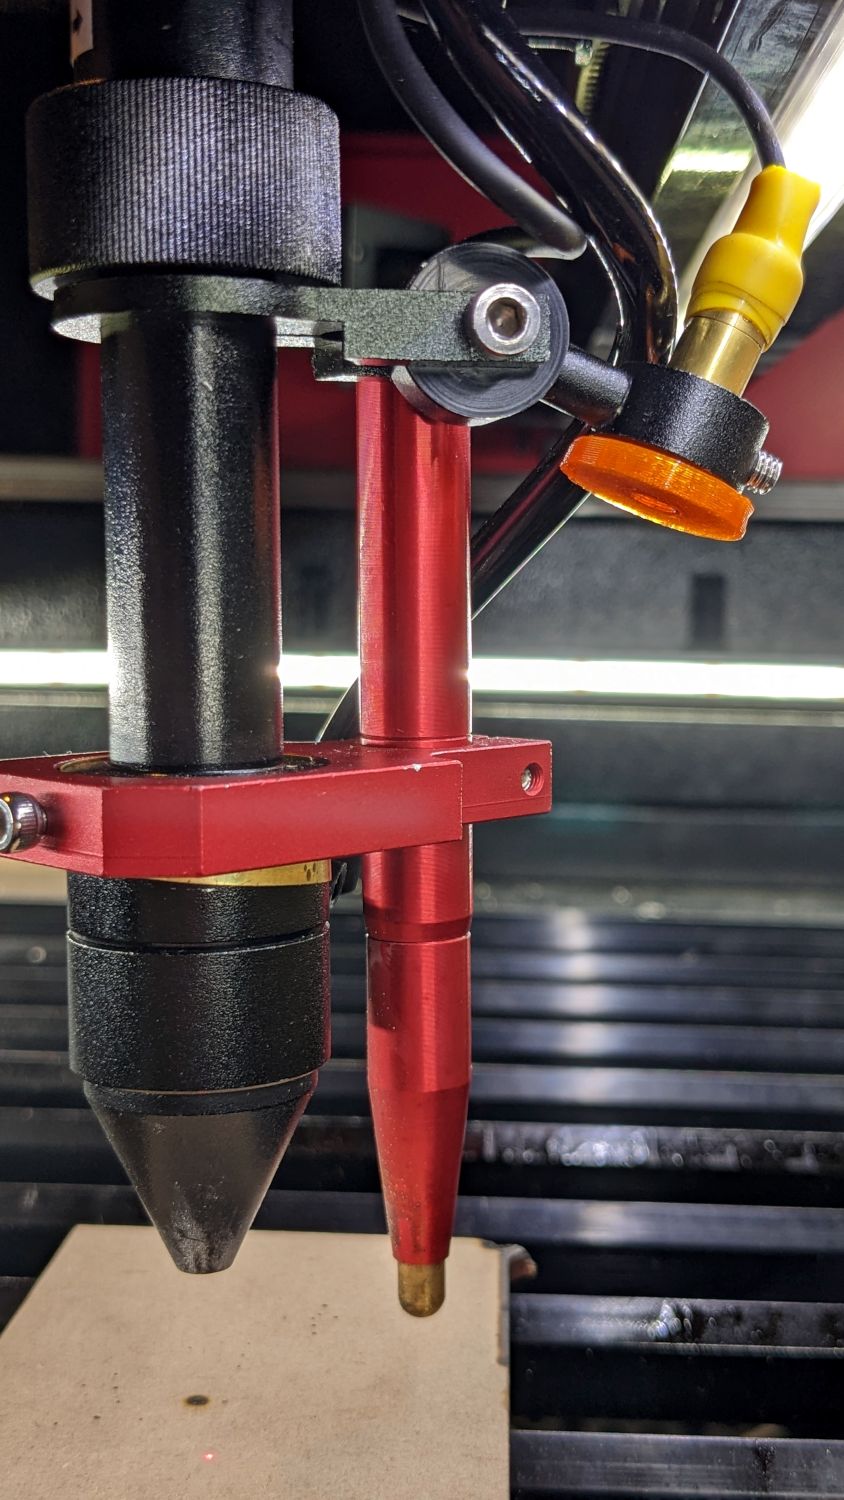
The red-dot pointer on the OMTech laser cutter has the same problem as my laser aligner for the Sherline mill: too much brightness creating too large a visual spot. In addition, there’s no way to make fine positioning adjustments, because the whole mechanical assembly is just a pivot.
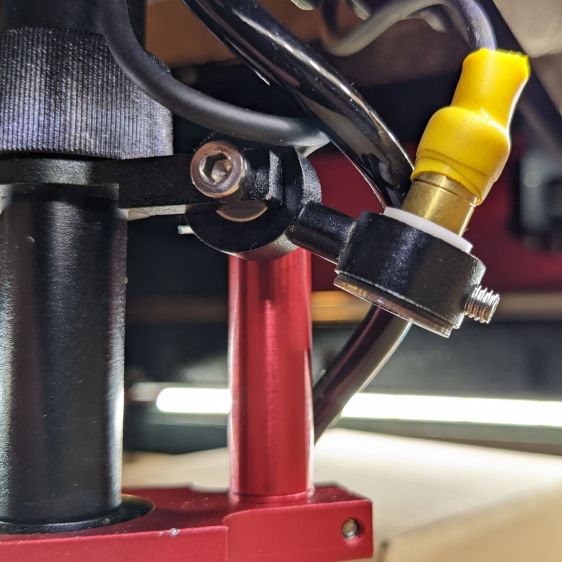
The first pass involved sticking a polarizing filter on the existing mount while I considered the problem:
OMTech red dot pointer – polarizing filter installed
The red dot pointer module is 8 mm OD and the ring is 10 mm ID, but you will be unsurprised to know the laser arrived with the module jammed in the mount with a simple screw. Shortly thereafter, I turned the white Delrin bushing on the lathe to stabilize the pointer and installed a proper setscrew, but it’s obviously impossible to make delicate adjustments with that setup.
Making the polarizing filter involves cutting three circles:
OMTech red dot pointer – polarizing filter
Rotating the laser module in the bushing verified that I could reduce the red dot to a mere shadow of its former self, but it was no easier to align.
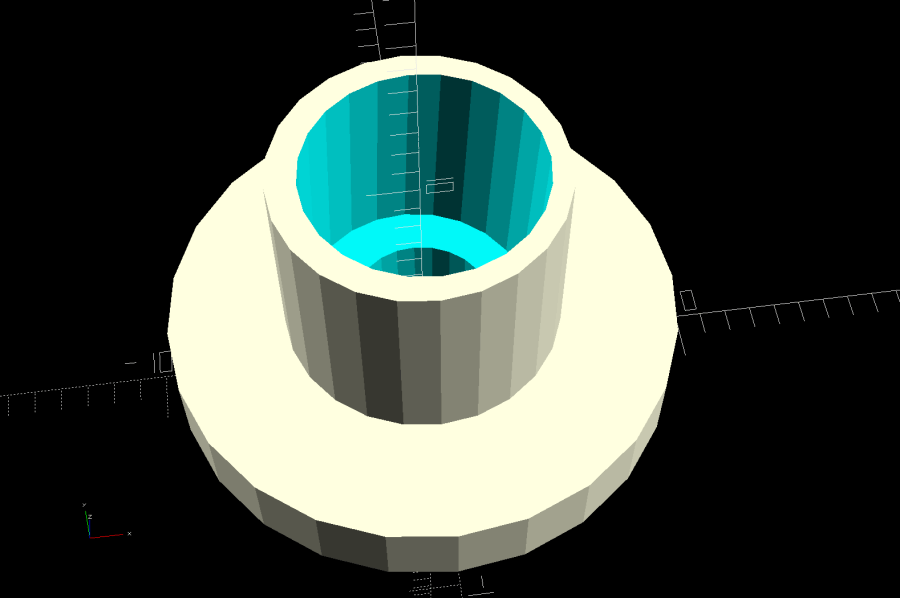
Replacing the Delrin bushing with a 3D printed adjuster gets closer to the goal:
Pointer fine adjuster – solid model
Shoving a polarizing filter disk to the bottom of the recess, rotating the laser module for least brightness, then jamming the module in place produces a low-brightness laser spot.
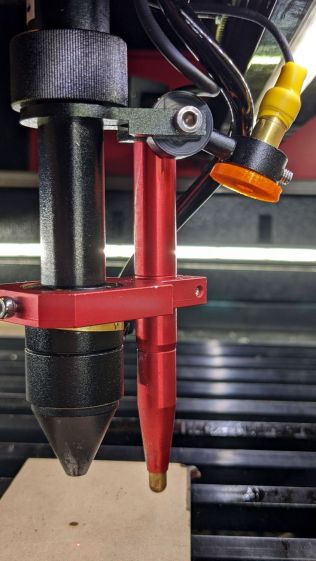
The 8 mm recess for the laser module is tilted 2.5° with respect to the Y axis, so (in principle) rotating the adjuster + module (using the wide grip ring) will move the red dot in a circle:
Improved red-dot pointer – overview
The dot sits about 100 mm away at the main laser focal point, so the circle will be about 10 mm in diameter. In practice, the whole affair is so sloppy you get what you get, but at least it’s more easily adjusted.
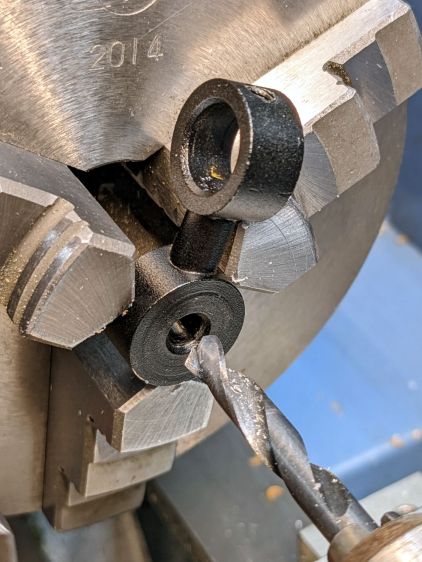
The M4 bolt clamping the holder to the main laser tube now goes through a Delrin bushing. I drilled out the original 4 mm screw hole to 6 mm to provide room for the bushing:
Improved red-dot pointer – drilling bolt hole
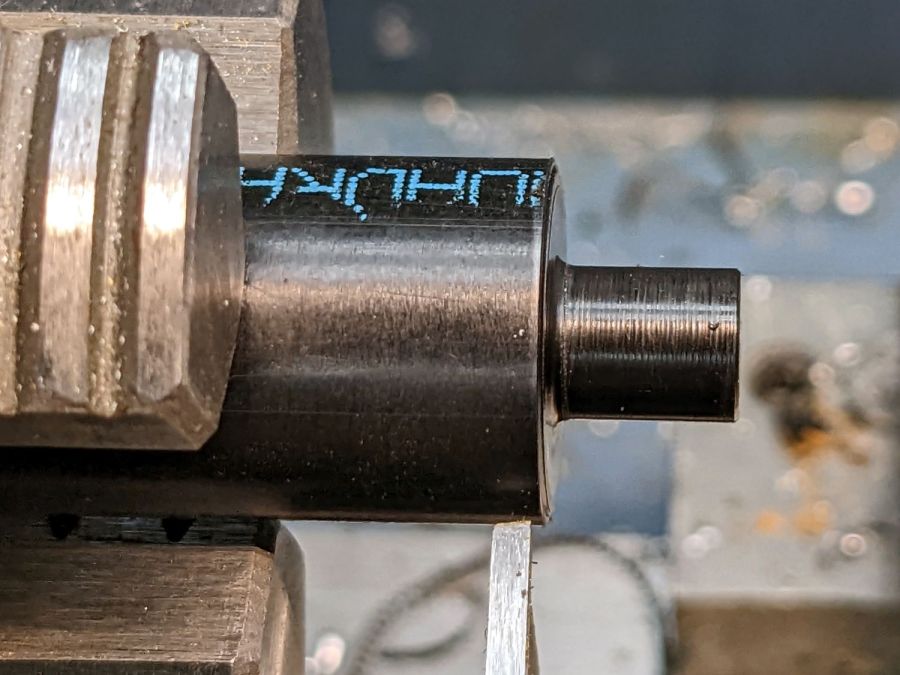
The bushing has a wide flange to soak up the excess space in the clamp ring:
Improved red-dot pointer – turning clamp bushing
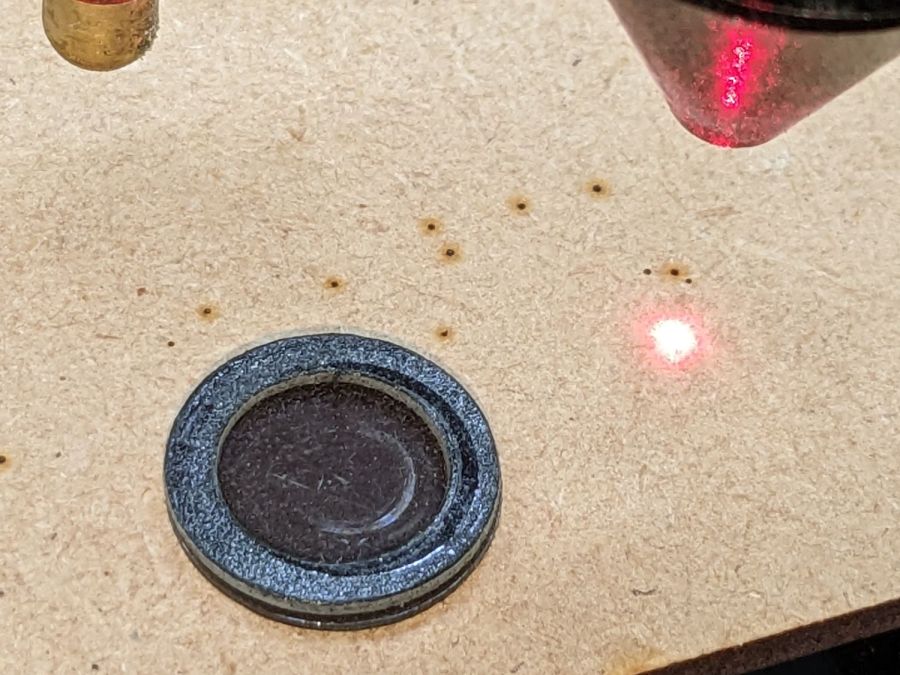
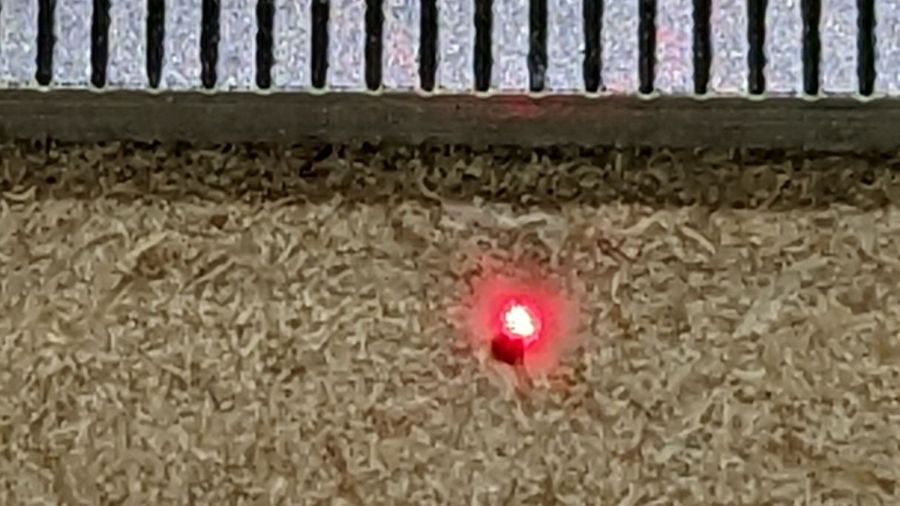
With all that in place, the dimmer dot is visually about 0.3 mm in diameter:
Improved red-dot pointer – offset
The crappy image quality comes from excessive digital zoom. The visible dot on the MDF surface is slightly larger than the blown-out white area in the image.
The CO₂ laser hole is offset from the red laser spot by about 0.3 mm in both X and Y. Eyeballometrically, the hole falls within the (dimmed) spot diameter, so this is as good as it gets. I have no idea how durable the alignment will be, but it feels sturdier than it started.
Because the red dot beam is 25° off vertical, every millimeter of vertical misalignment (due to non-flat surfaces, warping, whatever) shifts the red dot position half a millimeter in the XY plane. You can get a beam combiner to collimate the red dot with the main beam axis, but putting more optical elements in the beam path seems like a Bad Idea™ in general.
This file contains hidden or bidirectional Unicode text that may be interpreted or compiled differently than what appears below. To review, open the file in an editor that reveals hidden Unicode characters.
Learn more about bidirectional Unicode characters
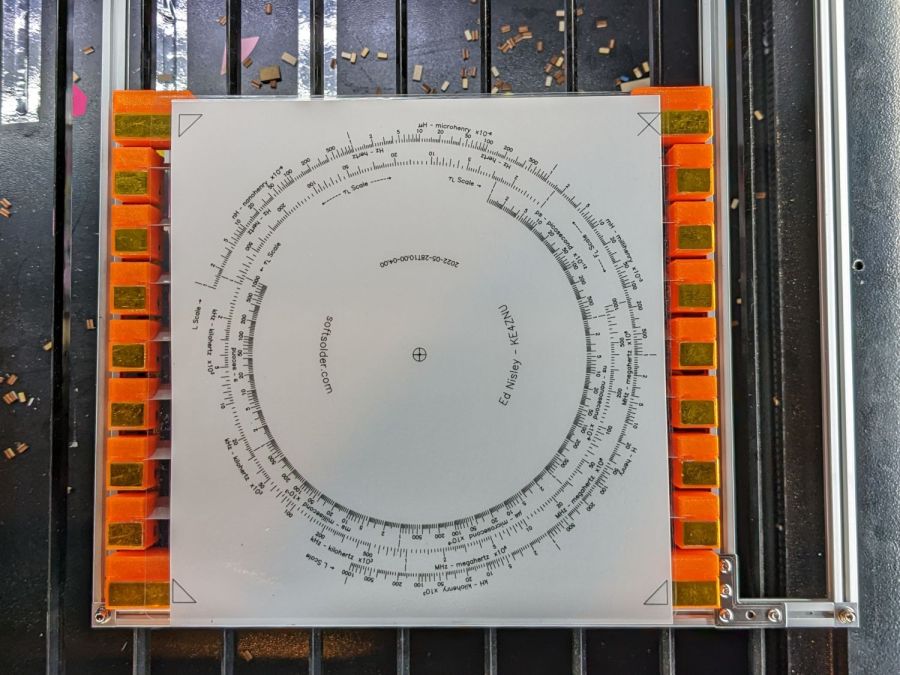
Applying a laser cutter to paper-like materials requires balancing two contradictory imperatives:
Hold the sheet flat to avoid distortions
Have nothing below to avoid schmutz on the bottom
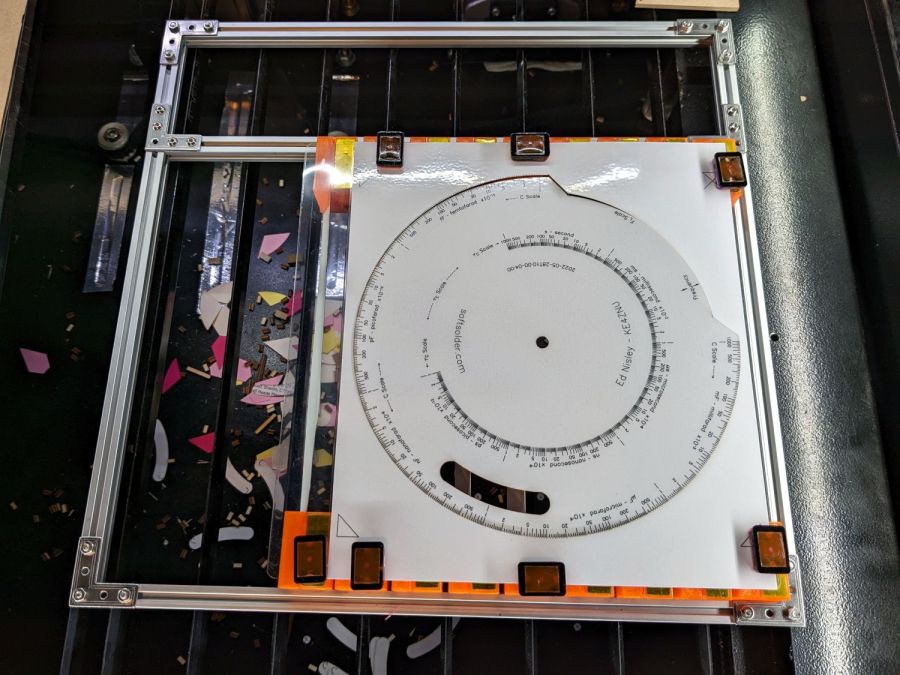
This seemed like a good compromise:
Sheet Holder – Tek CC bottom deck
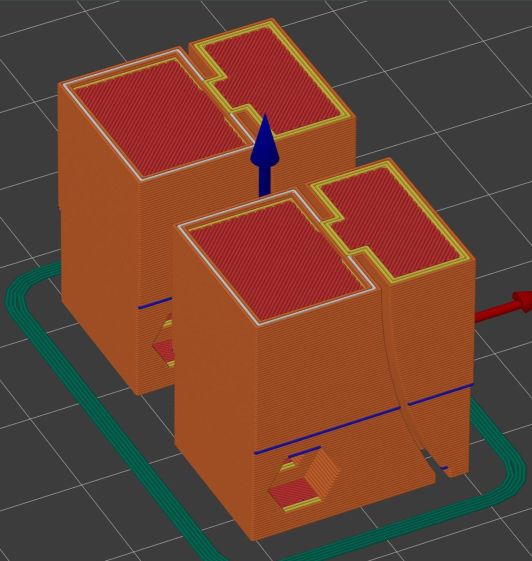
The orange 3D printed blocks hold aluminum miniblind blades:
Sheet Holder – steel sheet magnet pads
The curved slots hold the blades flush with the upper surface and align their top sides parallel to the laser beam, giving the beam very little blade to chew on near the focus point and allowing plenty of room below the sheet to dissipate cutting fumes.
The gold-ish squares are thin steel sheets covered with Kapton tape, painstakingly filed en masse from small snippets:
Sheet Holder – filed steel pads
The first iteration used precisely laser-cut refrigerator magnet pieces, in the expectation a crappy rubber magnet would provide just enough attraction to let a neodymium magnets hold the paper flat, without risk of blood blisters between fingers and steel:
Sheet Holder – ferrite magnet pads
As expected, contact with the neo magnet completely wiped away the alternating pole magnetism in the rubber sheet, leaving a weakly attractive non-metallic surface. Alas, the rubber had too little attraction through a laminated sheet of paper, so I switched to real steel and risked the blisters.
Most of the blocks are narrow:
Sheet Holder Bracket – solid model
The four corners are wider:
Sheet Holder Bracket – wide – solid model
They’re symmetric for simplicity, with recesses for the magnets / steel sheets on the top. The through-holes have recesses for M3 SHCS holding them to T-nuts in Makerbeam rails, with a slightly overhanging alignment ledge keeping them perpendicular to the rail.
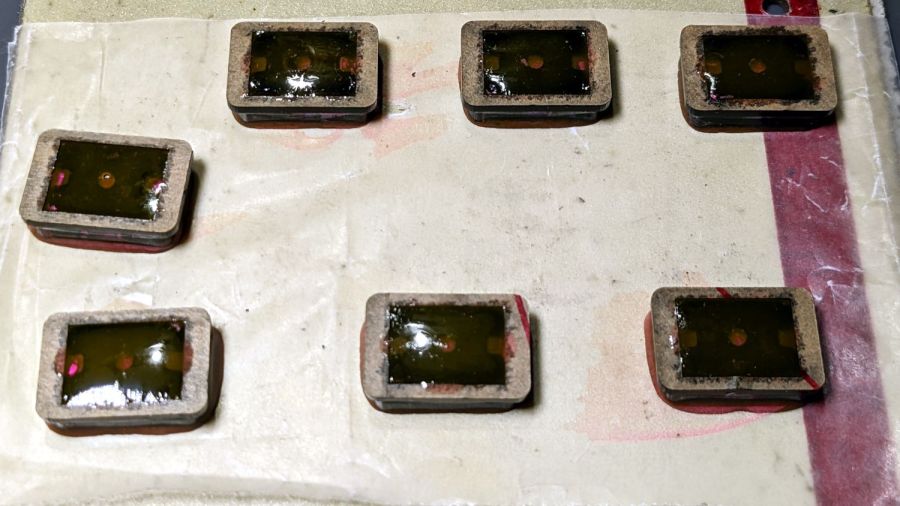
The magnets come from an array of worn-out Philips Sonicare toothbrush heads:
Sheet Holder – magnet holders curing
They’re epoxied inside a two-piece mount, with the lower part laser-machined from 3 mm acrylic to put the two magnets in each assembly flush with the lower surface; the green area gets engraved 1 mm below the surface for the steel backing plate. The 1.5 mm upper frame fits around the plate and protrudes over the ends just enough for a fingernail grip:
Magnet Holder Cuts
The epoxy got a few drops of fuschia dye, because why not:
Sheet Holder – trimmed magnet holders
The garish trimmings came from slicing the meniscus around the lower part of the holder off while the epoxy was still flexy.
The holders must be flat for clearance under the focus pen:
Sheet Holder – focus probe clearance
Some experimentation suggests I can raise the pen by maybe 2 mm (with a corresponding increase in the Home Offset distance) , but the switch travel requires nearly all of the protruding brass-colored tip and there’s not much clearance under the nozzle at the trip point.
With all that in hand, it works fairly well:
Sheet Holder – Tek CC cutout
The lower deck has very little margin for gripping, which is why the four corner blocks must be a bit wider than the others.
The lamInator tends to curl the sheets around their width, so most of the clamping force should be along the upper and lower edges to remove the curl at the ends. This requires turning the whole affair sideways and deploying more magnets, which is possible for the smaller middle and upper decks:
Sheet Holder – Tek CC middle deck
Protruding SHCS heads on the four corners snug up against the edge of the knife-edge bed opening for Good Enough™ angular alignment.
Plain paper (anything non-laminated) seems generally flat enough to require no more than the corner magnets.
It’s definitely better than the honeycomb surface for fume control!
This file contains hidden or bidirectional Unicode text that may be interpreted or compiled differently than what appears below. To review, open the file in an editor that reveals hidden Unicode characters.
Learn more about bidirectional Unicode characters
The axis scale error, however, took me by surprise.The X axis travels on the order of 0.2 mm more along 250 mm, about 0.08%, than the Y axis, even after my tedious calibration. I must do that calibration again, because, as Miss Clavel observed in a different context, Something Is Not Right.
And, yes, that tiny difference is enough to misalign the last few fingers with their holes, to the extent of requiring somewhat more than Gentle Persuasion with a plastic mallet.
While running some finger-joint test pieces, this happened:
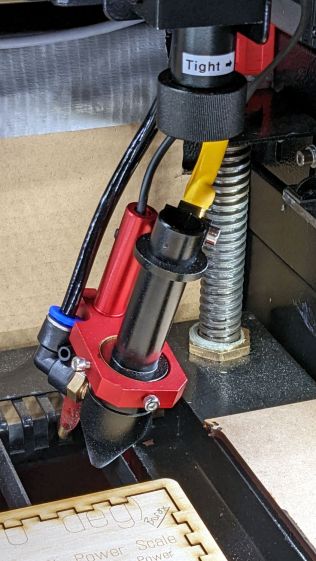
Detached laser lens holder
The knurled ring just below the Tight→ label worked its way loose and released the lens holder tube collet, whereupon the whole affair fell out and dangled on the air hose & wires as the gantry continued to zigzag along the finger pattern.
As is my custom, I was watching the proceedings and managed to poke the controller’s STOP button, which was a mistake. What I should have done was slap the EMERGENCY STOP mushroom switch, because the STOP button just tells the controller to cancel the current action and return to the home position, which resulted in dragging the lens holder across the plywood and platform.
The more typical laser cutter failure seems to be having the controller execute the Halt and Catch Fire instruction, resulting in at least a ruined workpiece, sometimes a ruined laser, and occasionally a serious conflagration.
Lesson learned: practice slapping the Big Red Switch every now and then.
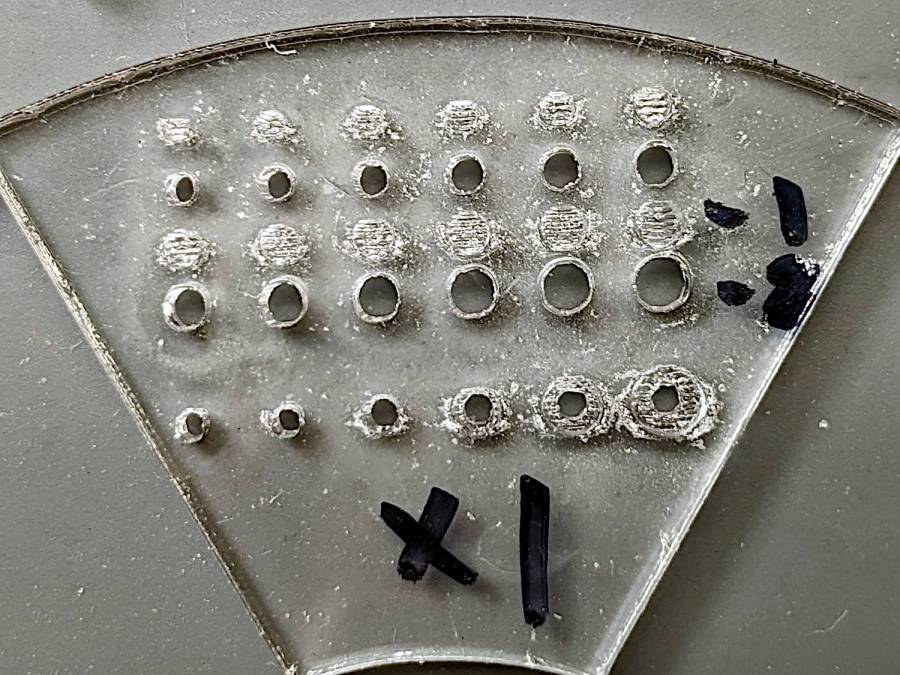
Laser-cutting alignment pin holes in the most recent smashed-glass coaster raised the question of whether it’s feasible to engrave a deep recess around a hole with Good Enough accuracy for things like recessed screw heads.
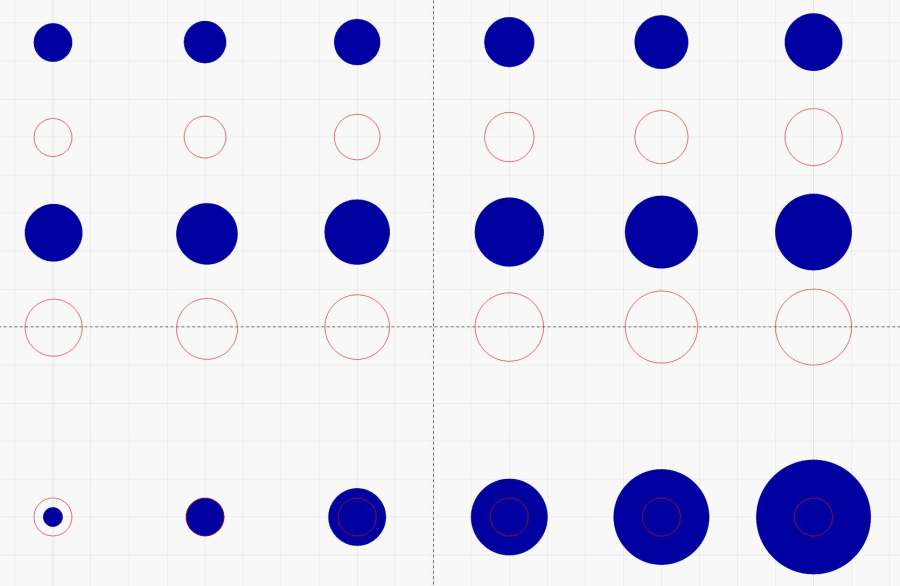
The test image:
Scan vs cut offset
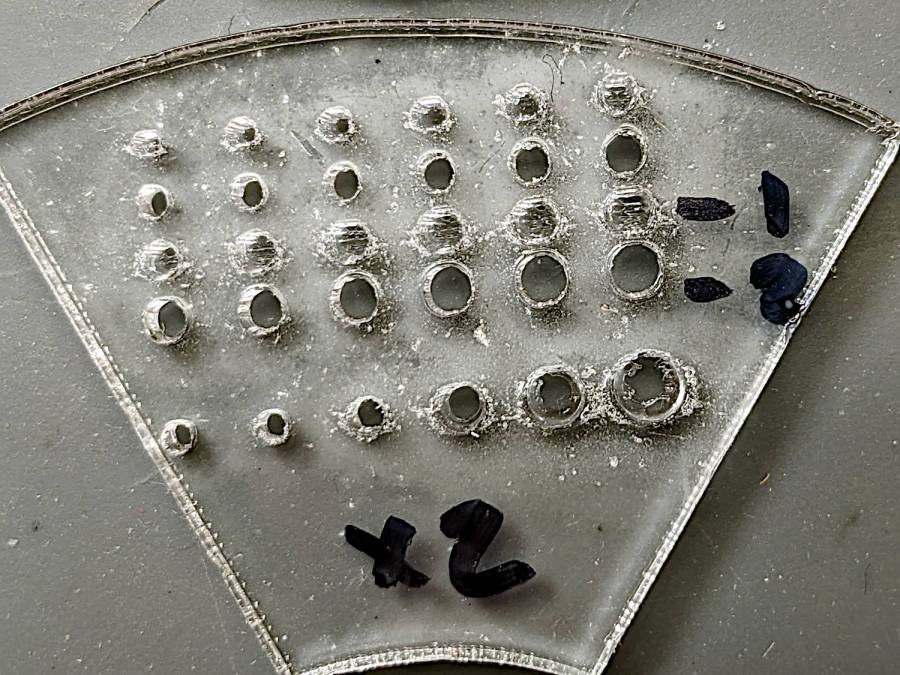
The top two rows create engraved recesses and cut holes from 1.0 to 1.5 mm and the next two rows run from 1.5 to 2.0 mm. The bottom row has 1.0 mm holes centered in engraved pits from 0.5 mm to 3.0 mm; obviously, the first hole will subsume its pit.
The first pass looked promising, although the edges of the engraved pits seemed ragged:
Scan vs cut alignment – first test
Perhaps the replacement power supply has different timing than the original one?
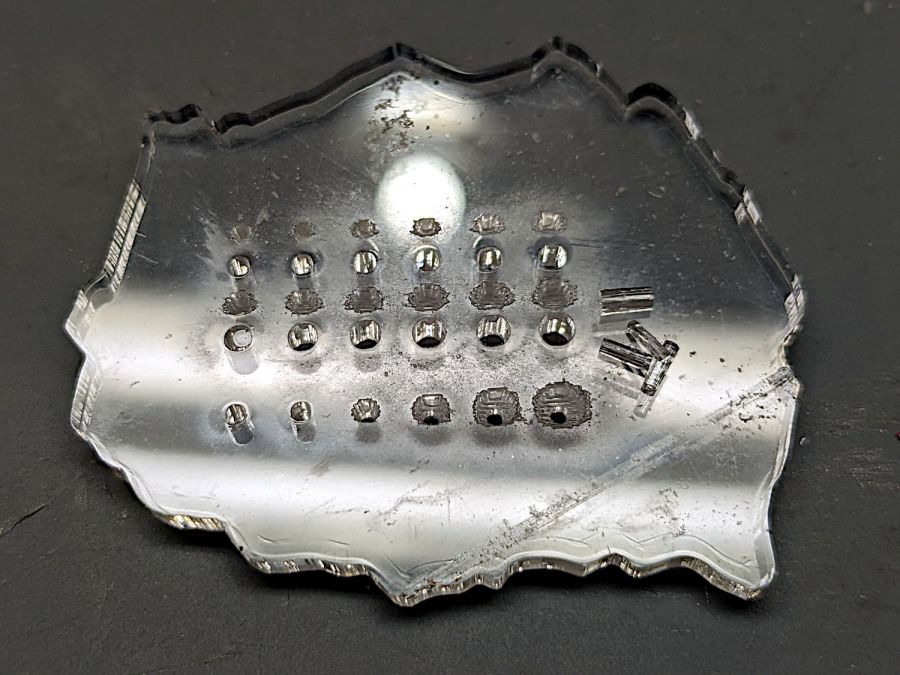
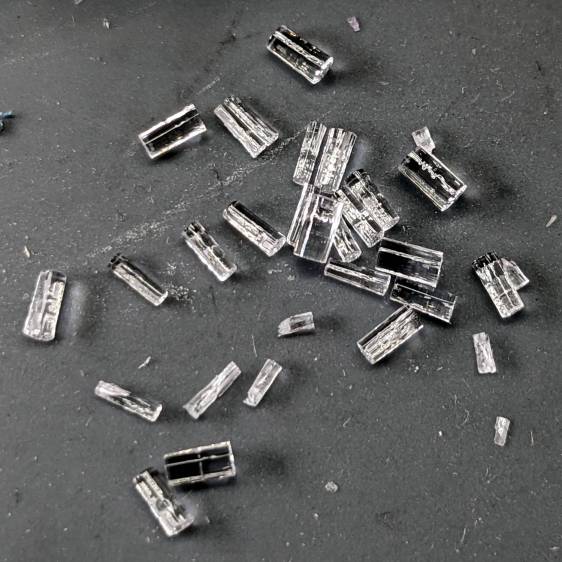
I’m still surprised that the core of a laser-cut hole falls right out of the sheet, right down to a sliver from a 1 mm hole:
Cut hole cores
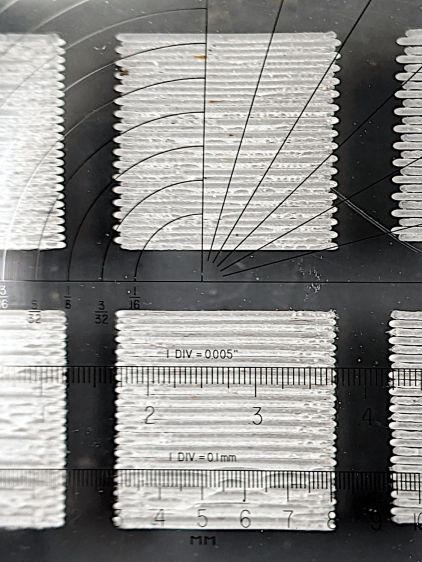
Recalibrating the scan offset got the errors down to 0.1 mm in either direction:
Scan offset – 300 200 mm-s 0.15mm offset
The lines in the middle column are spaced 0.15 mm apart at scan speeds of 300 mm/s (top) and 200 mm/s (bottom).
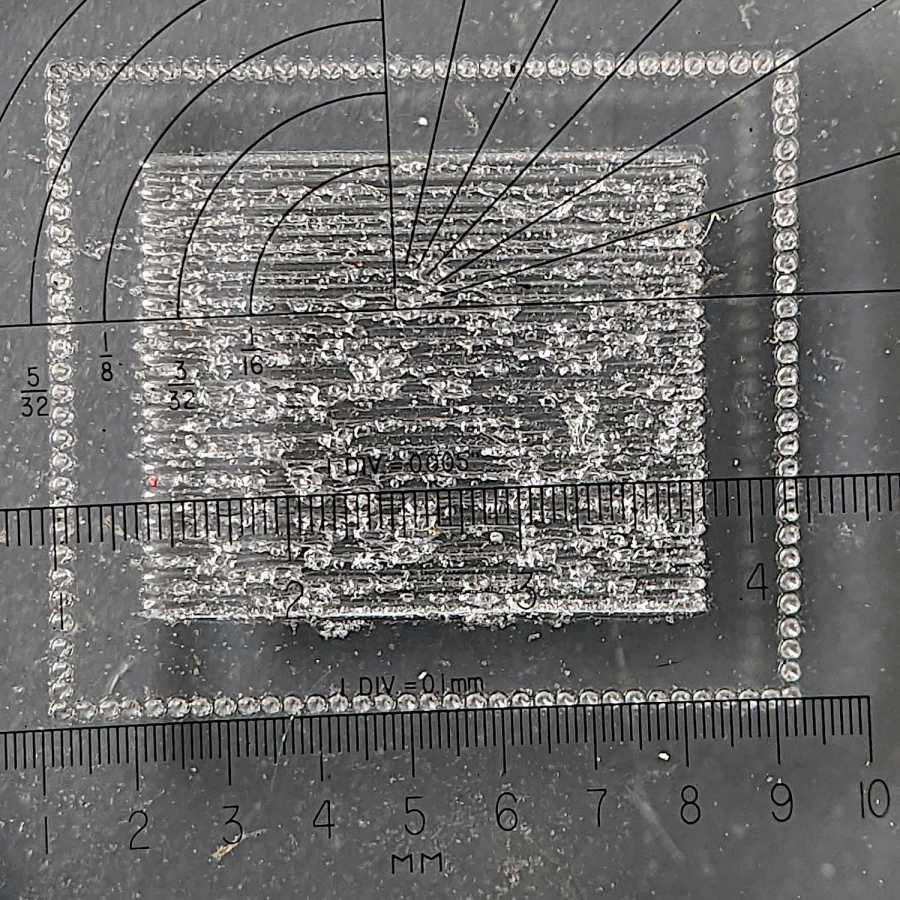
Another test pattern puts an engraved rectangle inside a dot-mode cut line with 1 mm spacing on all sides:
Scan vs cut alignment – 300 mm-s 0.15mm
That’s wonderfully accurate!
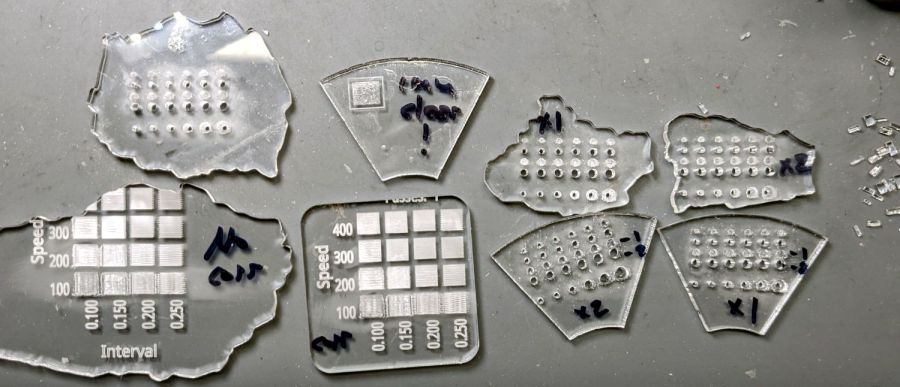
A few more test pieces later:
Scan vs cut alignment – test pieces
Returning to the pits-and-holes test, with one engraving pass:
Scan vs cut alignment – holes x1 engrave
That’s lined up to be looking directly down the 3 mm pit in the lower right, which looks fine.
Two engraving passes makes the pits deeper (nearly through the 2.5 mm arylic) and somewhat messier, but still nicely aligned with the holes:
Scan vs cut alignment – holes x2 engrave
Engraving the recess before cutting the hole seems to produce a better result, perhaps because both the engraving and the cutting encounter uniform surfaces.
All in all, this worked out better than I expected.
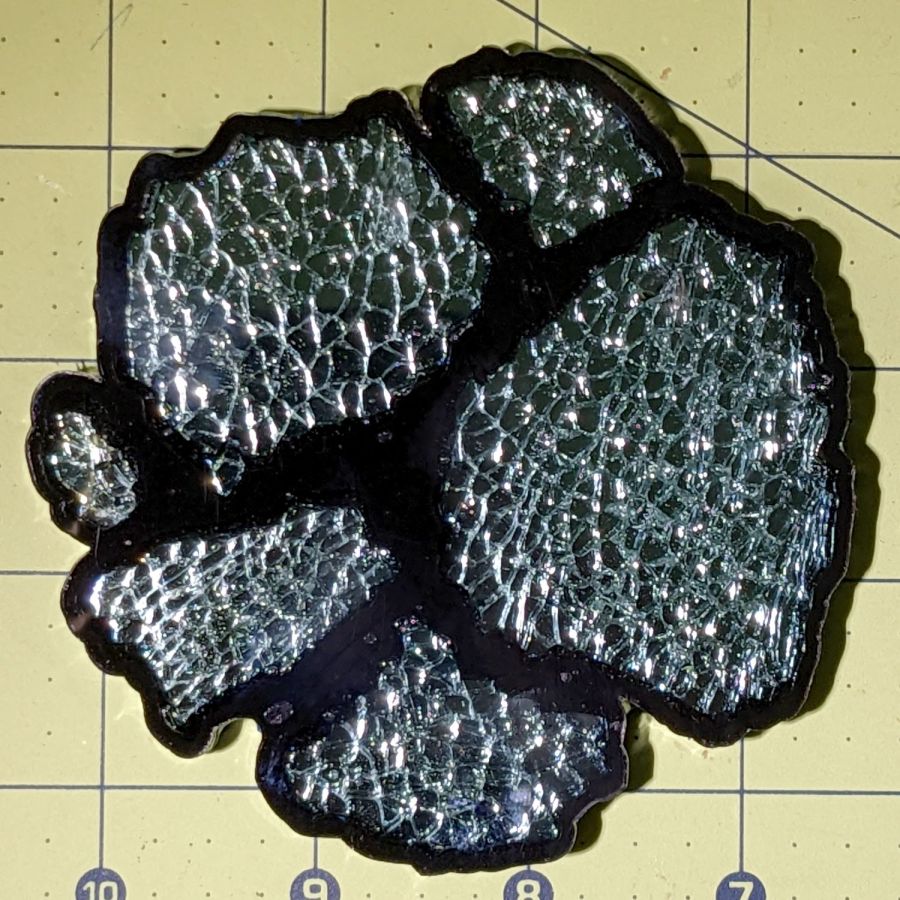
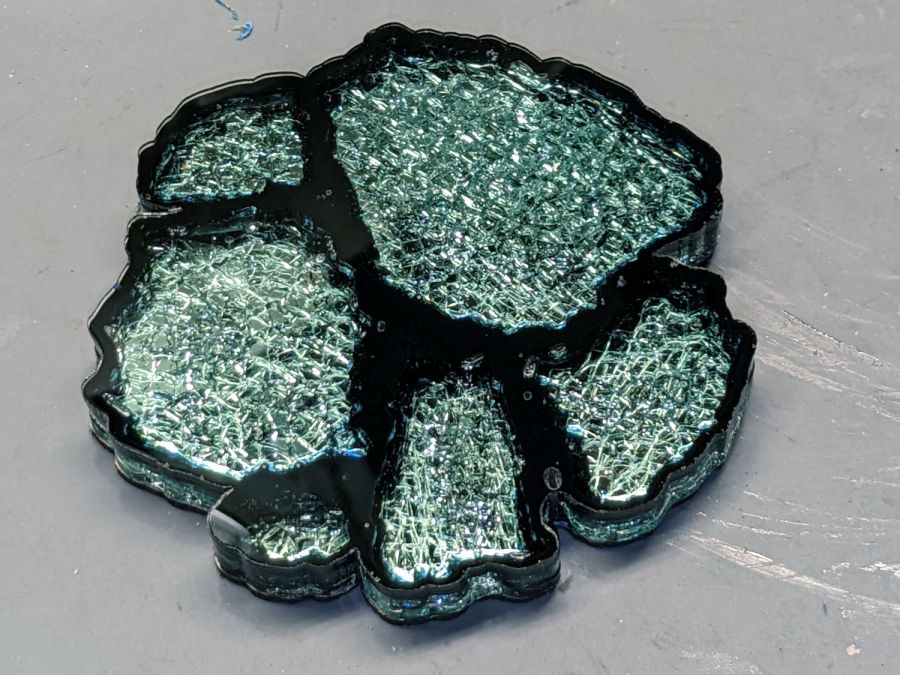
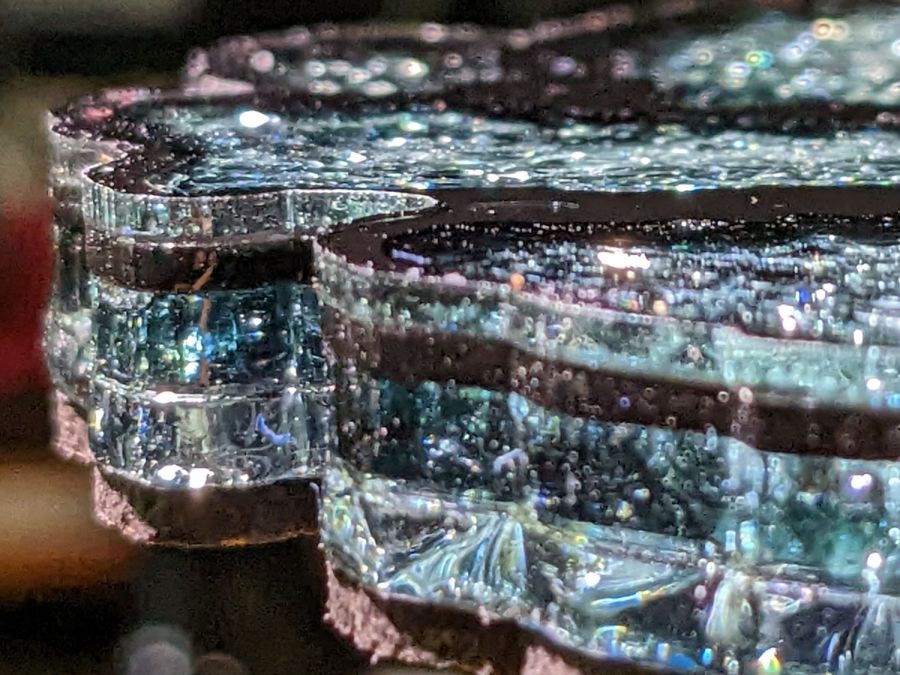
Epoxy tinted with transparent black dye does a pretty good job of not obliterating the cracks between the cuboids. In person, the cracks seem less conspicuous around the borders of the glass pieces, but they’re visible enough for this ahem use case.
Under the proper lighting, a few bubbles appear along and above the black layer:
The conical end comes from grabbing an 8 mm snippet of 3/64 inch steel rod in a pin vise and twirling it against Mr Bench Grinder for a few seconds.
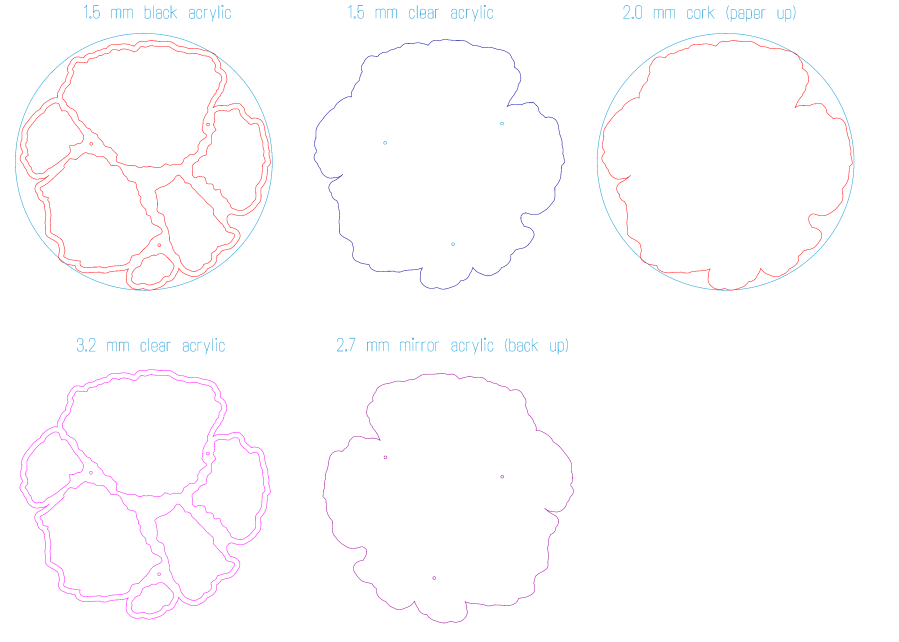
The pins pretty much dropped into 1.1 mm holes created while cutting the sheets. The tiny circles mark the laser path around the pin holes:
Coaster 5 – layers
The “holes” in the top sheet (upper middle) are in the Tool 2 layer so they’re not cut, because it was easier to match-drill holes halfway into the top sheet with the drill press than to figure out how to convince the laser to not punch all the way through. Engraving (along the lines of the earring borders) might work, but I’m not sure how well a high-aspect-ratio hole will engrave.
The mirror sheet is reversed left-to-right in order to cut it from the back of the reflective layer. I’m not certain this is necessary, because acrylic is basically opaque to 10.6 µm IR light and any doubly attenuated reflected light will diverge strongly from the focus point at the top surface, but it’s the recommended procedure and easy enough to do.
The cork cuts with its adhesive layer up and blue tape on the bottom to prevent soot from accumulating in all the surface crevices.
The alignment pins worked surprisingly well:
Smashed Glass Coaster 5 – edge alignment A
The top sheet sticks out 0.3 mm on one side:
Smashed Glass Coaster 5 – edge alignment B
Oddly, there’s no place where the top sheet is indented by any noticeable amount, so there may be slight size differences depending on all the colors and ages in that stack of plastic sheets.
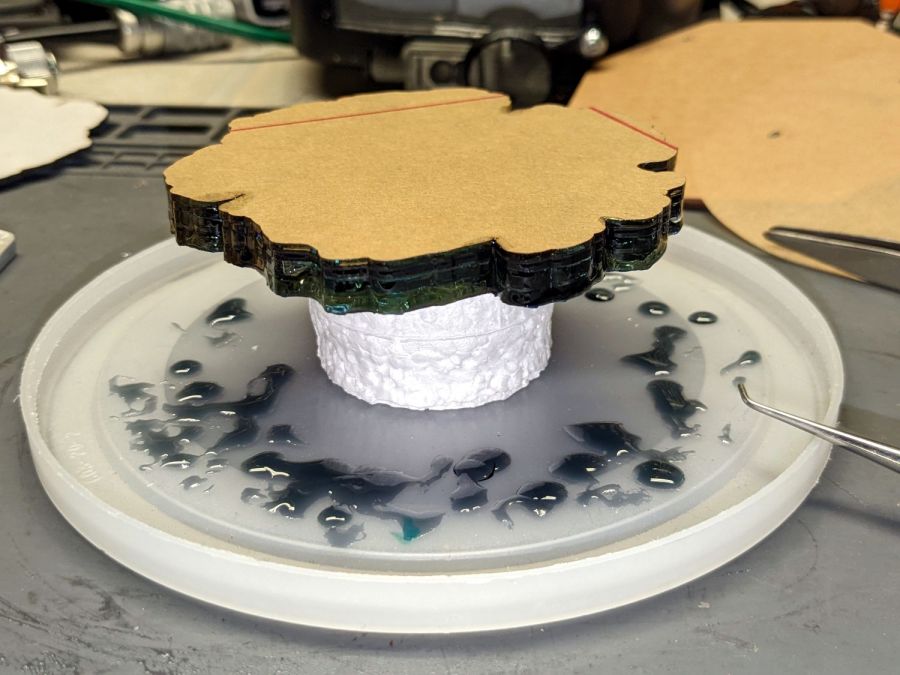
I’ll cure the next one top-side down, giving the bubbles an opportunity to rise toward the mirror layer and maybe become less conspicuous:
Smashed Glass Coaster 5 – curing
The tricky part: finding and arranging glass chunks within a 100 mm circle!
Avoiding narrow gaps and acute angles in the perimeter, as the notch on the left side, should simplify draining the epoxy.