This actually worked out the way I expected:
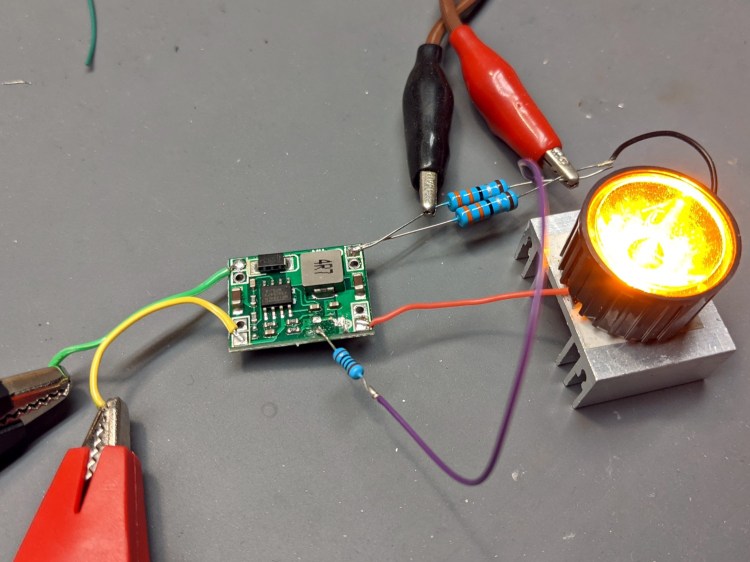
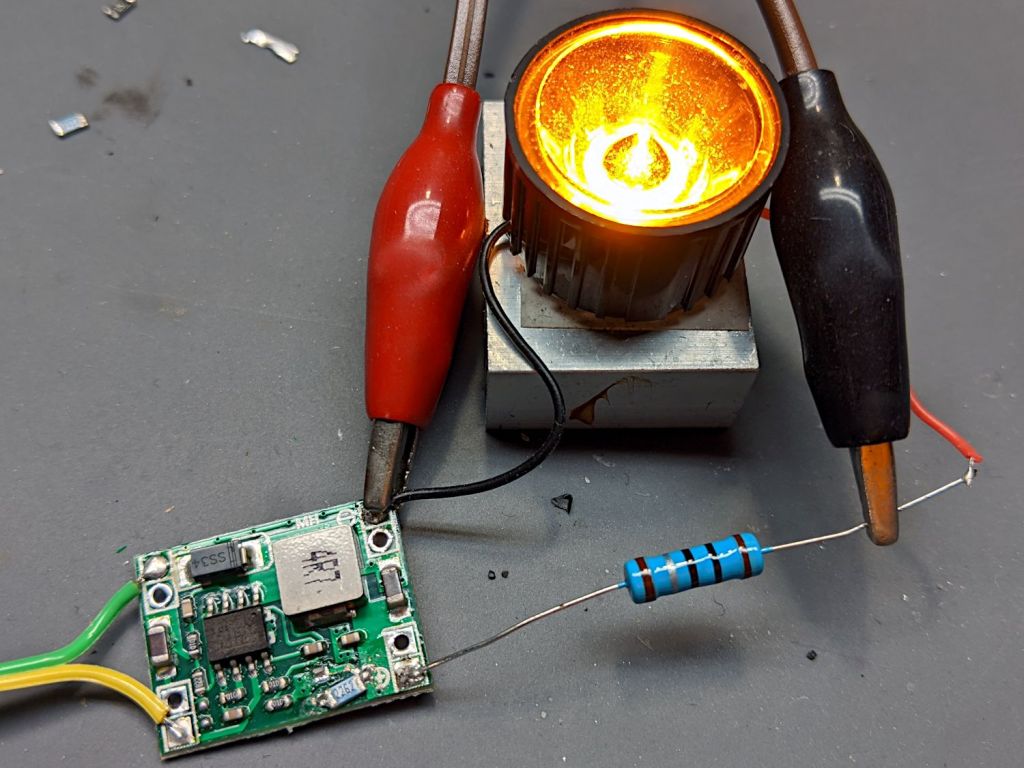
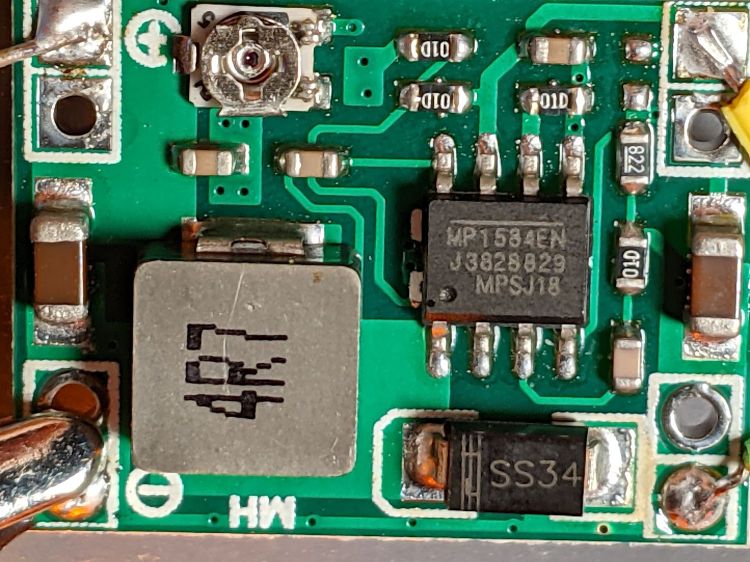
The PCB is the generic MP1584 buck regulator, as seen before in its normal voltage feedback mode, rewired to get feedback based on the LED current, so that it adjusts the output voltage to maintain a constant LED current, regardless of LED forward drop variations.
Pin 4 normally sees the output voltage divided down to the 0.8 V error comparator reference voltage:
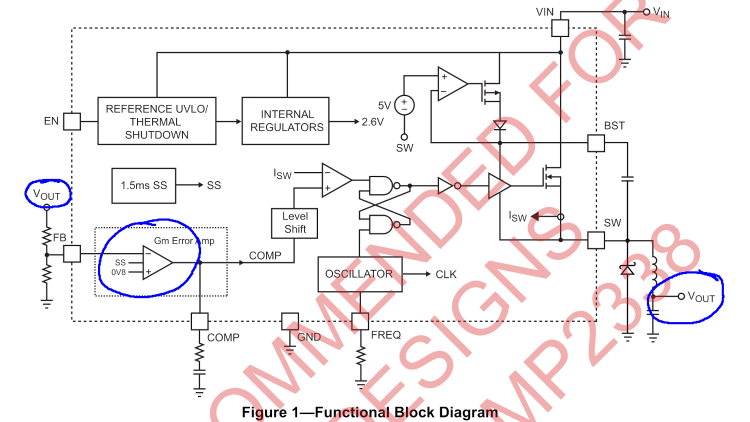
Yes, the MP1584 is “not recommended for new designs”, which surely accounts for the myriad cheap regulators built around it. Somebody picked up a great deal on a vast pile of obsolete ICs and is passing the savings along to us; there are exactly zero hits for MP2338 buck regulators.
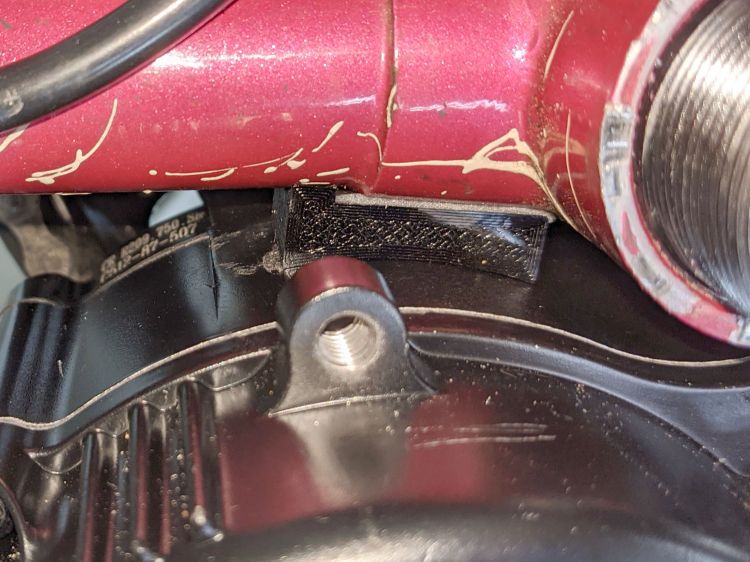
Putting the ballast resistor on the low side of the LED turns it into a current sensor:

Pick R to drop 0.8 V at the desired LED current and It Just Works™.
The two 3.3 Ω resistors in the top photo produce a 1.65 Ω sense resistor to set the LED current at:
485 mA = 800 mV / 1.65 Ω
It actually works out to a bit higher than that, because I stuck a 100 Ω resistor in series with the feedback input. The PCB still has the 8.2 kΩ resistor from the original voltage divider, so the error amp sees only 99% of the sense voltage, but it’s close enough.
With 6.3 V and 0.28 A = 1.76 W from the bench supply over on the left, the regulator puts 490 mA through the LED. The LED drops 2.54 V = 1.24 W and the resistor drops 0.809 V (that 1% thing) = 0.4 W for a total of 3.35 V and 1.64 W. The regulator is 93% efficient, although the resistor burns a quarter of the energy.
One could use a Hall effect current sensor and an op amp circuit to deliver the proper feedback voltage without resistive loss, but I think burning half a watt is Good Enough for the purpose.
One could add parallel resistors with MOSFET switches to set the LED current. An unswitched resistor would set the lowest current, with switched parallel resistors lowering the resistance, raising the current, and brightening the LED.
The PCB leaves the Enable input floating with an internal pullup. Grounding the pin shuts off the LED as you’d expect, so I can blink the LED without any further hassle.
One could imagine simultaneously blinking and brightening the LED as needed.
That was surprisingly simple …