The Smell of Molten Projects in the Morning

Ed Nisley's Blog: Shop notes, electronics, firmware, machinery, 3D printing, laser cuttery, and curiosities. Contents: 100% human thinking, 0% AI slop.

Category: Machine Shop

Mechanical widgetry

  • MPCNC Diamond Engraver: LM3UU Bearings, First Pass

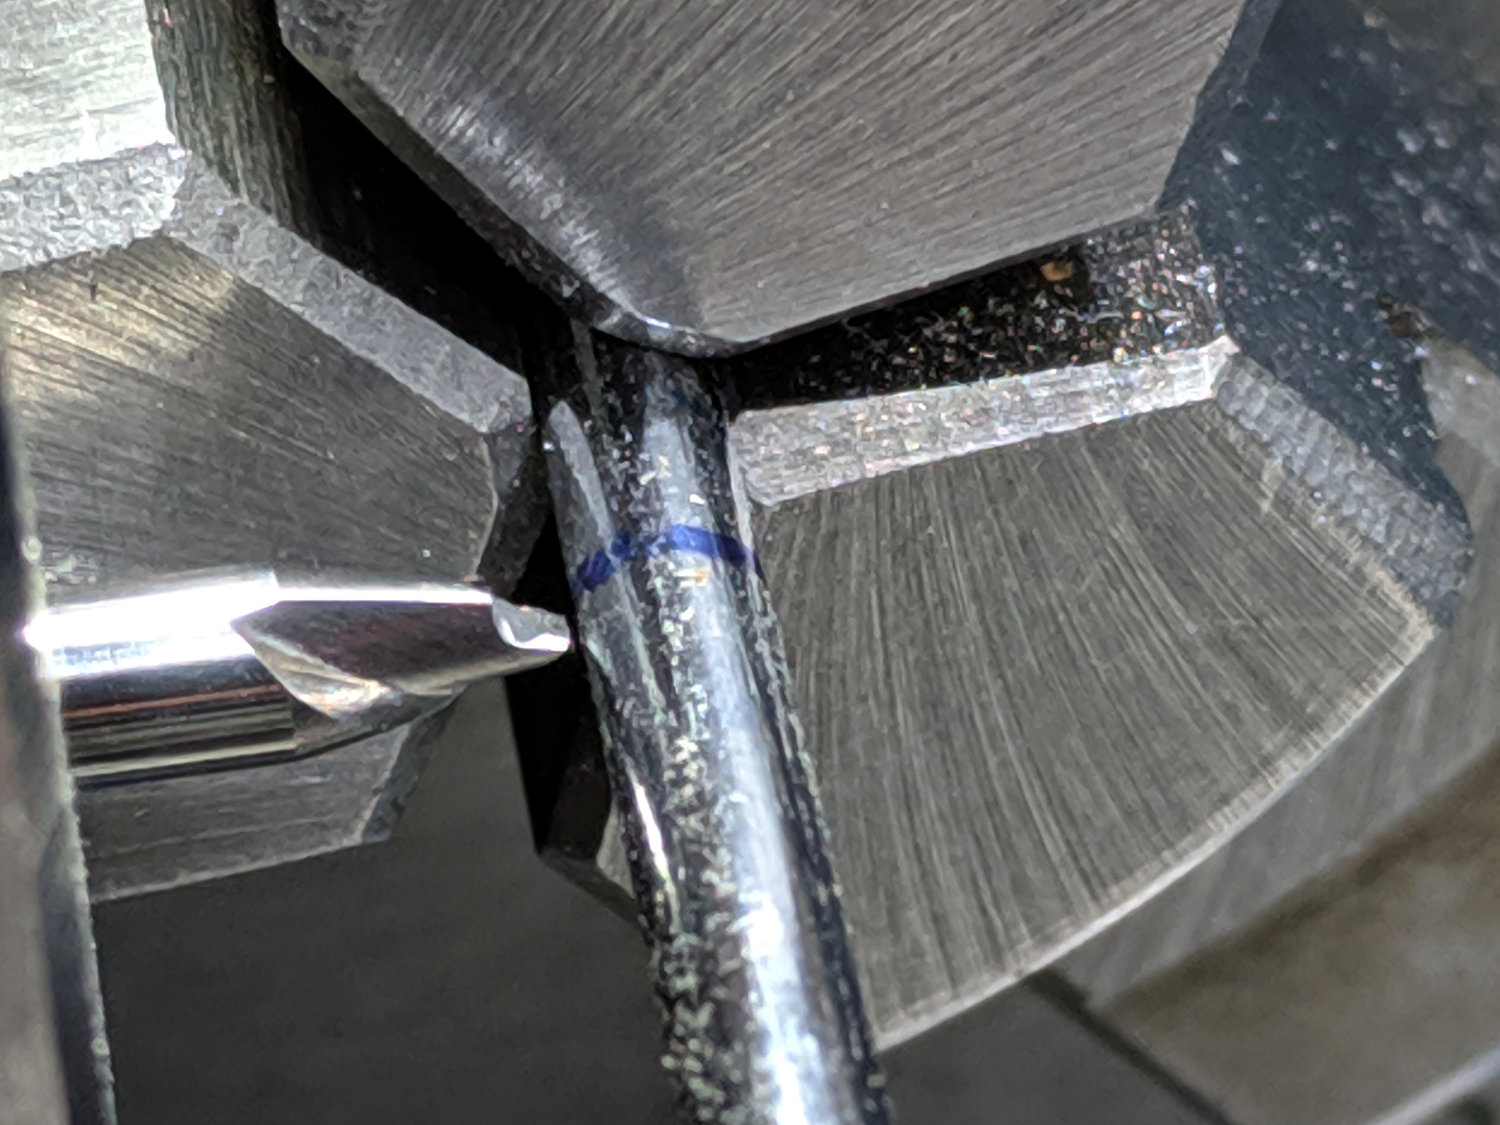
    Gripping a diamond engraver in a collet chuck worked well enough, but the MPCNC’s pen holder lacks sufficient downforce and lateral stiffness. The bit has a chrome-ish plated 3 mm shank, so I tinkered up a mount for a pair of LM3UU linear bearings from the LM12UU drag knife holder:

    Diamond Scribe - LM3UU - Rev 1 - point view
    Diamond Scribe – LM3UU – Rev 1 – point view

    The shank isn’t exactly a precision part, but a few licks with a diamond file knocked off enough of the high spots so it slides reasonably well through the bearings. The bearing alignment is more critical than a simple 3D printed plastic part can provide, so a real version may need bearings in a metal shaft press-fit into the plastic; brute-forcing the bearings into alignment sufficed for now.

    The butt end of the shank press-fits into a disk held down with three springs, similar to the LM12UU mount:

    Diamond Scribe - LM3UU - Rev 1 - top view
    Diamond Scribe – LM3UU – Rev 1 – top view

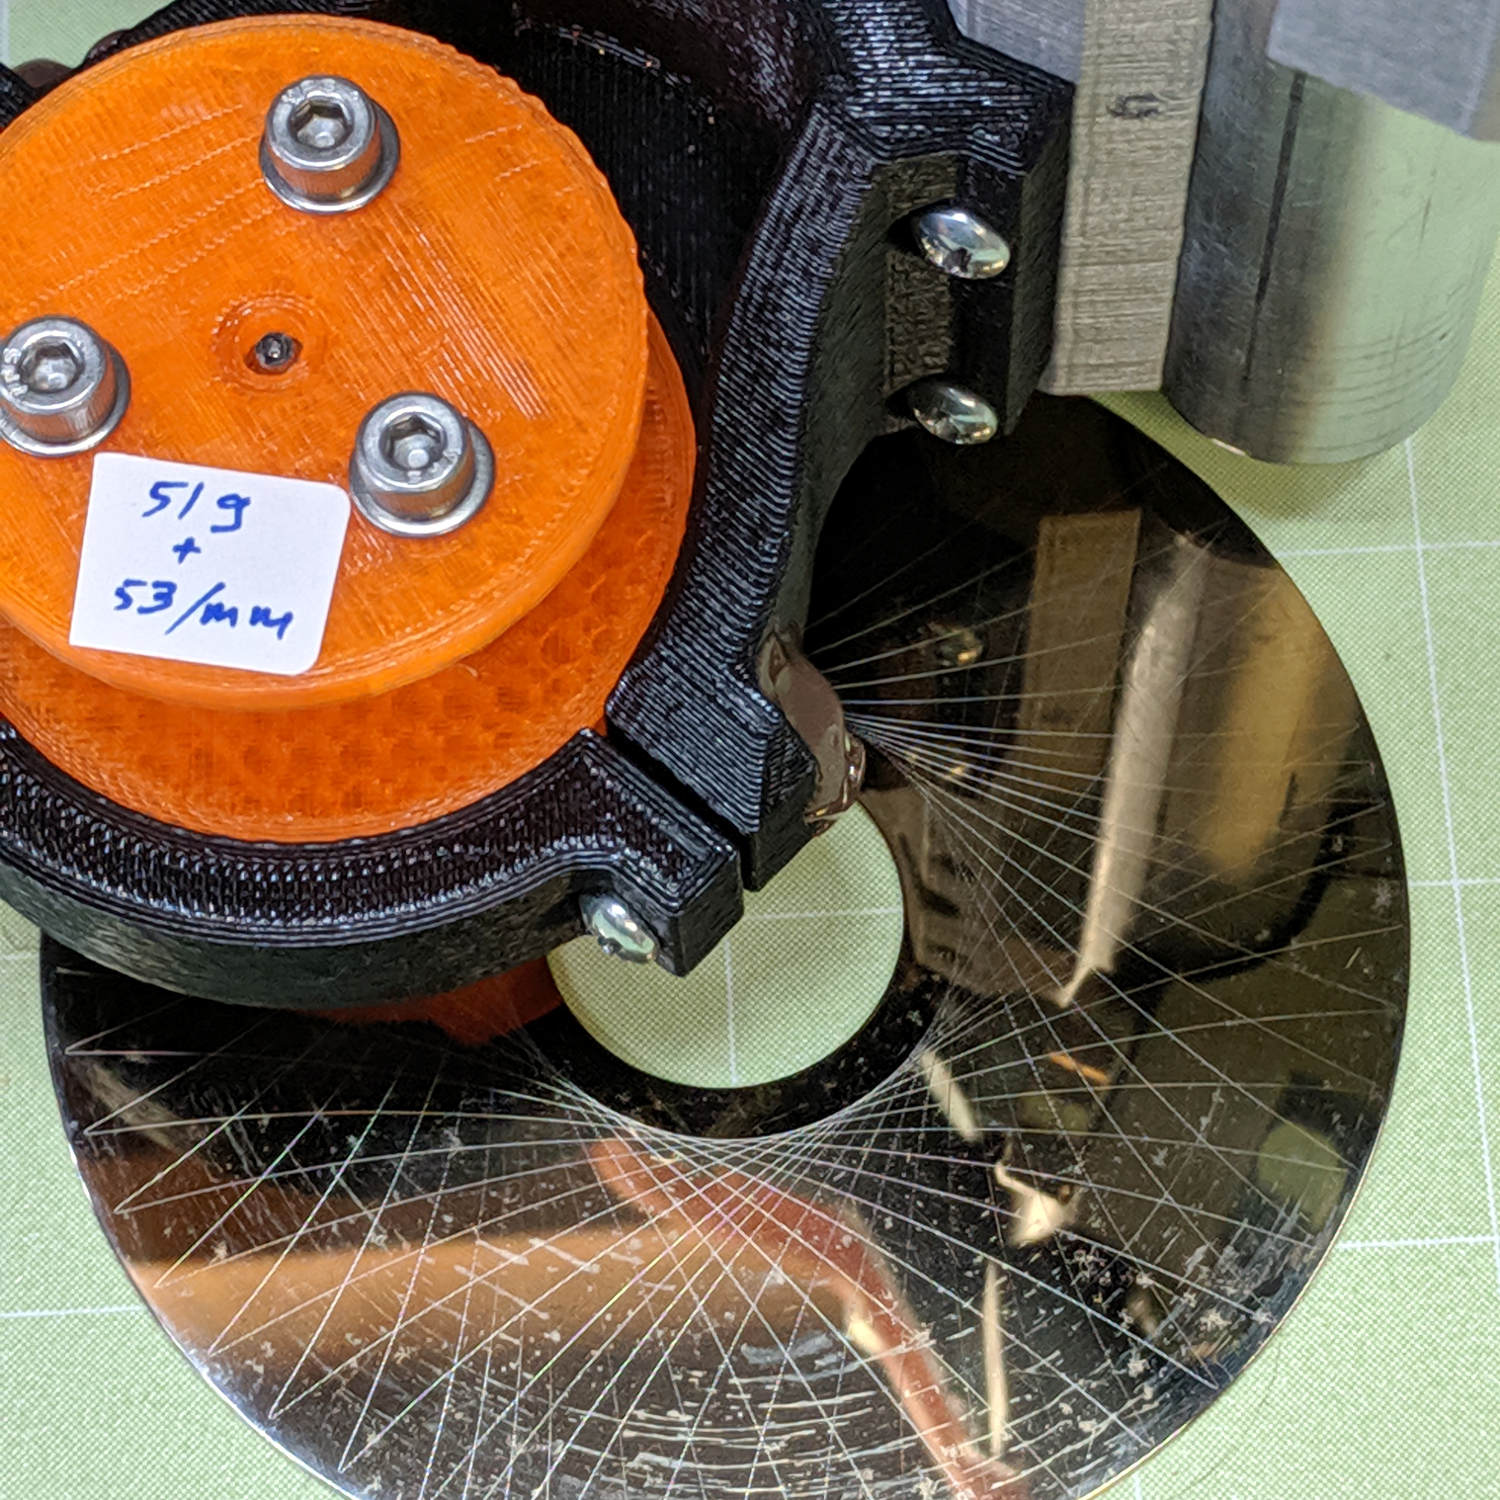
    It draws Guilloché patterns just fine:

    Diamond Scribe - LM3UU - Rev 1 - first light
    Diamond Scribe – LM3UU – Rev 1 – first light

    I don’t like how the spring-around-screw motion works, even if it’s OK for small excursions.

  • MPCNC Drag Knife: LM12UU Linear Bearing

    The anodized body of the drag knife on the left measures exactly 12.0 mm OD:

    Drag Knife holders - detail
    Drag Knife holders – detail

    Which happy fact suggested I might be able to use a standard LM12UU linear bearing, despite the obvious stupidity of running an aluminum “shaft” in a steel-ball bearing race:

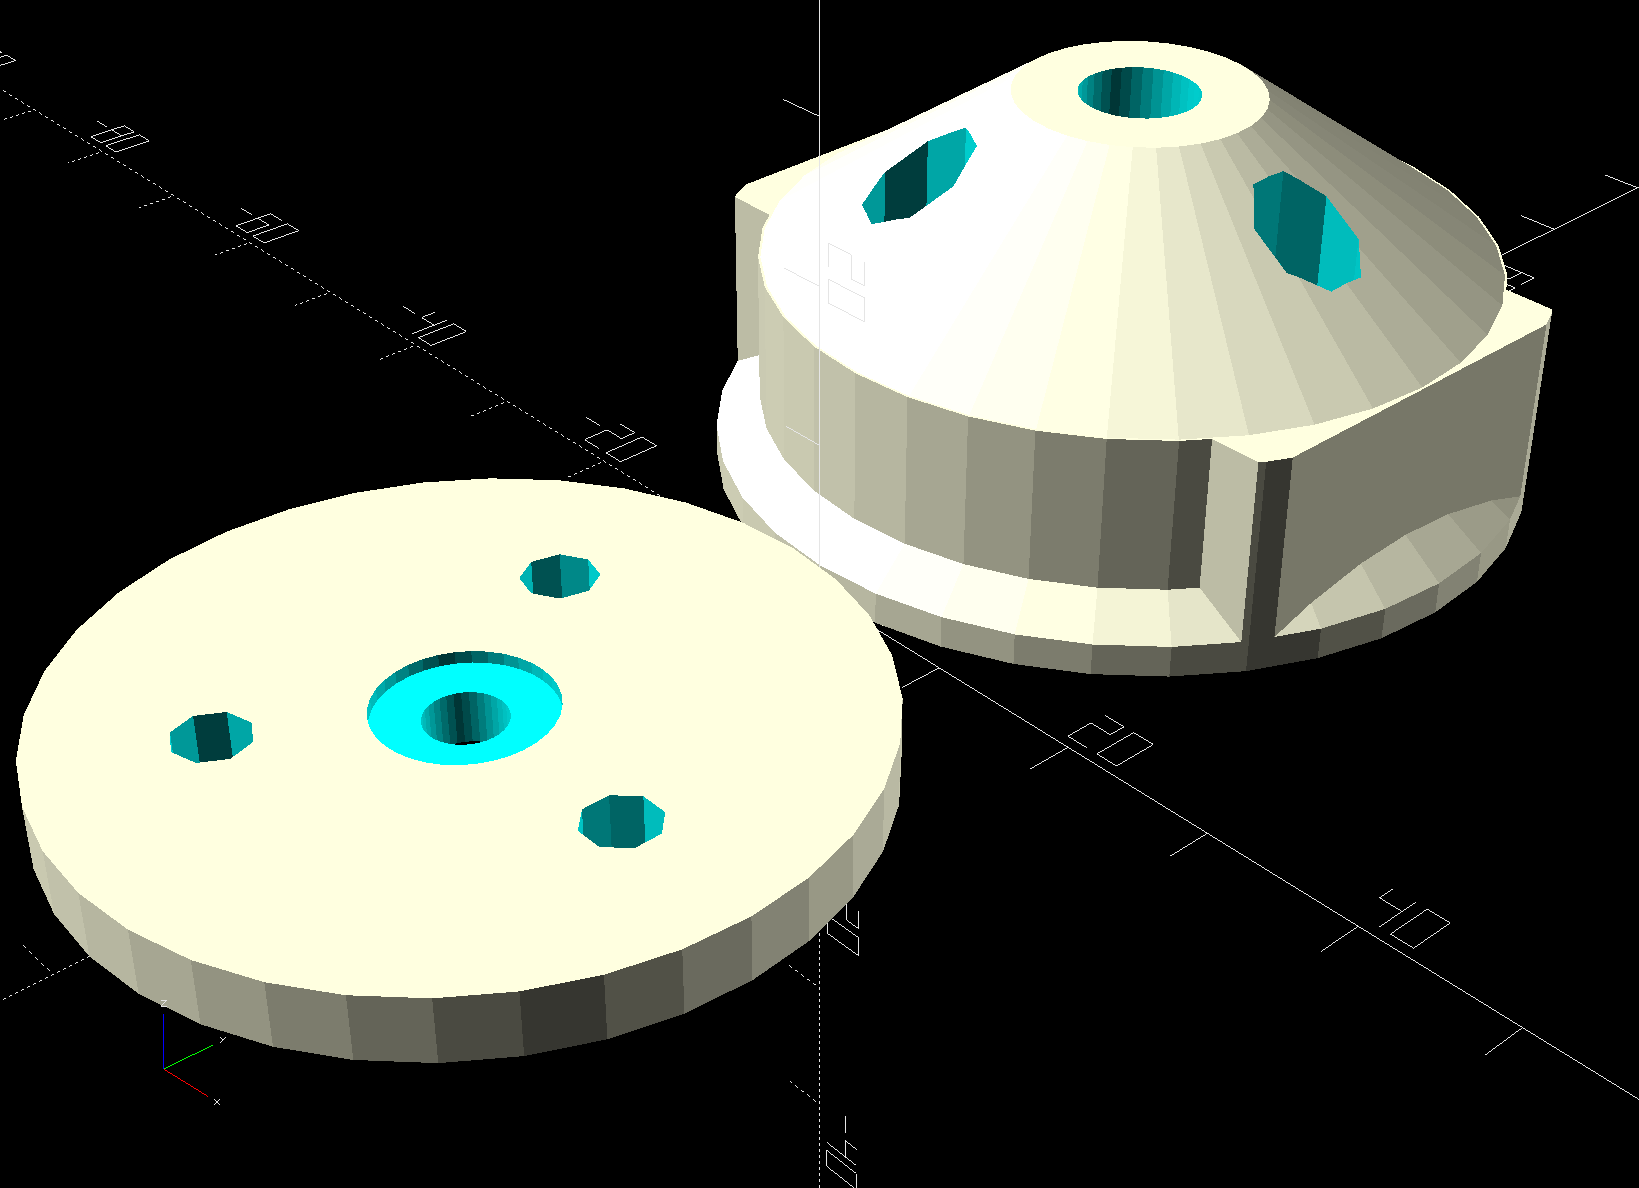
    Drag Knife - LM12UU holder - solid model
    Drag Knife – LM12UU holder – solid model

    The 12 mm section extends about halfway through the bearing, with barely 3 mm extending out the far end:

    Drag Knife - LM12UU - knife blade detail
    Drag Knife – LM12UU – knife blade detail

    Because the knife body isn’t touching the bearing for the lower half of its length, it’ll probably deflect too much in the XY plane, but it’s simple enough to try out.

    As before, the knife body’s flange is a snug fit in the hole bored in the upper disk:

    Drag Knife - spring plate test fit
    Drag Knife – spring plate test fit

    This time, I tried faking stripper bolts by filling the threads of ordinary socket head cap screws with epoxy:

    Ersatz stripper bolts - epoxy fill
    Ersatz stripper bolts – epoxy fill

    Turning the filled section to match the thread OD showed this just wasn’t going to work at all, so I turned the gunked section of the threads down to about 3.5 mm and continued the mission:

    Drag Knife - LM12UU holder - assembled
    Drag Knife – LM12UU holder – assembled

    Next time, I’ll try mounting the disk on telescoping brass tubing nested around the screws. The motivation for the epoxy nonsense came from the discovery that real stainless steel stripper bolts run five bucks each, which means I’m just not stocking up on the things.

    It slide surprisingly well on the cut-down screws, though:

    Drag Knife - applique templates
    Drag Knife – applique templates

    Those appliqué templates came from patterns for a block in one of Mary’s current quilting projects, so perhaps I can be of some use whenever she next needs intricate cutouts.

    The OpenSCAD source code as a GitHub Gist:

    // Drag Knife Holder using LM12UU linear bearing
    // Ed Nisley KE4ZNU – 2019-04-26
    Layout = "Show"; // [Build, Show, Puck, Mount, Plate]
    /* [Extrusion] */
    ThreadThick = 0.25; // [0.20, 0.25]
    ThreadWidth = 0.40; // [0.40]
    /* [Hidden] */
    Protrusion = 0.1; // [0.01, 0.1]
    HoleWindage = 0.2;
    inch = 25.4;
    function IntegerMultiple(Size,Unit) = Unit * ceil(Size / Unit);
    ID = 0;
    OD = 1;
    LENGTH = 2;
    //- Adjust hole diameter to make the size come out right
    module PolyCyl(Dia,Height,ForceSides=0) { // based on nophead's polyholes
    Sides = (ForceSides != 0) ? ForceSides : (ceil(Dia) + 2);
    FixDia = Dia / cos(180/Sides);
    cylinder(r=(FixDia + HoleWindage)/2,h=Height,$fn=Sides);
    }
    //- Dimensions
    // Basic shape of DW660 snout fitting into the holder
    // Lip goes upward to lock into MPCNC mount
    Snout = [44.6,50.0,9.6]; // LENGTH = ID height
    Lip = 4.0; // height of lip at end of snout
    // Knife holder & suchlike
    KnifeBody = [12.0,15.9,2.0]; // flange epoxied to top of diamond shaft, with epoxy fillet
    WallThick = 4.0; // minimum thickness / width
    Screw = [4.0,8.5,8.0]; // holding it all together, OD = washer
    Insert = [4.0,6.0,10.0]; // brass insert
    Bearing = [12.0,21.0,30.0]; // linear bearing body
    Plate = [KnifeBody[ID],Snout[OD] – WallThick,KnifeBody[LENGTH] + WallThick]; // spring reaction plate
    PlateGuide = [4.0,4.8,Plate[LENGTH]]; // … guide tubes
    PuckOAL = max(Bearing[LENGTH],(Snout[LENGTH] + Lip)); // total height of DW660 fitting
    echo(str("PuckOAL: ",PuckOAL));
    Key = [Snout[ID],25.7,(Snout[LENGTH] + Lip)]; // rectangular key
    NumScrews = 3;
    ScrewBCD = 2.0*(Bearing[OD]/2 + Insert[OD]/2 + WallThick);
    NumSides = 9*4; // cylinder facets (multiple of 3 for lathe trimming)
    module DW660Puck() {
    translate([0,0,PuckOAL])
    rotate([180,0,0]) {
    cylinder(d=Snout[OD],h=Lip/2,$fn=NumSides);
    translate([0,0,Lip/2])
    cylinder(d1=Snout[OD],d2=Snout[ID],h=Lip/2,$fn=NumSides);
    cylinder(d=Snout[ID],h=PuckOAL,$fn=NumSides);
    intersection() {
    translate([0,0,0*Lip + Key.z/2])
    cube(Key,center=true);
    cylinder(d=Snout[OD],h=Lip + Key.z,$fn=NumSides);
    }
    }
    }
    module MountBase() {
    difference() {
    DW660Puck();
    translate([0,0,-Protrusion]) // bearing
    PolyCyl(Bearing[OD],2*PuckOAL,NumSides);
    for (i=[0:NumScrews – 1]) // clamp screws
    rotate(i*360/NumScrews)
    translate([ScrewBCD/2,0,-Protrusion])
    rotate(180/8)
    PolyCyl(Insert[OD],2*PuckOAL,8);
    }
    }
    module SpringPlate() {
    difference() {
    cylinder(d=Plate[OD],h=Plate[LENGTH],$fn=NumSides);
    translate([0,0,-Protrusion]) // knife holder body
    PolyCyl(KnifeBody[ID],2*PuckOAL,NumSides);
    translate([0,0,Plate[LENGTH] – KnifeBody[LENGTH]]) // flange, snug fit
    PolyCyl(KnifeBody[OD],KnifeBody[LENGTH] + Protrusion,NumSides);
    for (i=[0:NumScrews – 1]) // clamp screws
    rotate(i*360/NumScrews)
    translate([ScrewBCD/2,0,-Protrusion])
    rotate(180/8)
    PolyCyl(PlateGuide[OD],2*PuckOAL,8);
    }
    }
    //—–
    // Build it
    if (Layout == "Puck")
    DW660Puck();
    if (Layout == "Plate")
    SpringPlate();
    if (Layout == "Mount")
    MountBase();
    if (Layout == "Show") {
    MountBase();
    translate([0,0,1.6*PuckOAL])
    rotate([180,0,0])
    SpringPlate();
    }
    if (Layout == "Build") {
    translate([0,Snout[OD]/2,PuckOAL])
    rotate([180,0,0])
    MountBase();
    translate([0,-Snout[OD]/2,0])
    SpringPlate();
    }

  • MPCNC Drag Knife: PETG Linear Bearing

    Having reasonable success using a 12 mm hole bored in a 3D printed mount for the nice drag knife holder on the left, I thought I’d try the same trick for the raw aluminum holder on the right side:

    Drag Knife holders - detail
    Drag Knife holders – detail

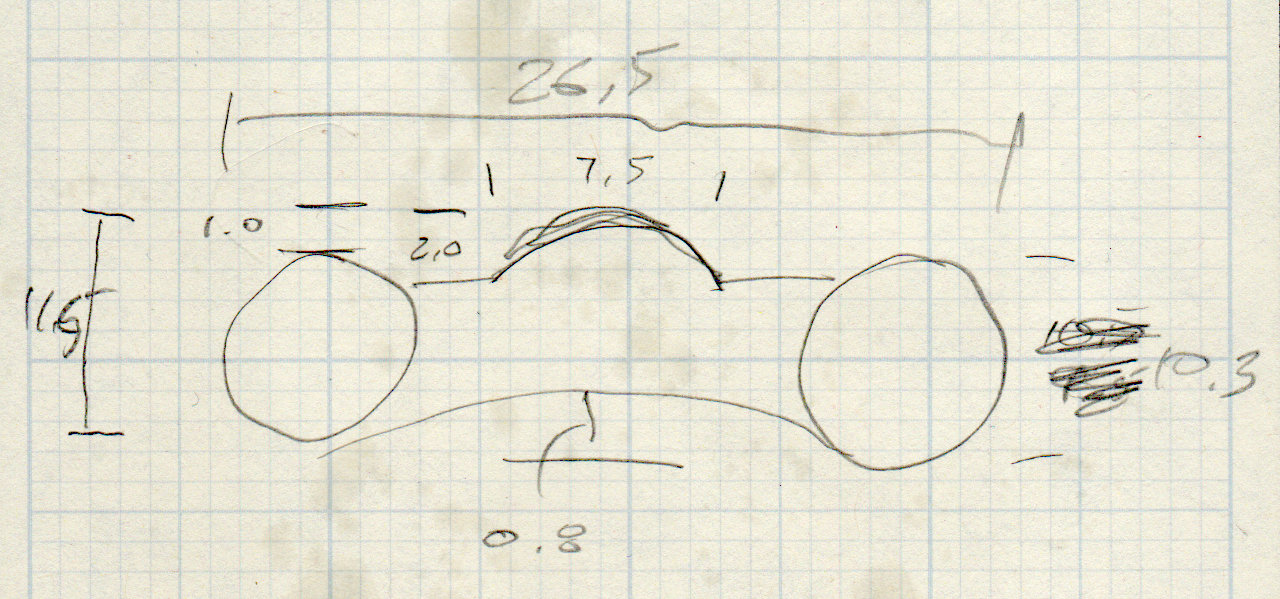
    The 11.5 mm body is long enough to justify making a longer holder with more bearing surface:

    Drag Knife Holder - 11.5 mm body - Slic3r preview
    Drag Knife Holder – 11.5 mm body – Slic3r preview

    Slicing with four perimeter threads lays down enough reasonably solid plastic to bore the central hole to a nice sliding fit:

    Drag Knife - 11.5 mm body - boring
    Drag Knife – 11.5 mm body – boring

    The top disk gets bored to a snug press fit around the flange and upper body:

    Drag Knife - 11.5 mm body - flange boring
    Drag Knife – 11.5 mm body – flange boring

    Assemble with springs and it pretty much works:

    Drag Knife - hexagon depth setting
    Drag Knife – hexagon depth setting

    Unfortunately, it doesn’t work particularly well, because the two screws tightening the MPCNC’s DW660 tool holder (the black band) can apply enough force to deform the PETG mount and lock the drag knife body in the bore, while not being quite tight enough to prevent the mount from moving.

    I think the holder for the black knife (on the left) worked better, because:

    • The anodized surface is much smoother & slipperier
    • The body is shorter, so less friction

    In any event, I reached a sufficiently happy compromise for some heavy paper / light cardboard test shapes, but a PETG bearing won’t suffice for dependable drag knife cuttery.

    Back to the laboratory …

  • M20 Camera Operation

    A reader asked how the M20 camera mount on my bike works with respect to the camera’s clock; this description explains a few things missing from the original writeup.

    SJCAM M20 Mount - Tour Easy side view
    SJCAM M20 Mount – Tour Easy side view

    Do you have to set the time & date at start of every ride?

    The internal clock shuts down about ten seconds after you pull the battery. If-and-only-if you swap batteries fast enough, it’ll keep time forever. Screw up once and it snaps back to Epoch Zero.

    “Car mode” automagically begins recording when USB power goes on, but the manual advises:

    TIP: When using your camera as a dashcam, use a car charger cable and remove the internal battery to make sure it does not die out while you travel.

    That’s because the M20 continues to run from its internal battery when USB power drops. After recording an hour of a parking lot or your garage wall, the battery dies and so does the clock.

    Of course, without the internal battery, the clock dies ten seconds after you turn off the car.

    The internal battery has many days of capacity with the camera turned off (whew!), so I conjured the case & PowerCore battery tray to handle our normal rides. The internal battery keeps the clock alive overnight and during the rain we’ve had for the last week, the PowerCore supplies juice during the ride, and I recharge the PowerCore every few weeks.

    The M20 doesn’t draw charging current when I turn it on, but poking the PowerCore’s status button also turns on its outputs, whereupon the M20 decides it should begin charging and, bonus, draw power from the PowerCore during the entire ride. The M20 finishes charging while we ride, but the PowerCore continues supplying power and, when I turn the M20 off, the PowerCore sees no current draw and shuts itself off.

    Only a geek could love a lashup like that, but it works around the M20’s broken clock and removes its battery maintenance hassle.

  • Reversible Belt Buckle Re-staking

    It’s a shorter belt with the same failure mode:

    Reversible belt buckle - parts
    Reversible belt buckle – parts

    I clamped the whole affair on a block to align all the parts:

    Reversible belt buckle - alignment clamping
    Reversible belt buckle – alignment clamping

    Drop the pin and spring in place, whack it with a punch, and it’s all good:

    Reversible belt buckle - restaked
    Reversible belt buckle – restaked

    That was easy …

  • Pedal Spindle Wrench Flat Tweakage

    A new-old-stock pair of pedals for Mary’s bike had wrench flats just slightly too narrow for my 15 mm wrench:

    Titanium pedal spindle - as built
    Titanium pedal spindle – as built

    Well, that’s easy to fix:

    Titanium pedal spindle - filed to flats
    Titanium pedal spindle – filed to flats

    For reasons lost in the mists of time, those are titanium spindles. They file just like steel; I’m not fussy.

  • Epson R380 Printer: Waste Ink Counter Reset

    Following the same drill as before, the Epson R380 printer once again thinks I’ve changed its diaper before resetting its waste ink counter. Instead, I’ve poured what would be a moderate fortune of waste ink down the drain from the external tank, had I not grafted a continuous flow ink supply onto the thing.

    To judge from how often I must reset the counters, I’m expected to buy a new printer every three years. For sure, it’s uneconomical to have anybody else (the nearest Epson Authorized Customer Care Centers is 68 miles away on Long Island) do the deed. As Epson delicately puts it “replacement of ink pads may not be a good investment for lower-cost printers”.

    Epson now provides a utility allowing you to reset the counters exactly one time. Having a scrap Windows PC ready to go, I didn’t bother capturing the partition before firing off the previous Sketchy Utility™, nor did I restore it, so the whole process took about half an hour.

    The hard drive platters will eventually become nightlights.