Ed Nisley's Blog: Shop notes, electronics, firmware, machinery, 3D printing, laser cuttery, and curiosities. Contents: 100% human thinking, 0% AI slop.
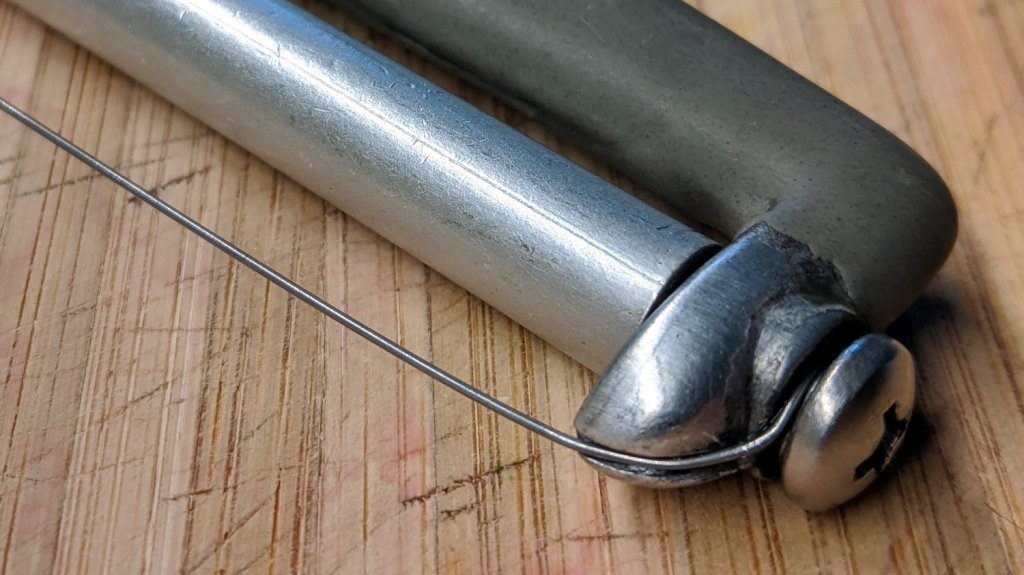
Repairing it with a length of 20 mil = 0.5 mm music wire didn’t take long:
Cheese slicer – new wire
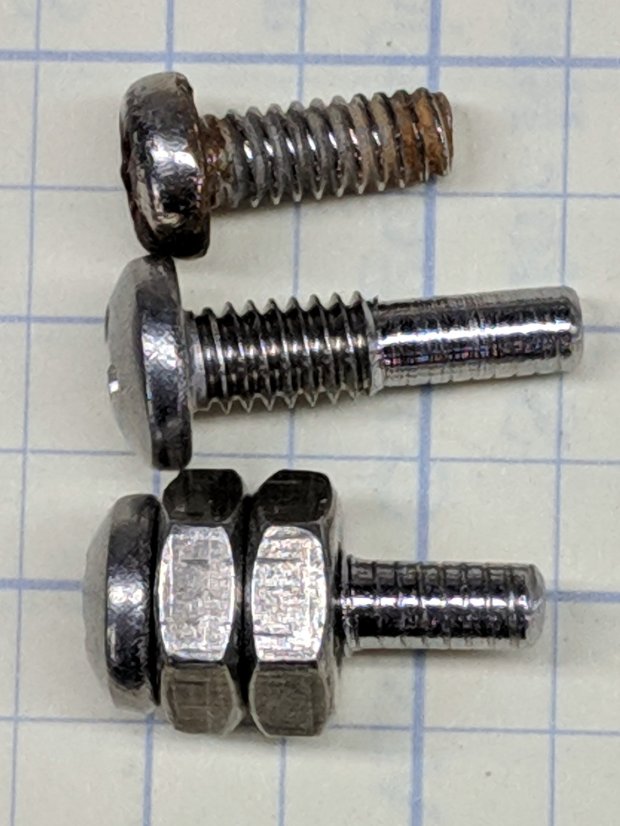
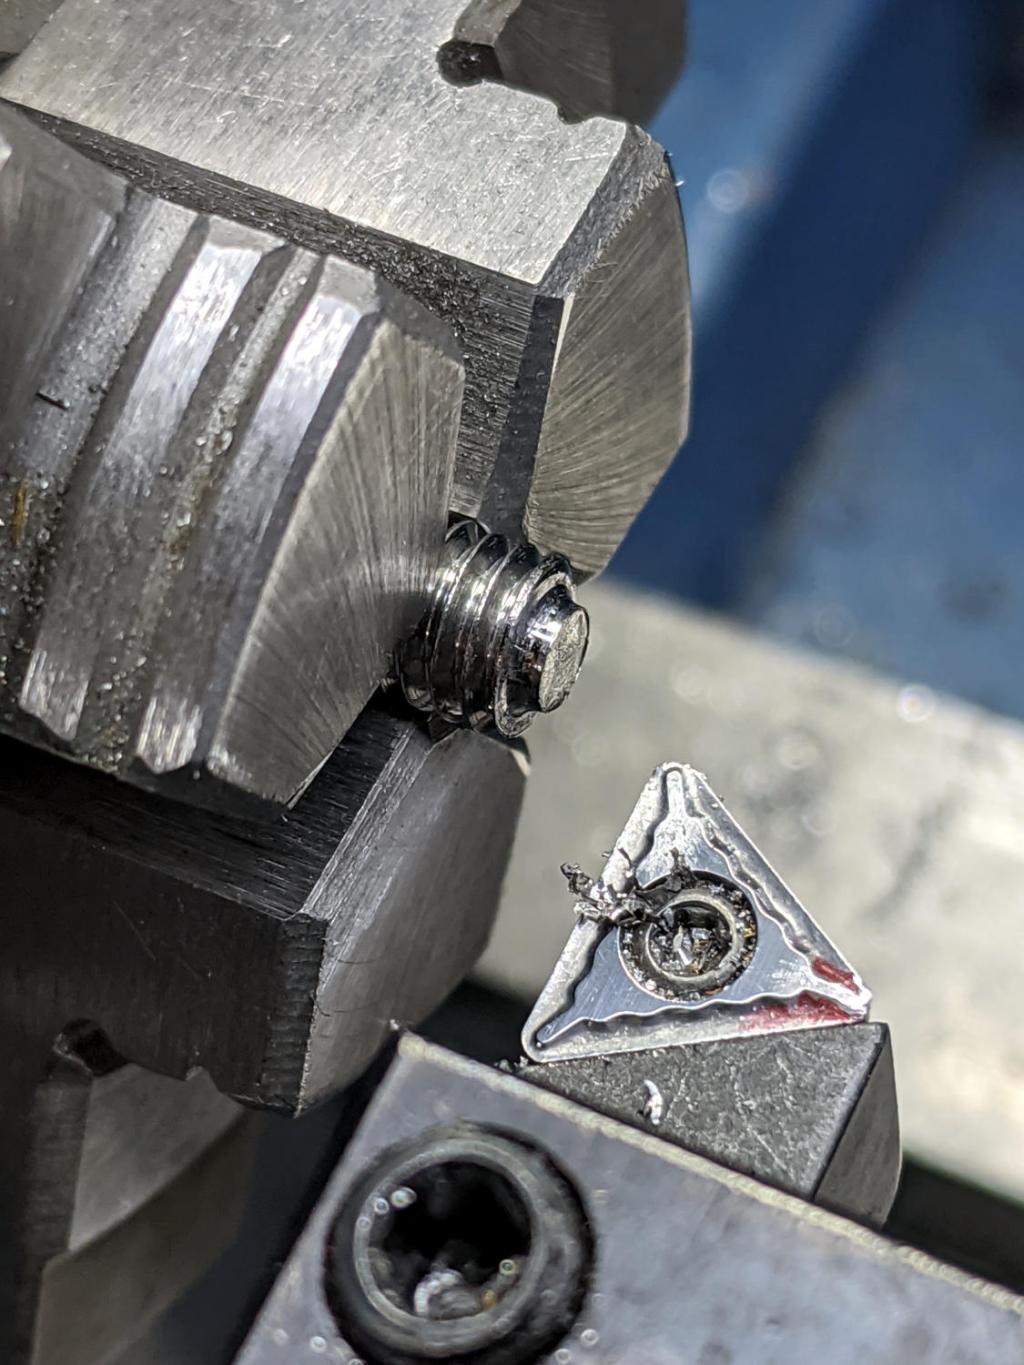
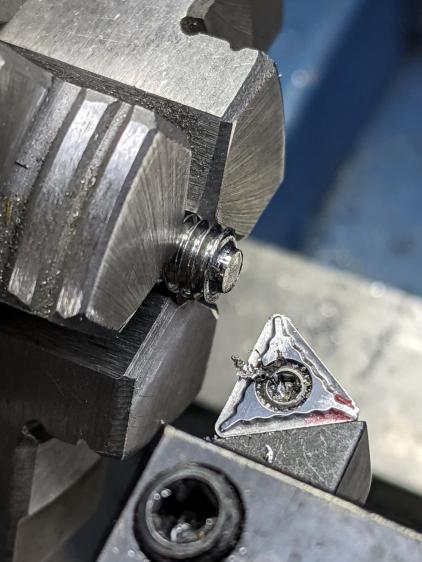
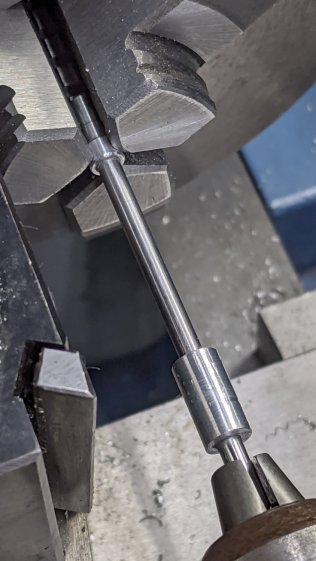
What did take a while was removing one of the screws, turning off another millimeter of thread, and sticking it back in again. The new wire is slightly thinner, stacks up just slightly less under the screw head (maybe I used two turns instead of three?), and let the thread stick into the Delrin bushing I put inside the aluminum roller.
Imagine the middle screw with a slightly longer smooth end and you’ve got the idea:
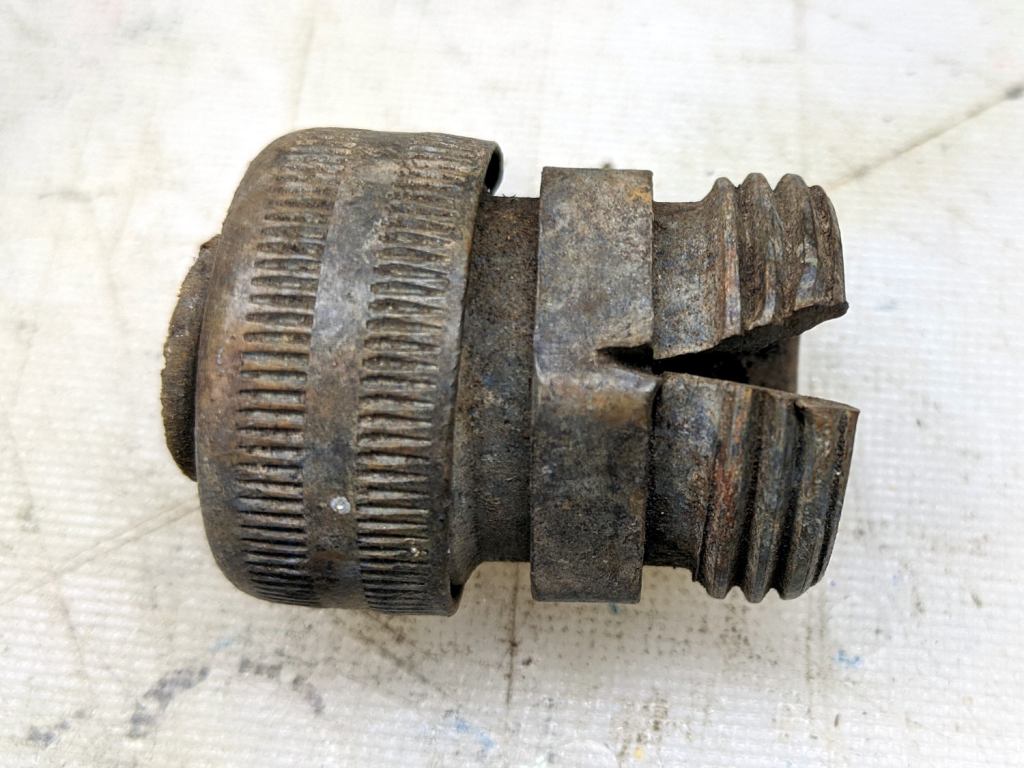
This appeared while we uprooted a row of forsythia along the north border:
Brass hose fitting vs lawnmower
Although FOD has killed a good share of my lawn mowers and blades over the decades, this happened long before my administration and I can’t take credit for the precision targeting.
After removing debris, flattening the top surface, and generally paying more attention to detail, the PETG sheet has much better adhesion to the fixture:
Tek CC – Milled cursor – cleaned fixture
This time, I traced the inside of a drag-knife cut cursor to extract the blank from the stock and, yes, used new double-sided tape under the lower white protective film on the PETG.
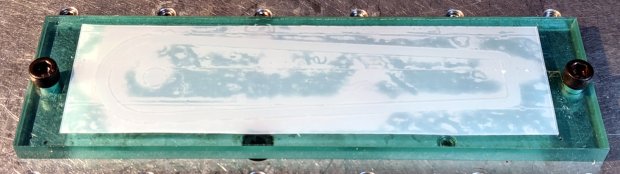
Fewer air bubbles means better adhesion:
Tek CC – Milled cursor – fixture adhesion
Spinning the 1/8 inch end mill at about 5000 RPM produced finer swarf at the Sherline’s maximum 609 mm/min = 24 inch/min pace, with less uplift. I suspect Moah RPMs! would be even better, constrained by melting the plastic into heartache & confusion.
Scribe the hairline with the diamond tool, ease the finished cursor off the fixture, scribble Sharpie into the scratch, and wipe
Tek CC – Milled cursor – second try
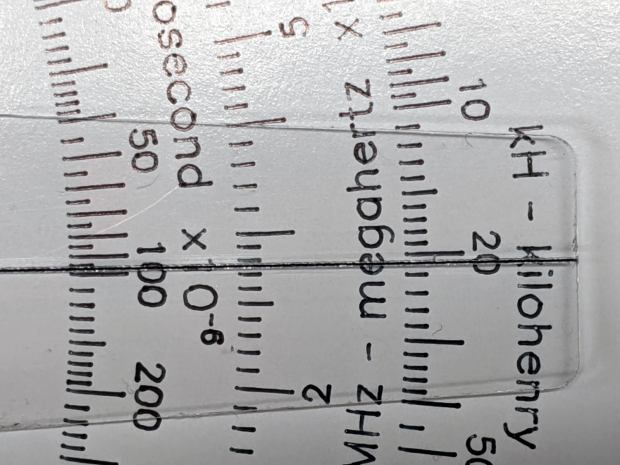
It’s Pretty Good™ when seen against an un-laminated bottom deck drawn with a Pilot V5RT pen:
Tek CC – Milled cursor – unlaminated bottom deck
The diamond point tears a slightly gritty path through the PETG, which then looks a bit more granular than a real hairline. I’ve been using four passes for emphasis; perhaps fewer would be better.
The white separating film on the double-sided tape makes the cursor milling fixture look presentable:
Tek CC – Cursor milling fixture – 2-side tape applied
Some deft X-acto knife work exposed the trench around what will be the cursor’s perimeter, in the hope of keeping tape stickiness out of the milling cutter.
Peeling off the white film and sticking a PETG cursor blank to the tape reveals I didn’t do a particularly good job of cleaning the rubble from the trench edges:
Tek CC – Milled cursor – bad tape application
These PETG sheets arrive with a transparent film on one side and a white film on the other. The picture shows the white film on the bottom of the PETG sheet, with the dark areas corresponding to places where the film sticks to the tape and the tape sticks to the fixture. The lighter areas show an air gap in (at least) one of those interfaces; given the amount of clutter, I think it’s mostly between the tape and the fixture.
I milled the cursor with a 1/8 inch = 3.175 mm cutter:
Tek CC – Milled cursor – outline
The ball of swarf around the cutter wasn’t as threatening as it appears, because it had very little adhesive holding it together. The rows of swarf surrounding the PETG show why putting the tape all over the fixture isn’t a particularly good idea. ‘Nuff said.
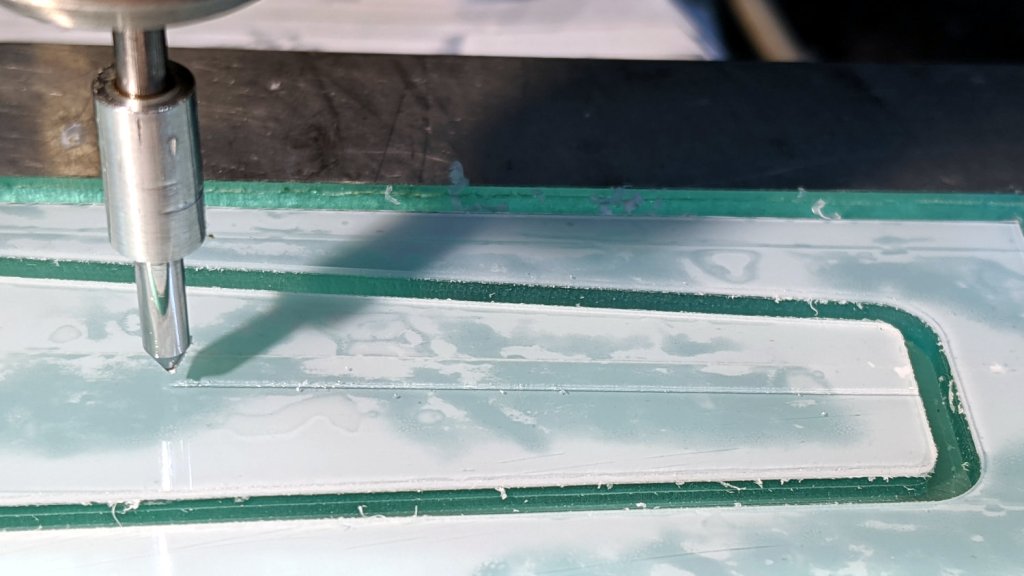
Engraving the hairline with the diamond drag bit was entirely uneventful:
Tek CC – Milled cursor – hairline scribe
Four passes at Z=-2 mm = 300 g downforce put a delicate scratch across the surface. Run a fat black Sharpie along the hairline, wipe off the excess with denatured alcohol, and peel the white film from the other side:
Tek CC – Milled cursor – first try
It’s sitting atop the doodle giving the dimensions, such as they are, for the milling fixture.
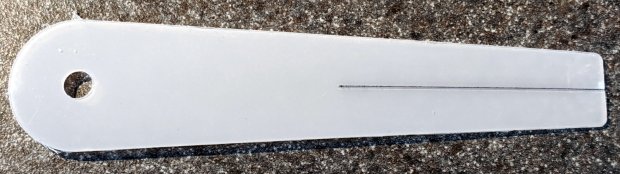
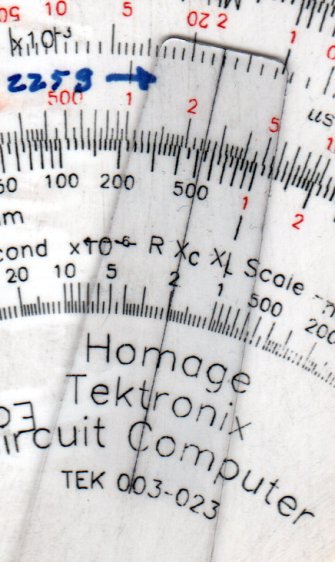
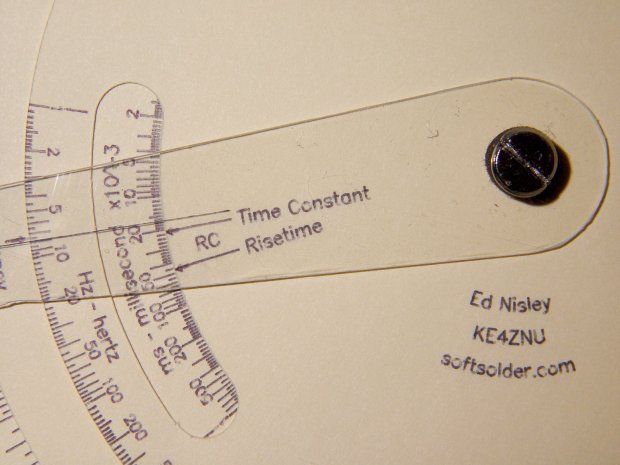
The original Tektronix Circuit Computer cursor is a floppy sheet of plastic with a hairline printed on it. I’m making the homage version from 0.5 mm PETG sheet with an engraved hairline:
Tek CC – radial text example
But I don’t foresee enough ahem production volume to justify making a punch-and-die to cut the thing out, so I need a milling fixture to hold the sheet in place while I have my way with it.
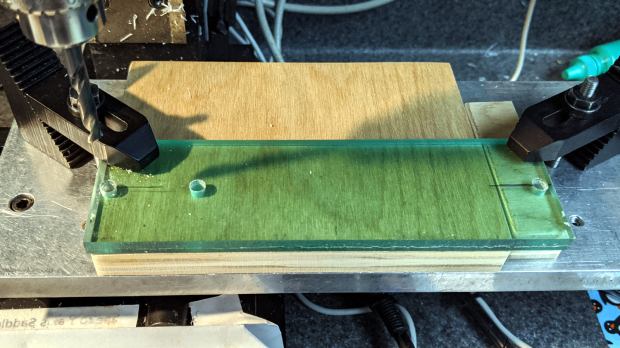
Start by squaring up a suitably sized scrap from the Box o’ Plastic Scrap:
Tek CC – Cursor milling fixture – squaring sides
It need not be particularly square, but getting rid of the ragged edges seemed like a Good Idea. I think it’s polycarbonate and, yes, it’s just about that green in real life.
Align it square-ish to the tooling plate and drill three #7 holes on 1.16 inch centers to line up with the plate and clear the Sherline’s 10-32 screws:
Tek CC – Cursor milling fixture – hole drilling
The two outer holes will clamp the fixture to the table. The third hole may be useful to clamp a stack of cursors to the fixture, should I need more than a few.
Screw it to the tooling plate, mill the outline of the cursor into the fixture, apply a layer of double sticky tape, then cut out the cursor outline so the milling bit won’t accrete a giant whirling ball of adhesive & swarf:
Tek CC – Cursor milling fixture – 2-side tape applied
I milled the perimeter 2 mm deep, anticipating a 1 mm cut depth for the cursor, and milled a small step inside the perimeter by compiling the GCMC code with a 2.5 mm cutter diameter instead of the actual 3.175 mm. I tweaked the cursor code for proper offset milling, about which more later.
With the tape in place, it’s not entirely obvious this will work the way I expect, but it wasn’t too difficult.
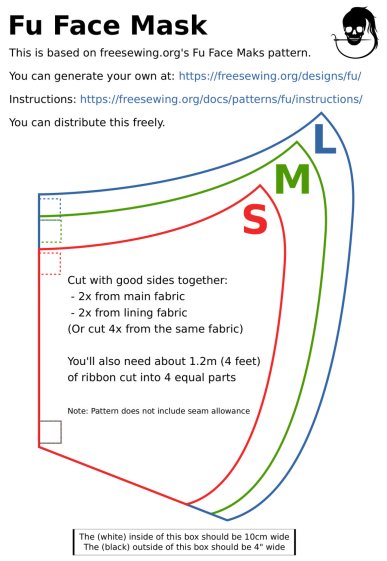
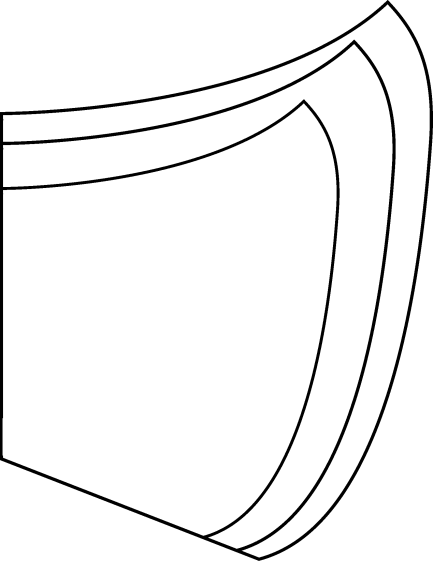
A local hospital contacted Mary’s quilting group to sew up cloth covers to prolong the life of their medical-grade N95 masks. Their recommended pattern, the Fu Face Mask from the FreeSewing group, comes in three sizes:
Freesewing – Fu Mask
N.B.: Use their original PDF, because a JPG picture probably won’t come out at the right size.
Also N.B.: Used by itself, this is not a medical-grade filter mask.
The patterns do not include the usual 1/4 inch seam allowance around the outside, so I cranked out 3D printed plastic cutting templates.
If you’re not interested in 3D printing, 2D print the PDF file on cardboard, sketch a seam allowance, and cut it out, as quilters have been doing since slightly after home printers happened.
The plan of attack:
Convert mask outlines into a bitmap image (GIMP)
Create Bezier curves by tracing outlines (Inkscape)
Save curves as SVG files
Convert SVG into solid model (OpenSCAD)
Add stiffening ribs &c
Save as STL solid model
Slice into G-Code file (Slic3r)
Fire the M2!
So, we begin …
Import the PDF into The GIMP, delete the text & suchlike, convert to monochrome, and save the pattern outlines as a PNG file:
Fu Facemask – outlines
It turns out Inkscape can directly import the PDF, but it valiantly tries to convert all the text and the incidental graphic elements, none of which will be useful in this situation. It’s easier to delete them in The GIMP and make a bank shot off a PNG file.
Import the PNG into Inkscape and trace one outline with the Bezier curve tool:
Fu Mask – Inkscape Bezier trace
If you squint really carefully, you’ll see Bezier control handles sticking out of the nodes. I laid three nodes along the top arc and four along the right side, but do what’cha like; the Insert key or Shift+I inserts and Delete removes nodes. It’s easier to center a node in the middle of the PNG line with snapping turned off: Shift+drag while mousing or globally with #.
You could unleash the bitmap auto-tracer, but it generates a bazillion uselessly tiny Bezier curves.
When you’re happy, select and copy the path with Ctrl+C, paste it into a shiny new Inkscape document (Ctrl+N) with Ctrl-V, save it with a catchy file name like Fu Mask - Small - nominal.svg, and close that document to return to the document with the PNG outlines and the original path.
Select the original path again, create a dynamic offset with Ctrl+J, open the XML editor with Ctrl+Shift+X (which automagically selects the proper SVG element), and change the inkscape:radius value from 0 to 6.35 (mm, which everyone should use) to get a 1/4 inch seam allowance:
Fu Mask – Inkscape XML Editor – Offset radius
The path will puff out with curved corners:
Fu Mask – Inkscape offset
Copy into a new document, save as Fu Mask - Small - seam allowance.svg, and close.
Repeat that process for each of the three mask sizes to create three pairs of SVG files: the nominal mask outline and the corresponding seam allowance outline for each size.
The OpenSCAD program imports the SVG files, removes the nominal outline from within the seam allowance to leave the outline, adds stiffening ribs, and stamps an ID letter on both sides of the central button:
Fu Mask Cutting Template – Small – solid model
Choose one of the three sizes with the OpenSCAD customizer, save the resulting model as an STL file, repeat for the three sizes, and you’re done.
This process can convert any outline paths in SVG files into cutting templates, so, should the Fu Mask not suit your fancy, Use The Source.
For convenience, the STL files are on Thingiverse.
This file contains hidden or bidirectional Unicode text that may be interpreted or compiled differently than what appears below. To review, open the file in an editor that reveals hidden Unicode characters.
Learn more about bidirectional Unicode characters
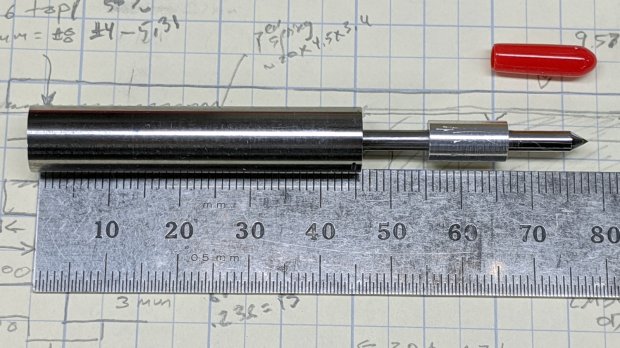
Although I shouldn’t have used a hardened shaft for the case, the rest of the diamond drag tool holder worked out well enough:
Sherline Diamond Drag Holder – assembled
The dimension doodle shows what’s inside and gives some idea of the sizes:
Sherline Diamond Drag Holder – dimension doodles
From left to right, it’s an M6×1.0 setscrew to adjust the spring preload, a spring harvested from a cheap clicky ballpoint pen, a machined cap, a 3 mm rod (which should be a hardened & ground shaft, but isn’t) surrounded by a pair of LM3UU linear bearings, a machined coupler, and the stub of a diamond engraving tool’s shank.
Tapping 15 mm of M6×1.0 thread inside of the case took an unreasonable amount of grunt. Next time, brass.
The setscrew gets a little boss to hold the spring away from the adjacent threads in the case:
Sherline Diamond Drag Holder – setscrew spring boss
The little machined cap has a somewhat longer spring guide to prevent buckling:
Sherline Diamond Drag Holder – shank cap spring guide
The spring fits snugly on the slightly enlarged section inside the last few coils, with the rest being a loose fit around the guide. When the spring is fully compressed, it’s just slightly longer than the guide and can’t buckle to either side.
The cap gets epoxied onto the 3 mm rod with some attention to proper alignment:
Sherline Diamond Drag Holder – shank cap alignment
The other end of the rod has a 3 mm thread, which would be a serious non-starter on a hardened rod.
The shortened diamond tool shank gets epoxied into the gizmo connecting it to the now-threaded rod, again with some attention paid to having it come out nicely coaxial:
The LM3UU bearings got epoxied into the case, because I don’t have a deep emotional attachment to them.
Unscrew diamond tool, push spring onto cap, drop rod through bearings, crank setscrew more-or-less flush with the end of the case, screw diamond in place with some weak threadlock, add oil to rod, work it a few times to settle the bearings, and it’s all good.
The spring rate works out to 230 g + 33 g/mm for deflections between 1.0 mm (263 g) and 3.5 mm (346 g), so it’s in the same ballpark as the diamond tools on the MPCNC and CNC 3018.
Note: WordPress just “improved” their post editor, which has totally wrecked the image alignment. They’re all set to “centered” and the editor says they are, but they’re not. It’s a free blog and I’m using one of their ancient / obsolete / unsupported themes, so I must update the theme. Bleh.