The white separating film on the double-sided tape makes the cursor milling fixture look presentable:

Some deft X-acto knife work exposed the trench around what will be the cursor’s perimeter, in the hope of keeping tape stickiness out of the milling cutter.
Peeling off the white film and sticking a PETG cursor blank to the tape reveals I didn’t do a particularly good job of cleaning the rubble from the trench edges:
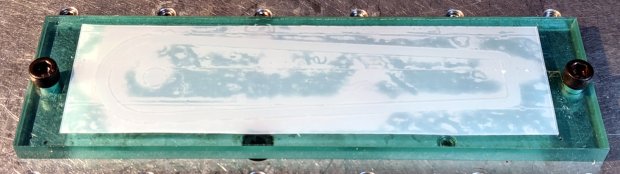
These PETG sheets arrive with a transparent film on one side and a white film on the other. The picture shows the white film on the bottom of the PETG sheet, with the dark areas corresponding to places where the film sticks to the tape and the tape sticks to the fixture. The lighter areas show an air gap in (at least) one of those interfaces; given the amount of clutter, I think it’s mostly between the tape and the fixture.
I milled the cursor with a 1/8 inch = 3.175 mm cutter:

The ball of swarf around the cutter wasn’t as threatening as it appears, because it had very little adhesive holding it together. The rows of swarf surrounding the PETG show why putting the tape all over the fixture isn’t a particularly good idea. ‘Nuff said.
Engraving the hairline with the diamond drag bit was entirely uneventful:

Four passes at Z=-2 mm = 300 g downforce put a delicate scratch across the surface. Run a fat black Sharpie along the hairline, wipe off the excess with denatured alcohol, and peel the white film from the other side:

It’s sitting atop the doodle giving the dimensions, such as they are, for the milling fixture.
The hairline came out so fine it makes the Pilot V5RT ballpoint pen lines look downright chunky:

Seen over the engraving test piece with scraped Testors paint, however, things look just the way they should:

In a techie kind of way, of course, which is the only way that matters on Planet Slipstick …

Comments
2 responses to “Tek Circuit Computer: Cursor Milling”
[…] removing debris, flattening the top surface, and generally paying more attention to detail, the PETG sheet has much better adhesion to the […]
[…] cleanup and a fresh layer of double-sided tape gives the cursor milling fixture plenty of […]