After removing debris, flattening the top surface, and generally paying more attention to detail, the PETG sheet has much better adhesion to the fixture:

This time, I traced the inside of a drag-knife cut cursor to extract the blank from the stock and, yes, used new double-sided tape under the lower white protective film on the PETG.
Fewer air bubbles means better adhesion:

Spinning the 1/8 inch end mill at about 5000 RPM produced finer swarf at the Sherline’s maximum 609 mm/min = 24 inch/min pace, with less uplift. I suspect Moah RPMs! would be even better, constrained by melting the plastic into heartache & confusion.
Scribe the hairline with the diamond tool, ease the finished cursor off the fixture, scribble Sharpie into the scratch, and wipe
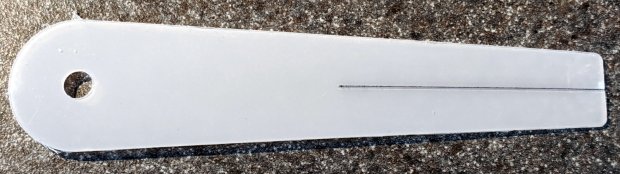
It’s Pretty Good™ when seen against an un-laminated bottom deck drawn with a Pilot V5RT pen:
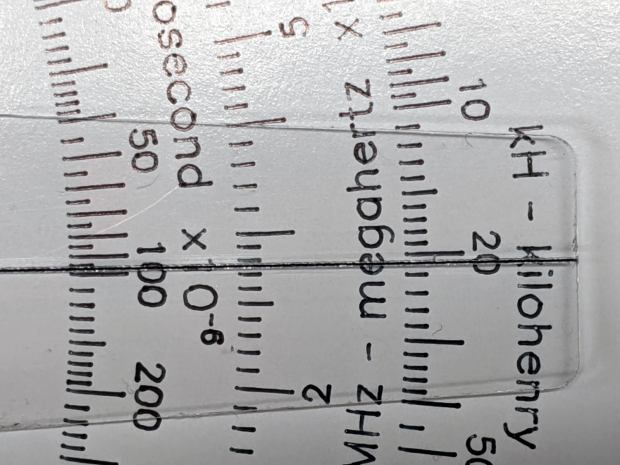
The diamond point tears a slightly gritty path through the PETG, which then looks a bit more granular than a real hairline. I’ve been using four passes for emphasis; perhaps fewer would be better.

Comments
One response to “Tek Circuit Computer: Cursor Fixture Adhesion”
[…] hairline on the second machined cursor looks pretty […]