For reasons not relevant here, we recently decontaminated a second lift chair, this one in bariatric size (so it doesn’t suffer from fuzz-shaving struts) with a six-switch control pod:
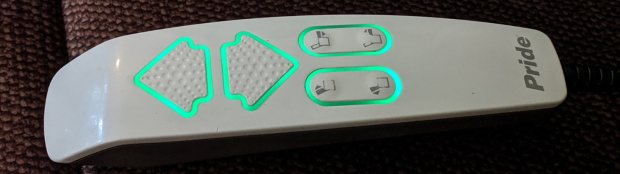
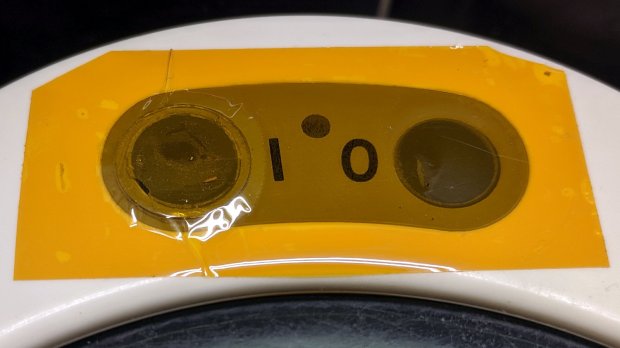
The green LED-lit buttons were so bright I took it apart to see what could be done; the picture shows the considerably dimmed result.
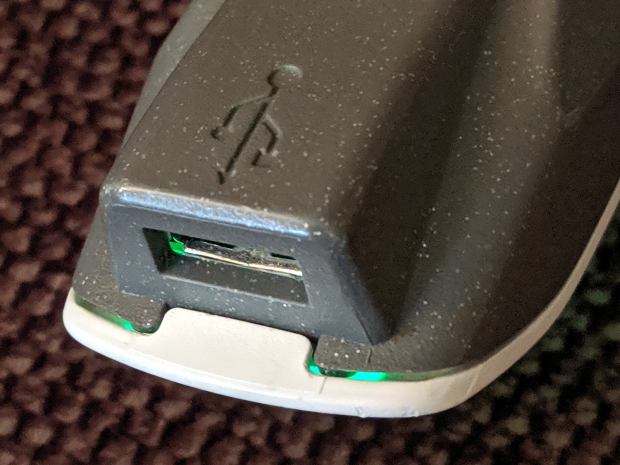
Start by prying outward on the tab at the USB charging port:
Done right, you can then release the latches along the sides:
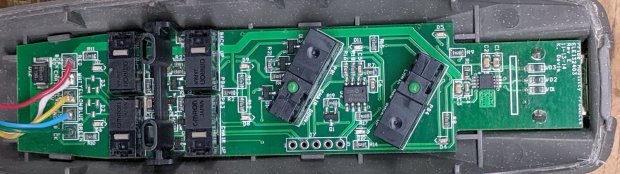
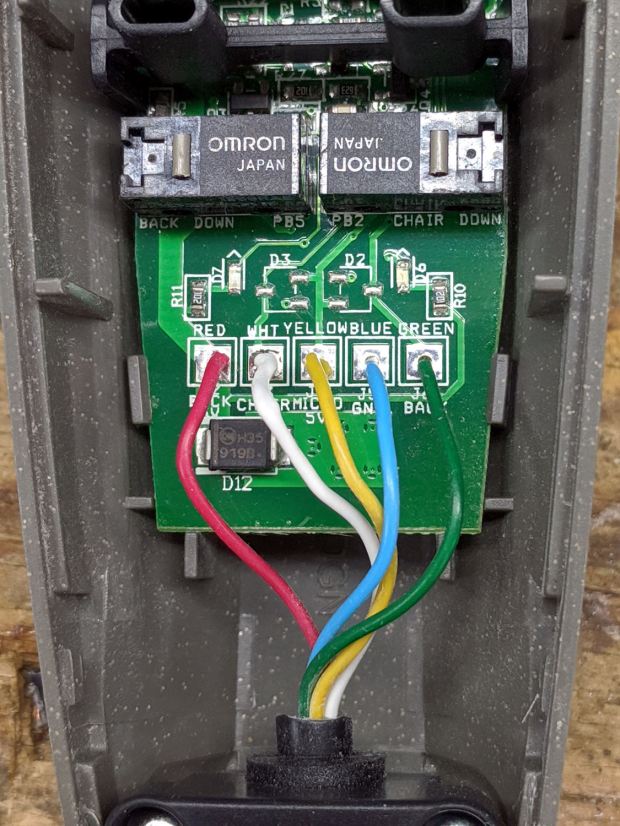
It’s impossible to photograph the PCB with the LEDs active, but here’s what it looks like without power:
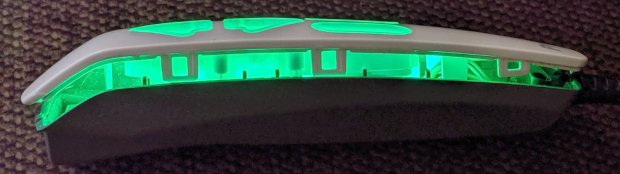
The eight (!) SMD LEDs align with light pipes around the switch openings:
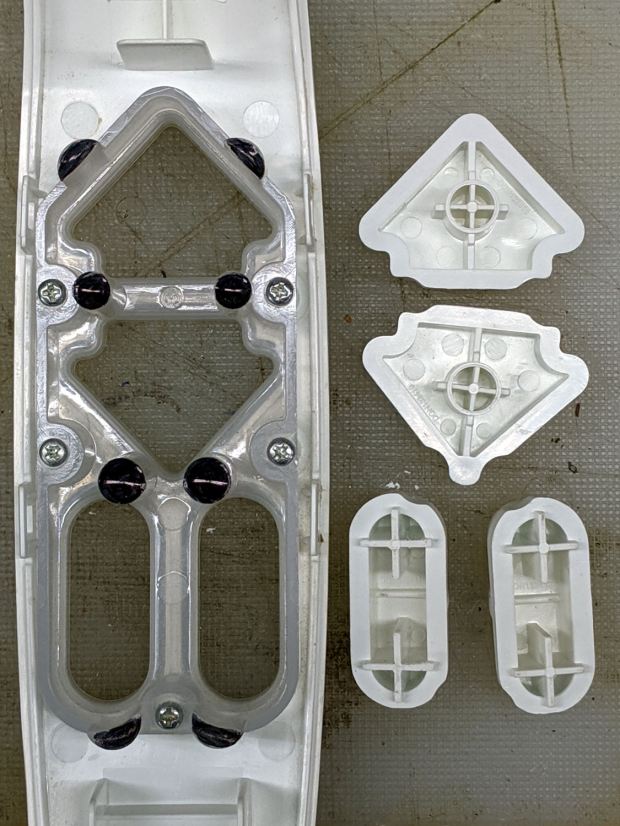
The black dots come from Sharpie ink daubed in the shallow recesses intended to nestle around the LEDs. Note that the four switch caps have unique keying, so you can’t put them back incorrectly without some effort.
While we’re inside, here’s a closer look at the cable entry point, just in case I must replace the industrial-strength coily cord:
Unfortunately, it has a five-conductor cable, so a cheap phone coily cord (remember when phones had coily cords?) won’t suffice.
The PCB sports a pair of PICs, one of which seems to handle the buttons. I betcha the cable dates back to the days of hard-wired power switches, with the PIC now handling the intricate logic of deciding which motors to actuate for each function, then controlling MOSFETs as fake switch contacts.
The other PIC snuggles against the USB interface, which the manual describes as a charging-only port. It might also serve as a programming interface for the main PIC; admittedly the notion of a firmware upgrade for a lift chair seems far-fetched.
Reassembly is in reverse order with a resounding snap at the conclusion. It works fine and you (well, I) can now look at the control pod without sunglasses.