Ed Nisley's Blog: Shop notes, electronics, firmware, machinery, 3D printing, laser cuttery, and curiosities. Contents: 100% human thinking, 0% AI slop.
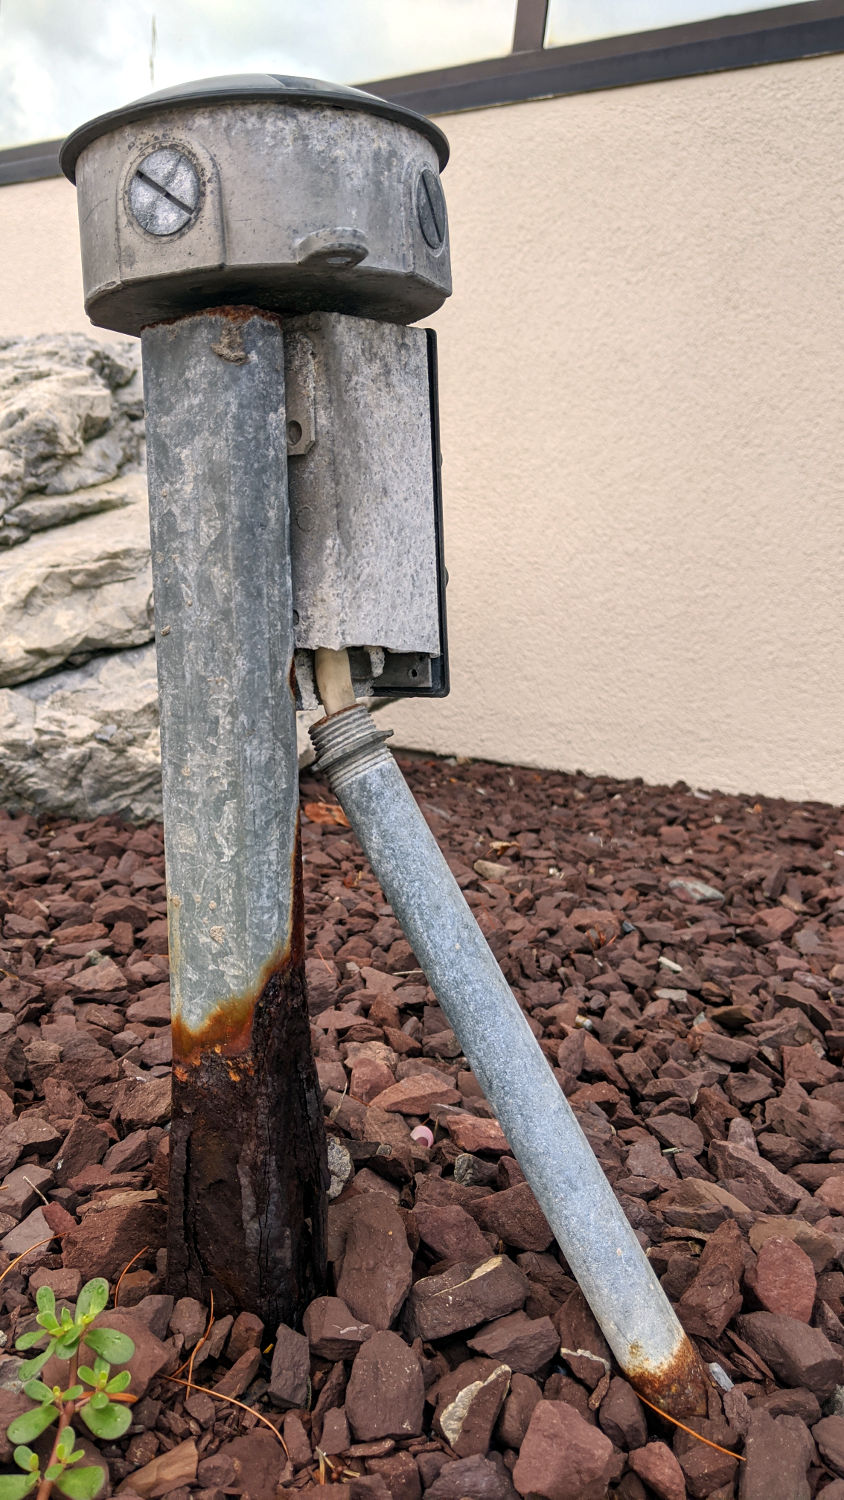
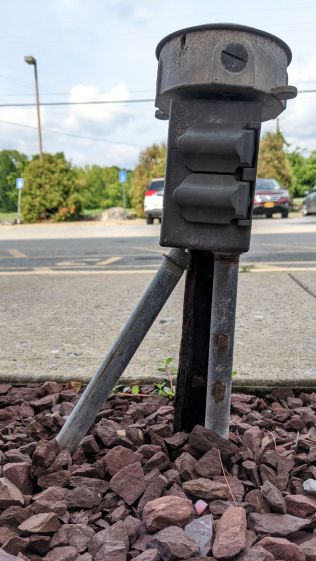
For whatever reason, a two-outlet junction box stands outside the Credit Union:
Outdoor Junction Box – angled conduit
The slanted conduit certainly looks in need of an elbow to line it up, doesn’t it?
It seems whoever installed it, many years ago, simply forced the conduit to line up, no matter the consequences:
Outdoor Junction Box – open wiring
The threaded entries on the die-cast outlet box were never intended to cope with that much misalignment; half the bottom has vanished. I think the round box on the top originally held a floodlight to wash the (uninspired) building facade at night, but those days are long gone.
If the conduit has horizontal underground runs, both are certainly full of water by now. The white(-ish) “Romex” cable insulation looks like ordinary indoor wiring, not the grayish direct-burial sheath, but it may be sun-bleached after years of exposure.
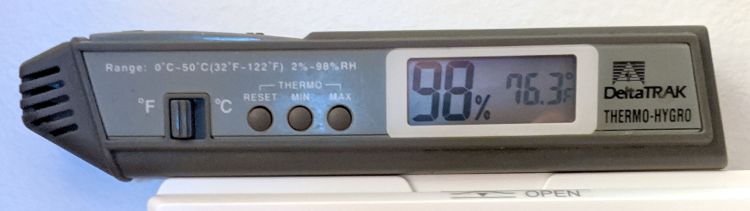
Just before Tropical Storm Isaias rolled through, my hygrometer reached a new high:
Pre-Isaias humidity
The National Weather Service reported 99% at the airport a few miles away, so the meter’s calibration seems about right.
Shortly thereafter, the humidity dropped to the mid-70s as the wind picked up and, over the next few hours, falling branches took out vast swaths of Central Hudson’s electrical infrastructure. My little generator saved our refrigerator & freezer during 15 hours of outage; three days later, thousands of folks around us still have no power.
A confluence of other events, none nearly so dramatic, will throttle my posting over the next two weeks.
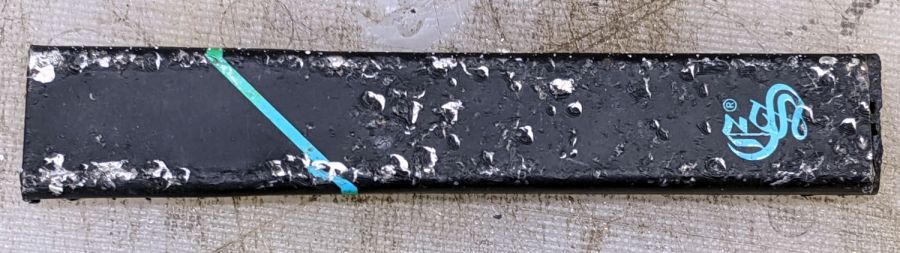
Being the type of guy who uses metal bits & pieces, I thought this might be a useful aluminum rod:
EonSmoke vape stick
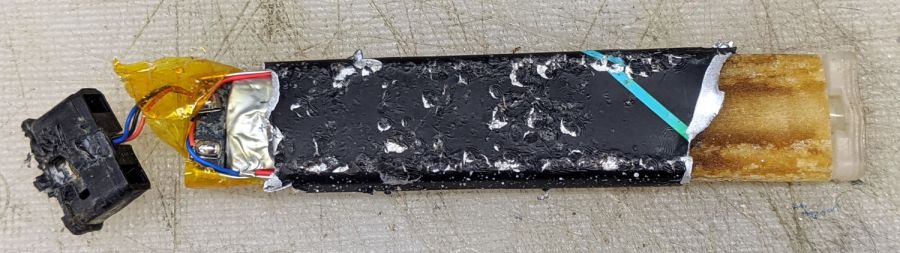
It turns out to be an aluminum tube holding a lithium cell and a reservoir of oily brown juice:
EonSmoke – peeled open
The black plastic cap read “EonSmoke”, which led to a defunct website at the obvious URL. Apparently, EonSmoke went toes-up earlier this year after ten years of poisoning their customers, most likely due to “competitor litigation”.
The black cap held what looks like a pressure switch:
EonSmoke – switch
Suck on the icky end of the tube to activate the switch, pull air past the battery (?), pick up some toxic vapor around the heater, and carry it into your lungs:
EonSmoke – reservoir heater
Maybe there’s a missing mouthpiece letting you suck on the icky end, activate the switch, pull vapor through the heater, and plate your lungs with toxic compounds. I admit certain aspects of my education have been sadly neglected.
The lithium cell was down to 1.0 V, with no overdischarge protection and no provision for charging, so it’s a single-use item. I’m sure the instructions tell you to recycle the lithium cell according to local and state regulations, not toss it out the window of your car.
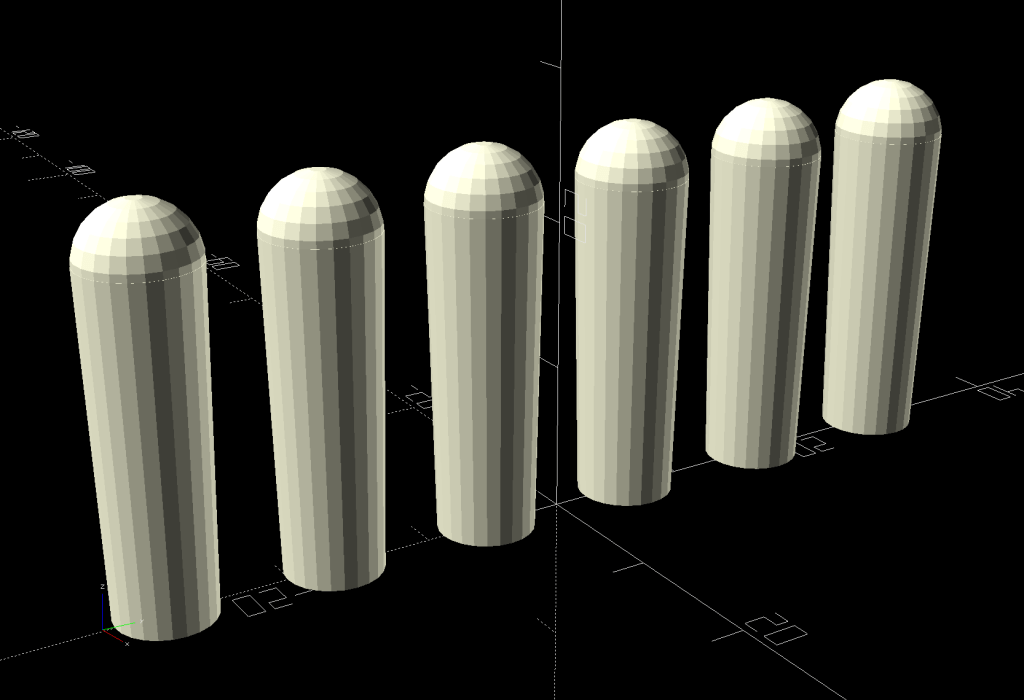
As is all too common with 3D printed replacement parts done remotely, the first Shuttles game pegs didn’t quite fit into the game board’s holes. Fortunately, living in the future means rapid prototyping and quick turnaround:
Shuttles Game pegs – tapered – solid model
They’re slightly smaller, tapered toward the bottom, and take slightly less time to print.
The OpenSCAD code in the GitHub Gist now has has the tweaks.
Plant seedlings started in pots require some hardening off time outdoors before being transplanted. Veggie seedlings also require protection from critters regarding them as a buffet, so Mary covers them with a sheet of floating row cover, which must be both suspended over the plants to give them growing room and tucked under the tray to keep the bugs out. She asked for a frame to simplify the process:
Mesh Shelter Frame – assembled
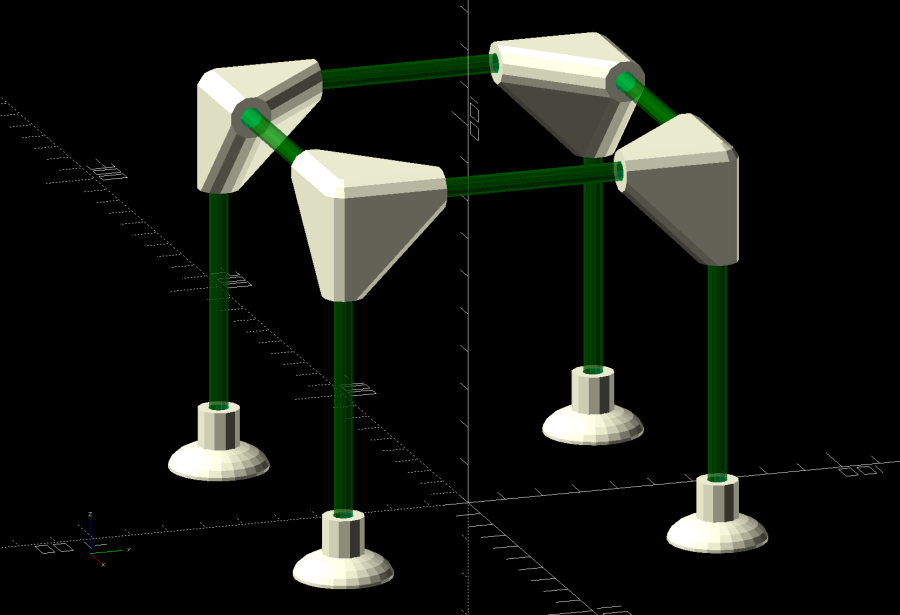
The solid model shows the structure with no regard for proportion:
Mesh Shelter Frame – show view
The 5 mm fiberglass rods come from our decommissioned six-passenger umbrella, cut to length in the Tiny Lathe™ by applying a Swiss Pattern knife file around the perimeter, over the ShopVac’s snout to catch the glass dust. I started with a pull saw (also over the vacuum) during the weekly Squidwrench v-meeting, whereupon Amber recommended either a Dremel slitting wheel or a file, so I mashed everything together and it worked wonderfully well, without producing any errant glass-fiber shards to impale my fingers.
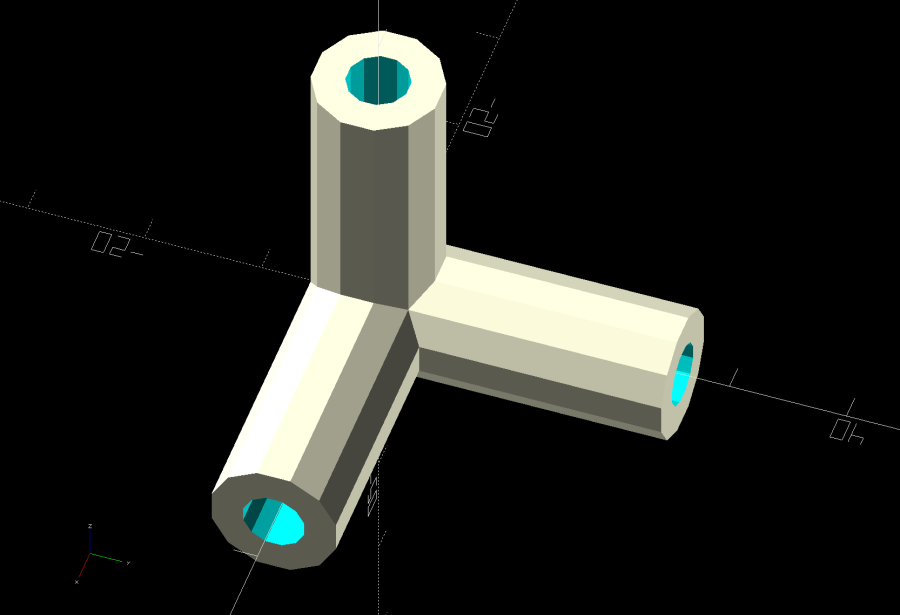
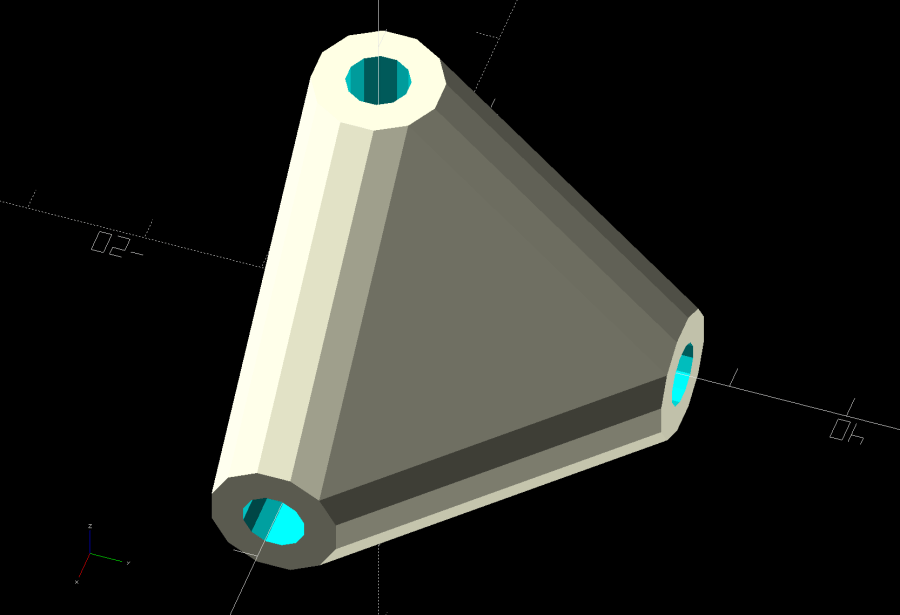
The corners consist of three tubes stuck together at the origin:
Mesh Shelter Frame – non-hulled corner model
Shrink-wrapping them with a hull() adds plenty of strength where it’s needed:
Mesh Shelter Frame – hulled corner model
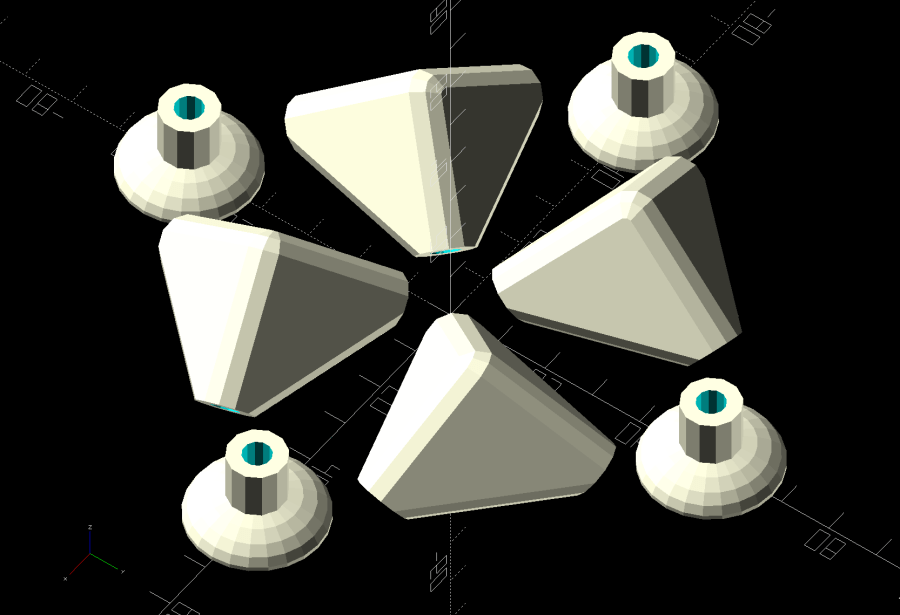
I decided putting the belly side (facing you in the picture) downward on the platform and the peak upward would distribute the distortion equally among the tubes and produce a nicely rounded outer surface for the mesh fabric:
Mesh Shelter Frame – build layout
Which led to some Wikipedia trawling to disturb the silt over my long-buried analytic geometry, plus some calculator work to help recall the process; back in the day I would have used a slipstick, but I was unwilling to go there. Although I could special-case this particular layout, the general method uses Euler’s Rotation Theorem, simplified because I need only one rotation.
Should you need concatenated rotations, you probably need quaternions, but, at this point, I don’t even remember forgetting quaternions.
Anyhow, the Euler rotation axis is the cross product of the [1,1,1] vector aimed through the middle of the corner’s belly with the [0,0,-1] target vector pointing downward toward the platform. The rotation amount is the acos() of the dot product of those two vectors divided by the product of their norms. With vector and angle in hand, dropping them into OpenSCAD’s rotate() transformation does exactly what’s needed:
rotate(acos((BaseVector*Nadir)/(norm(BaseVector)*norm(Nadir))),
       v=cross(BaseVector,Nadir))   // aim belly side downward
  Corner();
Dang, I was so happy when that worked!
Because the corner model rotates around the origin where all three tube centerlines meet, the result puts the belly below the platform, pointed downward. The next step applies a translation to haul the belly upward:
translate([ArmOAL,0,    // raise base to just below platform level
           ArmOC/sqrt(3) + (ArmRadius/cos(180/SocketSides))*cos(atan(sqrt(3)/2)) + Finagle])
This happens in a loop positioning the four corners for printing, so the first ArmOAL as the X axis parameter translates the shape far enough to let four of them coexist around the origin, as shown above.
The mess in the Z axis parameter has three terms:
Raise the centerline of the ends of the tubes to Z=0
Raise the rim of the tube to Z=0
Add a wee bit to make the answer come out right
The 0.18 mm Finagle constant fixes things having to do with the hull() applied to miscellaneous leftover angled-circles-as-polygons approximations and leaves just a skin below the platform to be sheared off by a huge cube below Z=0, matching the corner bellies with the bottoms of the feet.
Because the corners have awful overhangs, the results look a bit raggedy:
Mesh Shelter Frame – corner underside
That’s after knocking off the high spots with a grubby sanding sponge and making a trial fit. They look somewhat less grotendous in person.
If we need another iteration, I’ll think hard about eliminating the overhangs by splitting the corner parallel to the belly, flipping the belly upward, and joining the pieces with a screw. What we have seems serviceable, though.
This file contains hidden or bidirectional Unicode text that may be interpreted or compiled differently than what appears below. To review, open the file in an editor that reveals hidden Unicode characters.
Learn more about bidirectional Unicode characters
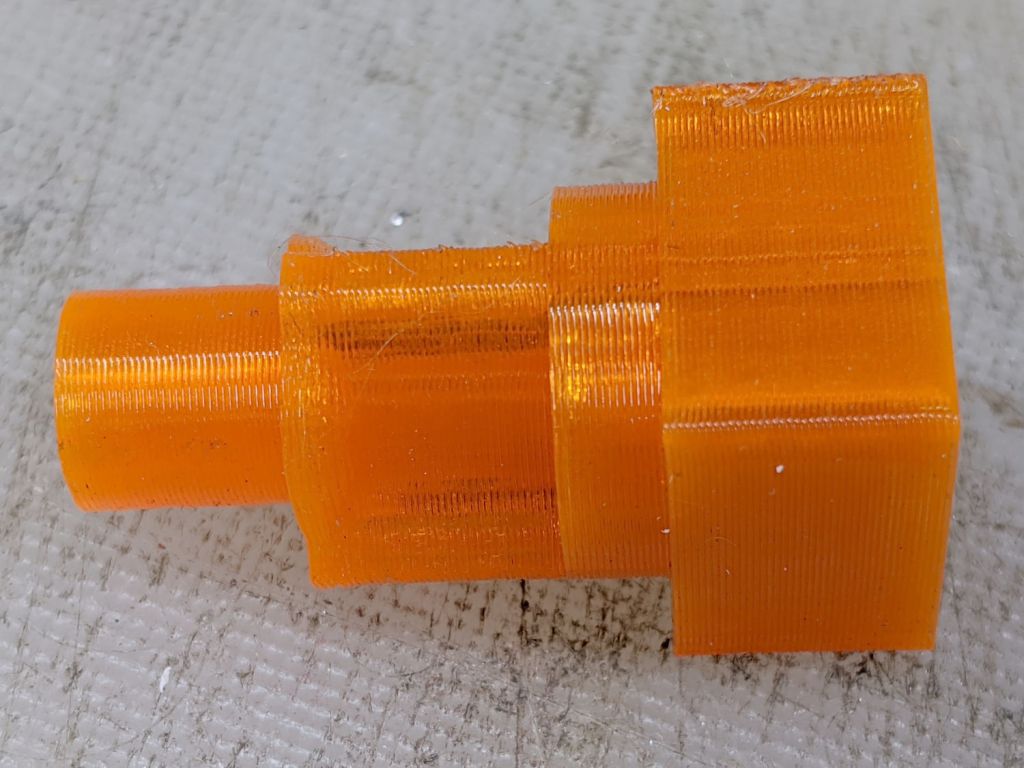
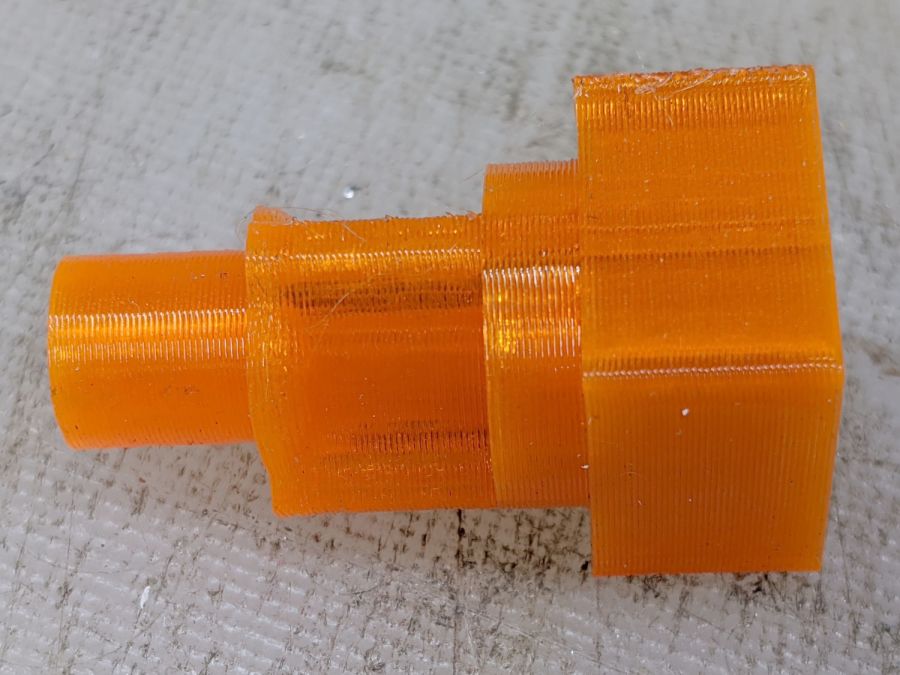
Having just emptied a propane tank while making bacon, I couldn’t find any of the wrench adapters I made to remove the QD adapter from the tank’s POL fitting. With memory of the broken garden valve wrench still fresh, I tweaked the solid model to include a trio of 1 mm music wire reinforcements:
Propane QD Adapter Tool – reinforced – Slic3r
Holes that small require clearing with a 1 mm drill, after which ramming the wires in place poses no problem:
Reinforced QD Adapter Tool – inserting wire
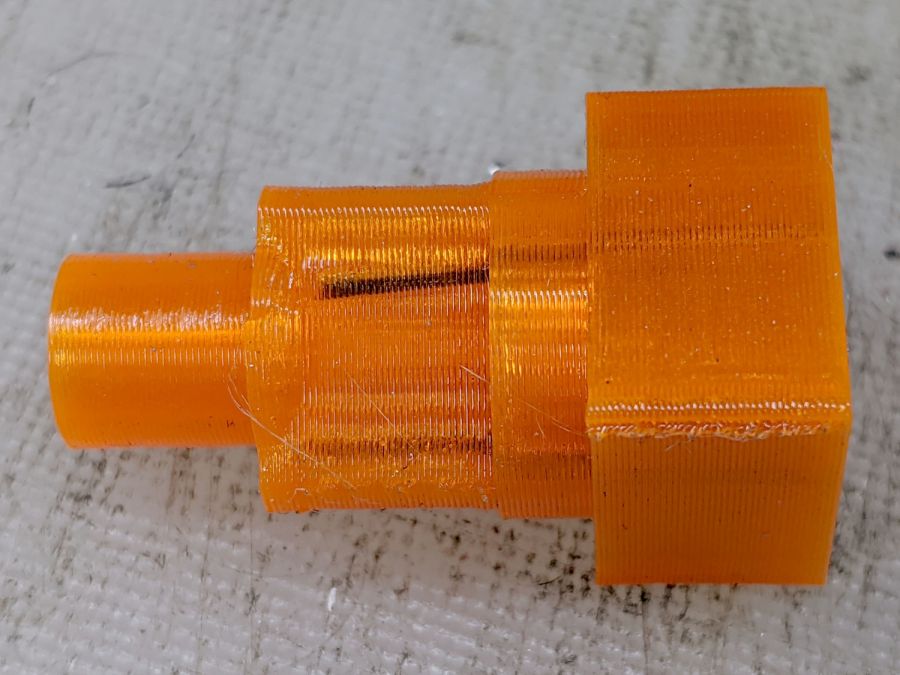
Except for the one that got away:
Reinforced QD Adapter Tool – errant wire
The music wire came from a coil and each snippet required gentle straightening; perhaps that one wasn’t sufficiently bar-straight.
Anyhow, I printed two tools for that very reason:
Reinforced QD Adapter Tool – side view
They’re now where I can’t miss ’em the next time I need them, although that’s not where the previous ones reside.
This file contains hidden or bidirectional Unicode text that may be interpreted or compiled differently than what appears below. To review, open the file in an editor that reveals hidden Unicode characters.
Learn more about bidirectional Unicode characters
My favorite half-teaspoon measure hit the floor with a surprising sproing:
Half-teaspoon soldering – broken
The weld lasted far longer than anyone should own a spoon, I suppose, but it wasn’t much to begin with:
Half-teaspoon soldering – sprung handle
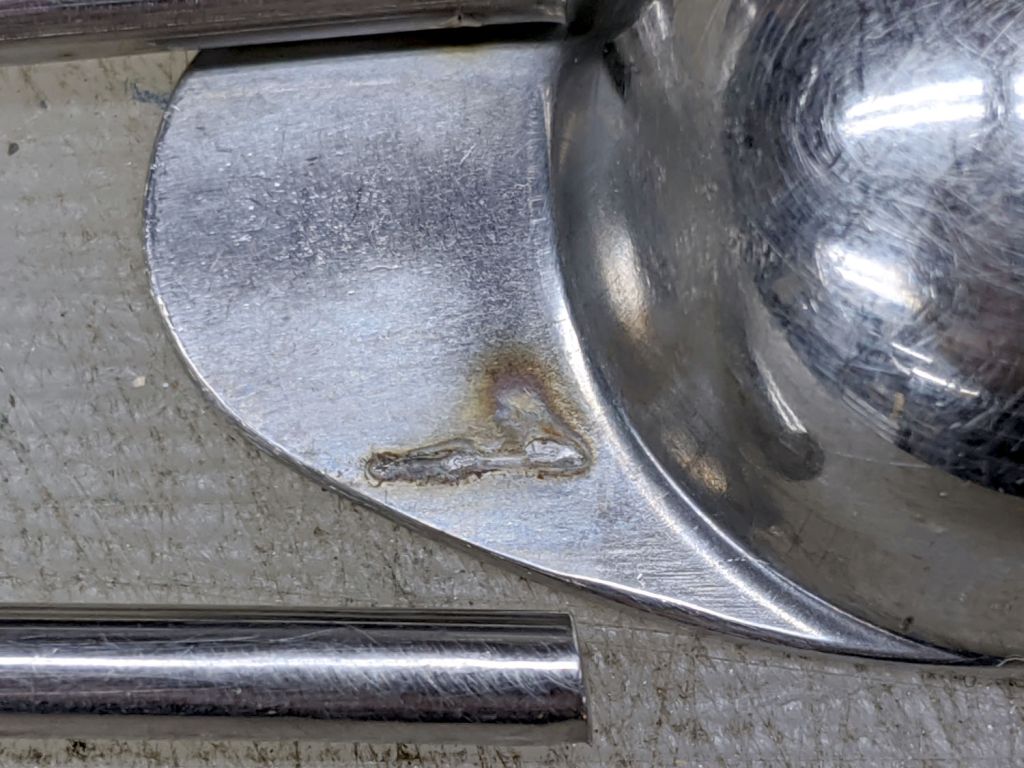
Having had much the same thing happen to a measuring cup from the same set, I cleaned the back of the spoon and the front of the handle with a stainless steel wire brush in the Dremel and gingerly re-bent the handle to remove any inclination it might have to break free again:
Half-teaspoon soldering – cleaned and rebent
Some 60% silver solder (the formula evidently changed in the last few decades), nasty flux, and propane torch work produced a decent fillet:
Half-teaspoon soldering – cooling
It looks a bit worse on the far side, but I’ll never tell.
Rinse off the flux, wire-brush the joint, wash again, and it’s all good.
I thought about excavating the resistance soldering gadget, but the torch was closer to hand and a bigger fillet seemed in order.