Ed Nisley's Blog: Shop notes, electronics, firmware, machinery, 3D printing, laser cuttery, and curiosities. Contents: 100% human thinking, 0% AI slop.
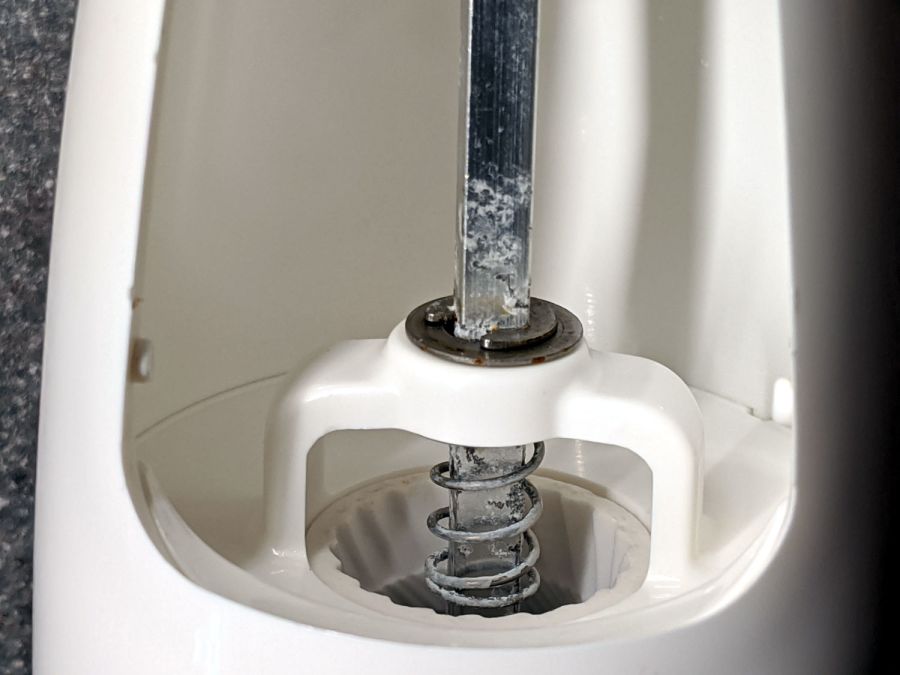
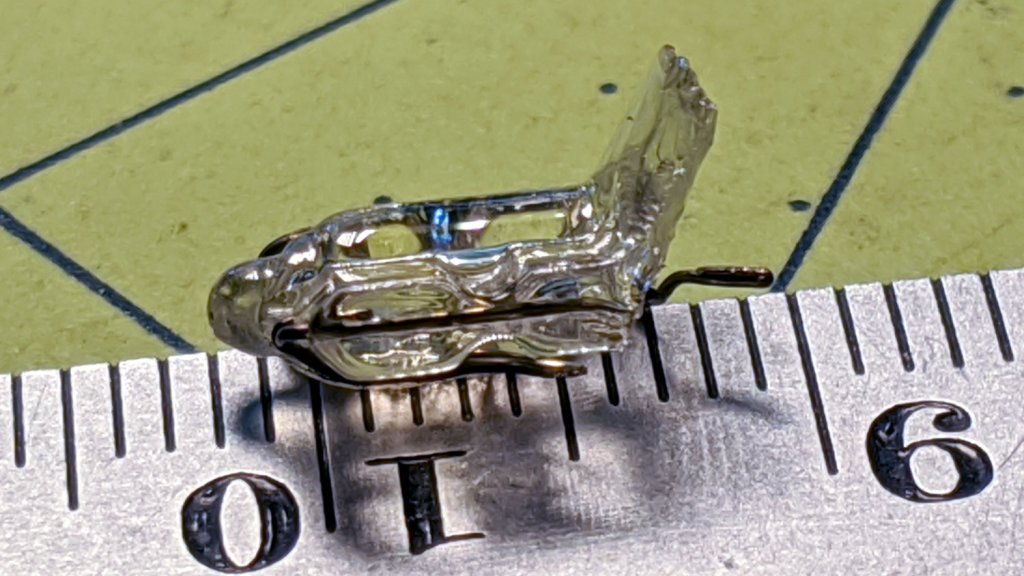
Being that type of guy, I’m reasonably sure I would not have bought what’s now clearly labeled as an OXO Radial Pepper Grinder for use as a salt mill:
OXO Salt Mill – corrosion
Mary recalls we got it at Target, back when one could go places and buy things, and I vaguely recall contemplating a wall of OXO gadgets. It’s been a while and I neglected to save the packaging for future reference.
Obviously not stainless steel, but not lethal, so we’ll continue abusing it.
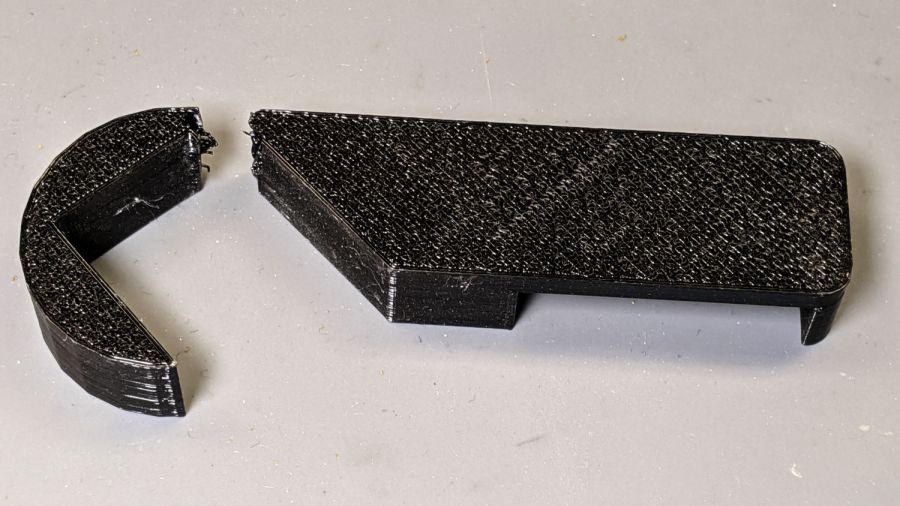
After three years, the retainer holding the front bathroom door open against winds blowing through the house on stormy days finally fractured, right at the top of the towel rack where you’d expect it:
Bathroom Door Retainer – fractured
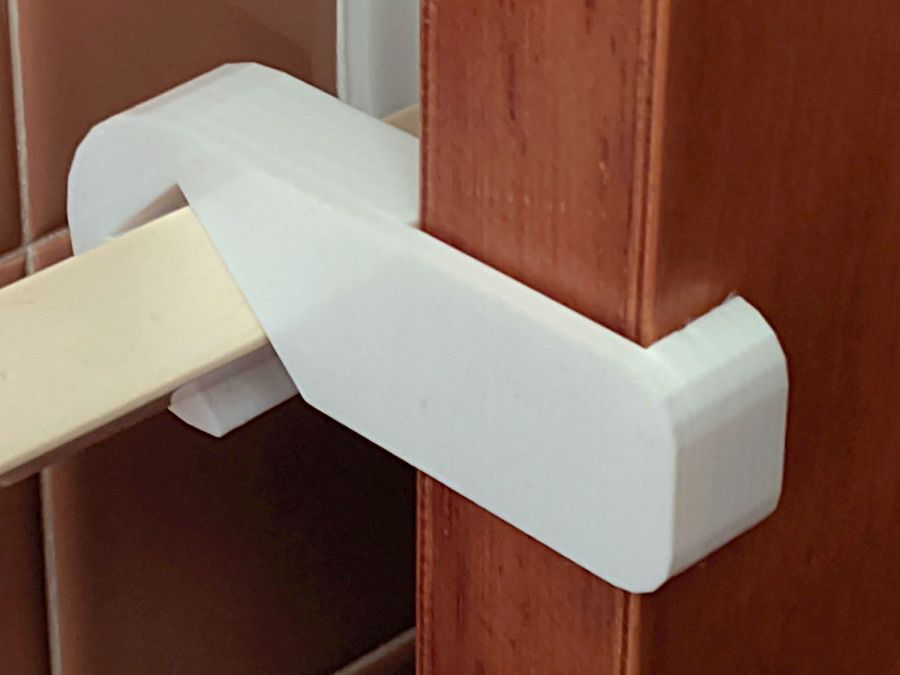
I was all set to add reinforcing pins and whatnot, then came to my senses and just made the whole thing a few millimeters larger:
Bathroom Door Retainer – stronger
Customer feedback indicates white blends better with the background.
I made a few minor tweaks to the original design, including slightly larger bumps to hold it against the towel bar that, regrettably, put corresponding gouges into the bar. Who knew they used such soft plastic back in the day?
This file contains hidden or bidirectional Unicode text that may be interpreted or compiled differently than what appears below. To review, open the file in an editor that reveals hidden Unicode characters.
Learn more about bidirectional Unicode characters
Just for completeness, here’s what the various soaker hose clamps look like in the garden, as solid models only let you visualize the ideal situation:
Soaker Hose Connector Clamp – Show view
This one prevents a puddle in the path to the right:
Soaker hose repairs in situ – clamp
Bending the hoses around the end of a bed puts them on edge, with this clamp suppressing a shin-soaking spray to the left:
Soaker hose repairs in situ – end-on clamp
The clamp at the connector closes a leak around the crimped brass fitting, with the other two preventing gouges from direct sprays into the path along the bottom of the picture:
Soaker hose repairs in situ – clamps and connector fix
All in all, a definite UI improvement!
As far as I can tell, we have the only soaker hose repairs & spritz stoppers in existence. Hooray for 3D printing!
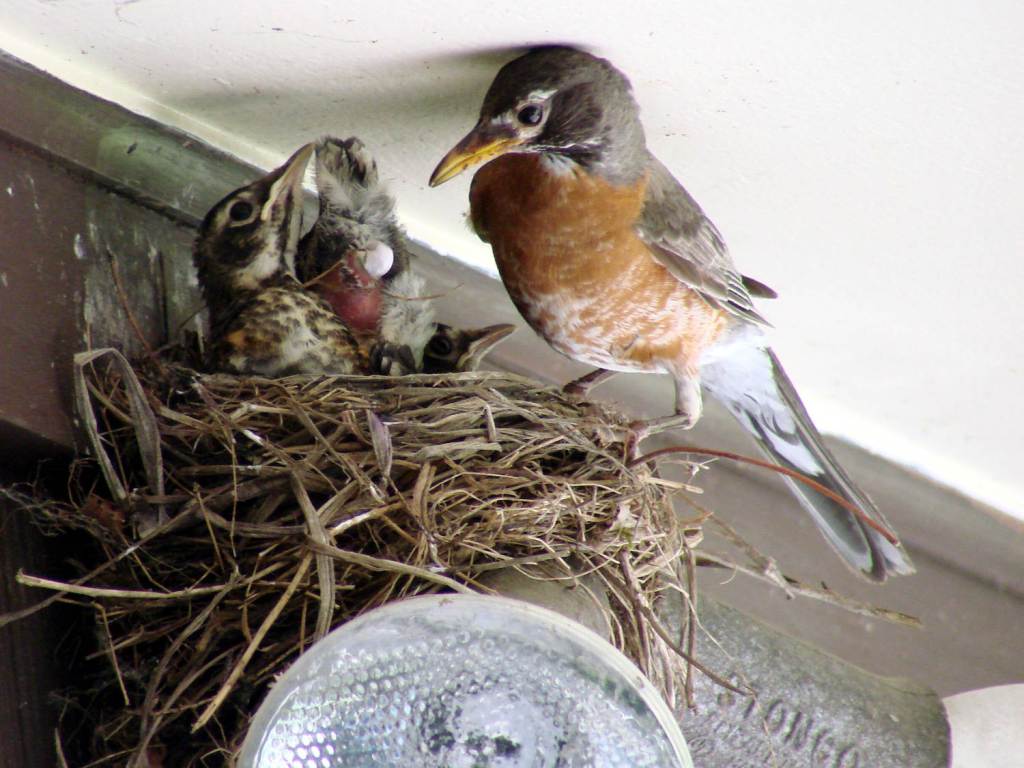
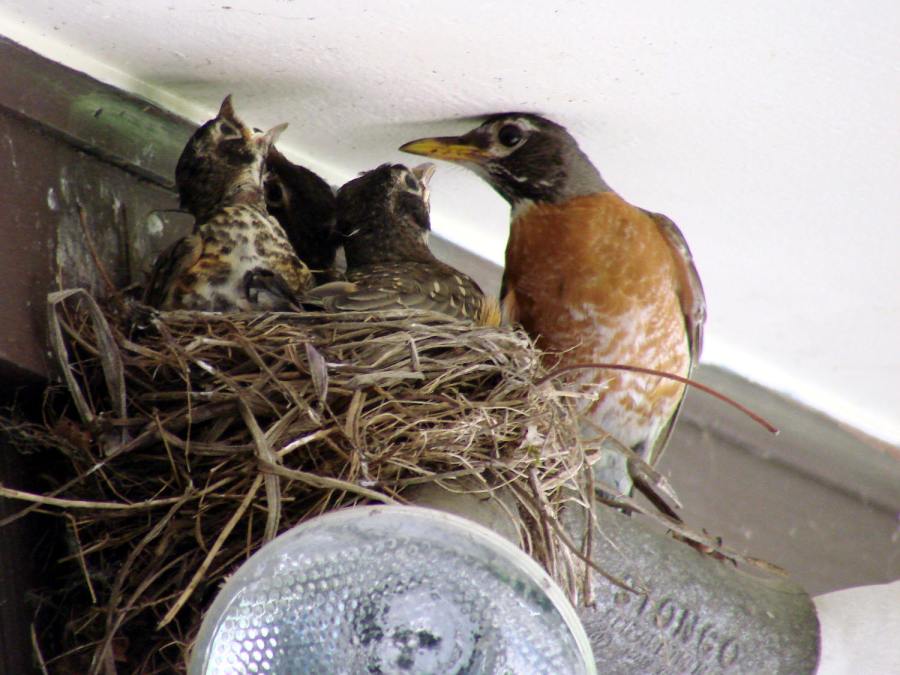
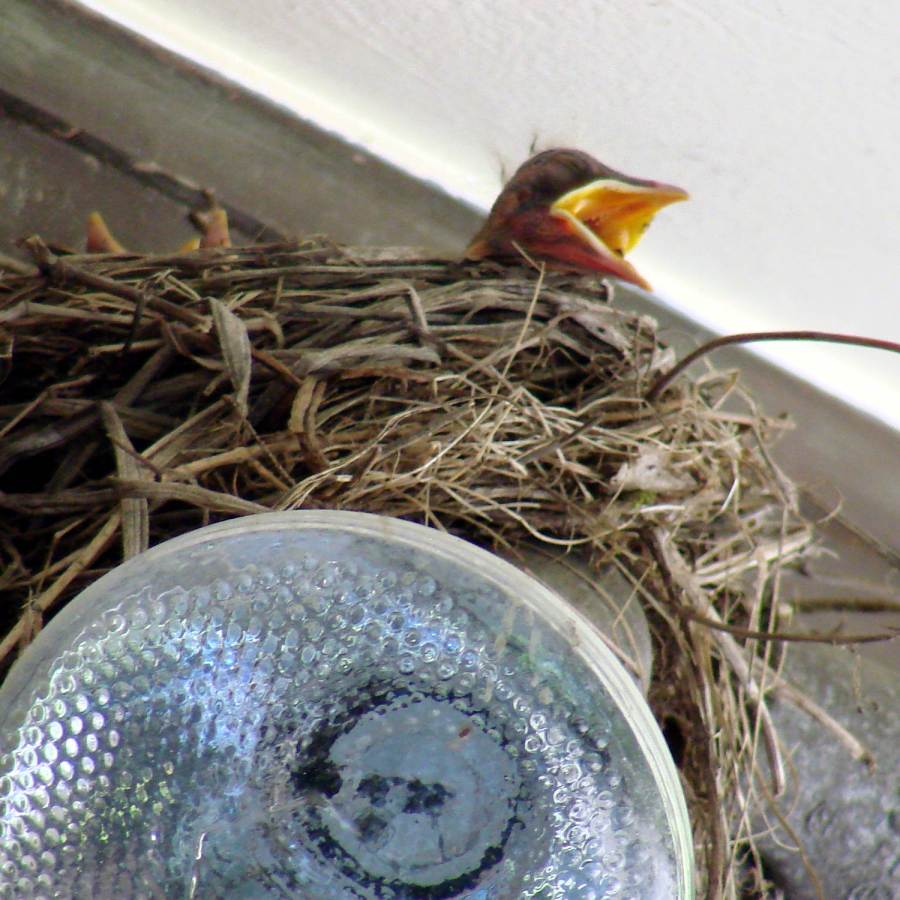
They’re recognizably robins now, covered in young-bird speckle camouflage.
Feeding continued apace:
Robin Fledging Day – feeding
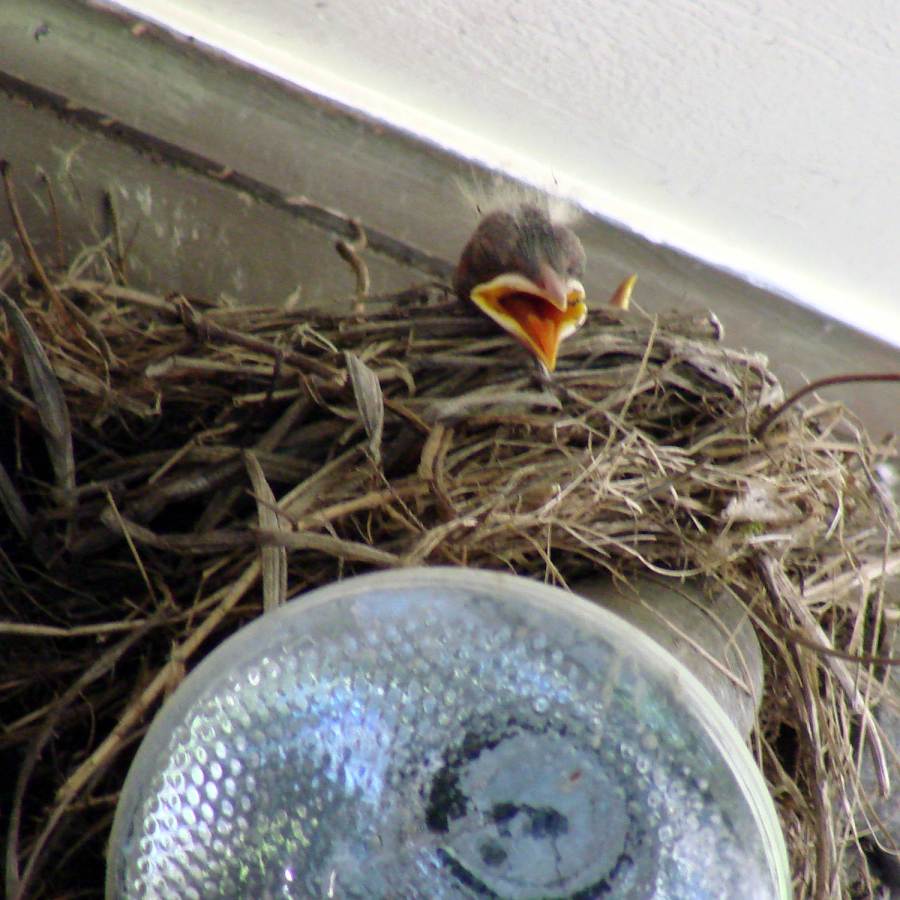
After feeding, robin nestlings produce fecal sacs, which the parents either eat or carry away:
Robin Fledging Day – fecal sac
Robins aren’t big on facial expressions, but, speaking from personal experience, anything to do with diapers isn’t the high point of a parent’s day.
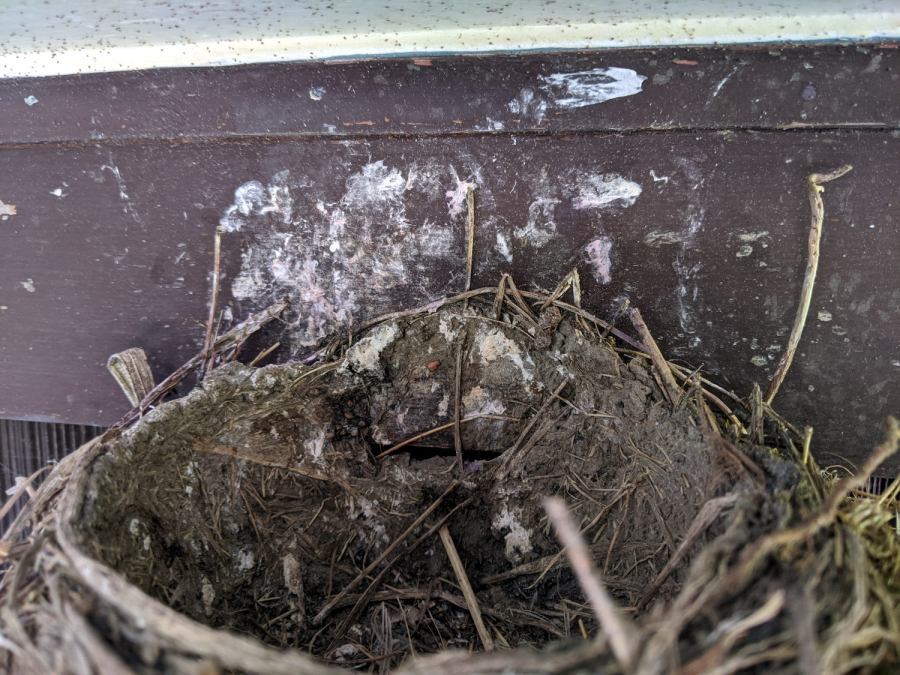
And then there were none:
Robin Fledging Day – empty nest with parasites
The gazillion black dots on the soffit are pinpoint-sized insects / mites / ticks infesting the nest and, presumably, the birds. The earlier pictures don’t show them, so perhaps these missed the last bird off the nest and are now regretting their life choices.
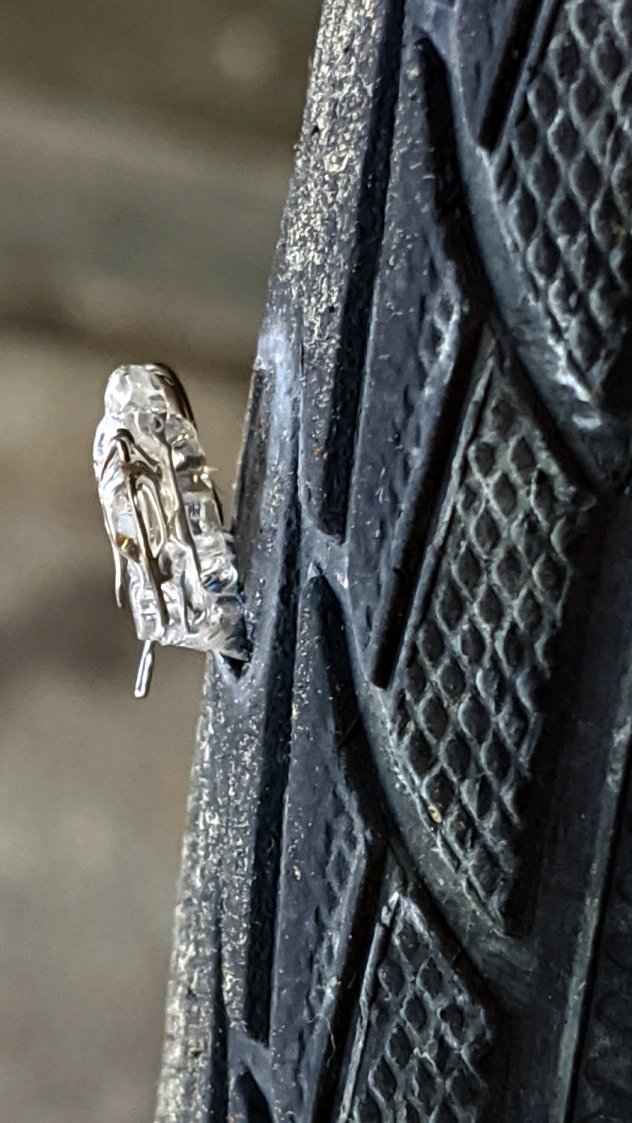
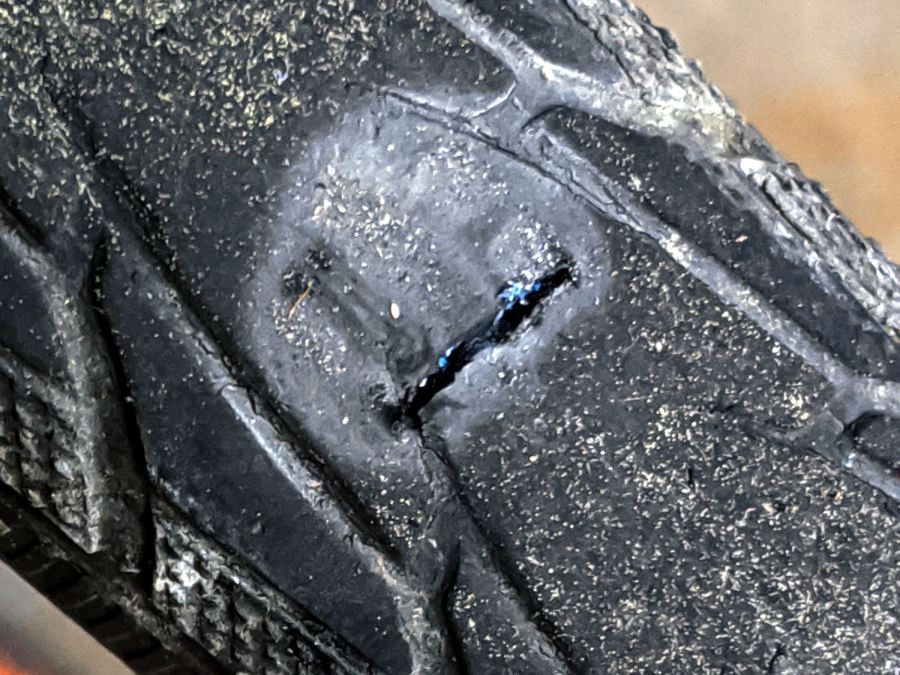
A clicking sound from the rear of the bike suggested something was amiss as I rolled up the driveway after a recent ride. Spinning the rear tire produced this alarming sight:
I cleaned the wound, filled it with silicone rubber, topped it with some duct tape, and it’s still holding air after a 13 mile ride. I think the gash cut through the rubber tread and SmartGuard layer, but didn’t affect the cords in the tire carcass, so keeping further road debris out of the gash should let the tire wear out more-or-less normally.
Putting duct tape on the tread will certainly help …
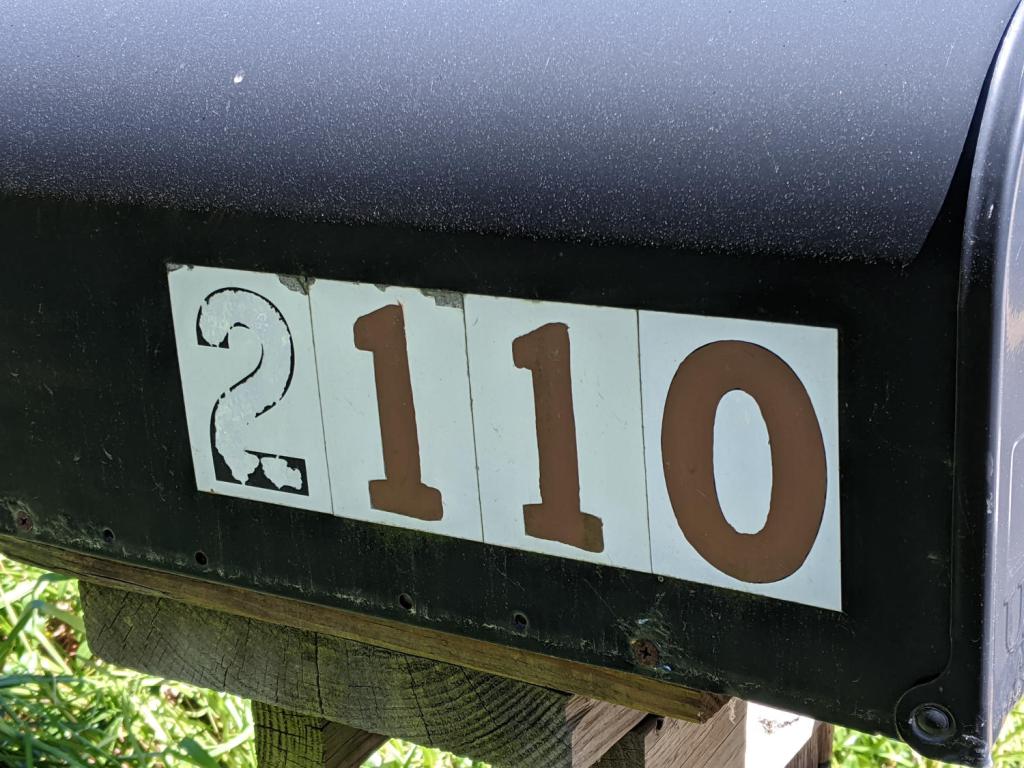
Five years later, the digits I painted with Rust-Oleum Rusty Metal Primer have weathered pretty well, while the original ink has fallen off the retroreflective sticker:
Mailbox numbers – original vs primer
As before, I wiped off the crud with denatured alcohol and painted neatly inside the lines. The other digits on both sides still look as good as the day I painted them, with only a few bubbles and nicks.
Memo to self: Next time, buy a big sheet of 3M retroreflective film, make a stencil by vinyl cutting, paint the entire number in one shot, and be done with it.