Ed Nisley's Blog: Shop notes, electronics, firmware, machinery, 3D printing, laser cuttery, and curiosities. Contents: 100% human thinking, 0% AI slop.
The red spot in the next-to-bottom row of the test fixture (*) marks a failed WS2812 LED. All of the LEDs above it, plus the LED just to its left, are in pinball panic mode: random colors flicker across the panel as the LED’s controller transmits garbled data and the downstream LEDs pass it on.
This failure provides several bits of information:
The LED sees the same power supply as all the rest, so it’s not a power thing
The LED gets data from the adjacent WS2812, so it’s not an Arduino output thing
It failed after about four days = 100 hours of continuous operation
I connected the previous LED’s output (#6) to the next one’s input (#8), so the failed LED (#7, now with output disconnected) continues to flicker, but doesn’t influence any of the downstream LEDs.
(*) The LEDs are daisy-chained from lower right to upper left, row by row, so that’s LED #7 of 28.
Quilters hold fabric in place with freezer paper while piecing their blocks; it’s basically plastic-coated paper that gets tacky at ordinary clothes iron temperatures.
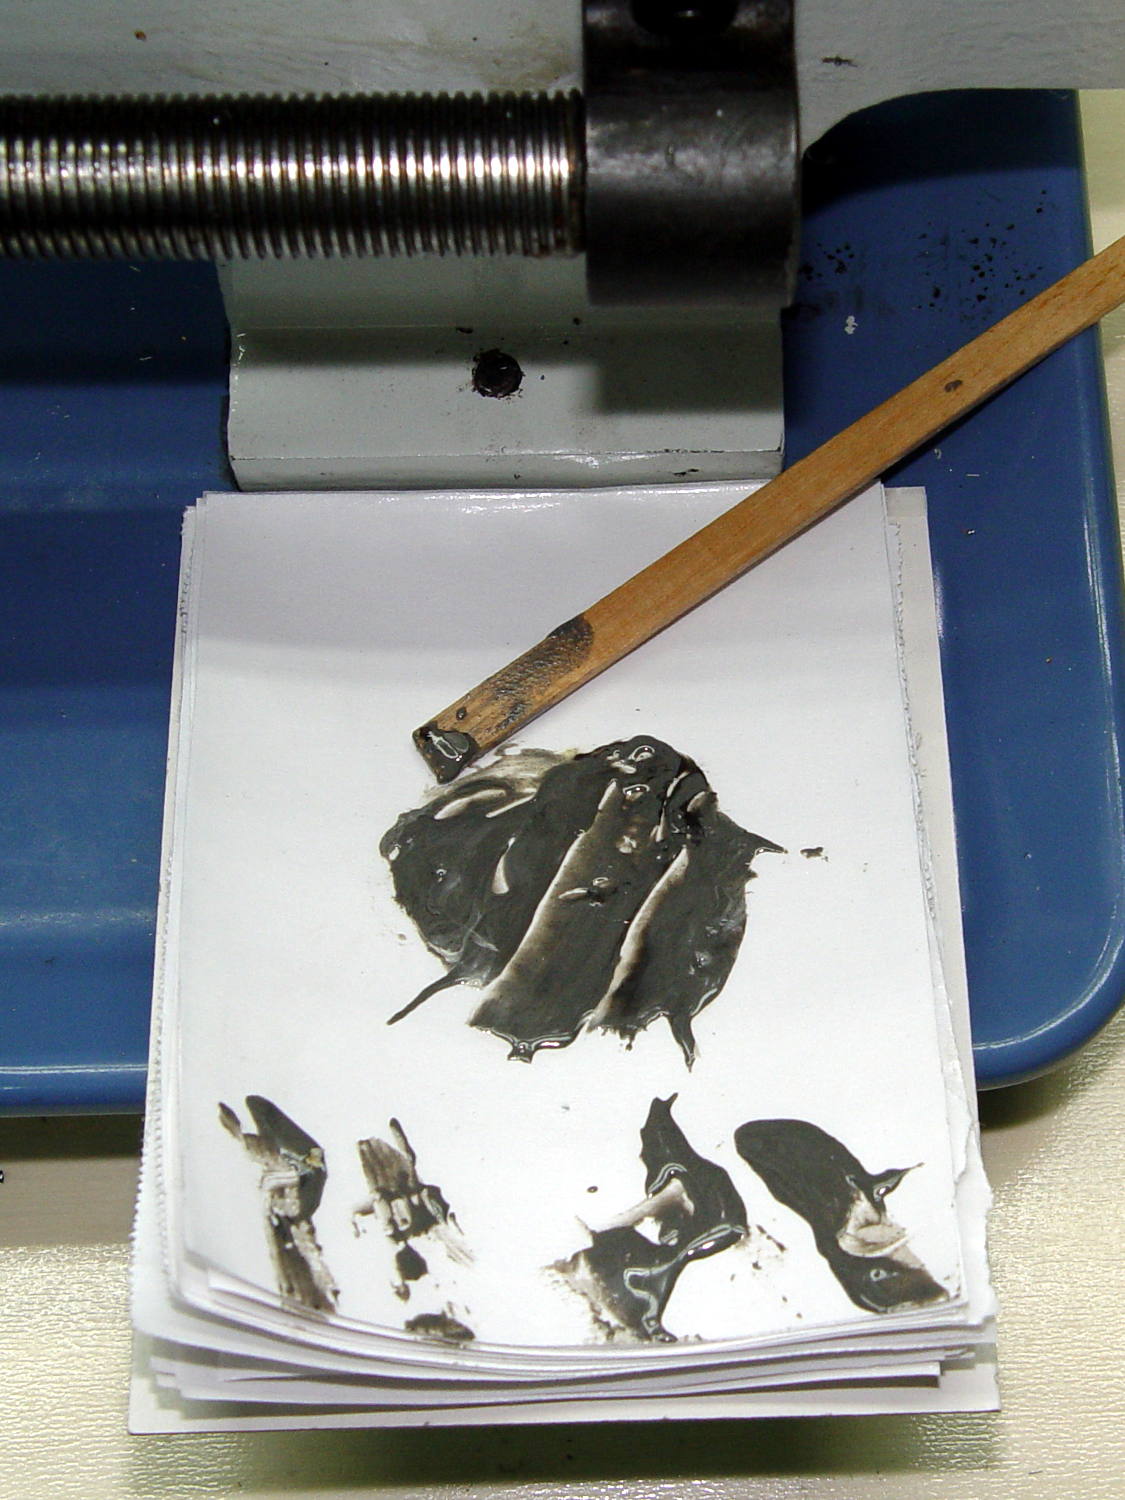
It’s useful in the shop, too. Cut a length of freezer paper into small pages, pad them plastic-side-up atop a sheet of cardboard, and you get a great place to mix small amounts of epoxy:
Epoxy mixing pad
Let the pad stay next to whatever you’re epoxying (like, say, the lathe tailstock ways), then test the leftover epoxy for hardness… rather than messing up the joint you so laboriously created by moving the parts an hour too soon.
After months of attempts and (occasionally) spectacular failures, one of the backyard squirrels managed to climb aboard the bird feeder:
Squirrel on bird feeder
The shutter closes when more than two cardinals and a titmouse perch on the wood bar, so the squirrel didn’t get anything. However, back in 2008, one of that critter’s ancestors mastered the trick:
Not a Squirrel-Proof Feeder
Since then, I’ve raised the feeder about five feet and inverted a big pot over two feet of loose PVC pipe around the pole.
Given the number of squirrel-training videos on Youtube, however, it’s only a matter of time until the critters put all the tricks together!
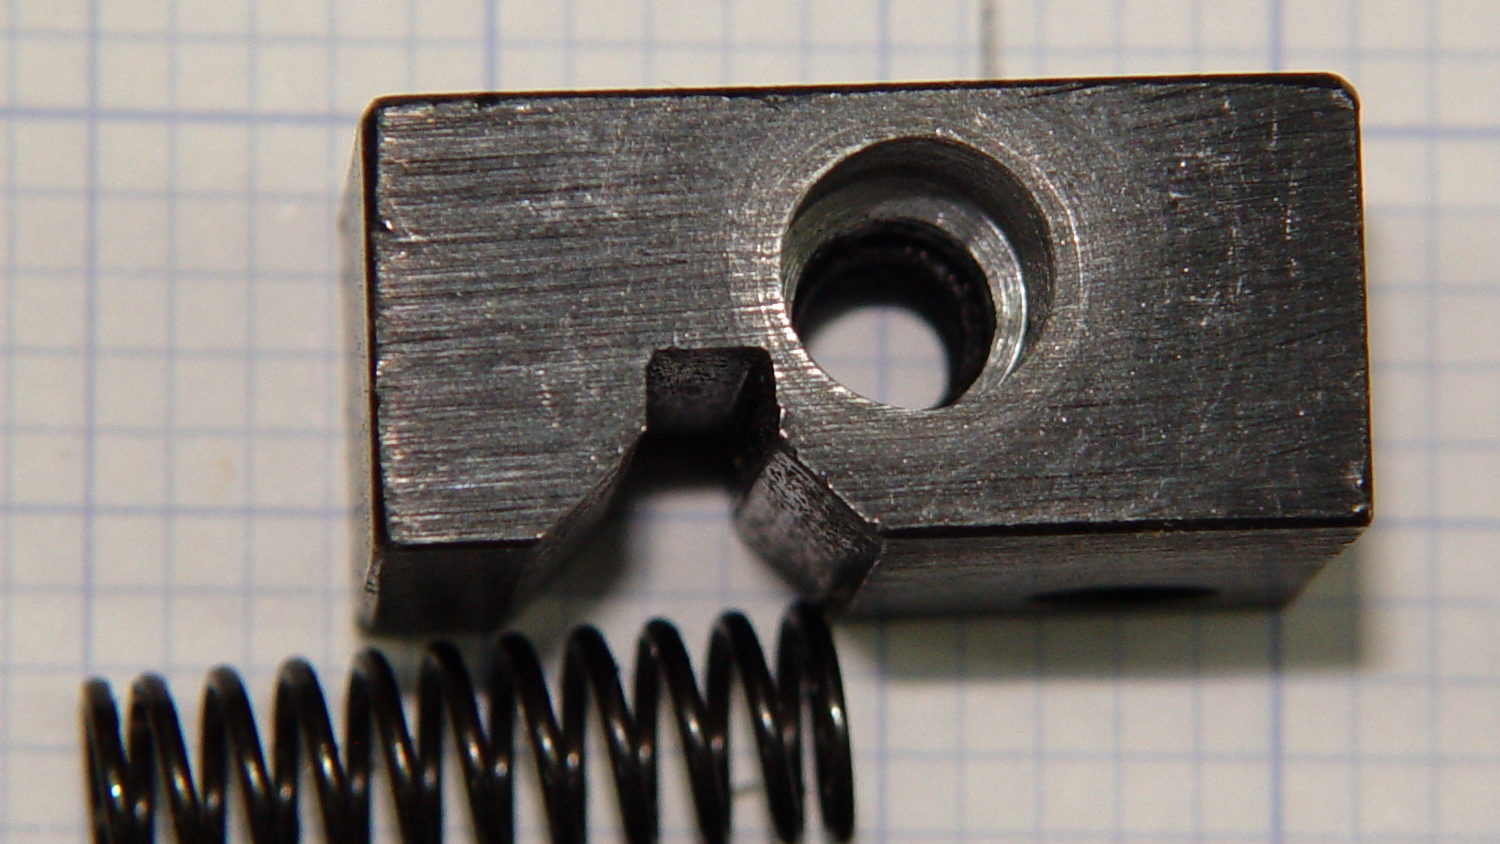
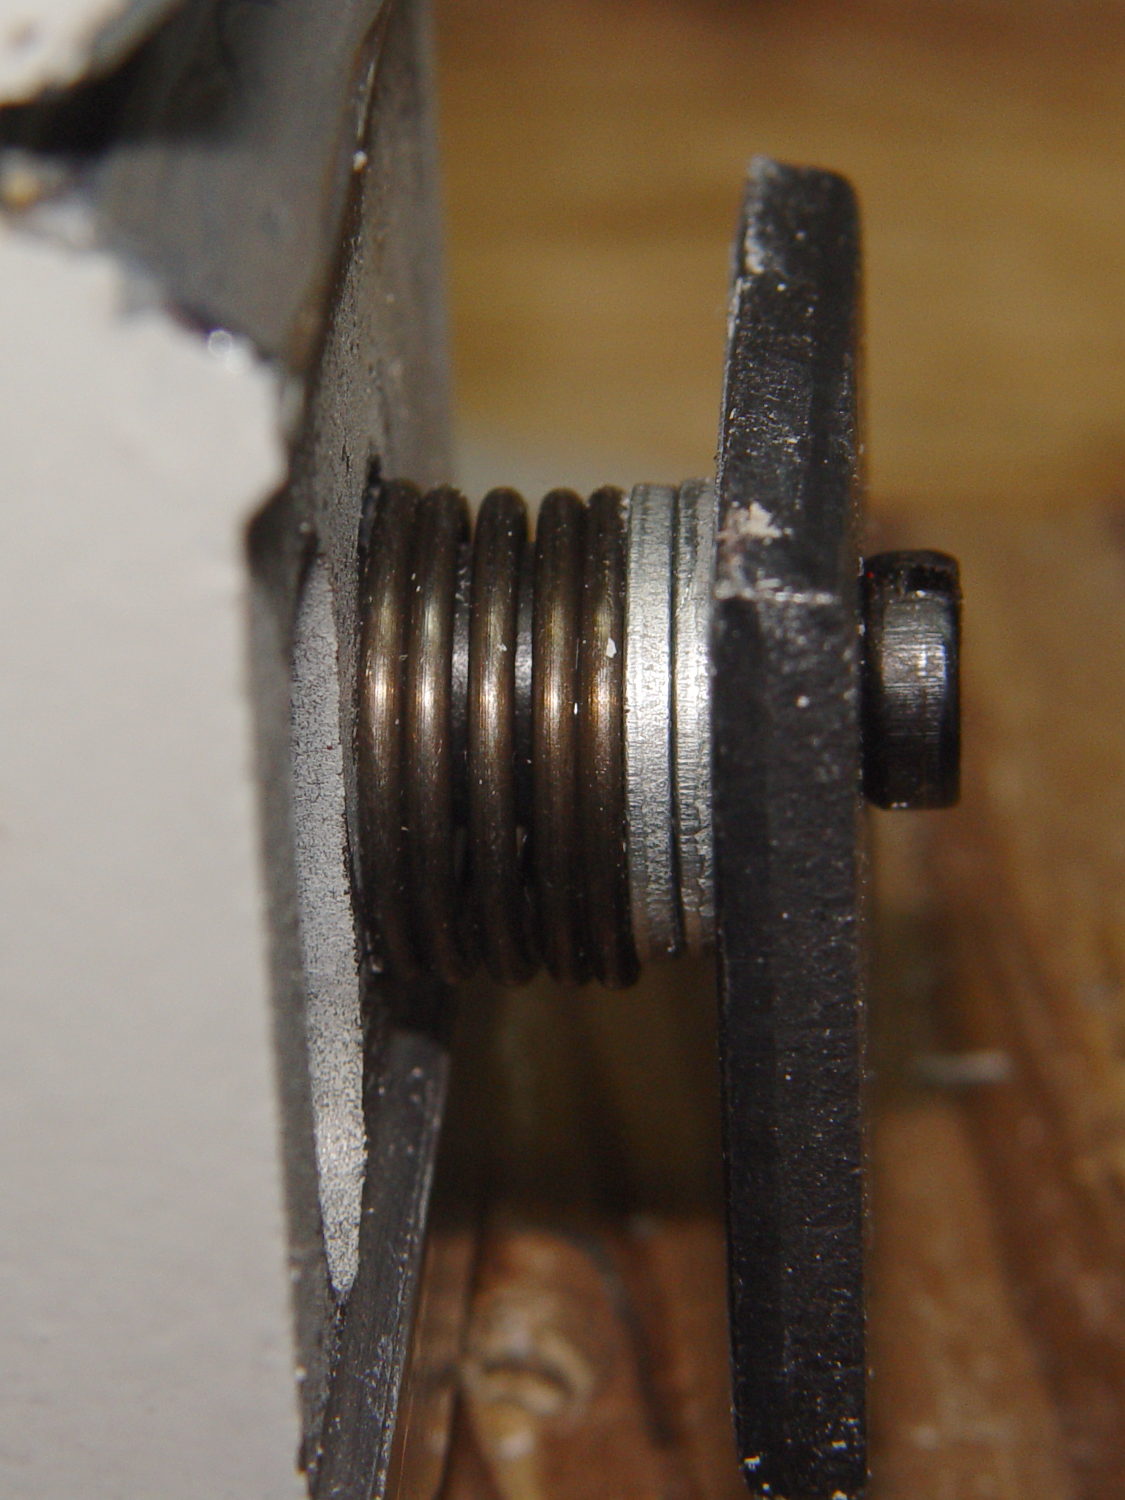
The OEM spring now sits slightly compressed with the screw tip flush at the far end of the block:
LMS Carriage Stop – reassembled
That OEM screw head knurling leaves a bit to be desired, doesn’t it?
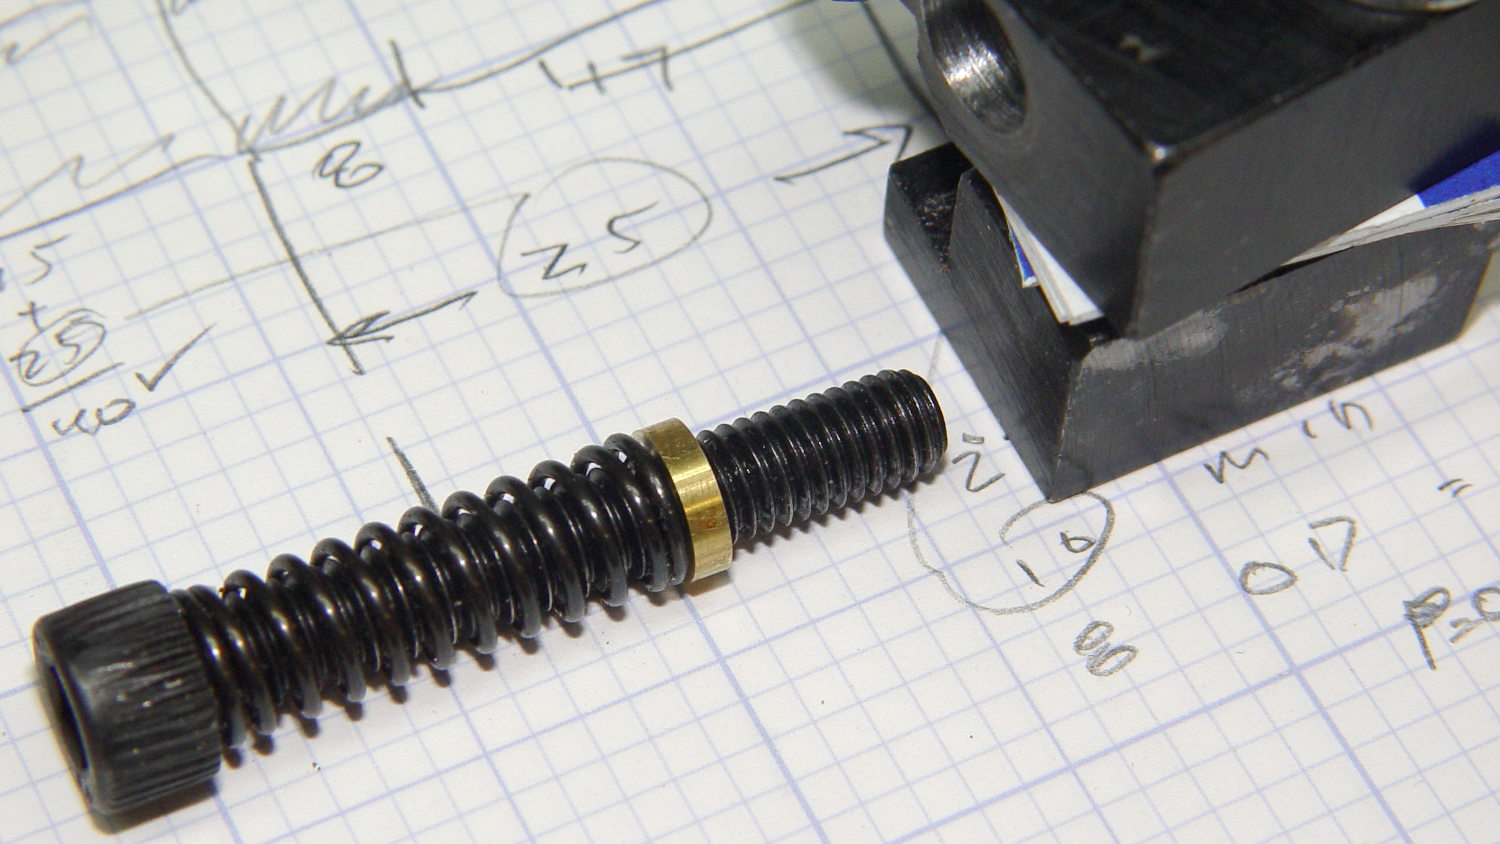
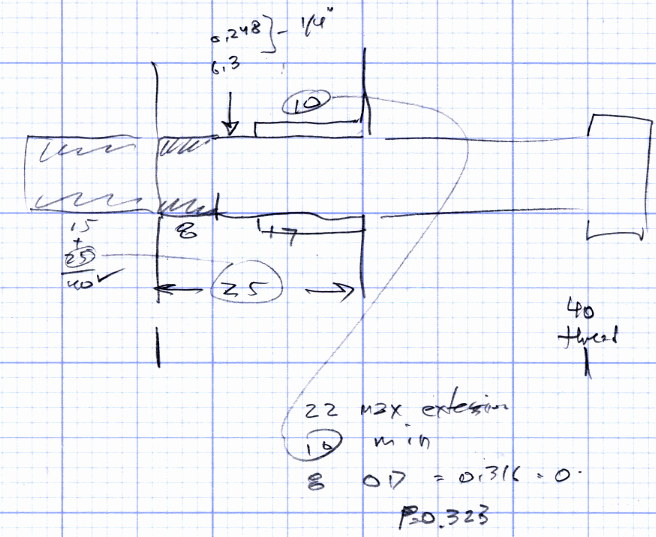
Actually boring the hole would be a remarkably tedious process for little gain. Instead, I lined up the block in the drill press using a ¼ inch drill (the OEM hole isn’t hard metric!) in the unthreaded section, enlarged it with progressively larger drills up to an O (0.316 inch = 8 mm), then finished with a P (0.323 in = 8.2 mm).
As it turned out, my guesstimated relaxed spring length was a bit off, so I turned a brass bushing to shorten the hole by 2 mm:
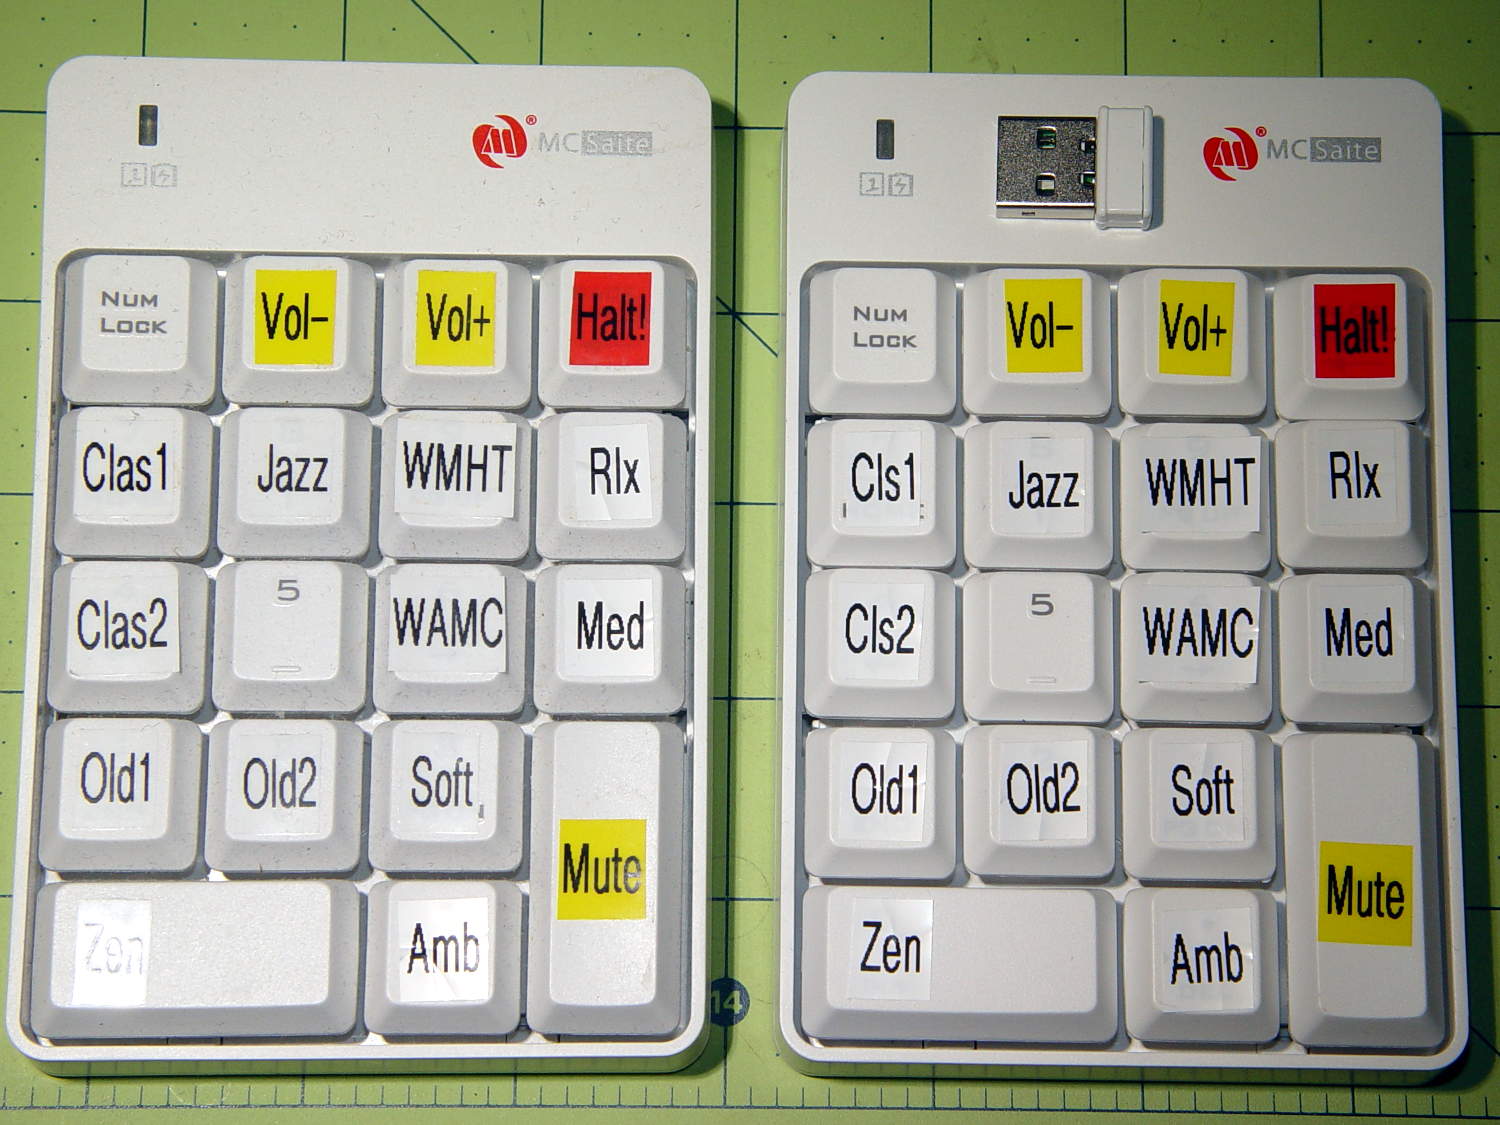
The keypad on the right reports Model ID 0x4182, the same as the black plastic batch, and different from the 0x4101 of the previous batch (on the left). Apparently, the small USB dongle carries the Model ID data and the keypads can carry anybody’s logo.
The Vendor ID, of course, still shows Creative Lab’s 0x062a and all the serial numbers are 1.
Fortunately, the udev rules already have that combination and the streaming player can’t tell the difference.
Those labels on the keytops still don’t quite fit, but we’re coping as best we can.
I’m using good ol’ JB Weld steel-filled epoxy, rather than graphite / molybdenum disulfide loaded epoxy, mostly because:
I have it on the shelf
This is a non-sliding joint
My technique needs polishing, too
The key point: the tailstock is (astonishingly) well aligned and, if I can manage to not change how it sits on the lathe bed, this should be a zero-impact operation. Scraping / filing / fiddling with the high spots will change the alignment; I expect I must eventually do such things; this represents a first pass at the problem.
Applying a fat blue Sharpie to the tailstock ways:
Tailstock way repair – blue Sharpie
After sliding the tailstock back and forth a few times, the remaining blue shows where the ways did not make contact. Those shiny and silvery spots rubbed against the lathe bed ways.
The flat way looked like this:
Tailstock way repair – flat contacts
The patch along the upper-left edge and the small dot near the upper-right corner are the only contact points across the entire flat.
The outside of the V groove:
Tailstock way repair – outer V contacts
As nearly as I can tell, that’s actually a reasonably flat and well-aligned surface, with small contact points scattered all over. Granted, there’s a larger contact patch to the left and less to the right.
The inside of the V groove:
Tailstock way repair – inner V contacts
There’s a single point near the top left, another over on the right, and that’s about it.
I cleaned the tailstock ways with acetone to get rid of the Sharpie / grease / oil / whatever. Under normal circumstances you’d roughen the surface to give the epoxy something to grip, which definitely seemed akin to perfuming a lily.
To prevent permanently affixing the tailstock to the lathe, some folks put a generous layer of oil / graphite / soot / release agent on the lathe bed ways. I used some 3 mil = 0.08 mm Kapton tape, figuring an impervious layer would pretty much guarantee I could get the tailstock off again, no matter what.
So, we begin.
Butter up the tailstock ways with epoxy and smoosh into place atop the Kapton:
Tailstock way repair – V groove on tape
Make sure the tailstock remains well-seated where it should be:
Tailstock way repair – weights
Do other things for 24 hours while the epoxy cures, pry the tailstock loose by hammering The Giant Prying Screwdriver between the lathe bed and the underside of the tailstock (just right of the V-groove, where nothing slides on the bed, but I did use a bit of plastic as a shield), chip off excess epoxy, clean things up, etc, etc.
This time, I applied Sharpie to the lathe bed, then slid the tailstock back & forth a few times. As a result, the blue areas now show the contact patches and the gray areas just slid by without touching.
The flat way looks pretty good:
Tailstock way repair – flat epoxy blued
That round dot over on the right seems to be a steel protrusion; I think it’s part of the same lump appearing in the “before” picture above. That rather sharp point seems to have indented the tape and produced a low area in the epoxy around it, which may not matter much: it was the only contact point before I did this.
The V groove isn’t anywhere near perfect:
Tailstock way repair – V groove epoxy blued
On the upside, the ways have much, much larger contact patches spread across nearly their entire lengths, which isn’t to be sniffed at.
While reassembling the tailstock, I added a pair of M6 washers above the clamp plate so it cleared the bed with the screw tightened into the cam-lock post:
Tailstock clamp plate – washers
Which definitely calls for a small bushing, of course. If you put a lockwasher under the screw head, it won’t clear the end of the bed casting. So it goes.
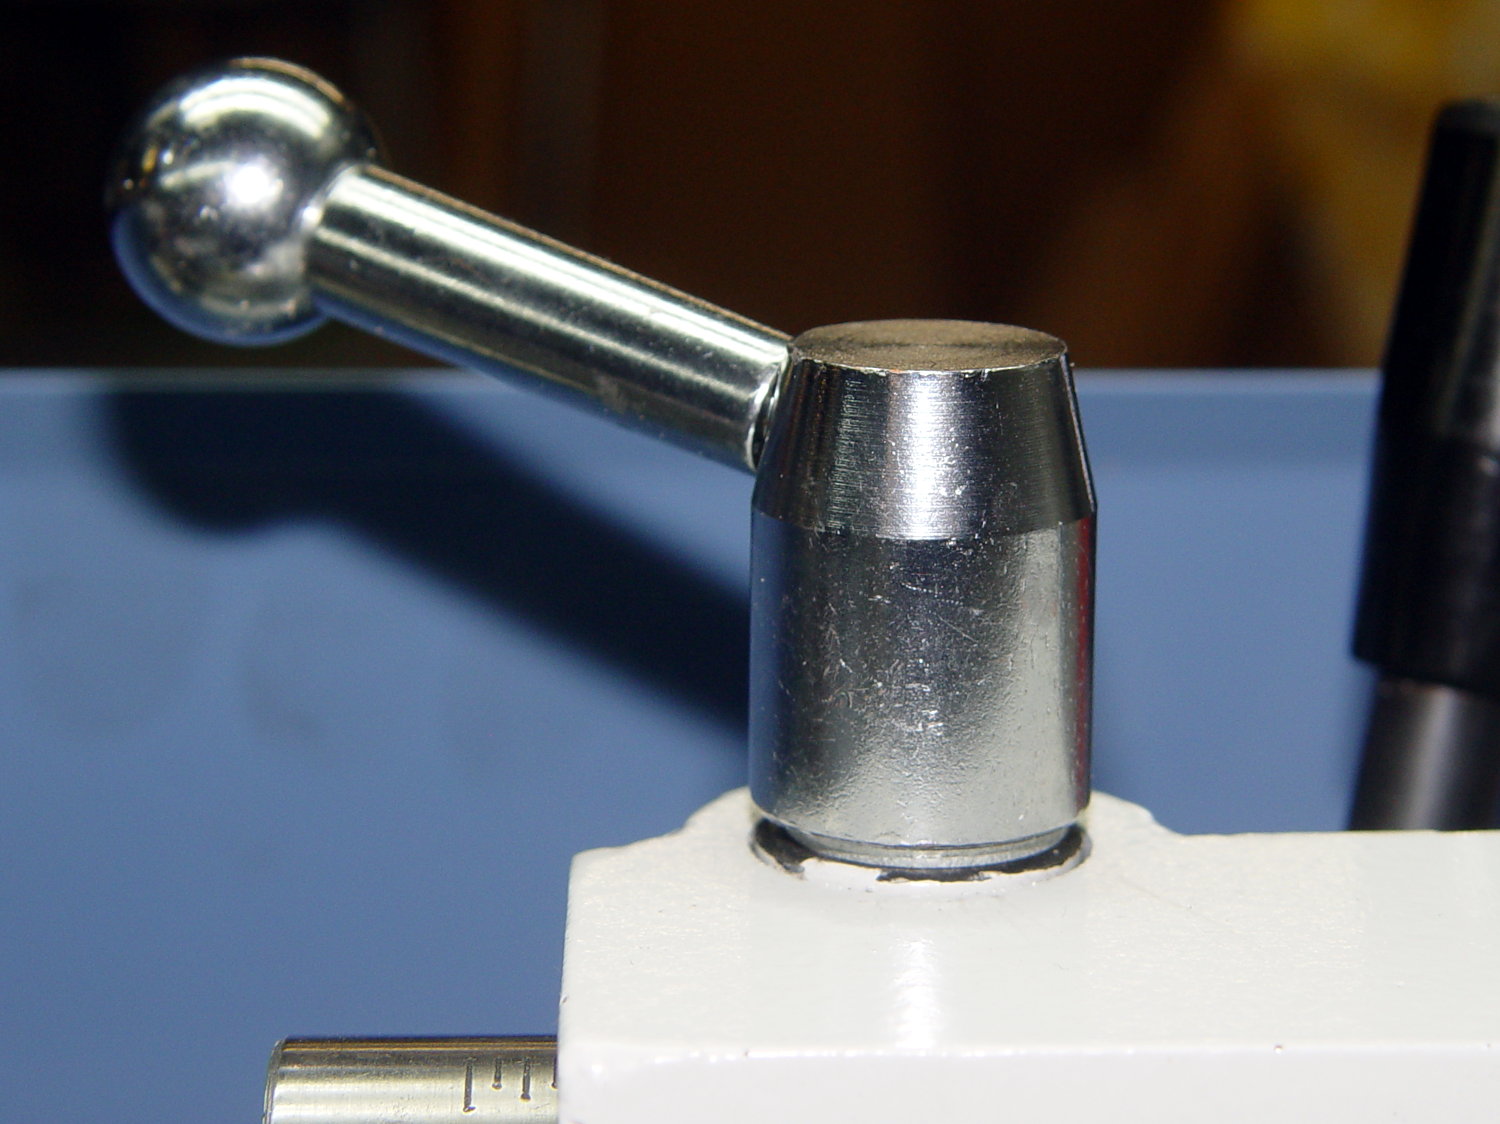
Another washer under the ram lock screw changed the phase enough to keep the knob out of the way in both the fully locked and unlocked positions:
Tailstock ram lock – added washer
I slobbered some Mobil Vactra #2 Sticky Way Oil (thanks, Eks!) on the bed ways, snuggled the tailstock in place, and wow does that thing move! Verily, it slides smoothly and clamps solidly in place: a tremendous improvement over the status quo ante.
Some observations…
The tape (perhaps the adhesive layer) produces a slightly textured epoxy surface
The tailstock way’s small contact points indented the tape, even though it’s only 3 mil thick
Filling the low areas in the way works well
The high areas may not have enough epoxy for good durability
I expect the epoxy will wear faster than steel, so contact should improve with time
This is not a permanent fix
What I’ll do differently next time…
Apply more epoxy to avoid those small gaps along the edges
Use a real release agent: smoothed in place, it might provide a better finish. Might not matter
Verify a good prying spot before epoxying, say, the compound
All in all, though, this worked much better than I expected!