Adding a little tab to the angled brackets prevents them from pivoting while you’re tightening the mounting screw into the brass insert:

The trick with those tabs is to chop ’em off halfway to the tip, because there’s no point trying to print a wedge that ends with a sharp edge:
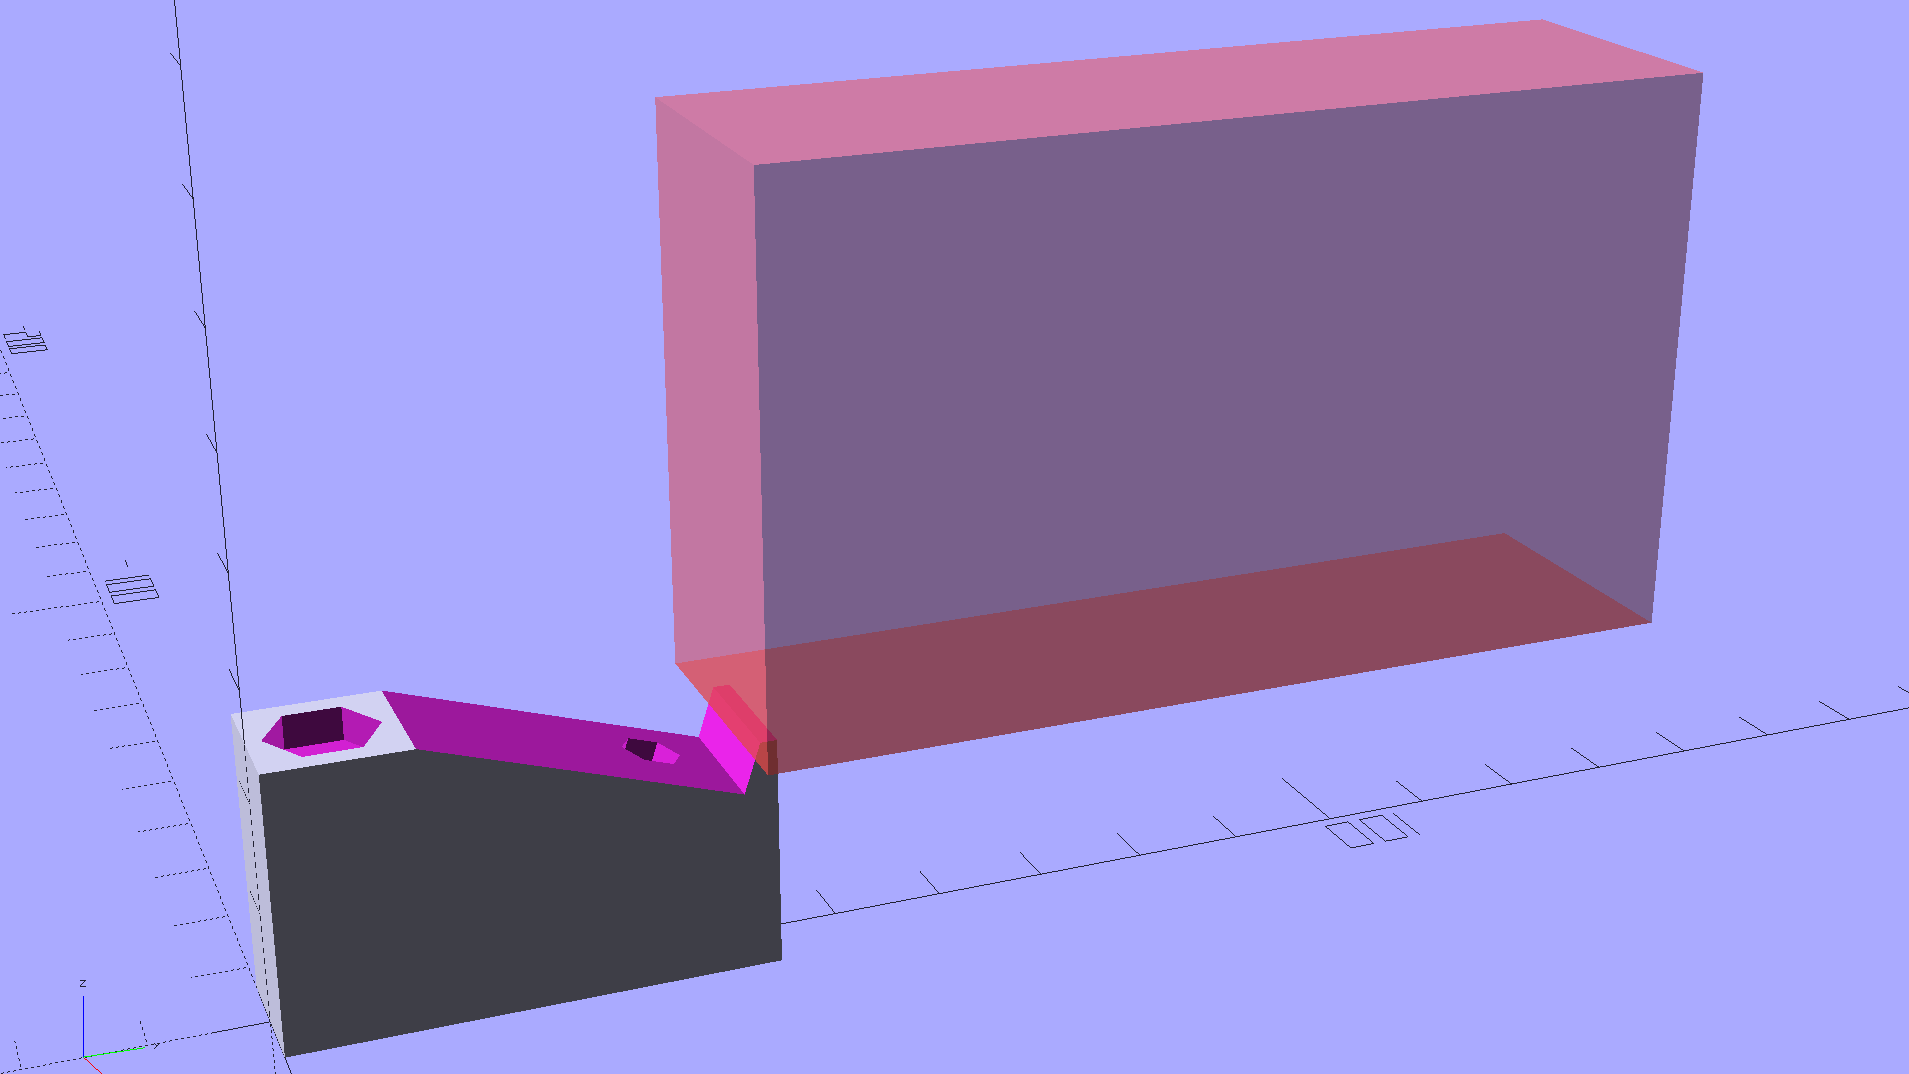
Generating & positioning that block goes a little something like this:
translate([0,
           2*MountBlock[1] - LEDEndBlock[2]*sin(StripAngle),
           MountBlock[2]/2 + MountHeight - 0.5*LEDEndBlock[2]*cos(StripAngle)])
    cube(2*MountBlock,center=true);
As a rule of thumb, there’s no point in fussing with smaller shapes when a big one will suffice…
This LED strip fits under the cabinet over the butcher block countertop next to the stove, which turns out to be Just Barely longer than the strip itself:

The OEM straight-on coaxial plug (near the bottom of the picture) attached to the wall wart cable obviously wouldn’t fit in the available space, so I gimmicked up a right-angle adapter by the simple expedient of shortening the solder lugs of a plug from the heap (which, admittedly, doesn’t quite fully seat in the socket), bending them sideways, soldering a pair of wires, heatshrinking appropriately, then coating wires + plug with JB Kwik epoxy. The other end of the wires gets a coaxial jack that miraculously fits the OEM plug, styled up with more heatshrink tubing. Not pretty, but nobody will ever see it.
Unlike the LED strip under the other cabinet, this IR proximity sensor doesn’t mind having a wood edge next to it and, thus, didn’t need a strip of tape to keep it happy.

Comments
One response to “Under-cabinet Lamp Brackets: Close-fit Power Plug”
[…] The reflected light bar comes from the under-cabinet LED strip. […]