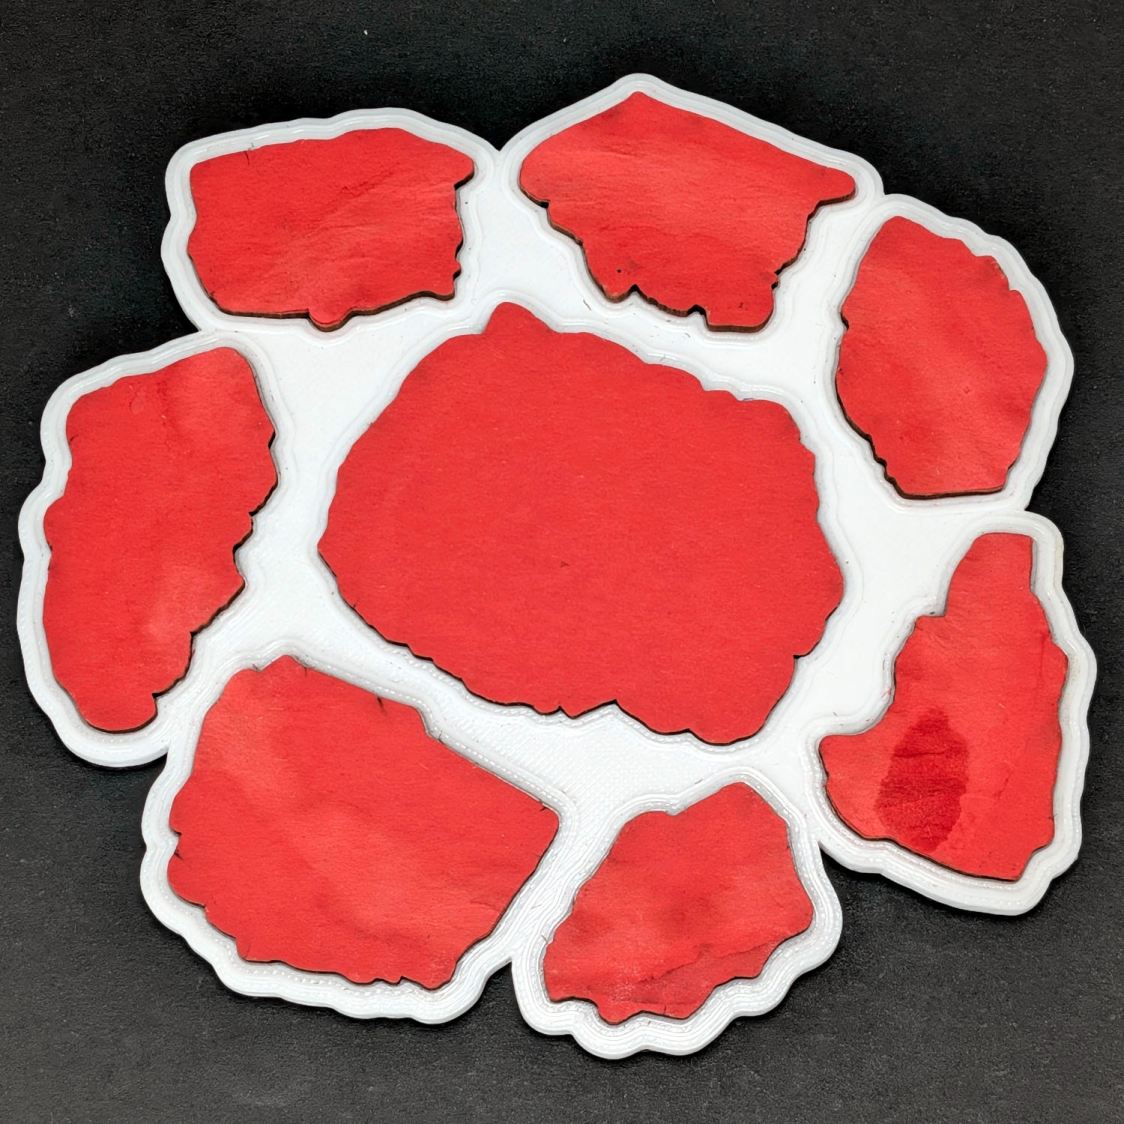
Although “chipboard” is also known as “beer mat”, it’s not intended for long-term use under sweaty mugs. After a few weeks of daily use, this is obviously out of spec:
The aforementioned sweaty mug lifted part of a fragment off the coaster:
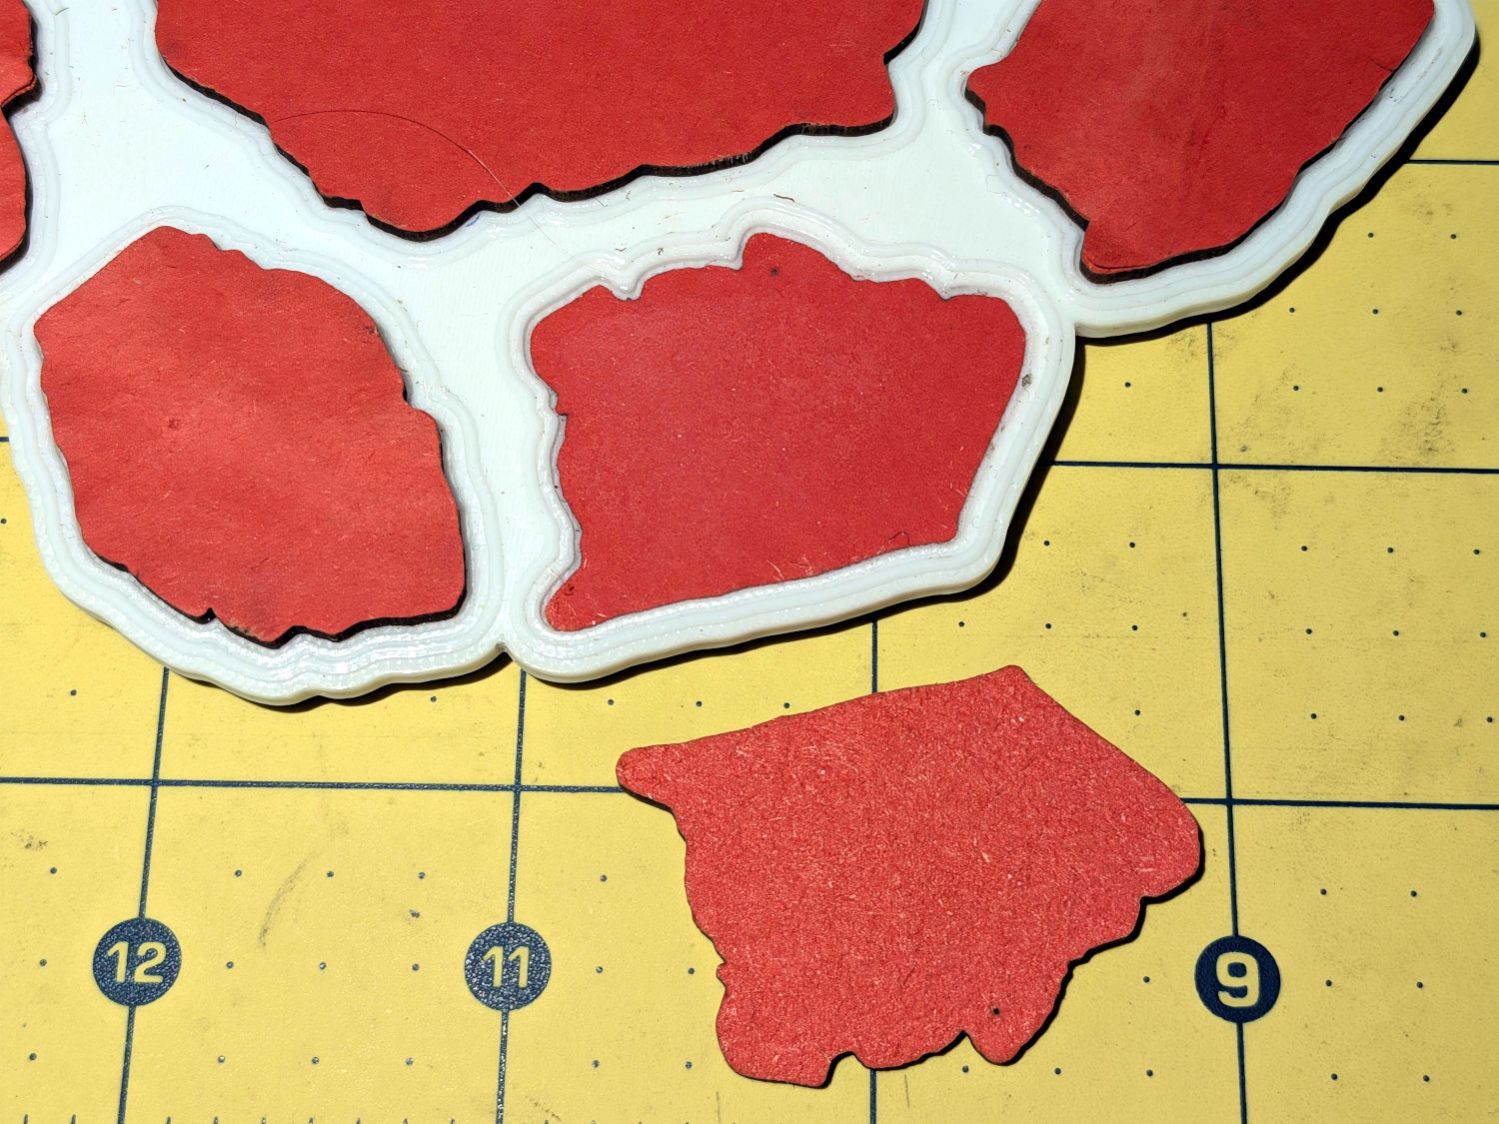
The chipboard is Quickboard from Makerstock, which is basically recycled-fiber chipboard with the advantage of being through-dyed in cheerful colors. It’s described as “2 mm-thick, three-layered board” and it looks like the core delaminated from the bottom layer.
Seeing as how it’s near the end of Sweaty Mug season, I smeared Elmer’s Glue Stick PVA adhesive over the fragment, stuck it back in place, and declared victory.
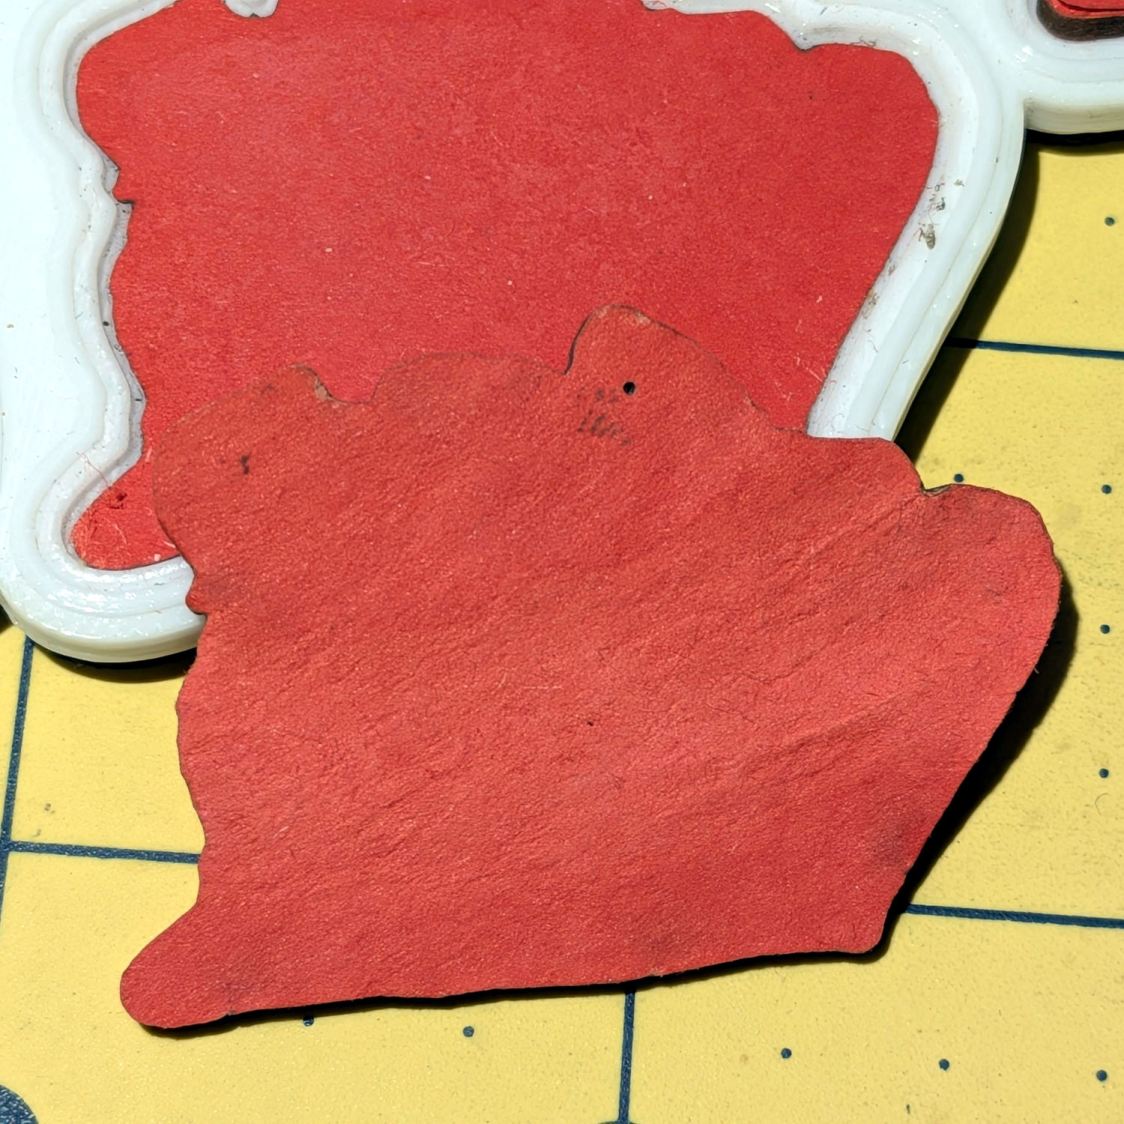
While doing that, however, I noticed a pinhole:
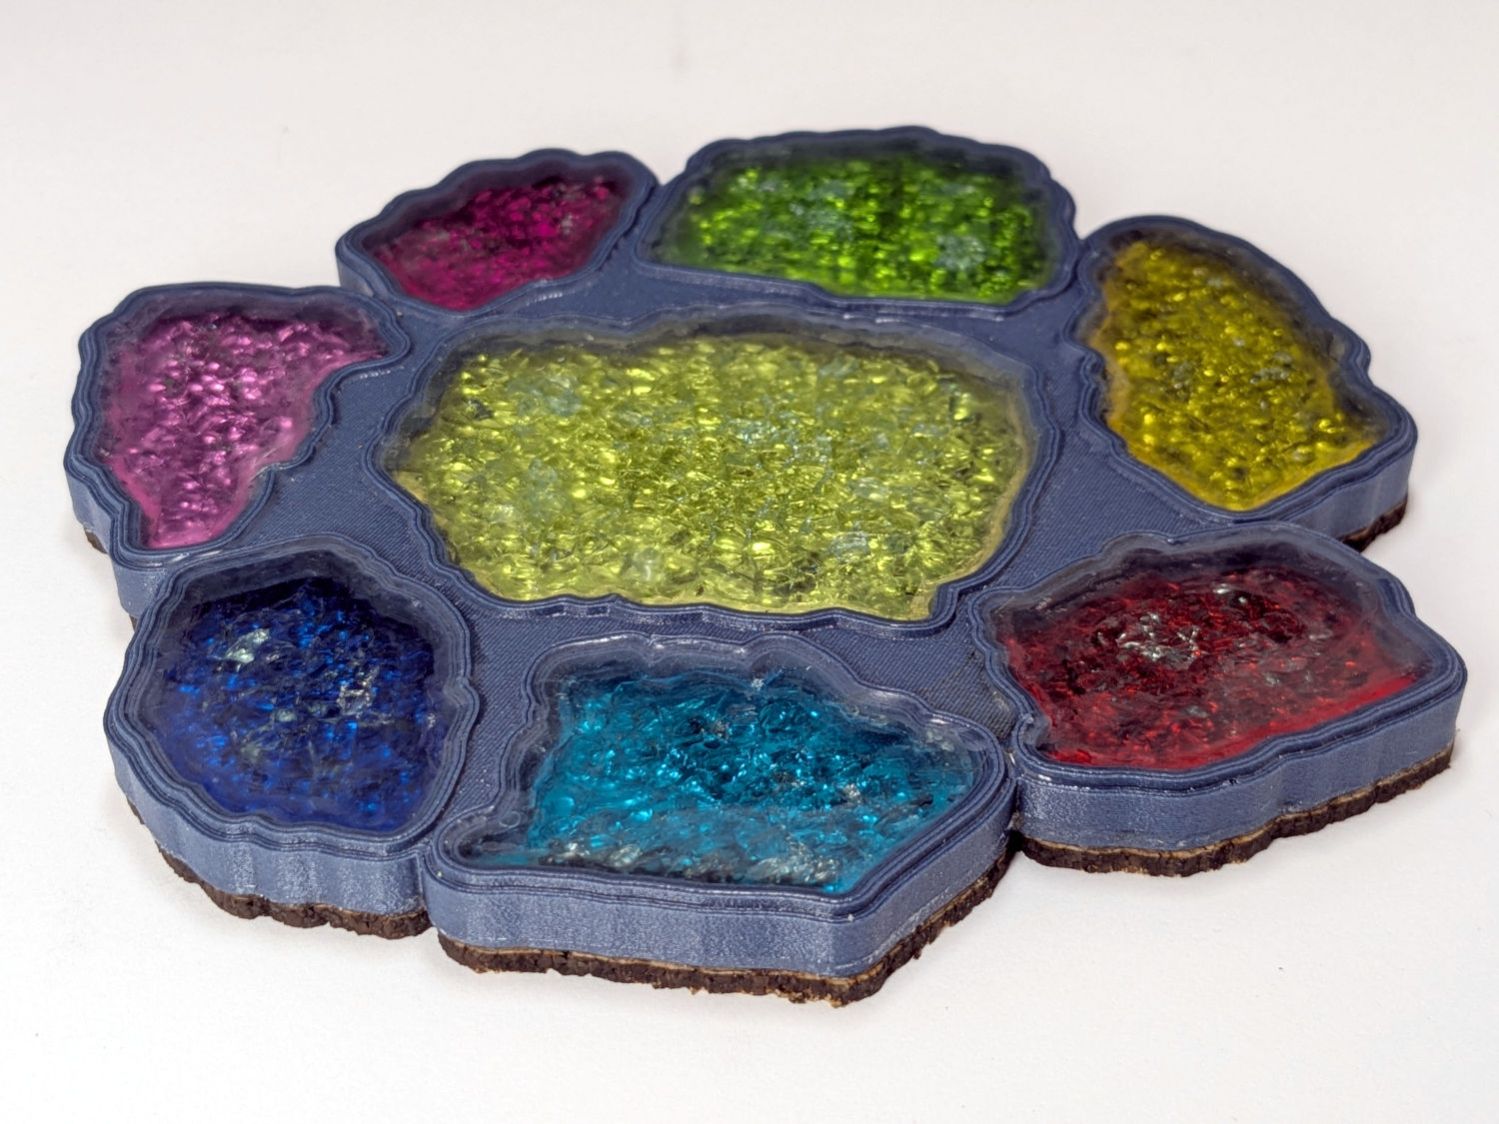
You may recall the outline came from hand-tracing a fragment of smashed glass in GIMP to get a path, then 3D printing a base to hold it:
Going back to the original GIMP tracing (storage being cheap, never delete anything), I missed a pixel:

Surely you can see it, particularly because you know exactly where it is. Right?
The (degenerate) path around that pixel becomes a tiny vector in LightBurn:
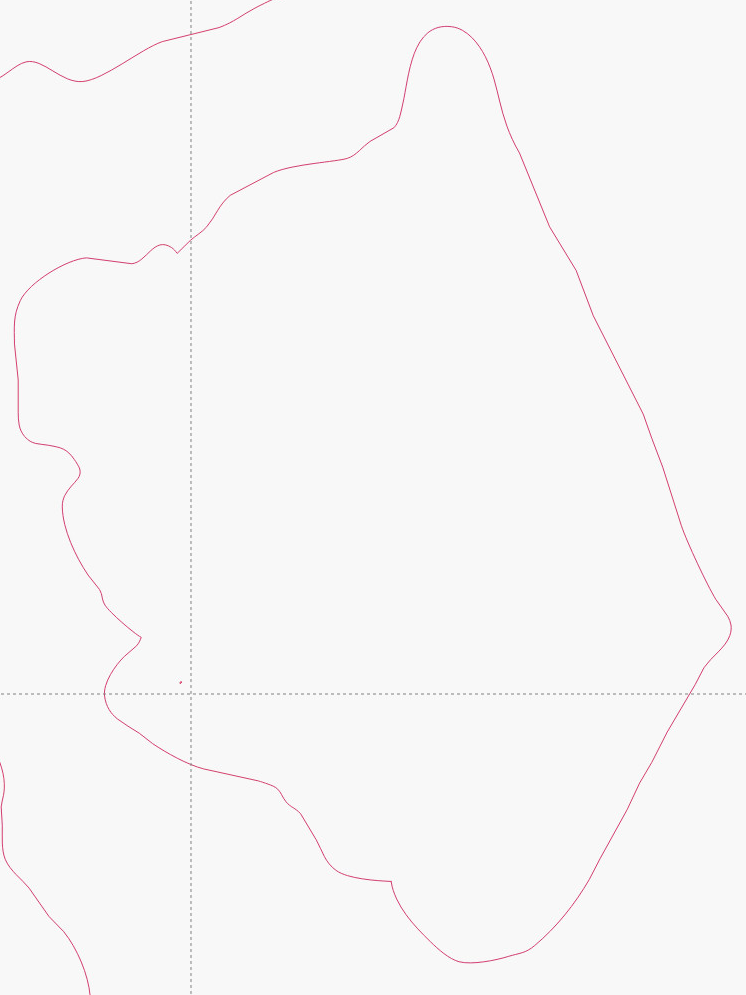
It’s easier to see there. Right?
Whereupon LightBurn dutifully punched a pinhole through the chipboard, because that’s what I asked it to do. It also punched that pinhole into the metallized paper reflector under the smashed glass fragment, but I didn’t notice it then, either.
Shrinking the GIMP selection by one pixel width, then growing it by one pixel would eliminate single-pixel selections: just another item on the to-do list while tracing fragments.
Ya learn something new every day around here …


Spam comments get trashed, so don’t bother; you’re not as clever as you think. Comment moderation may cause a delay.