The summer season brings iced drinks with condensation trickling down the mug and, alas, running off the smashed glass coasters:
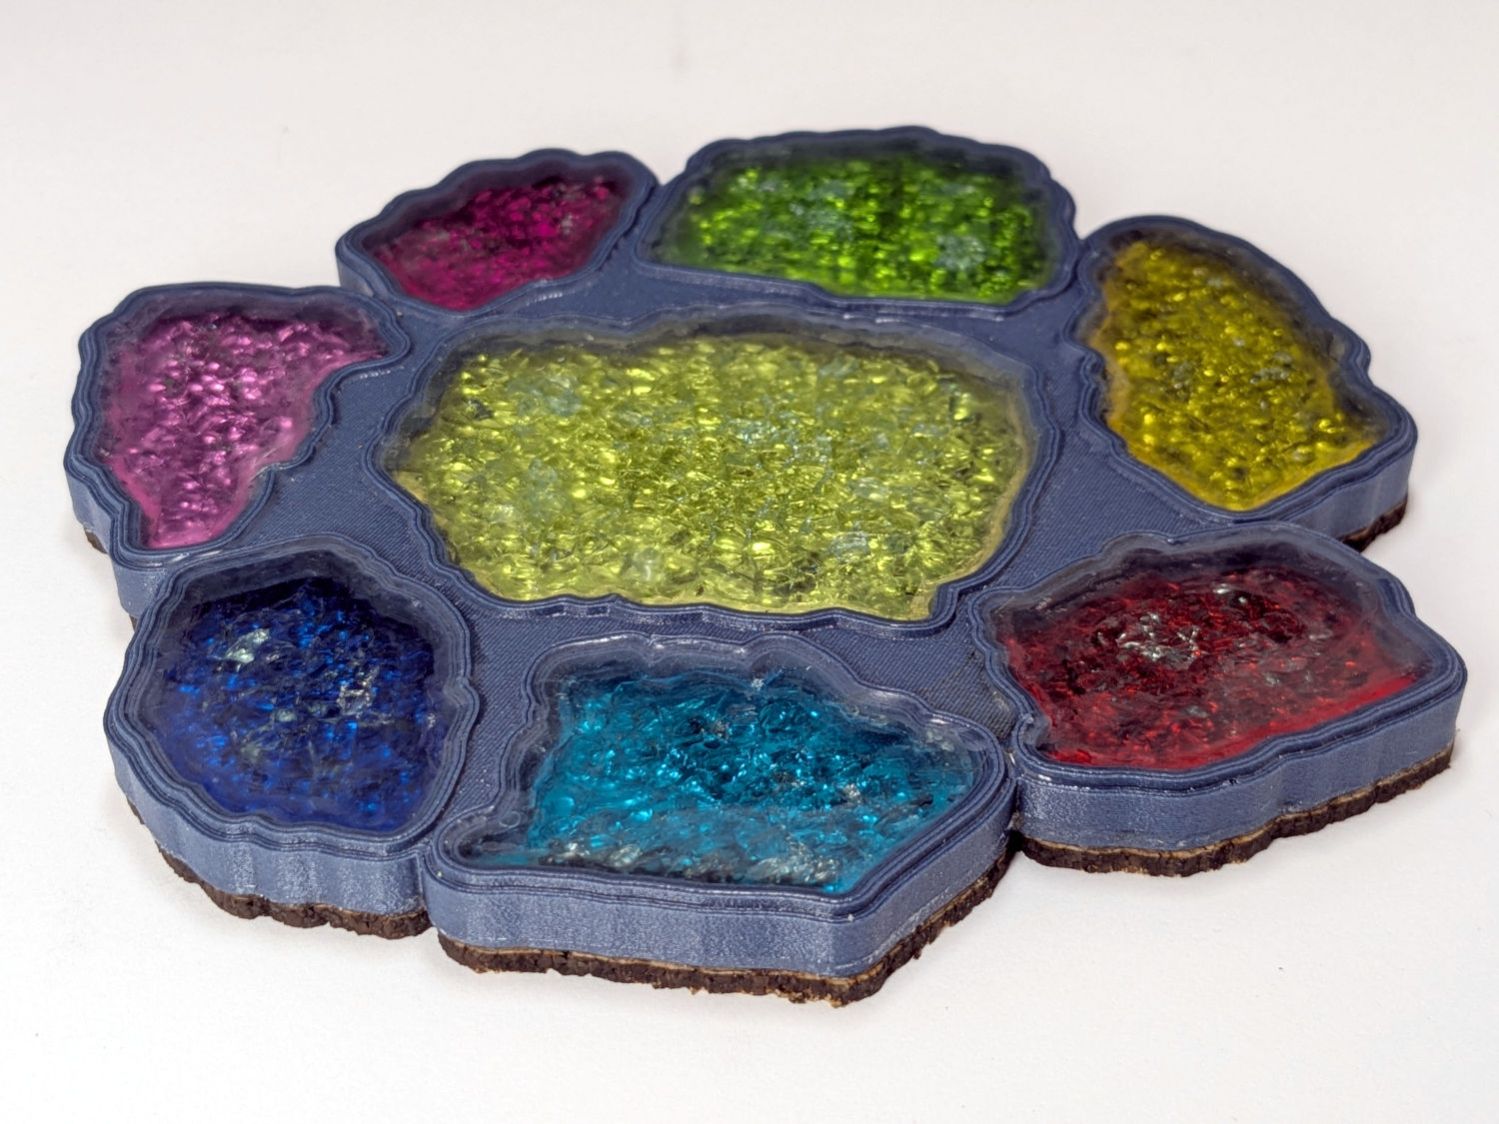
The hard parts of making those coasters involved converting the glass fragment outlines into vectors and arranging them in interesting patterns. However, with those files already in hand, making a similar coaster with chipboard “fragments” was straightforward:
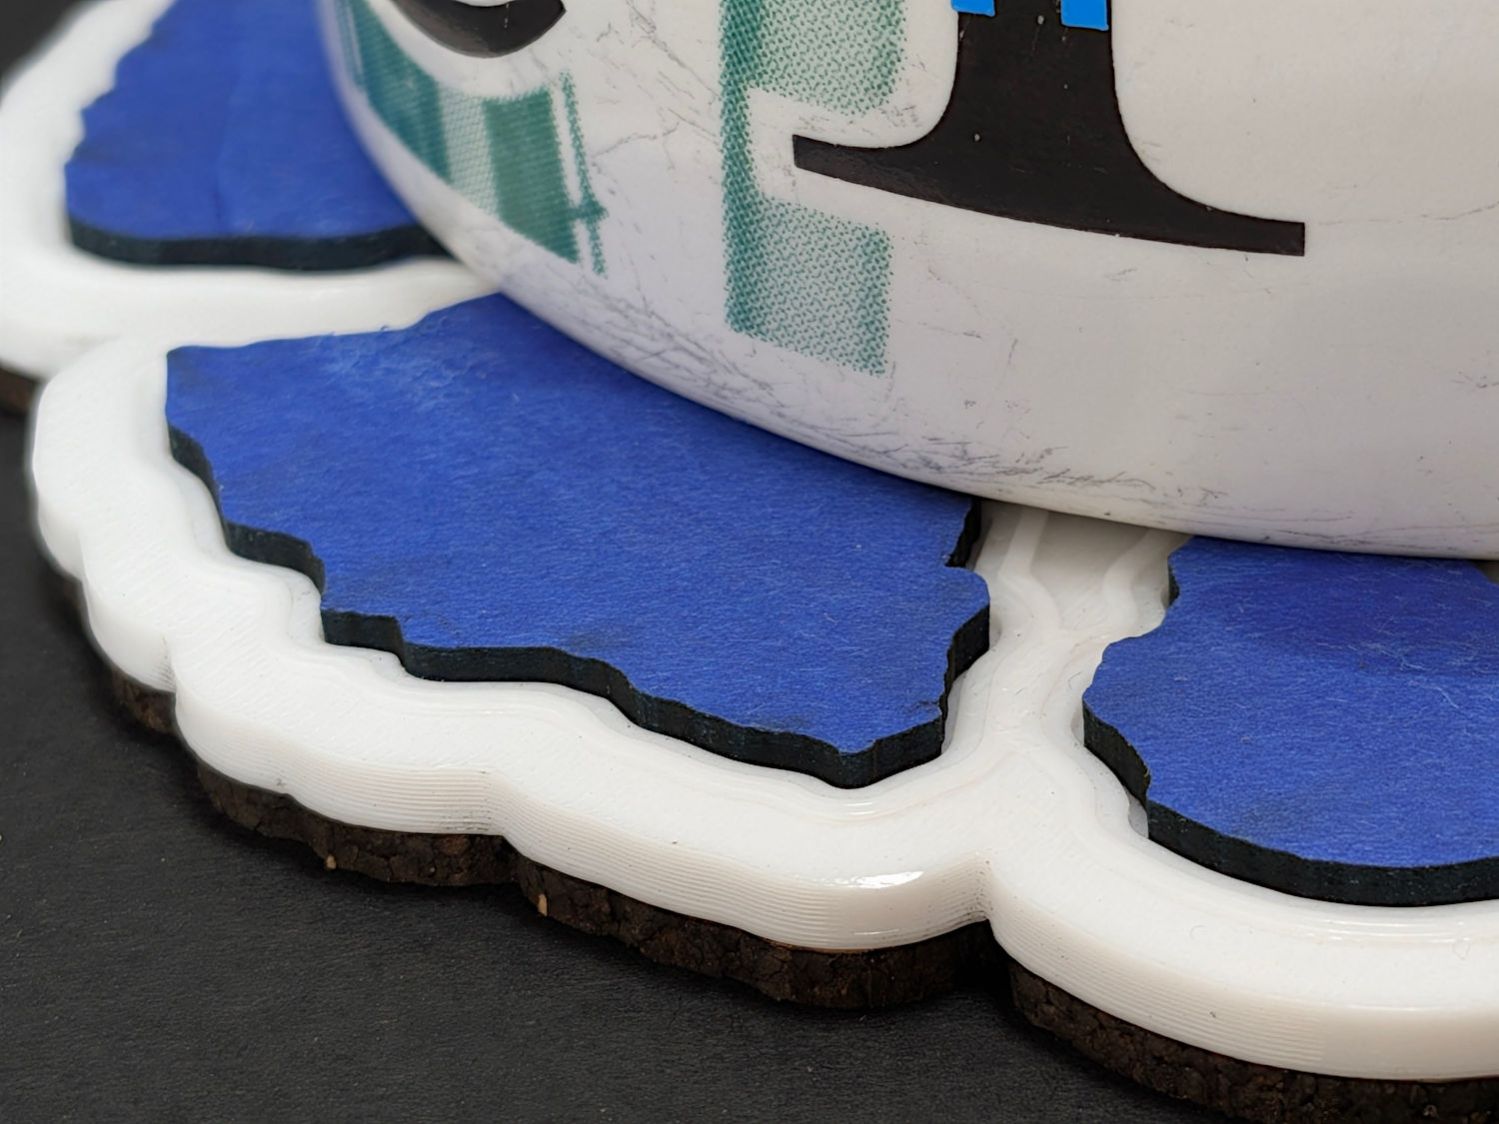
Slightly modify the OpenSCAD code to suit thinner chipboard:
include <BOSL2/std.scad>

fn = "Printed Fragment Coaster - 5 in Set B - Inkscape paths.svg";

FragmentThick = 0.8;

BaseThick = 2.0;
RimHeight = 0.4;

union() {


  linear_extrude(h=BaseThick)
    import(fn,id="Perimeter");

  color("Green")
    up(BaseThick)
      linear_extrude(h=FragmentThick)
        difference() {
          import(fn,id="Perimeter");
          import(fn,id="Recesses");
        }

  color("Red")
    up(BaseThick + FragmentThick)
    linear_extrude(h=RimHeight)
      difference() {
        import(fn,id="LipOut");
        import(fn,id="LipIn");
        import(fn,id="Island");
      }

}
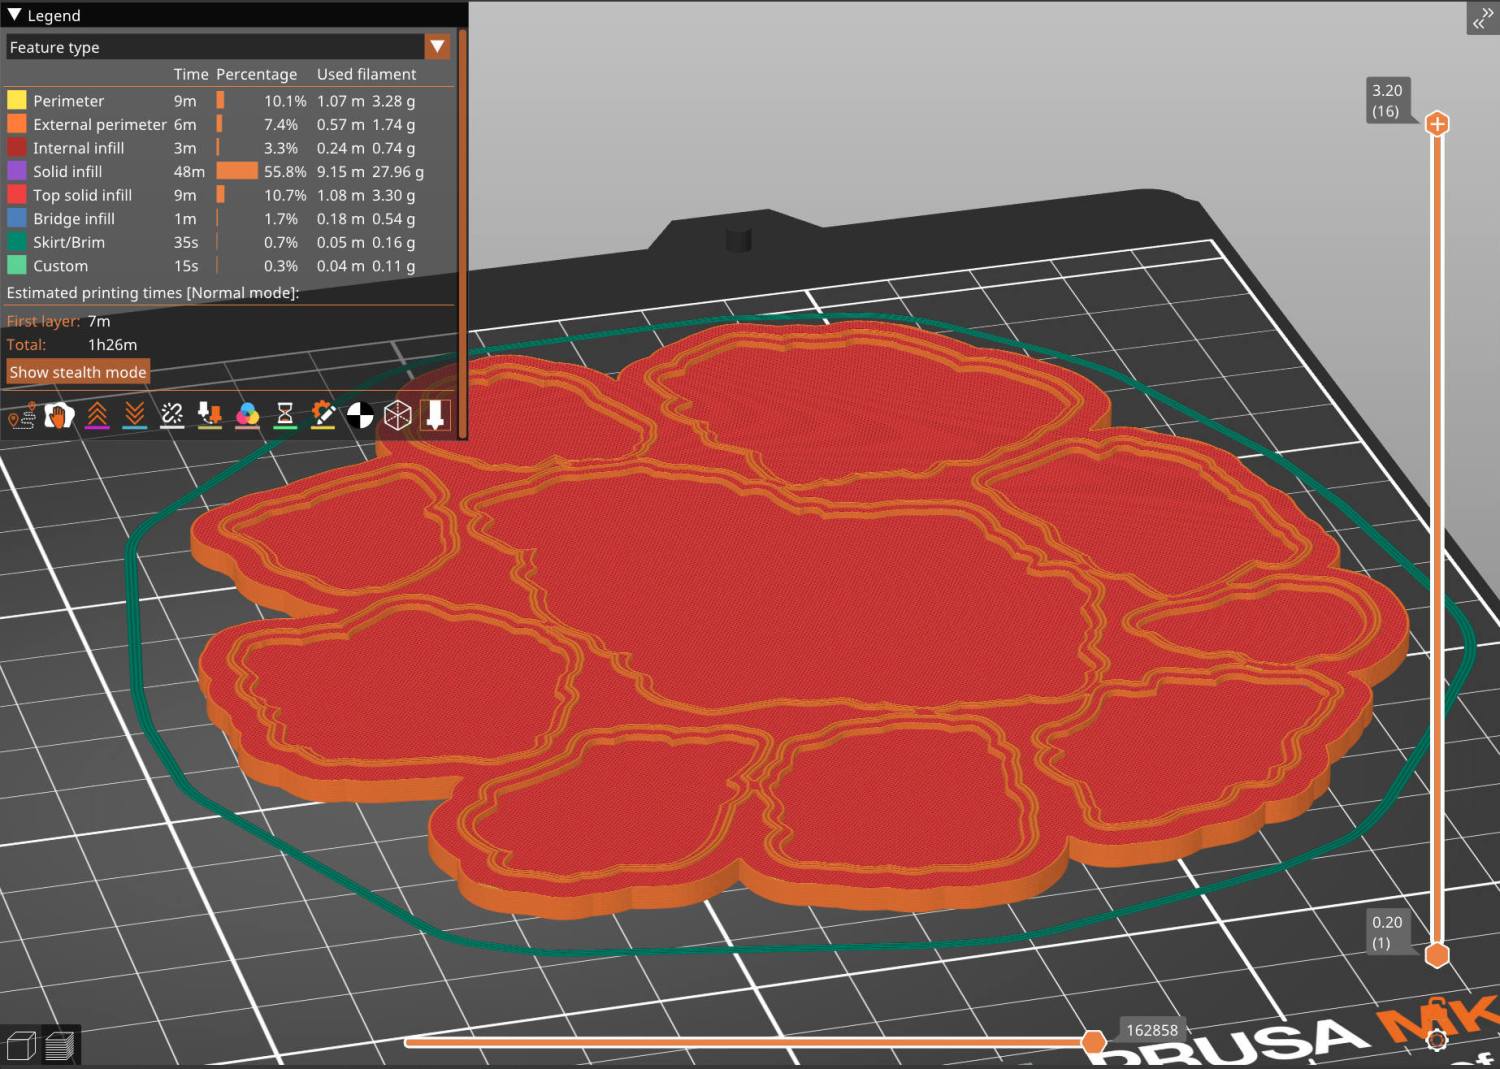
Run the solid model through PrusaSlicer:
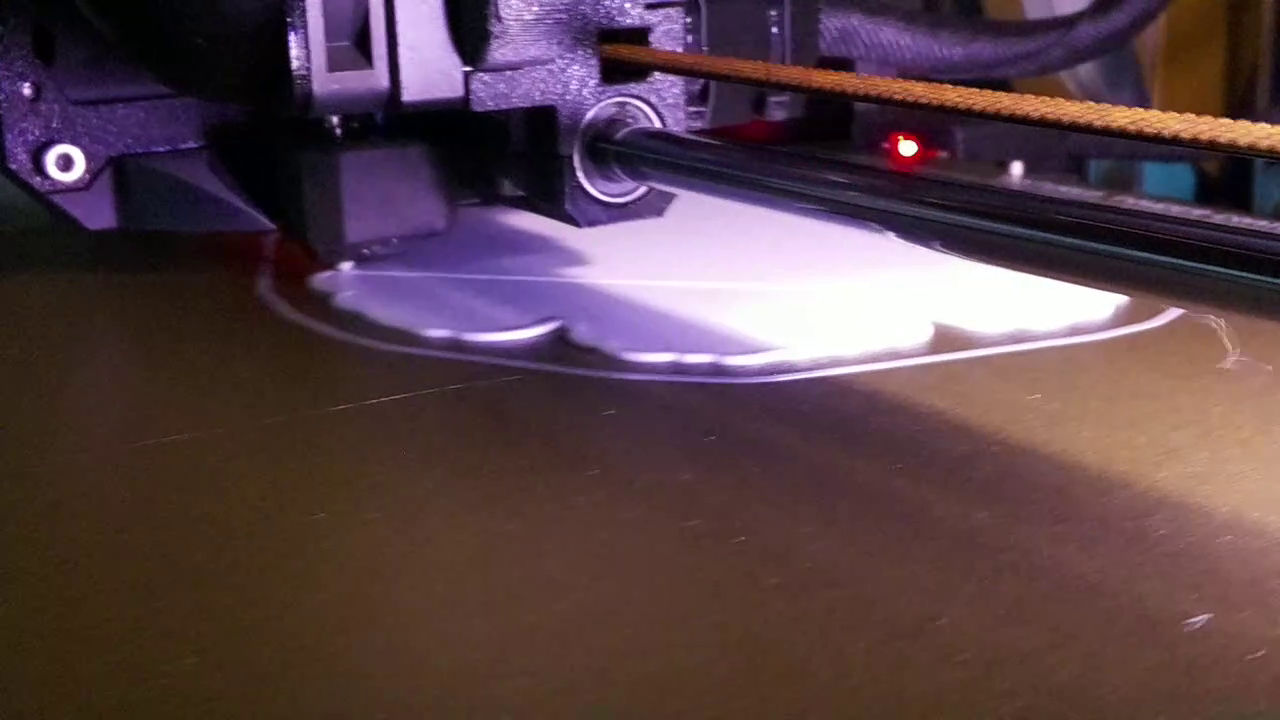
And have a baseplate an hour later:
While that’s buzzing away, tell LightBurn to cut chipboard instead of metallized paper, stick some craft adhesive sheet on the chipboard, and Fire The Laser:
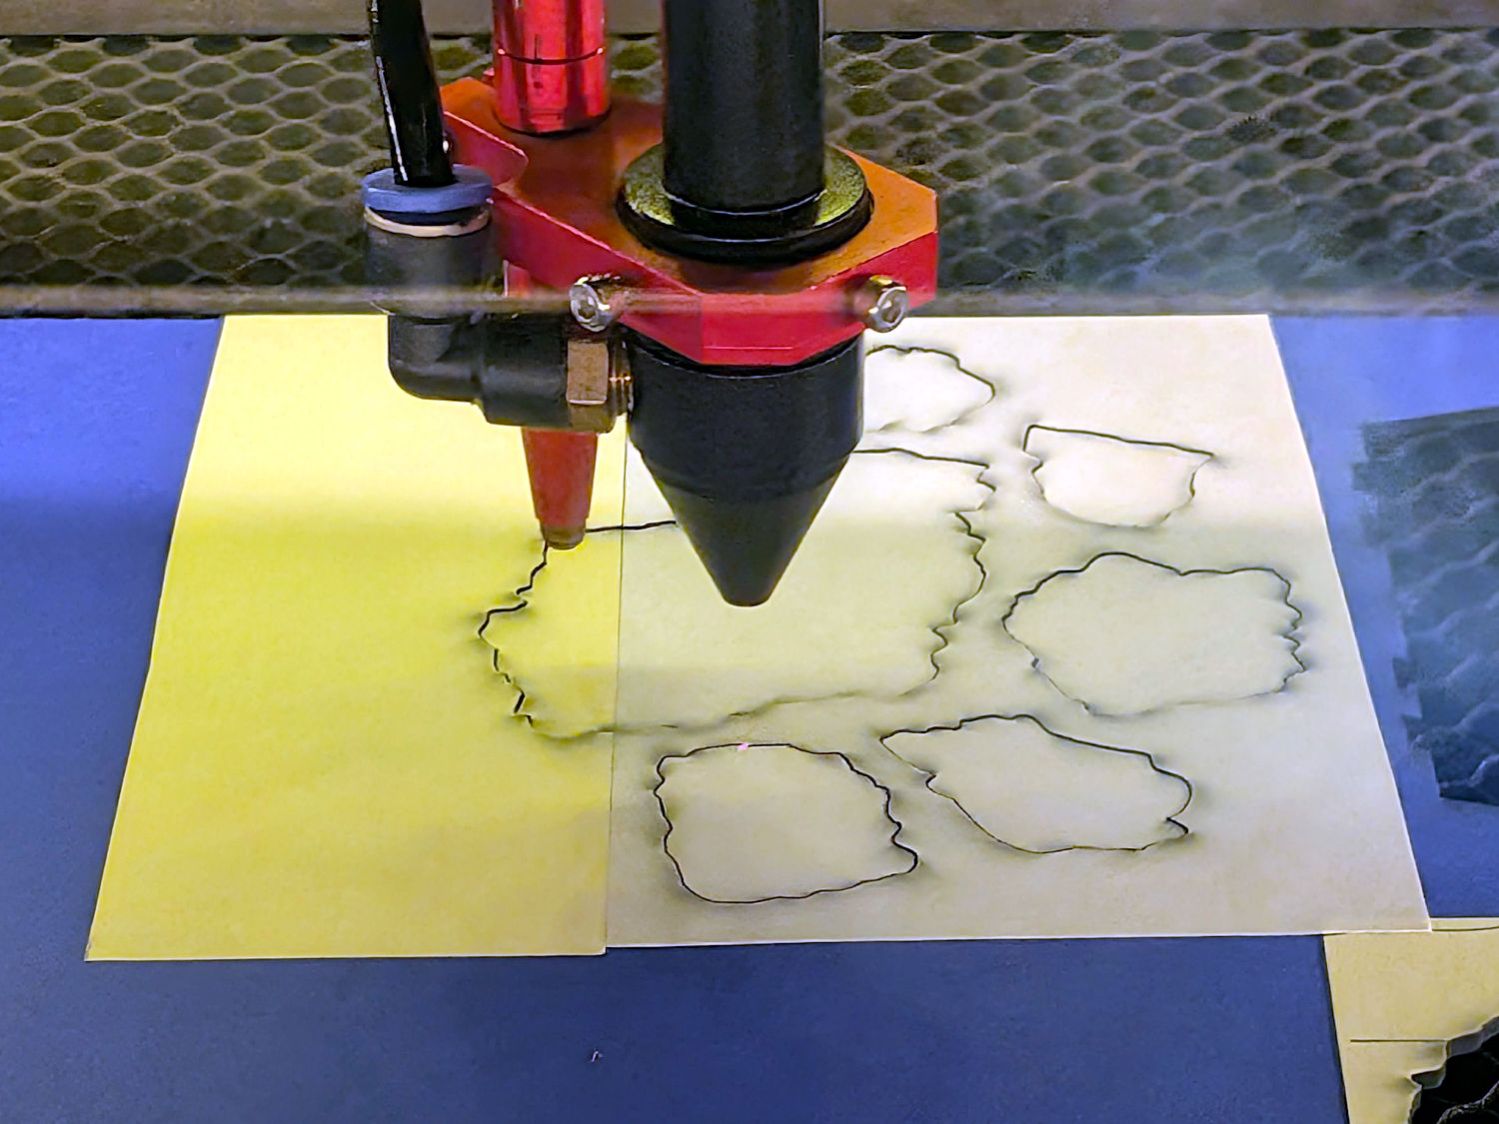
Remember to mirror the fragments, because you’re cutting them bottom-up.
Do the same for the cork sheet going on the bottom, which does not require mirroring.
I tossed the cardboard alignment fixtures I used to stick the cork onto the 3D printed baseplate, so make another one for each coaster.
The top layer holds the baseplate:
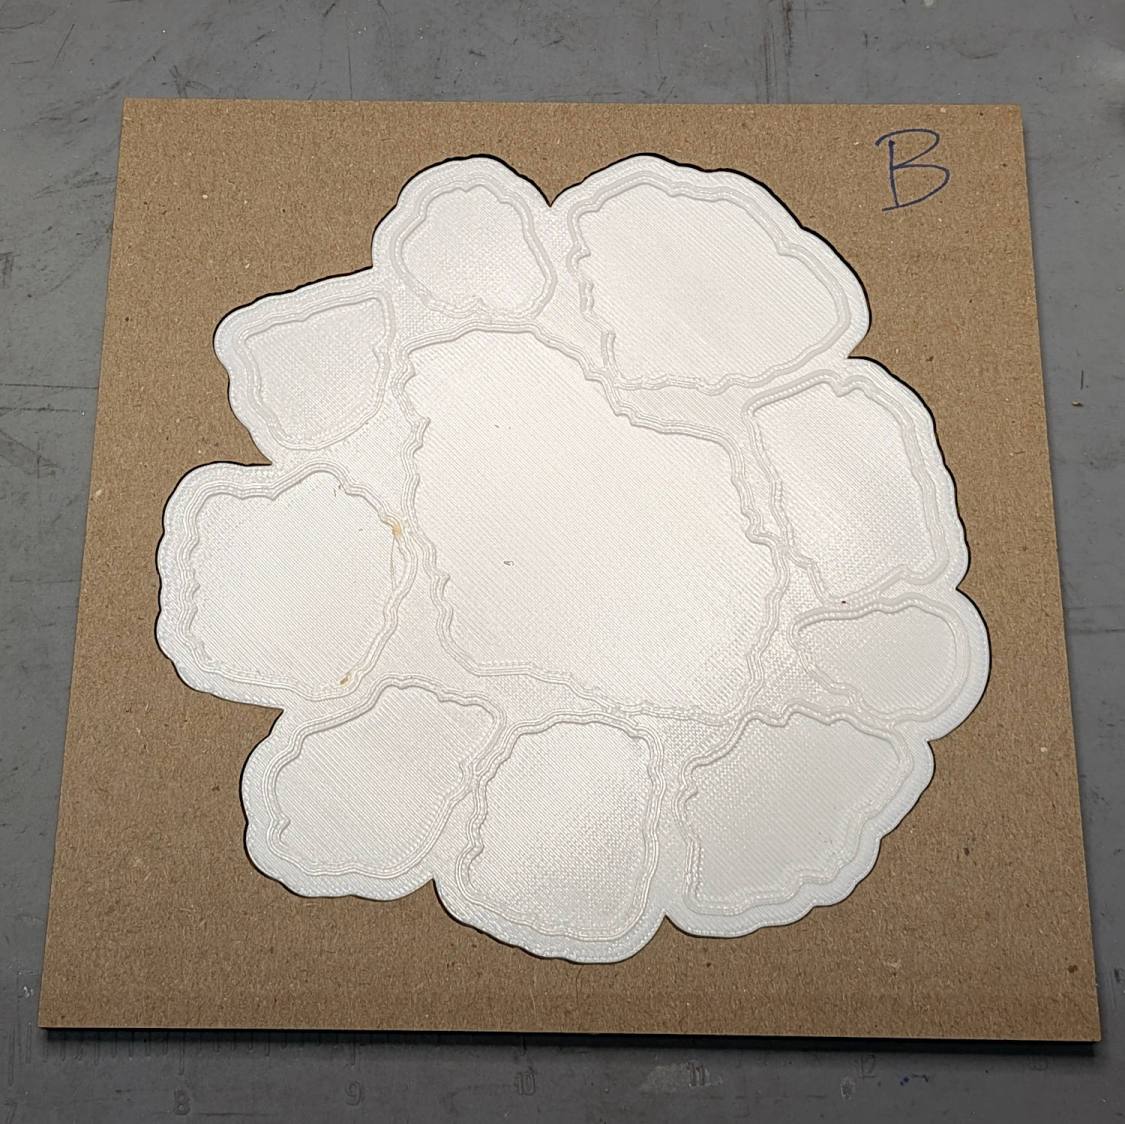
The cork + adhesive sheet is inset 0.5 mm from the edge of the baseplate, so the outline cut in the bottom layer of cardboard is just that much smaller:
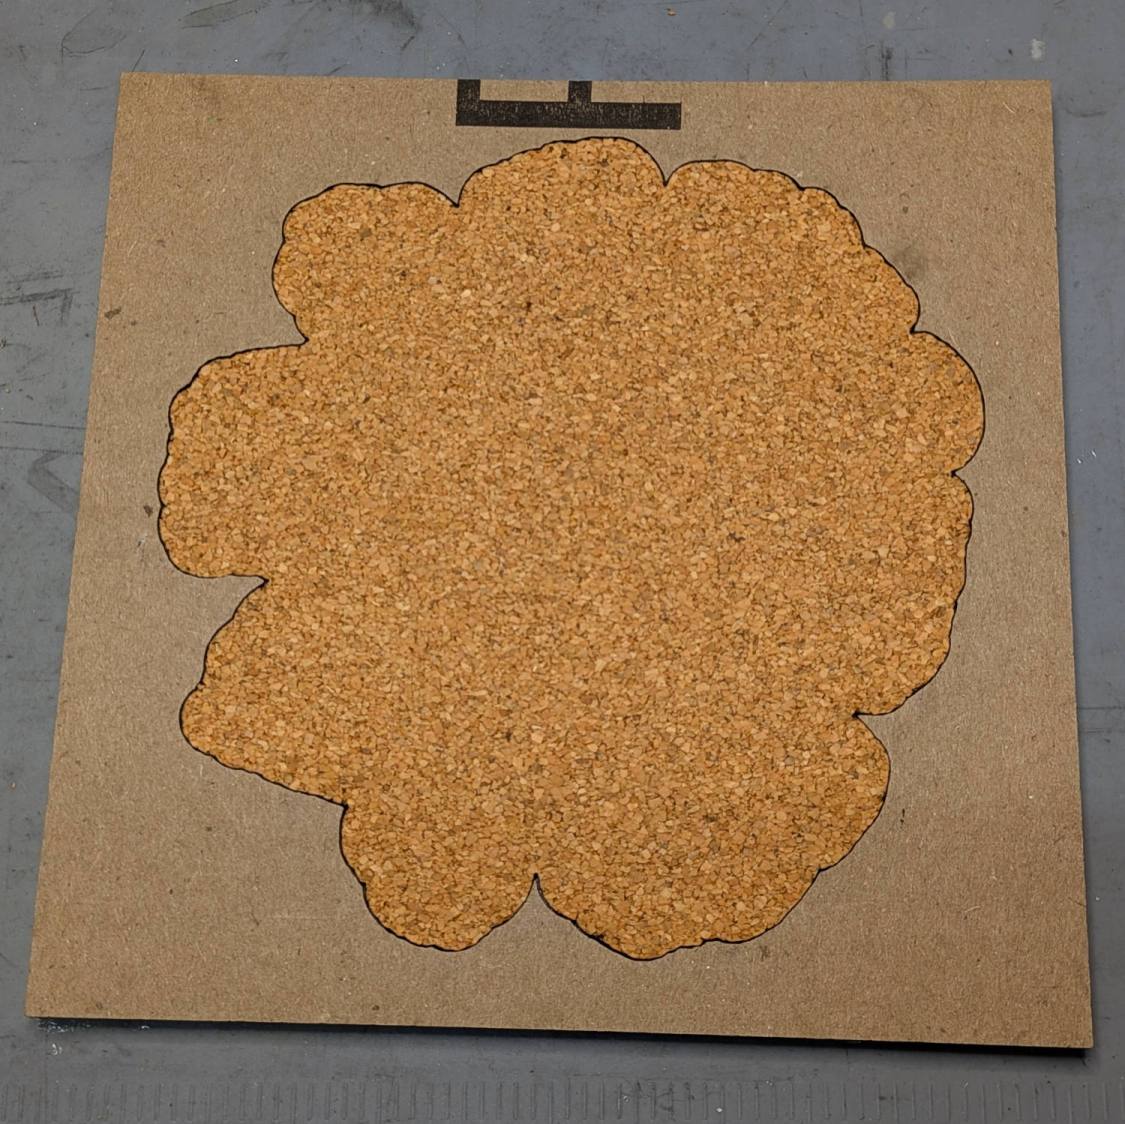
Although the time used to make a fixture isn’t deducted from your allotment, I’m not sure about making two identical fixtures, so I’m saving these for the next time.
Then peel-n-stick the chipboard fragments in their recesses:
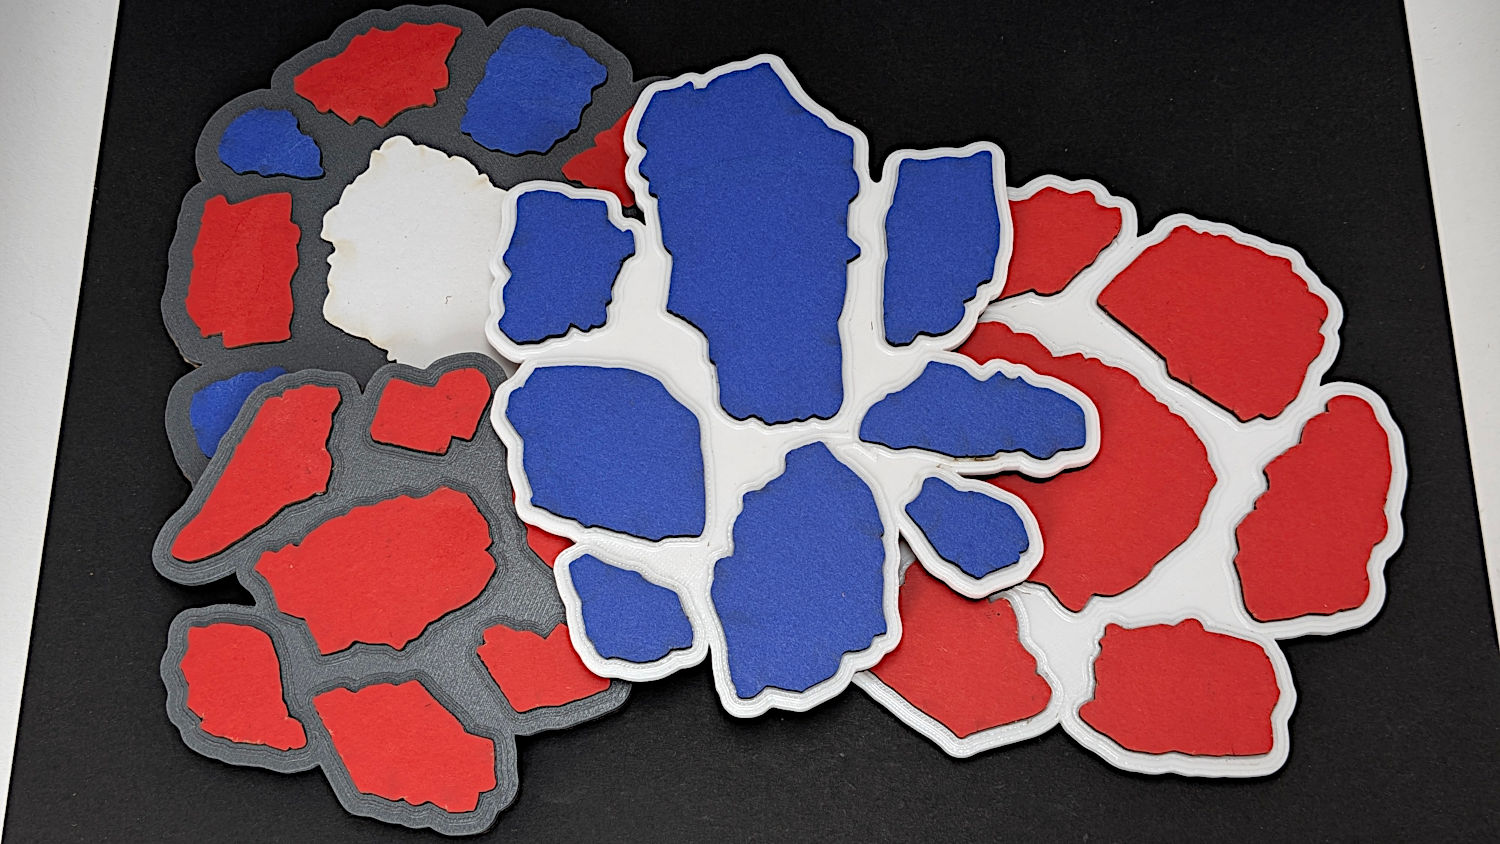
The first baseplate didn’t have raised rims around the fragments (because there’s no need to retain any epoxy), but the result looked kinda … flat:
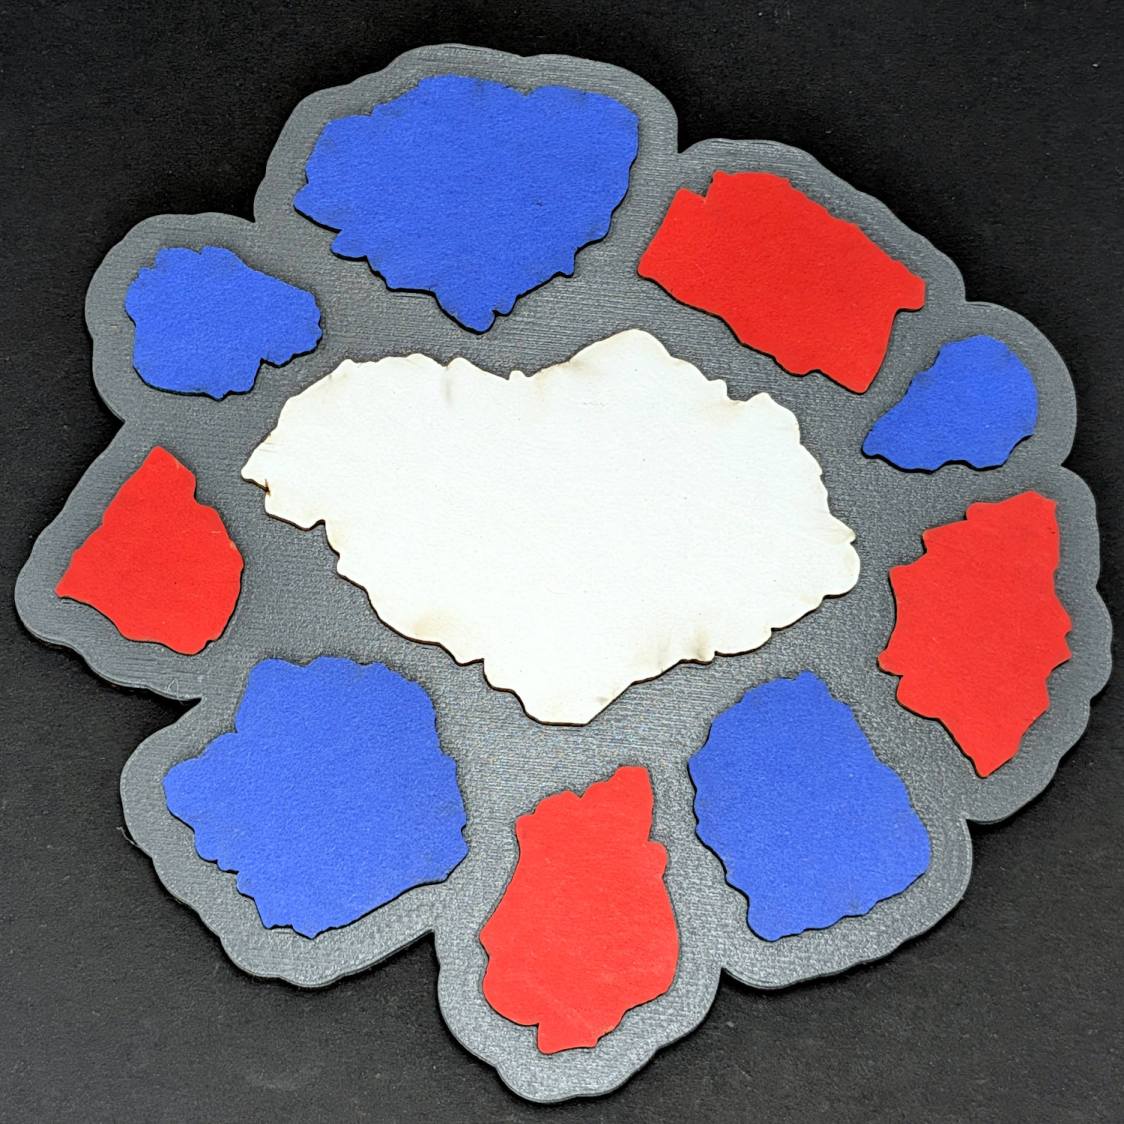
Fixing that was a matter of not setting the rim height to zero in the OpenSCAD code.
It’s perfectly functional even without a rim:
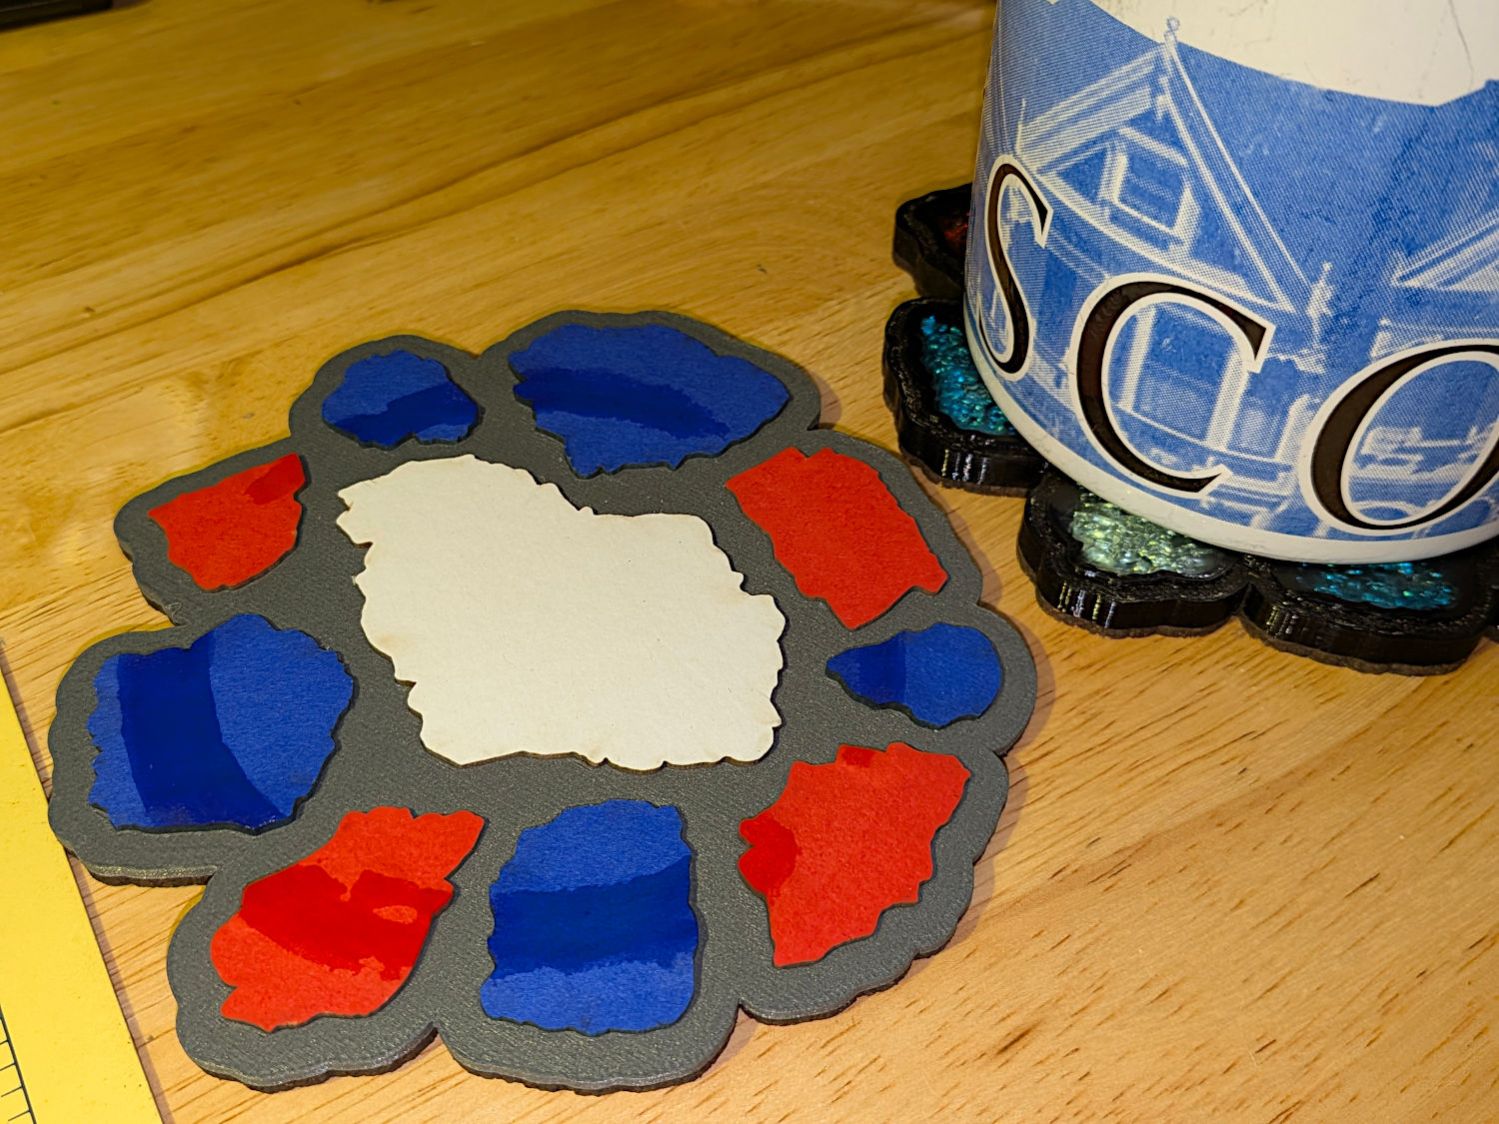
Protip: White chipboard is a Terrible Idea™ in a quick-n-easy laser cuttery project. All the rest have only red or blue fragments for a good reason.
Conversely, white PETG makes a nice contrast to the deep red and blue.
Prosit!


Spam comments get trashed, so don’t bother; you’re not as clever as you think. Comment moderation may cause a delay.