Start with a picture of a dog paw:
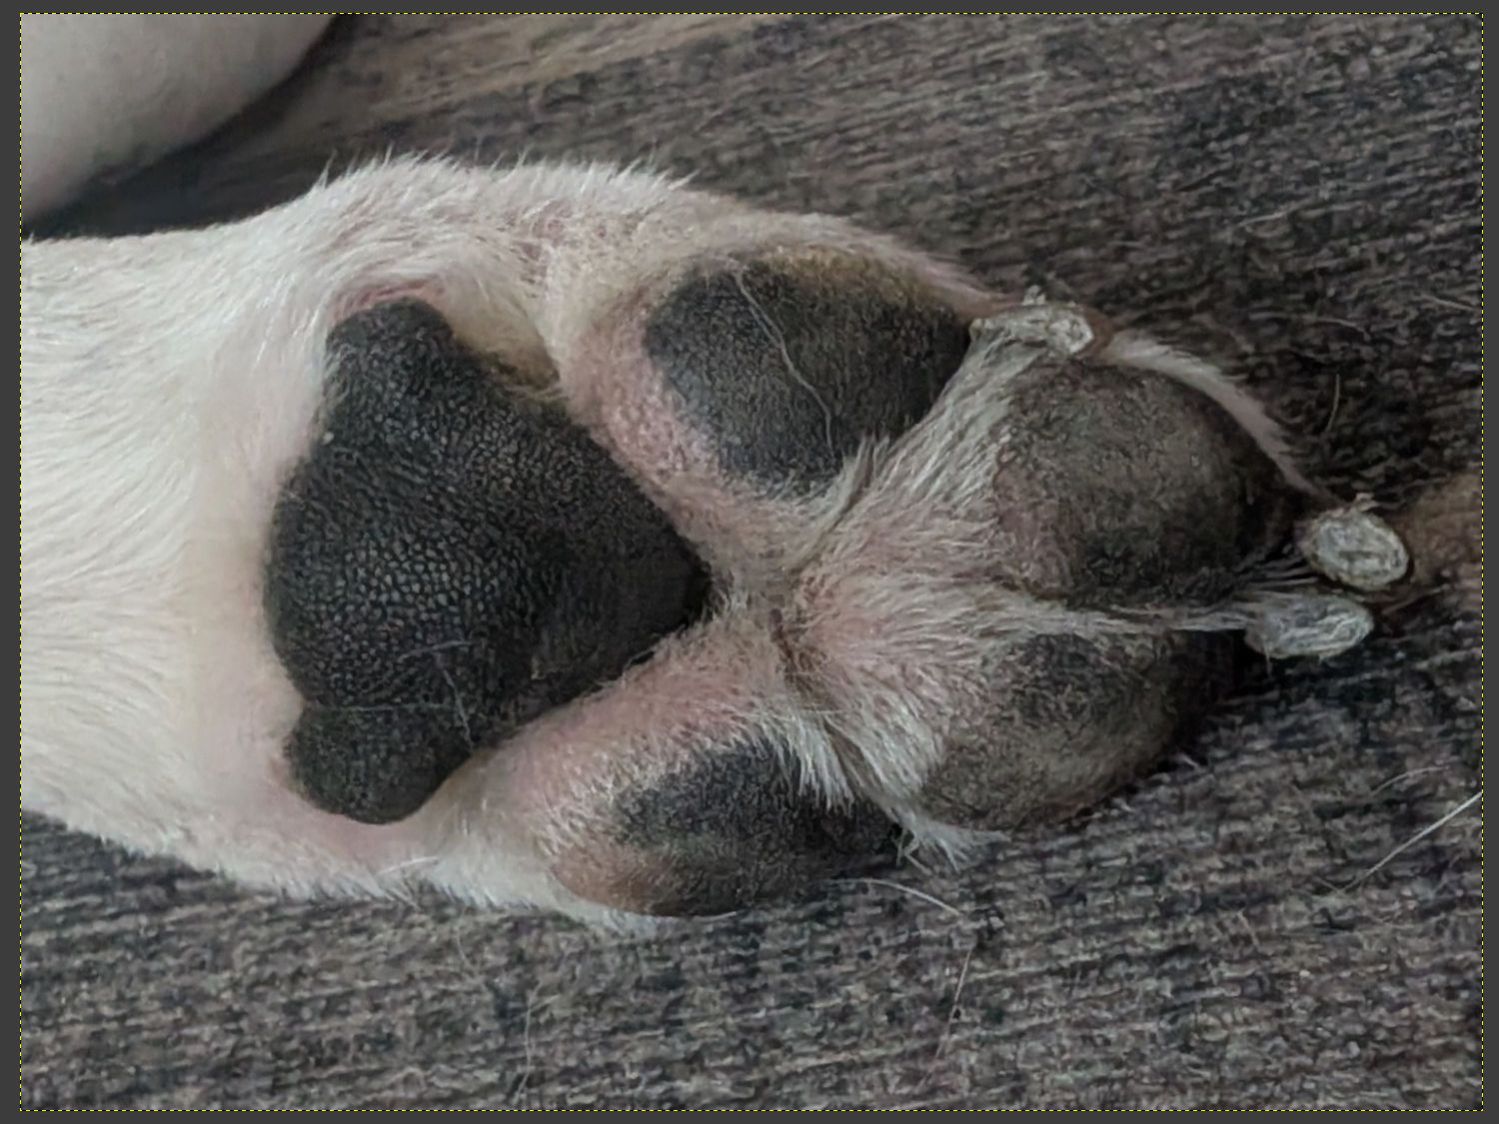
Rescale the paw to about 100 mm vertically to properly fit a normal-size glass / tumbler / mug. This may be considerably larger than life, but dog owners always want more dog, so it’ll work.
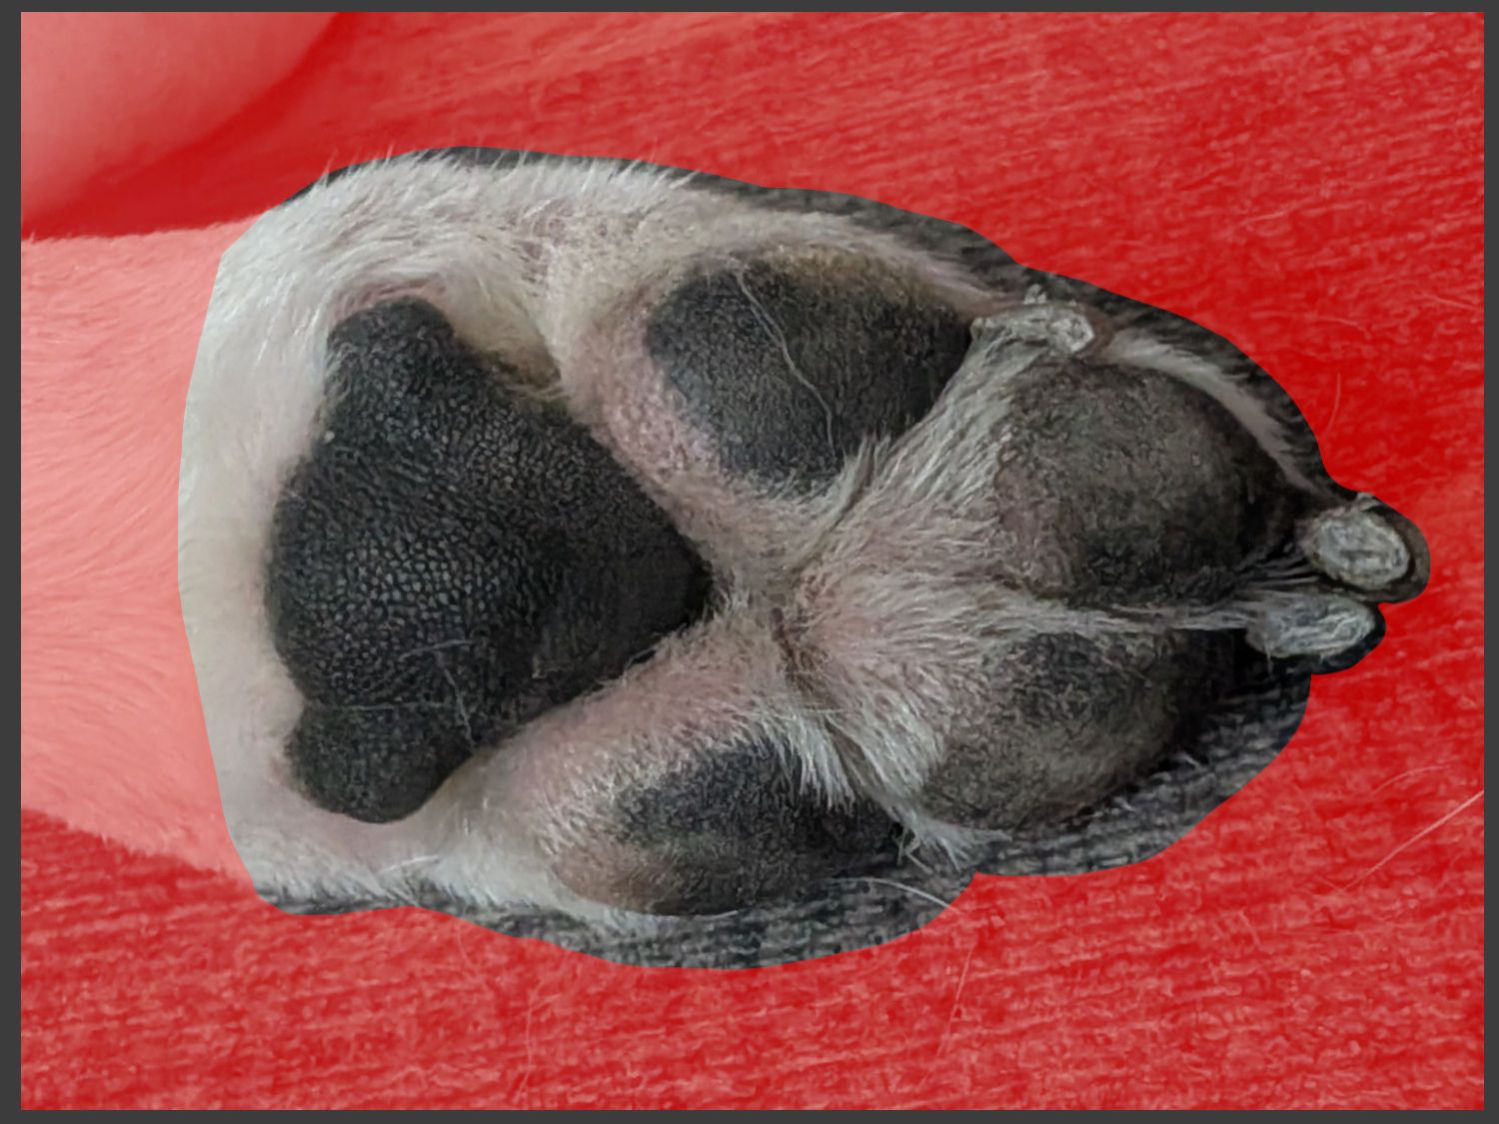
Generate an outline mask in GIMP:
Generate another mask for the pads & toenails:
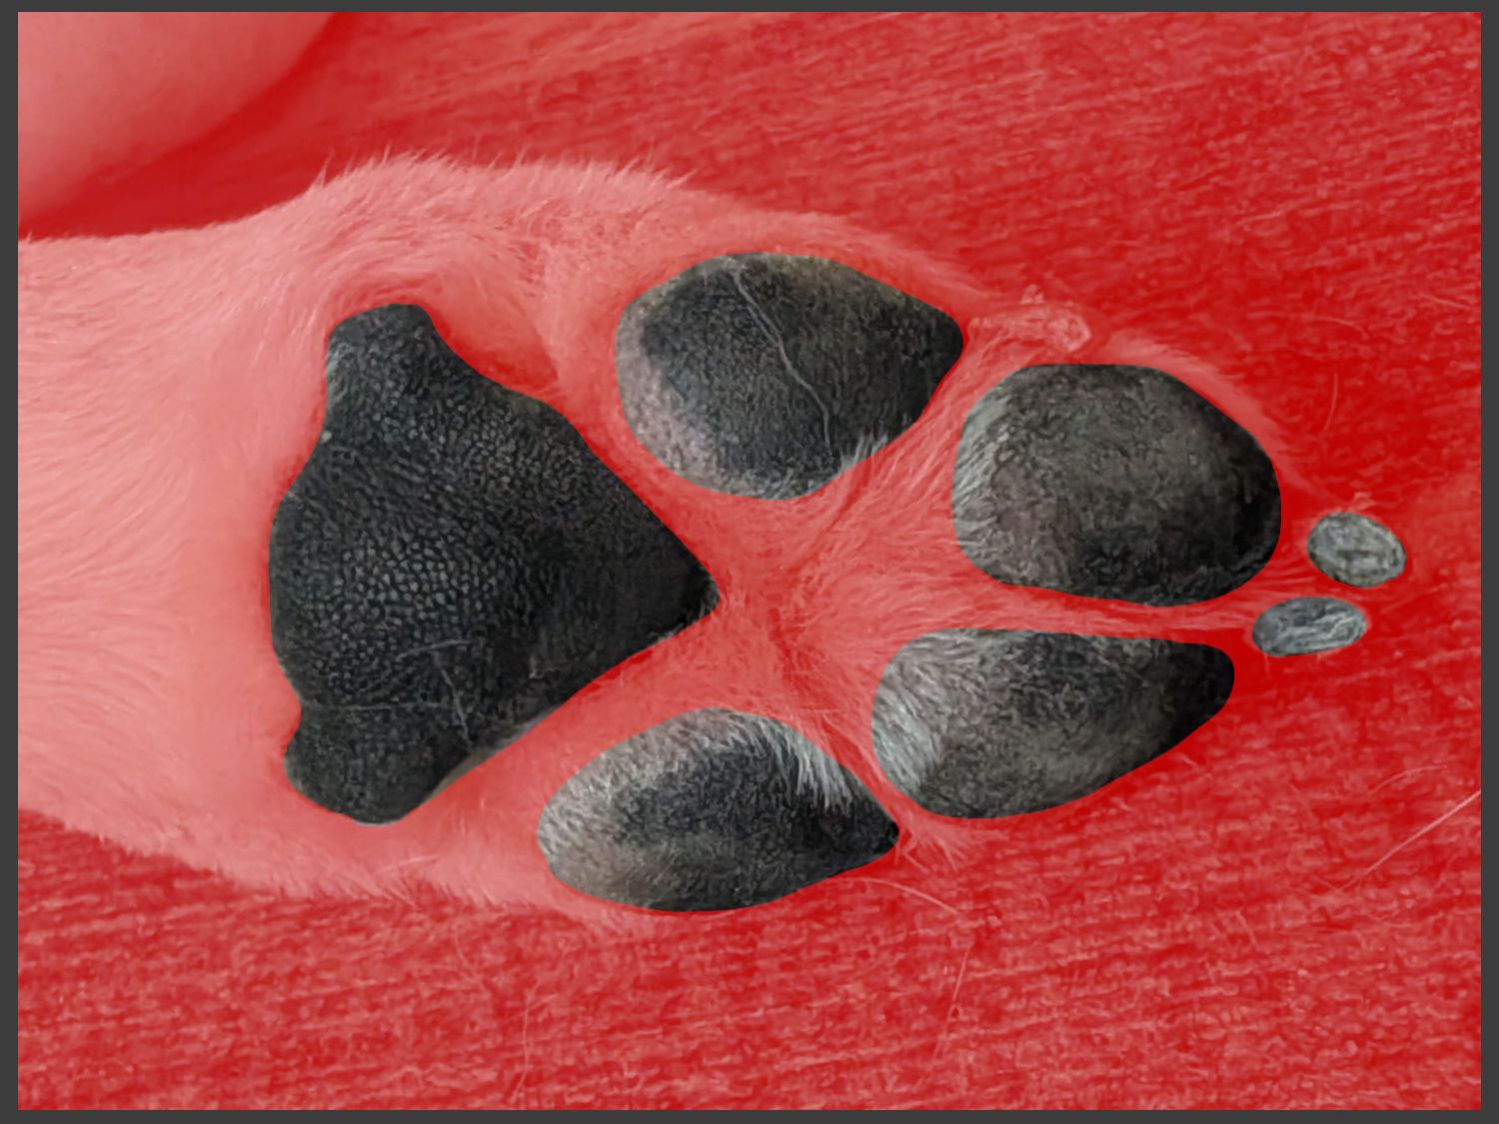
Convert those into paths, save them as SVG files, and hand them to OpenSCAD:
include <BOSL2/std.scad>

/* [Hidden] */

PadThick = 1.2;
BaseThick = 2.0;

RimHeight = 0.4;
RimWidth = 0.8;
RimOffset = 1.0;

Clearance = 0.1;    // embiggen pad recesses

OutlineFN = "Dog Paw - Outline.svg";
PadFN = "Dog Paw - Pads.svg";

union() {


  linear_extrude(h=BaseThick)
    import(OutlineFN);

  color("Green")
    up(BaseThick)
      linear_extrude(h=PadThick)
        difference() {
          import(OutlineFN);
          offset(r=Clearance)
            import(PadFN);
        }


}
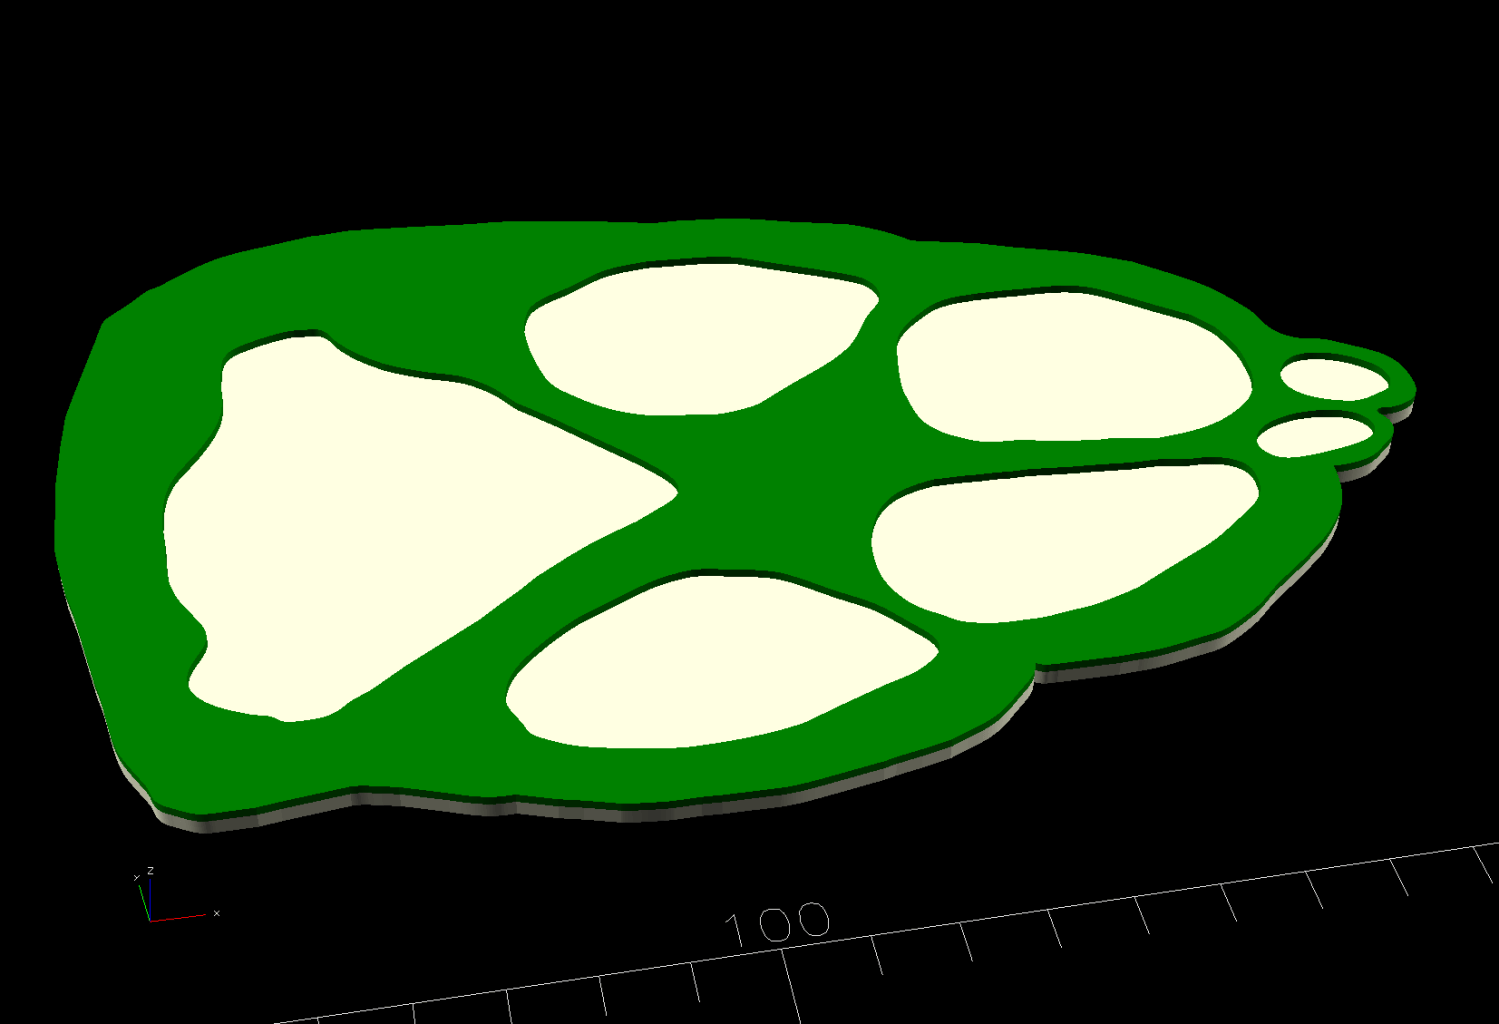
Which will get you a solid model like this:
Should you want decorative raised rims around the perimeter and pads:
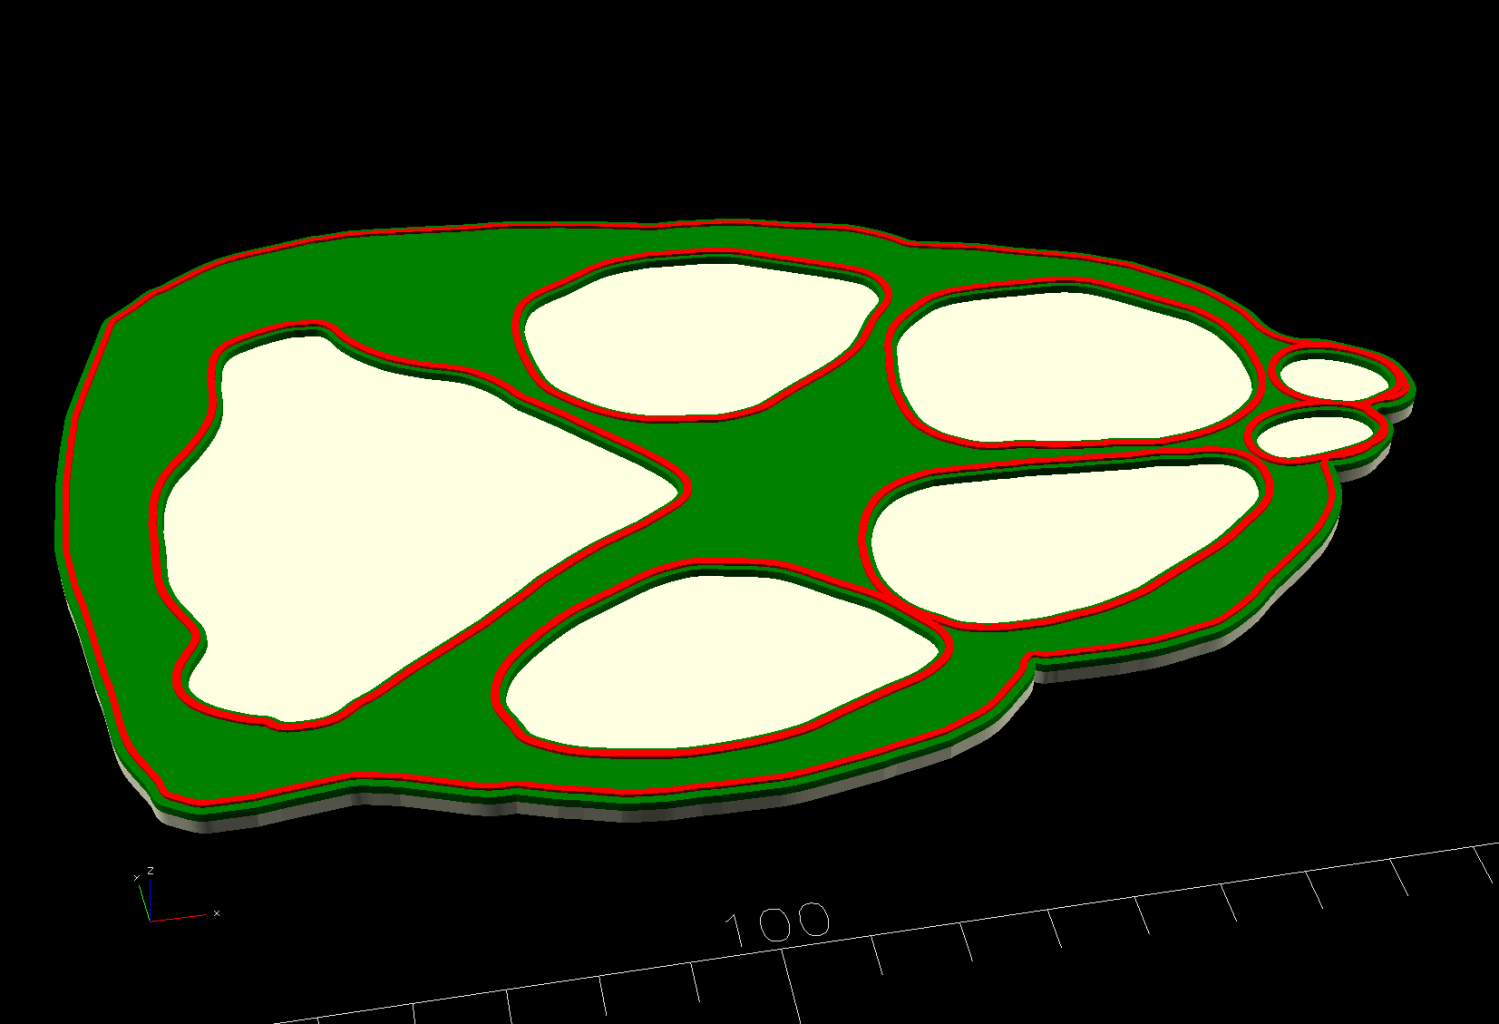
Then turn this on:
if (false)
  color("Red")
    up(BaseThick + PadThick)
      linear_extrude(h=RimHeight) {
        difference() {
          offset(r=RimOffset + RimWidth)
            import(PadFN);
          offset(r=RimWidth)
            import(PadFN);
        }
        difference() {
          offset(r=-RimOffset)
            import(OutlineFN);
          offset(r=-(RimOffset + RimWidth))
            import(OutlineFN);
        }
      }
Run the solid model through PrusaSlicer, send it to the MK4, and, while the printer is buzzing away, run the pads through an online nesting program to see how well that works:
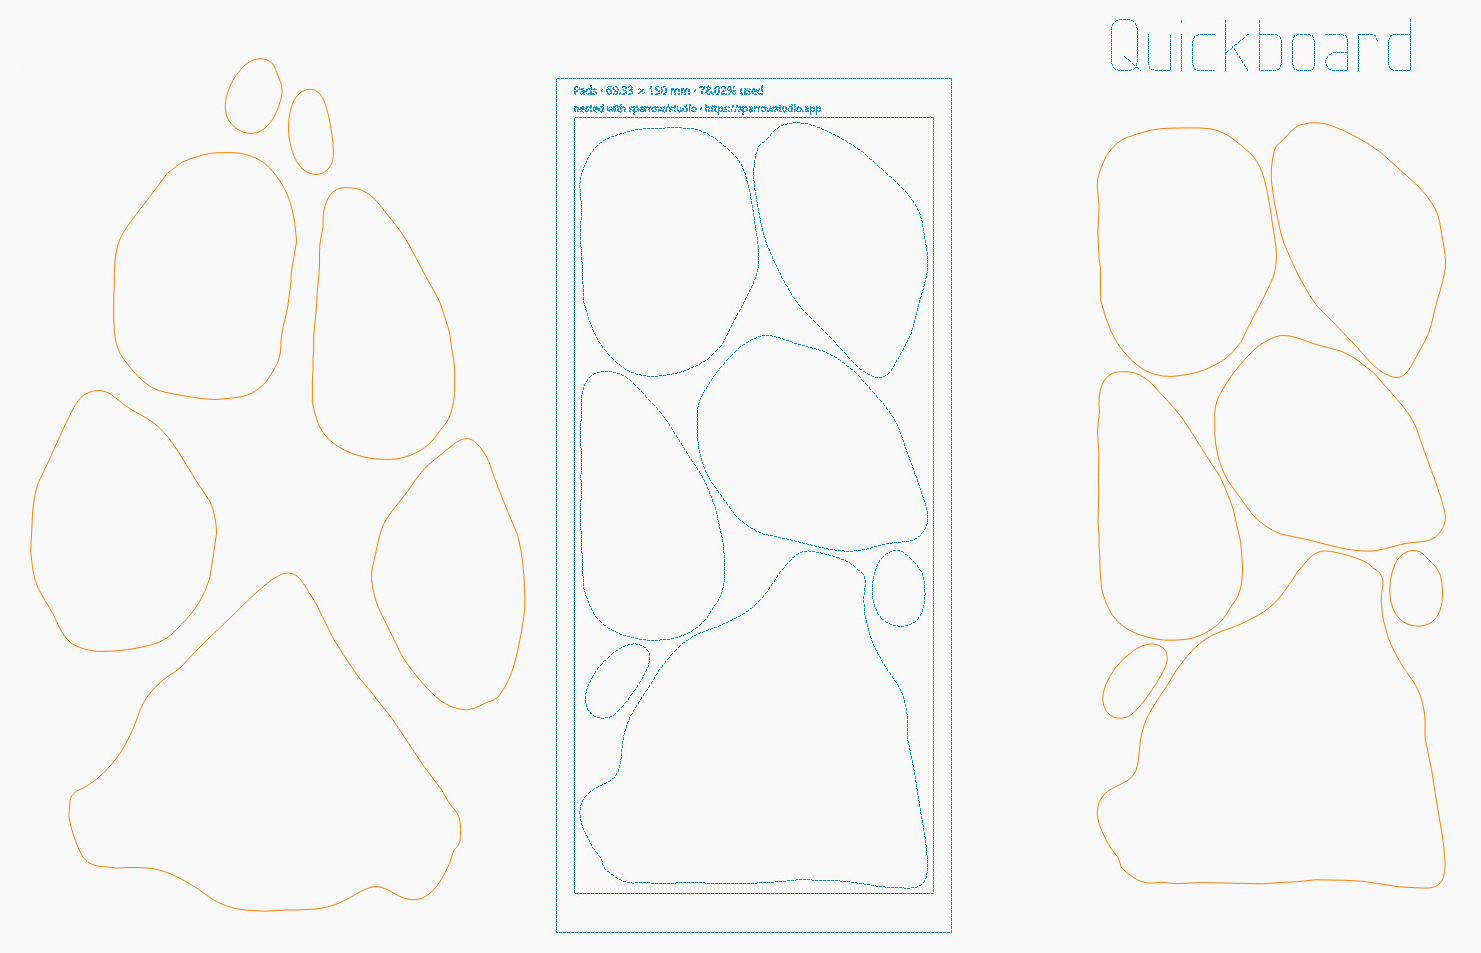
While nesting didn’t save much material, it might come in handy for something more intricate and now I’ll be able to find it again.
Then get busy:
- Stick adhesive sheet to the chipboard
- Mirror the pads to cut adhesive side up
- Cut the pads, rescue a toenail from the chip tray
- Import the paw outline SVG
- Offset 0.75 mm inward
- Stick adhesive sheet on the cork
- Cut paw outline (adhesive up, but not mirrored!)
- Peel & stick
Which turned out pretty good:
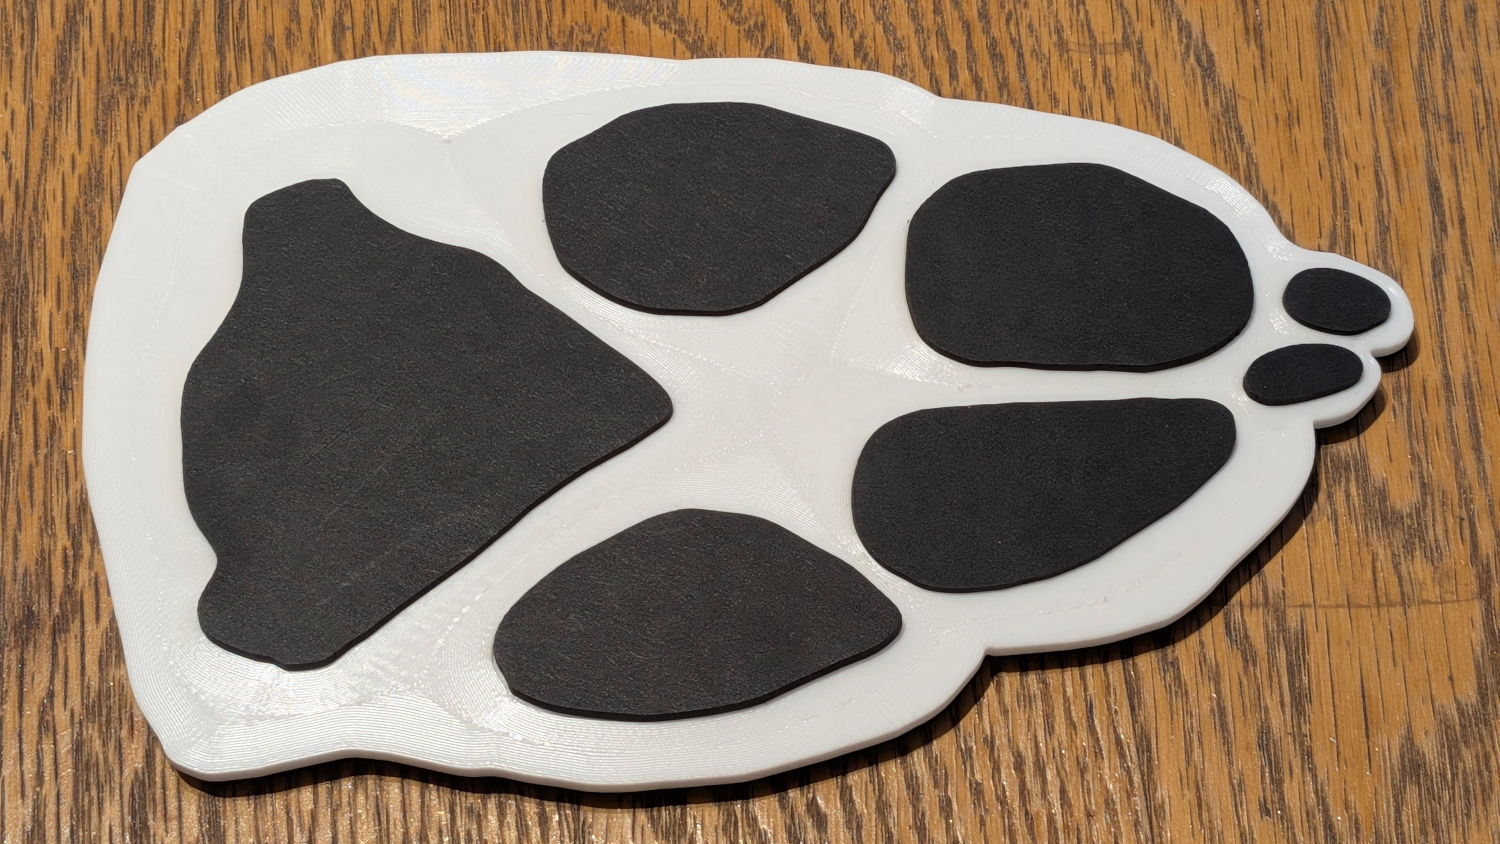
I used Concentric infill on the top to resemble the fur pattern, but it came out way too subtle.
The owner liked it, though, which made it all worthwhile.


Spam comments get trashed, so don’t bother; you’re not as clever as you think. Comment moderation may cause a delay.