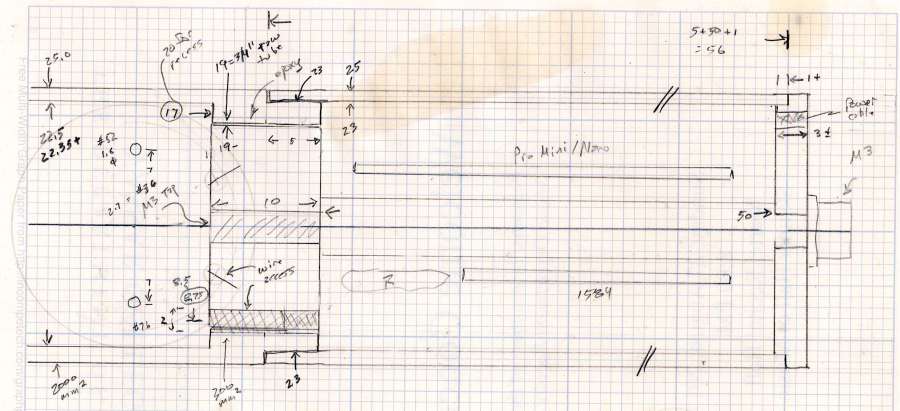
Having acquired some thick-wall (1 inch OD, ¾ inch ID) aluminum tube, making the LED heatsink and lens holder for a running light generates a lot less scrap. A new doodle gives the dimensions in a rather Picasso-ish layout:
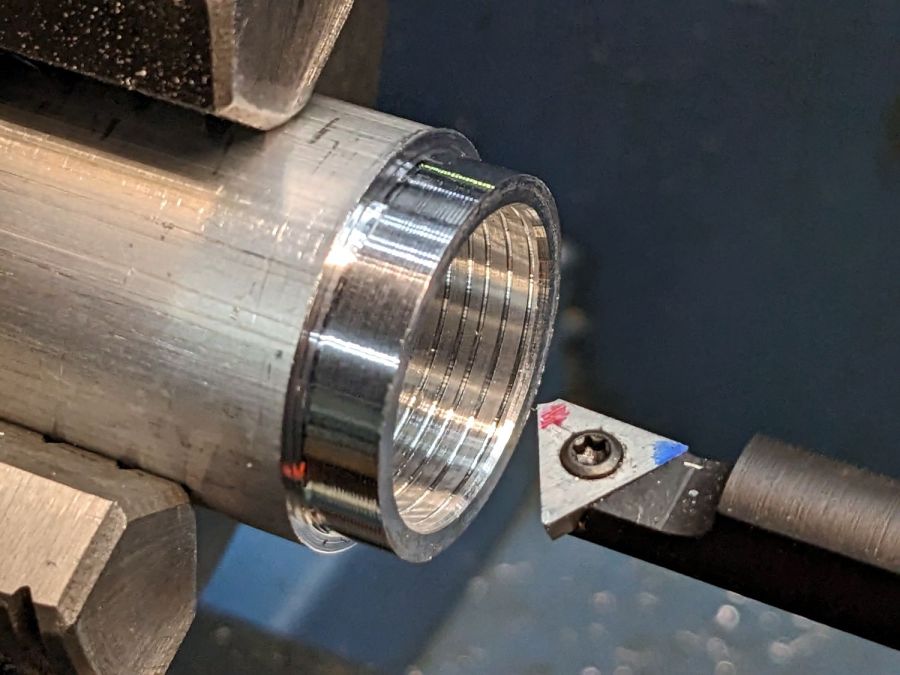
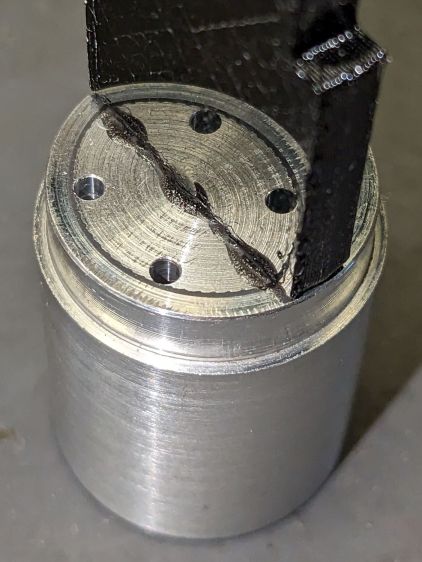
The back end of the tube gets turned down to 23 mm OD and cleaned up to 19 mm ID, then scored to give the epoxy something to grip:
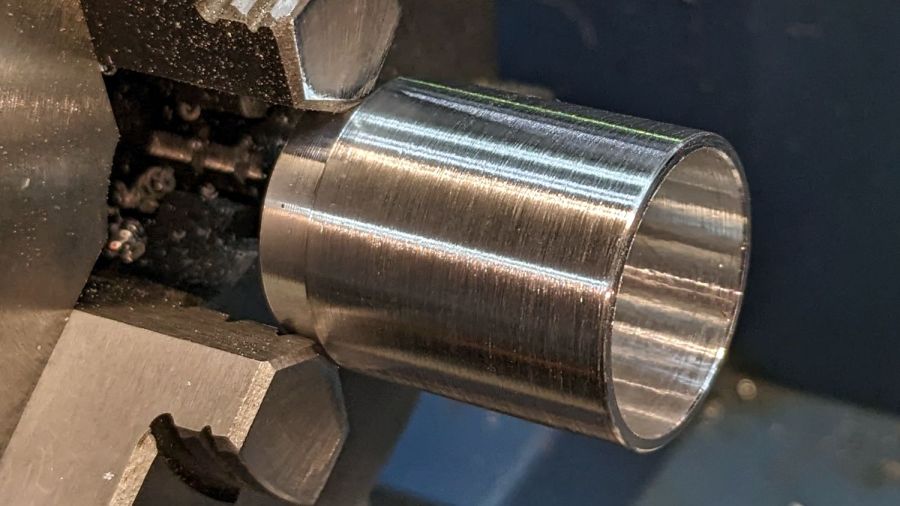
The front end gets bored to 22.5 mm for the lens holder and has its OD cleaned up to 25 mm:
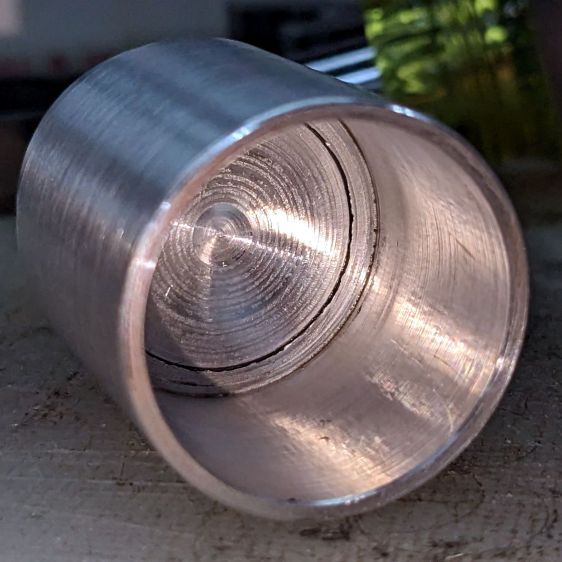
Clean up the end of a ¾ inch rod to 19 mm OD, knurl it a little to increase the OD ever so slightly and improve its griptivity, slice off a bit more than 10 mm, butter it up with JB Weld epoxy, and shove it into the shell with its front end aligned and its back end sticking out:
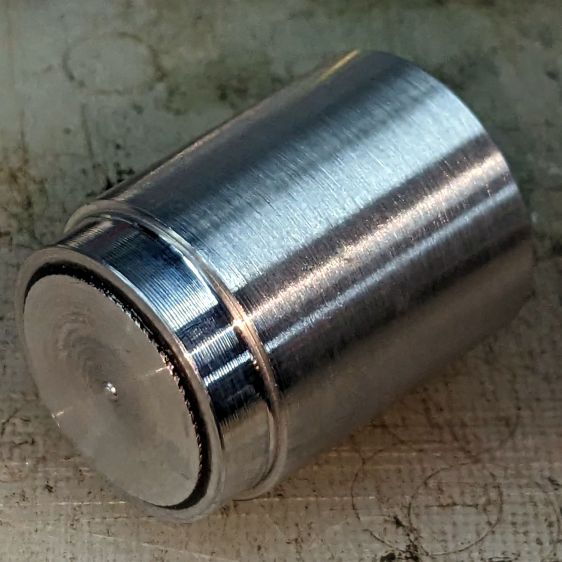
Face off the back end and the front end looks fine as assembled:
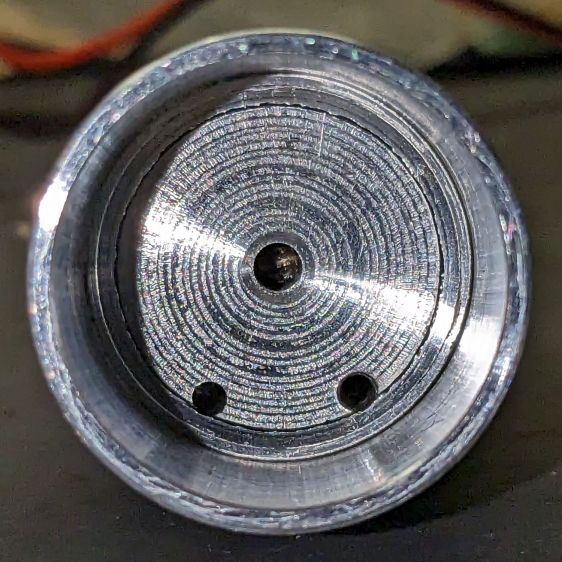
Grab it in the Sherline mill’s three jaw chuck to:
- Drill & tap the M3 central hole for the stud holding the circuit plate to the back end
- Drill 1.6 mm blind holes for the circuit plate pins
- Drill 2 mm through holes for the LED wires, 60° apart
Which looks like this from the front:
And like this with the circuit plate screwed & glued to the rear:
Clean up the OD of some ¾ inch PVC pipe to 25 mm, bore it out to 23 mm.
While the Sherline is set up, drill a pair of 2 mm holes in the lens holder for the wires, aligned so they’ll match the heatsink holes.
Because we live in the future, laser-cut the rear cap from some edge-lit acrylic with a black inner disk:

Cutting that cap with the notch included is now trivially easy, compared to the previous machining.
Now for some circuitry …
