Not much to my surprise, my hack-job thermistor rebuild went bad:
Having nothing to lose, I heated the brass tube over a butane flame to wreck the epoxy, which blew out with a satisfactory bang and filled the Basement Laboratory with The Big Stink.
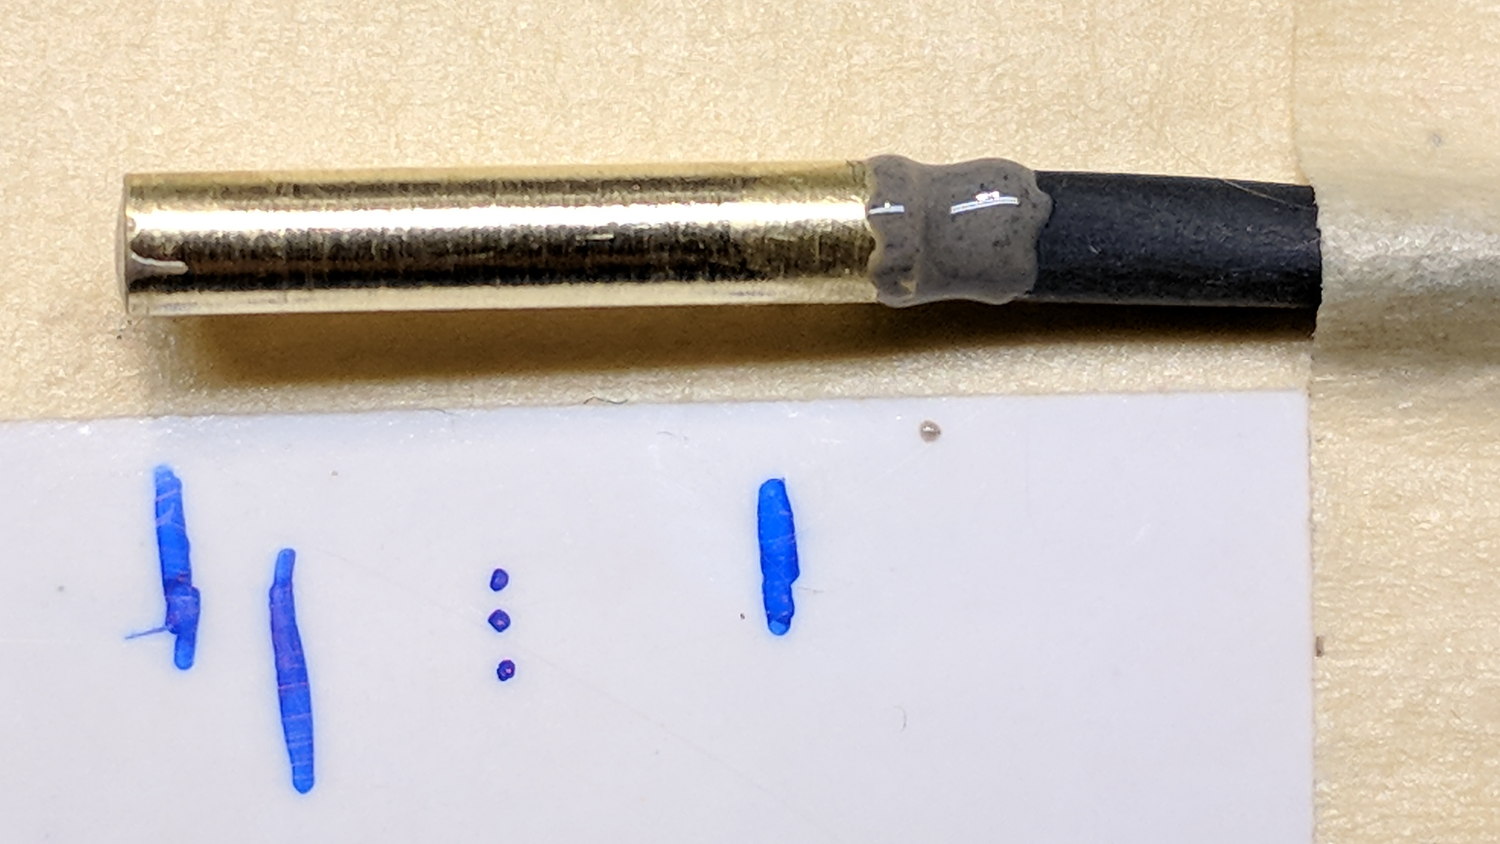
Much to my surprise, the active ingredient still worked:

The multimeter reported absolutely no intermittent dropouts for as long as I was willing to watch the trace while doing other things:

So it must be my crappy soldering technique.
A brace of real M2 thermistors will arrive shortly …

Comments
2 responses to “M2 DIY Thermistor Rebuild: Autopsy”
[…] a few days of downtime, an Official Makergear Thermistor arrived and is now installed amid a dab of heatsink […]
[…] a few hours after installing a replacement thermistor and recalibrating the M2, but nested repairs happen every now and […]