The discussion following that post on getting feature coordinates from an existing part reminded me of an old project that I’d written up for Digital Machinist: making repair parts for the half-century old storm doors on our house. Here’s the whole latch, with a replacement drawbar and cam:
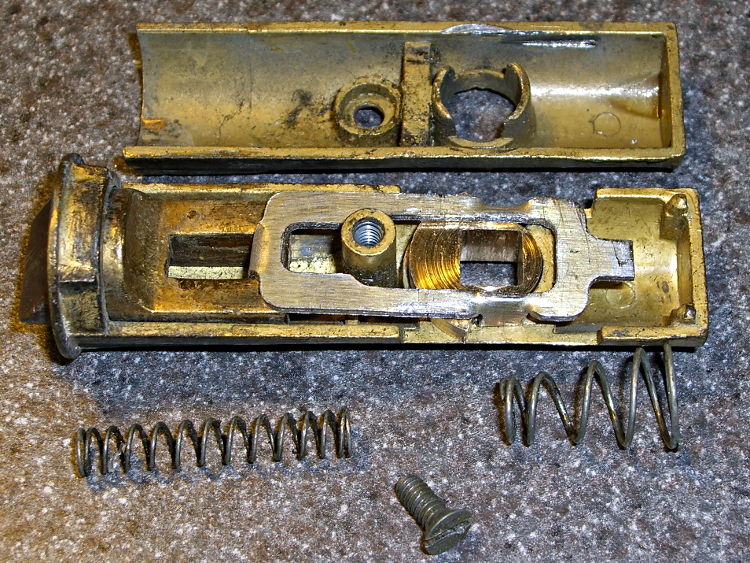
The other side of the drawbar and cam:

An early version of the drawbar that engages the latch strike and gets pulled by cam:

Three iterations on a cam; the messed-up one in the center, IIRC, helped track down an EMC2 bug:
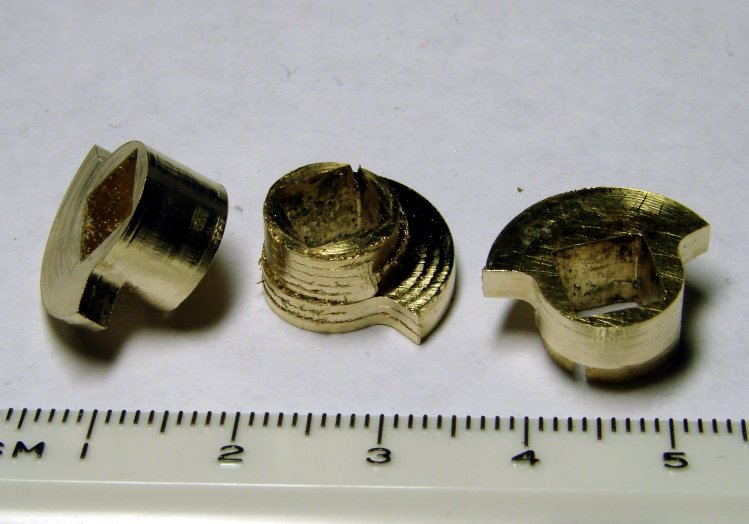
Now that I look at it again, there’s nowhere near enough meat around that square hole for a 3D printed plastic part… so the notion of printing the complex part of the cam and adding wear bars along those ears just isn’t going to work.
I made a fixture for the Sherline CNC mill to hold the drawbar for inside milling:
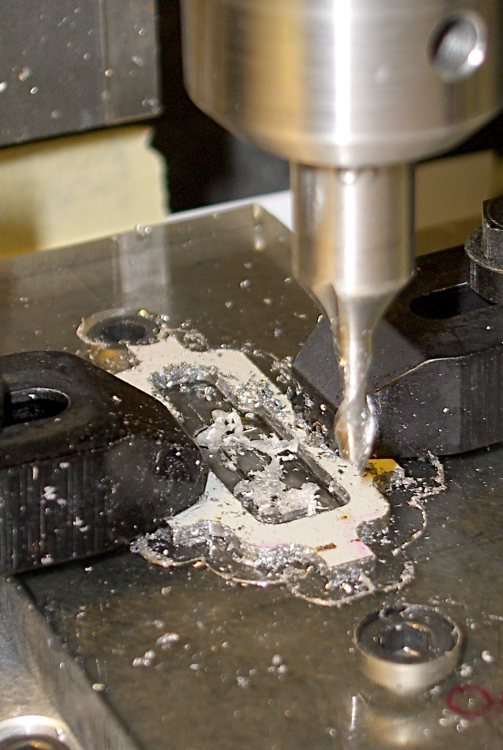
Then a block screwed down in the middle clamps the drawbar in the same place for outside milling:
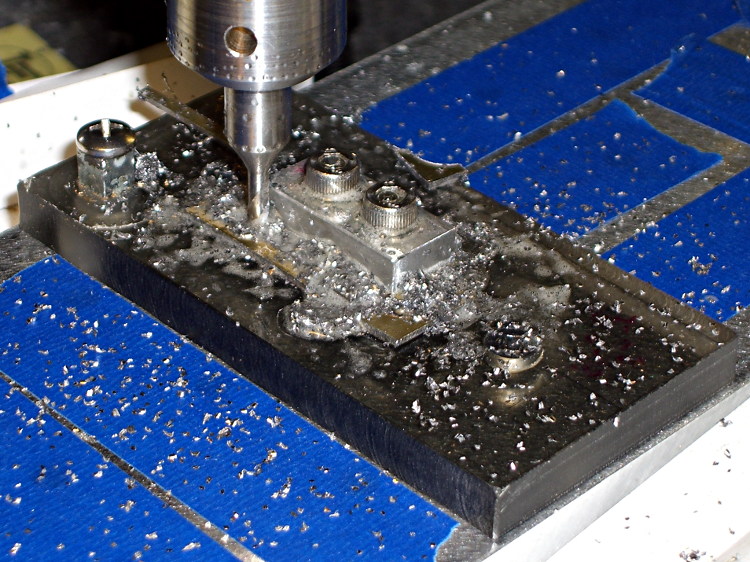
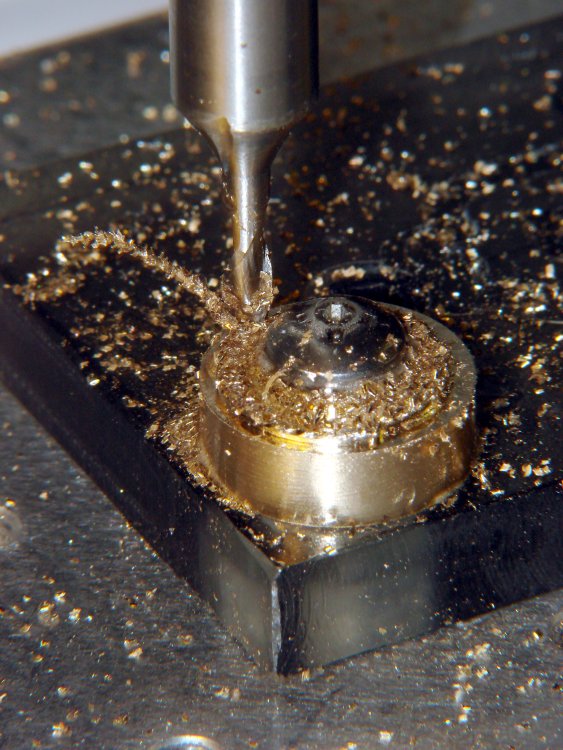
The square post in the left rear corner holds the cam:
Note that I had to file the square hole before milling the cam shape, which meant that if the CNC process screwed up, all that handwork went into the show-n-tell bin… which I’m not going to show you.
I used an early version of the grid-overlay technique to map out the drawbar coordinates; this was an illustration for the column:


Comments
8 responses to “Storm Door Latch: Repair Parts”
Hmm, quite a three-pipe problem, Watson. [grin] Assuming not too much grit gets in that latch, I’d assume that the mild steel drawbar would be OK with minor handwork to reduce wear on the cam.
I suspect you’d be better off with a harder cam material. Being fresh out of A2 stock (and the ability to cut it with anything more sophisticated than a cutoff wheel), I’d consider two steps. 1) Make the blankity cam out of mild steel, and 2) case harden it with Casenite. Haven’t had to buy any in years, but Brownell’s offered small quantities of the stuff for non-extortionate prices. A piece that small could be heat treated in a simple manner (a bit of time with a propane torch, maybe). I’d hold the piece with a chunk of keystock so you could control the process, and water quench.
After that, a polish and some graphite, and it should work quite a while. That would leave the drawbar as the weak point, but it should last a decade or three.
Now on to my own domestic issues. Have to figure out how to get a floating deck to move slightly uphill an inch where it’s pulled away from the house. (Maniacs who built it didn’t anchor the pier blocks to anything and the cross bracing was more wishful thinking than effective.) I don’t think the concrete block “foundation” will support a ledger board tie in, so that’s my summer puzzle.
Speaking of case-hardening, that might be a way to get that square hole. Set up a piece of keystock as a square broach. Turn the end to fit your pilot hole, then do a couple of iterations of slightly larger “diameters” until you get the full size of the square. If you stayed with brass as a cam stock, you might get away without hardening the broach, but for mild steel, you’d need the Casenite.
Either that or make a graphite cutter and build an EDM…
I built a fairly effective square broach the other day. This is complicated, but: put square stock in four-jaw chuck, cut a leader section the same OD as the ID of the hole you want square. Then mount between centers, offset the tailstock a little, and cut the taper from the base of the cylinder out to the square.. Then, while still offset, thread the taper using a right shoulder cutting bit that’s offset even a bit more to the right, thus cutting a continuous tooth with slight rake. Increase the tailstock taper just a shade, and do one more cut, thus giving the tooth relief. Now, I was broaching wood, not brass, but I was also using a piece of cheap 3/8″ square hardware store steel, and it did a fine job of punching holes through poplar.
I like it!
You should write that up for Home Shop Machinist and get your name in lights… [grin]
I just touched my 1 pound can of Kasenit (with a long-A): it’s right next to the can of Hard-n-Tuff, both of which should be lifetime supplies. [sigh]
EDM. Now there’s a project; I’d probably gimmick up an attachment for the Sherline, because it already has all the right motion control…
once upon a time I built the HSM EDM project, that used incandescent lightbulbs as current-limiting resistors. It would have worked better with a mill, but it did work. Most mad-scientist thing I’ve ever built, visually: lights flashing on and off, sparks, stinky electrolyte…
These days, you couldn’t get that into a Maker Faire if you tried!
The original brass cam and steel drawbar lasted for nigh onto half a century, so I think I’m set. The first one I built didn’t have the right dimensions, but after a bit of tweaking the next one came out OK.
I thought about making a broach, but decided I’d never build another cam… after which, of course, I made two more.
Now I’m sure I’ll never make another cam…