Ed Nisley's Blog: Shop notes, electronics, firmware, machinery, 3D printing, laser cuttery, and curiosities. Contents: 100% human thinking, 0% AI slop.
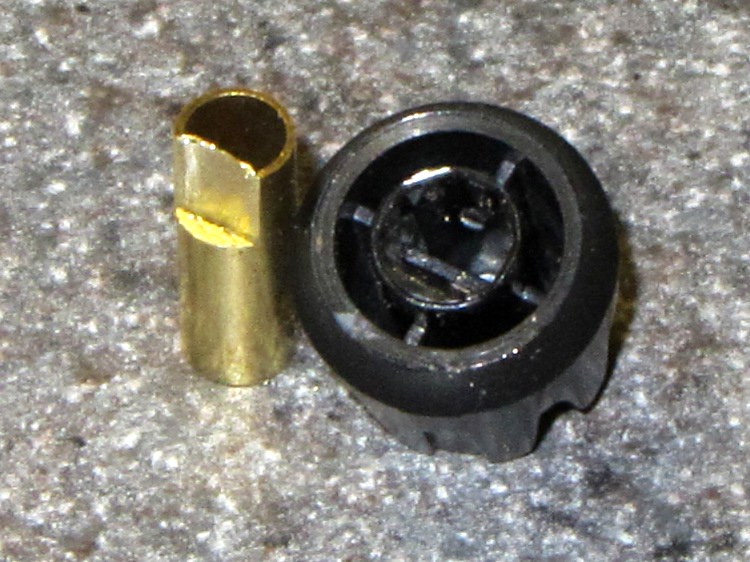
Clamp a cutoff chunk of 3/16 =0.1875 inch diameter brass tubing in the lathe and file down one side to put the flat 0.150 inch from the far side, so that the knob is a tight slip fit. If you happen to have some solid rod, that would work just as well. In this case, the file pushed the paper-thin brass remnant into the tubing and I didn’t bother to clean it out:
KG-UV3D knob with fixture
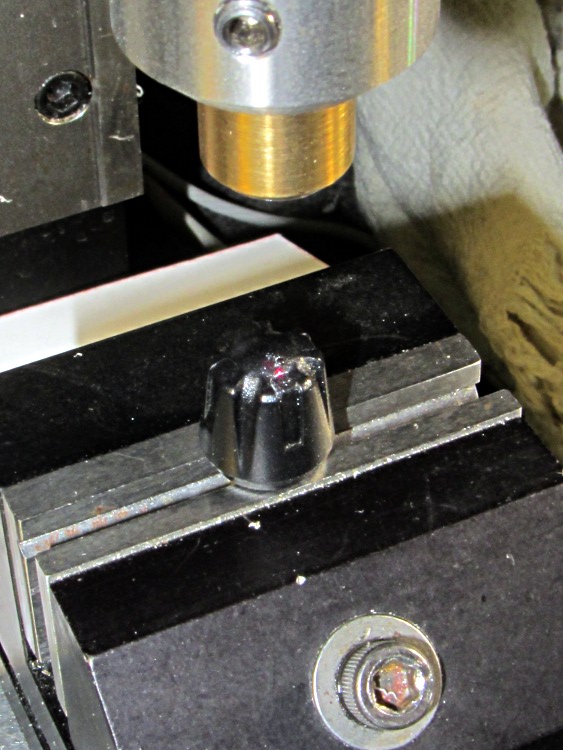
Clean the white glop off the knob, jam the knob on the fixture, clamp the fixture in the Sherline’s vise, use laser targeting to center the spindle on the notch adjacent to the minuscule pip on the knob:
Laser aligning to knob feature
Drill a 2 mm recess that en passant obliterates the pip:
Drilling index recess
Fill it with some light gray paint that just happens to be on the shelf:
Knob with filled index mark
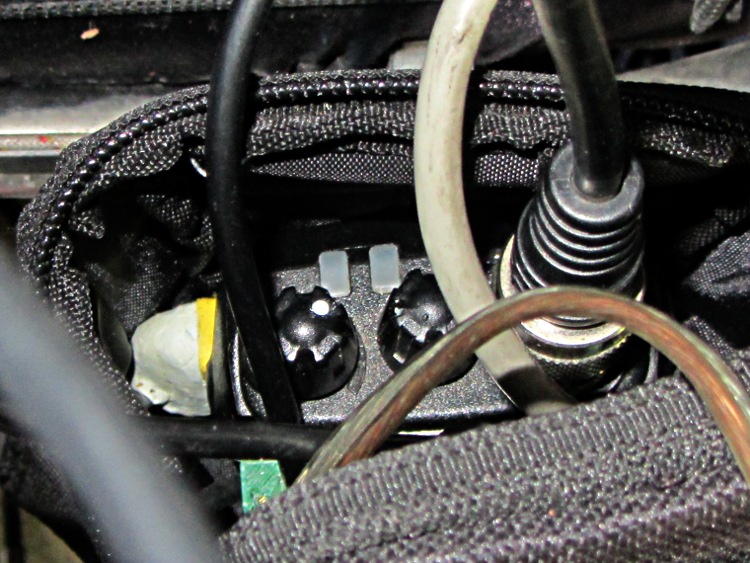
And, by gosh, it really does dress up the radio! [grin]
Wouxun KG-UV3D with improved knob
While I had the Sherline set up, I did the knob for the other radio, too.
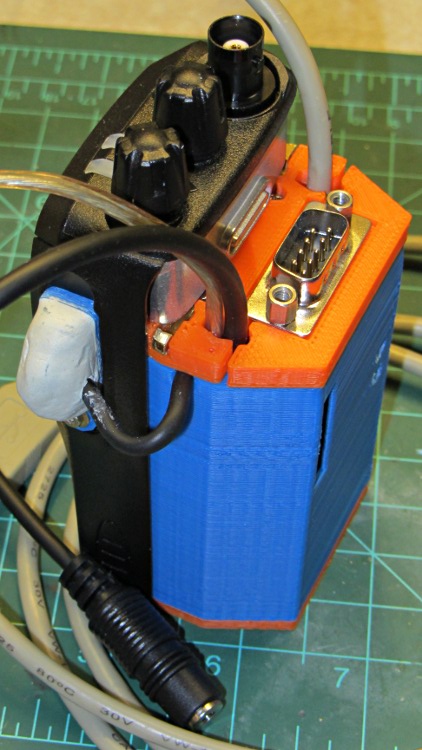
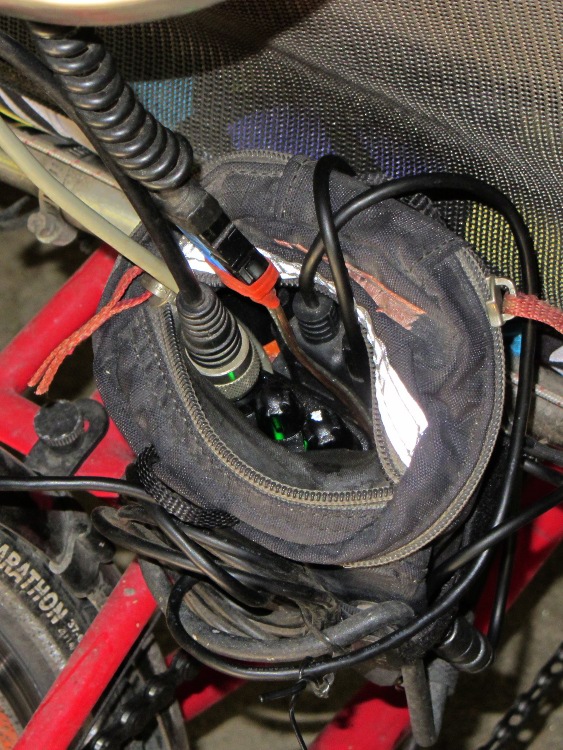
Both of the GPS+voice interfaces for the Wouxun KG-UV3D radios have been working fine for a while, so I should show the whole installation in all its gory detail.
If you haven’t been following the story, the Big Idea boils down to an amateur radio HT wearing a backpack that replaces its battery, combines the audio output of a Byonics TinyTrak3+ GPS encoder with our voice audio for transmission, and routes received audio to an earbud. Setting the radios to the APRS standard frequency (144.39 MHz) routes our GPS position points to the global packet databaseand, with 100 Hz tone squelch, we can use the radios as tactical intercoms without listening to all much of the data traffic.
The local APRS network wizards approved our use of voice on the data channel, seeing as how we’re transmitting brief voice messages using low power through bad antennas from generally terrible locations. This wouldn’t work well in a dense urban environment with more APRS traffic; you’d need one of the newfangled radios that can switch frequencies for packet and voice transmissions.
So, with that in mind, making it work required a lot of parts…
The flat 5 A·h Li-ion battery pack on the rack provides power for the radio; it’s intended for a DVD player and has a 9 V output that’s a trifle hot for the Wouxun radios. Some Genuine Velcro self-adhesive strips hold the packs to the racks and have survived surprisingly well.
Just out of the picture to the left of the battery pack sits a Byonics GPS2 receiver puck atop a fender washer glued to the rack, with a black serial cable passing across the rack and down to the radio bag.
A dual-band mobile antenna screws into the homebrew mount attached to the upper seat rail with another circumferential clamp. It’s on the left side of the rail, just barely out of the way of our helmets, and, yes, the radiating section of the antenna sits too close to our heads. The overly long coax cable has its excess coiled and strapped to the front of the rack; I pretend that’s an inductor to choke RF off the shield braid. The cable terminates in a PL-259 UHF plug, with an adapter to the radio’s reverse-polarity SMA socket.
The push-to-talk button on the left handgrip isn’t quite visible in the picture. That cable runs down the handlebar, along the upper frame tube, under the seat, and emerges just in front of the radio bag, where it terminates in a 3.5 mm audio plug.
The white USB cable from the helmet carries the boom mic and earbud audio over the top of the seat, knots around the top frame bar, and continues down to the radio. USB cables aren’t intended for this service and fail every few years, but they’re cheap and work well enough. The USB connector separates easily, which prevents us from being firmly secured to a dropped bike during a crash. I’d like much more supple cables, a trait that’s simply not in the USB cable repertoire. This is not a digital USB connection: I’m just using a cheap & readily available cable.
I long ago lost track of the number of Quality Shop Time hours devoted to all this, which may be the whole point…
In other news, the 3D-printed fairing mounts, blinky light mounts, and helmet mirror mounts continue to work fine; I’m absurdly proud of the mirrors. Mary likes her colorful homebrew seat cover that replaced a worn-out black OEM cover for a minute fraction of the price.
Based on those measurements that suggest spacing the plugs at 11.5 mm on center, I tweaked that parameter in the source code there and printed another one, just like the other one. Actually, I printed four of the fool things this time:
Wouxun plug plates – 11.5 mm fixture
With the plugs in the gluing fixture and the fixture in the vise, a ring of epoxy around the threaded sides holds them in place:
Wouxun plug plate – wired
A trial fit in the Wouxun KG-UV3D shows that the jacks prefer the 11.2 mm spacing I measured on the Wouxun headset, but they’ll accept plugs on 11.5 mm centers. I don’t know if that’s a real specification difference, a manufacturing tolerance, or what.
FWIW, I’ve been using snippets of that cable forever, because it’s perfect for this application: two unshielded conductors and three more inside a braid, supple as a snake. It’s surplus, of course, with a gorgeous push-lock plug (and the jack!) on one end that must have cost a fortune… and which I’ll never to use for anything. Got two of them, just in case.
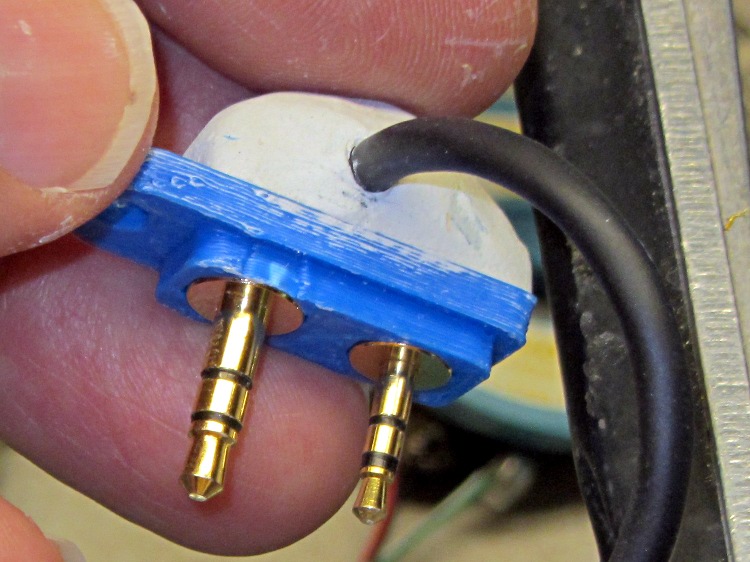
Mushing an epoxy putty turd on the top anchors everything in place and protects the wires:
Wouxun plug plate – epoxy cap
In point of fact, the cable insulation isn’t anchored inside the blob and a minor tug could pull it loose. There will be a bit of slack at the case to allow for unlatching it from the radio, but the lashup will spend its entire life inside a snug pouch, so it shouldn’t come to any harm. We shall see.
Try as I might, I cannot uncover a definitive answer to this simple question: What’s the center-to-center spacing of the mic and earphone jacks on the side of Kenwood and Wouxun HTs?
The usual searches produce answers like 11 and 12 mm, both of which are obviously wrong, as can be determined eyeballometrically just by holding a scale against the plugs.
Based on measurements I made on a Wouxun headset, the yellow plug mounting plate put the plugs on 11.2 mm centers and they fit into the KG-UV3D radio; it’s been working fine ever since.
However, having just measured a speaker/mic and a headset, both from Kenwood, I come up with 11.5 mm. Frankly, I trust the Kenwood hardware a bit more: the plugs seem more rugged and the overall production values are higher.
The calculation is simple: measure the pin diameters, then subtract half their sum from the outside distance across the pins. Cross-check by adding half the sum to the inside distance between the pins, which should give the same answer. It helps if the pins are actually round.
The jacks in the Kenwood and Wouxun radios have enough compliance to accept either a Wouxun or a Kenwood headset plug without complaint. Maybe it doesn’t matter?
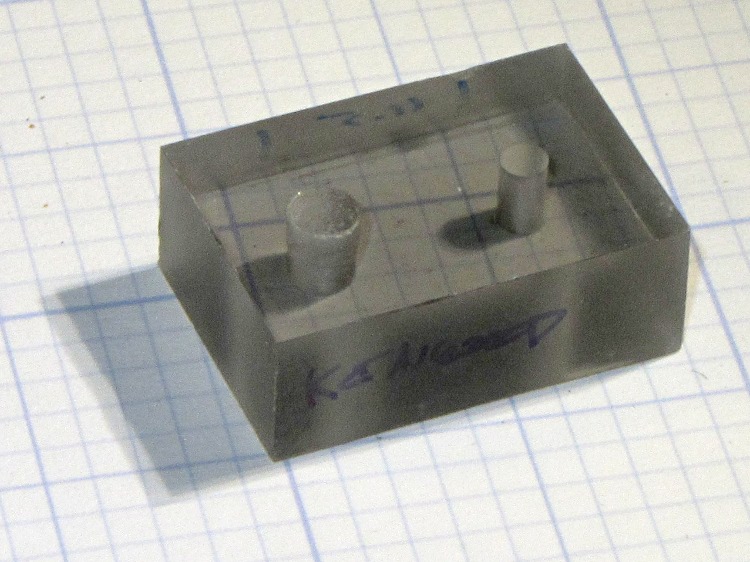
Despite that, I made another gluing fixture with 11.5 mm spacing:
Plug alignment plate – 11.5 mm spacing
Those are 0.1 inch grids; it’s a little bitty block of smoke-gray polycarbonate from the scrap heap. The plugs are nominally 3.5 mm (which is not 1/8 inch in this universe) and 2.5 mm, with clearance drills #28 and #39.
Then I tried poking those 11.2 mm spaced plugs, now firmly epoxied in place in the yellow plate, and guess what: they don’t fit, no how no way. That’s not surprising, because there’s no compliance on either side of the joint and the plugs aren’t on the right centers for the fixture. Makes for a good No-Go gauge, I suppose.
However, I think I’ll tweak the solid model spacing to 11.5 mm and run off another plug mounting plate for the next radio.
FWIW, our ICOM IC-Z1A HTs use a sensible 10.0 mm spacing and that old fixture worked fine.
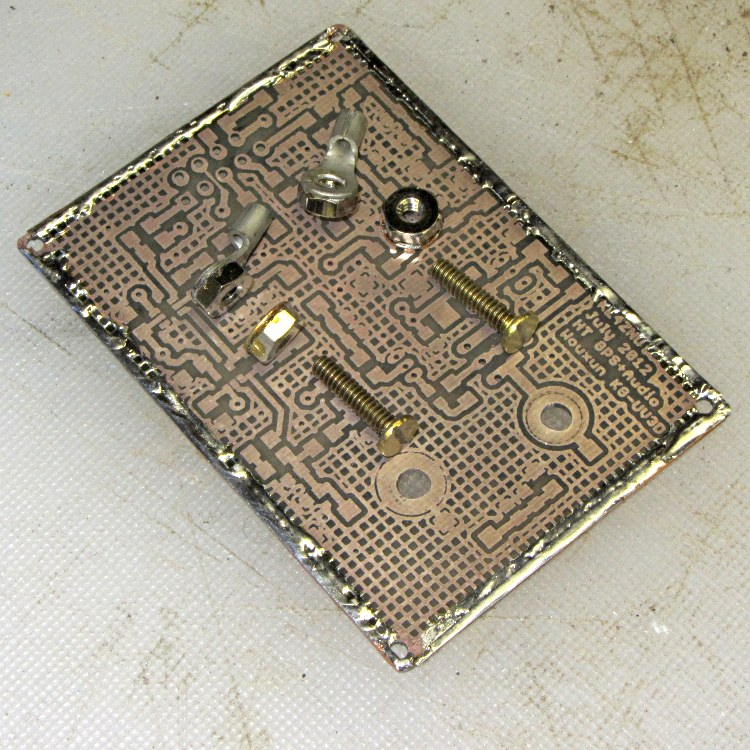
For this version of the contacts (the old version is there) that make the GPS interface look like a standard Wouxun lithium battery, I left a bit more of the slot on the brass screw heads and increased the recess depth to compensate:
HT-GPS Case – Battery contacts
The nuts all have fancy nickel plating, with washers & ring lugs silver-soldered in place:
HT-GPS PCB – battery contact parts
The trial fit looks OK:
HT-GPS Case – PCB and battery contacts – end view
I even found the cutest little flat 1/4 inch wrench that fits 4-40 nuts, so I can do a better job of crunching the PCB between the nuts. That excess screw length has got to go, too…
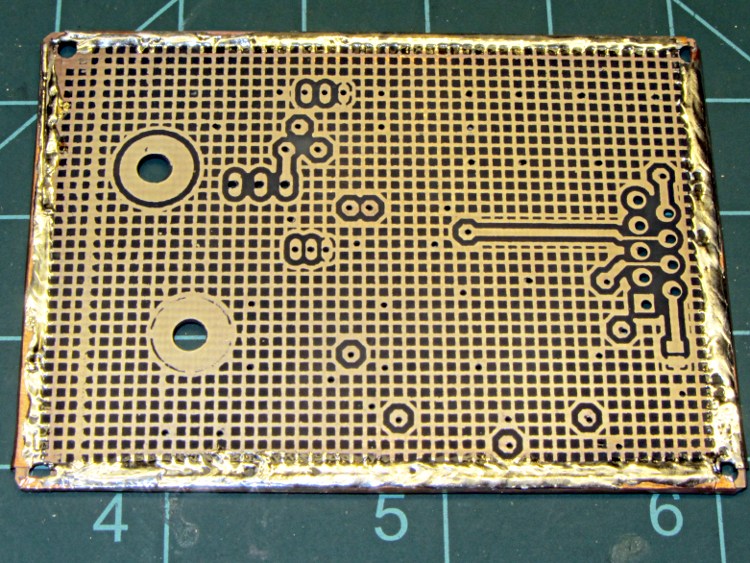
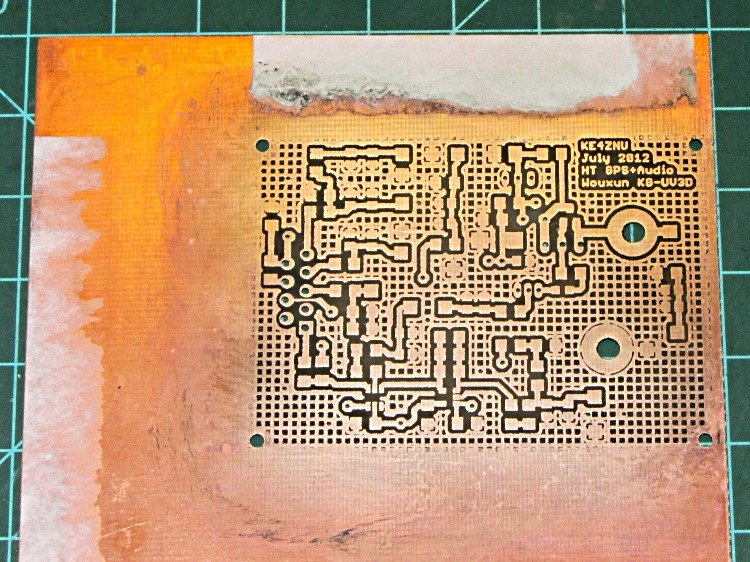
Drilling the PCB went fine, as did the etching & silver plating:
PCB with edge wrap – front
The rear side has a fine ground plane:
PCB with edge wrap – rear
The small spots scattered over the rear mark vias that stitch the front and back planes together; lacking plated-through holes, I solder nippets of 24 AWG wires to both sides. The wrinkly edge comes from solder on the copper foil binding the entire perimeter.
While I have no hard evidence that all of the fuss & bother matters, the most recent version of this circuit is the quietest yet: the machine noise from the TinyTrak3+ that plagued the first iteration has pretty much vanished.
I’ll grant you that the silver plating doesn’t look very silvery in these pix, but it’s quite different from the bare copper in person. Here’s the front just after rubbing it in with a vigorous circular motion:
After replacing the Y axis leadscrew, I decided that the X axis leadscrew was in fine shape, because it’s tucked under the table and not exposed to the swarf and grit that fell on the Y axis screw before I installed the bellows. Being that sort of bear, I couldn’t throw out the worn Y axis leadscrew, so I had two rather delicate rods that really needed more protection than a twist of paper.
So I sawed off a length of 1 inch PVC pipe, faced the ends in the lathe, and added two rubbery endcaps from the heap:
Sherline leadscrews stored in PVC pipe
That fits neatly into the big box alongside the rotary table, with the bag of assorted nuts so they’re all together.
Despite what you see there, the screws are wrapped in paper with a bit of oil, so it’s all good.